Bookmark Favor
For my sister-in-law's baby shower, we had a Storybook theme. Everyone was asked to bring a storybook instead of a card, and all of the decorations and food were based on some sort of storybook. When trying to decide a favor, I thought it would be perfect to give everyone a bookmark. I mean what goes better with a storybook theme than a bookmark to save your place in said storybook.
Items Needed
- Cardstock
- Paper Cutter
- Hole Punch
- Tassels

Instructions
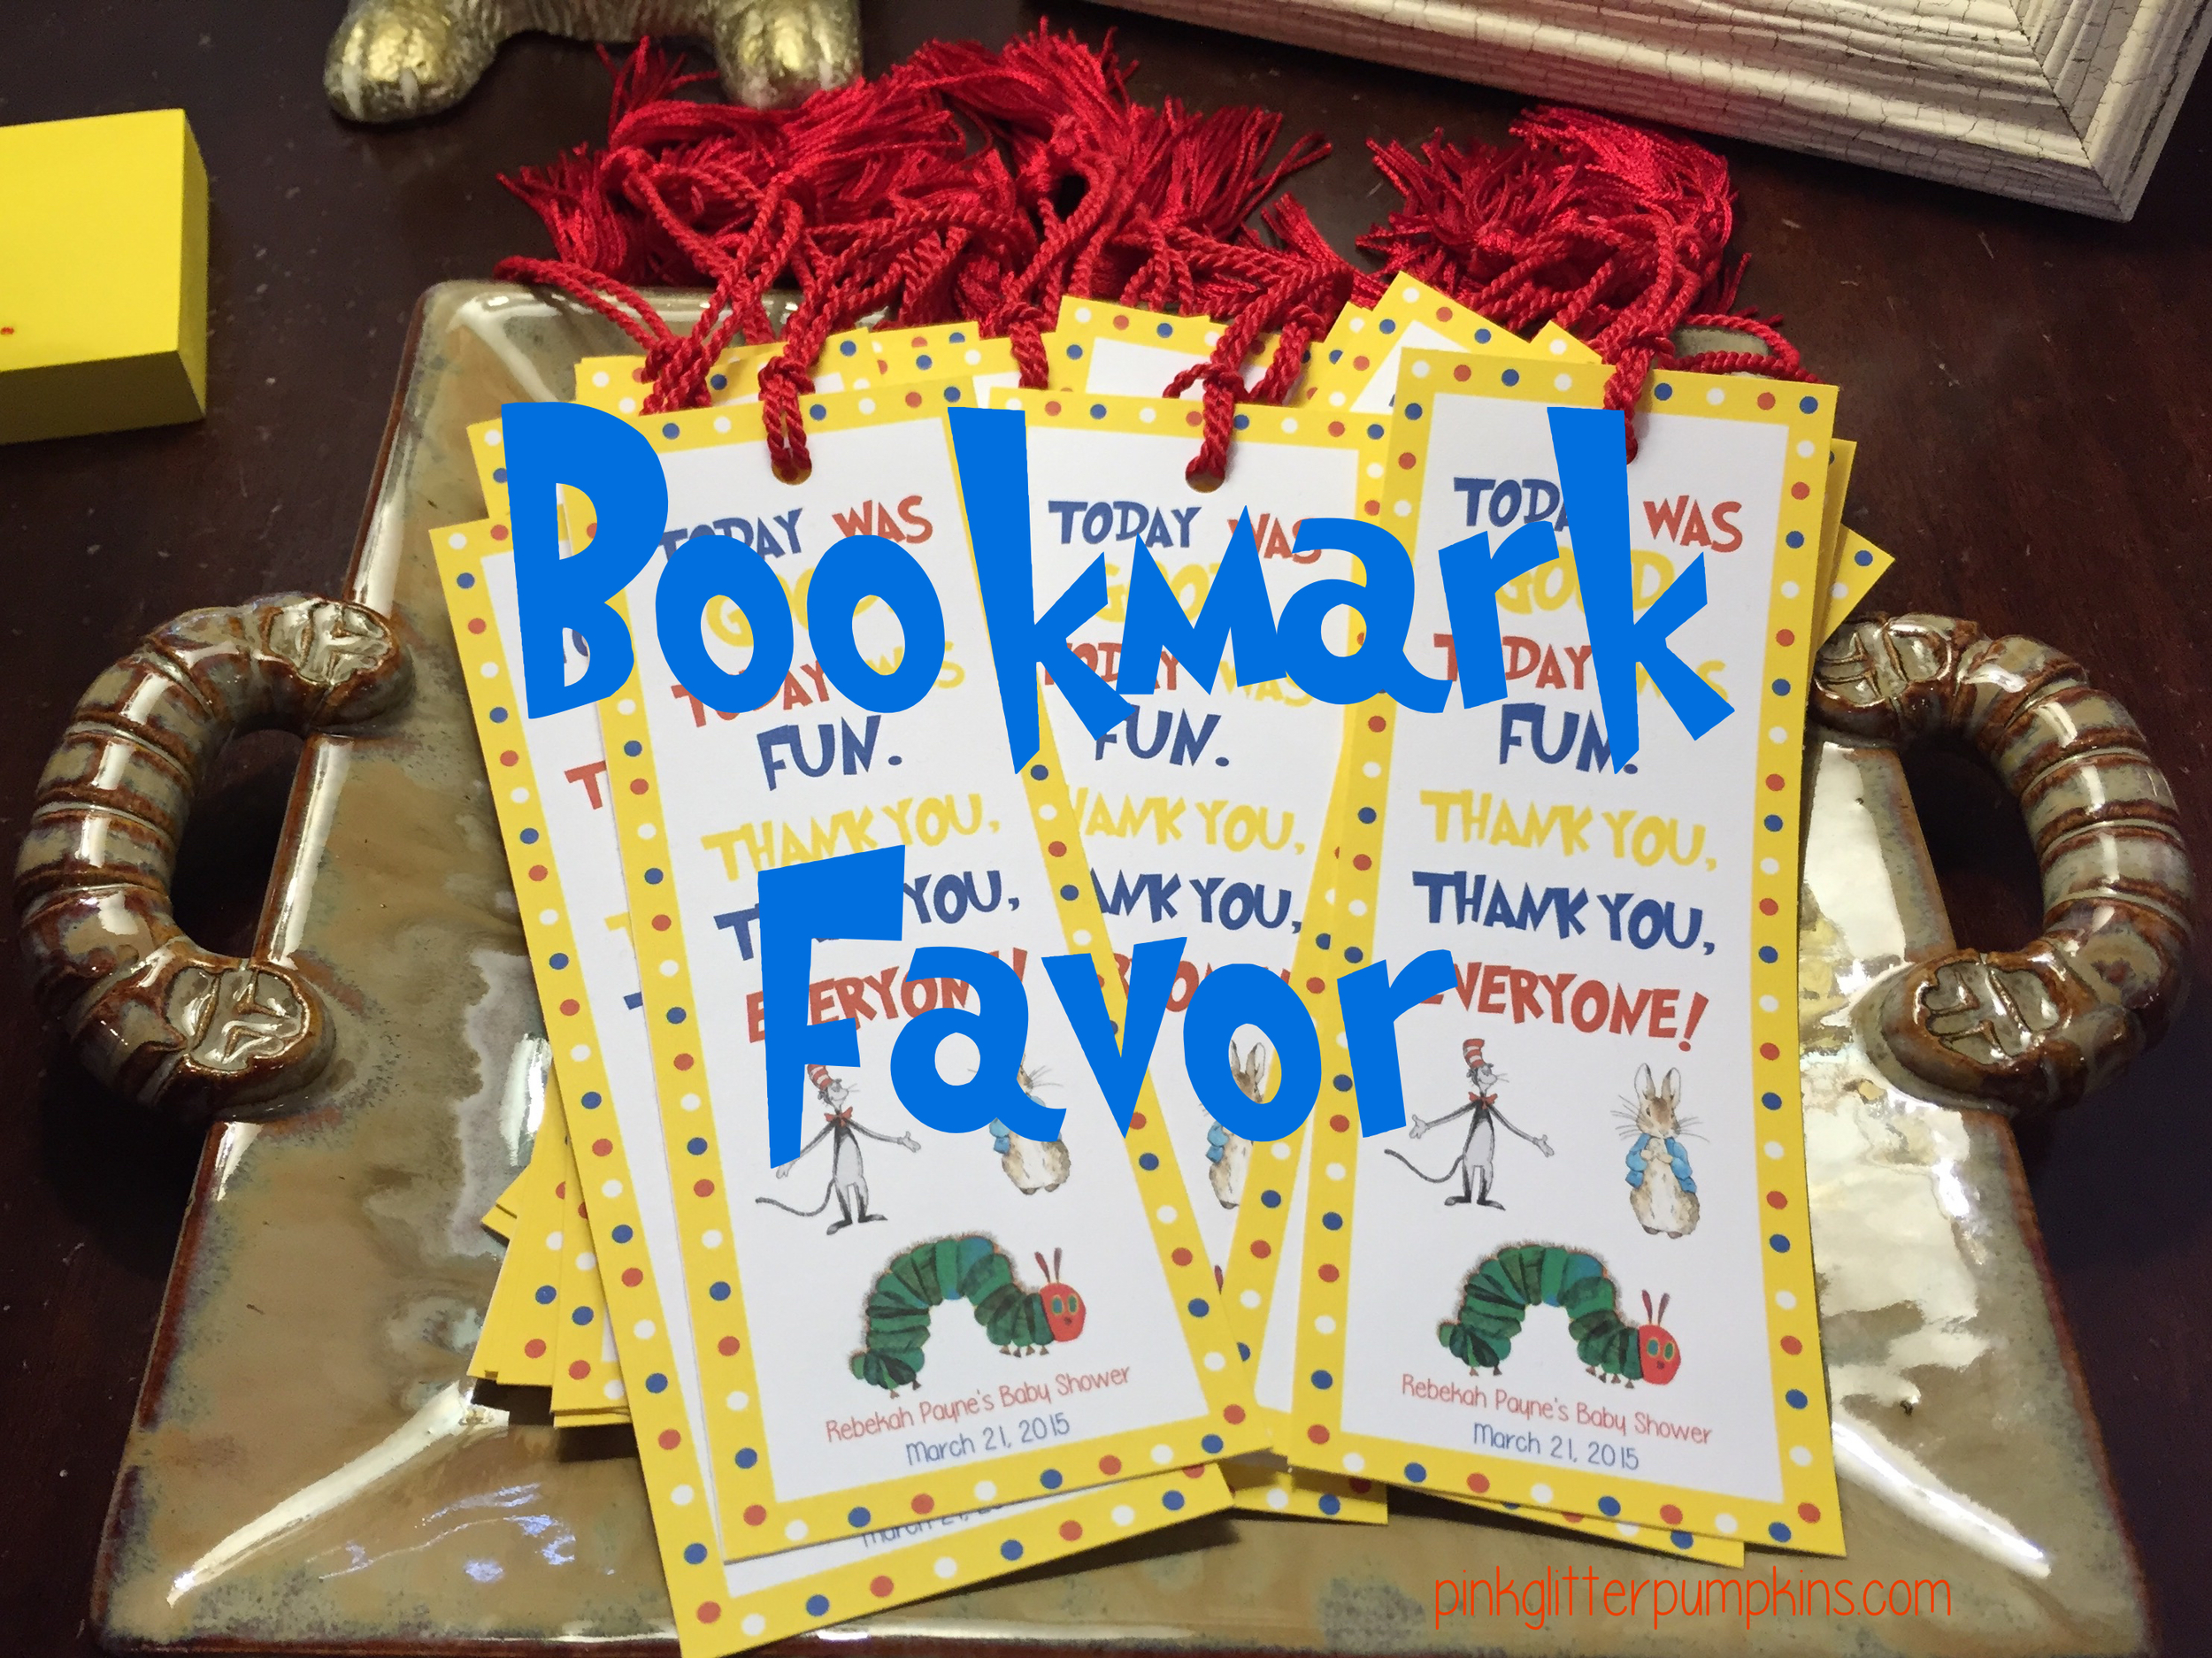
I designed the bookmarks to match invitations that one of the other hostesses ordered. The invitation had a yellow border with white, blue, and red alternating dots. All of the colors were red, yellow, blue and white. The invite also had famous storybook characters along the bottom. I used pixelmator to design my bookmark. I am sure you could use Microsoft Office or something similar if that is all you had.
First, I created the yellow solid border. Once the border was created, I began adding the dots. I saw online a cute phrase I wanted to use which was "Today was good, Today was fun, Thank You, Thank You Everyone!". I thought this was perfect for the theme. I downloaded a free Dr. Seuss font that I found online. I used this font for the phrase and alternated the colors again. The very bottom was just a fun font I found online that listed her name along with the date of the shower. The last thing I added were characters. I found some jpegs online and tried to use characters already found on the invite.
I printed a few samples to see if I liked the color and size. You will also noticed I messed with the fonts some and character poses.

I actually did opt to change the color, but I left the size as is. I printed three to a page and printed 27 bookmarks total. Below is the final printout:

Once I printed them all, I had to use my paper cutter to cut each one out. I do not prefer scissors because you are less likely to get a straight line. We bought this paper cutter during the wedding planning time, and I just continue to use it.


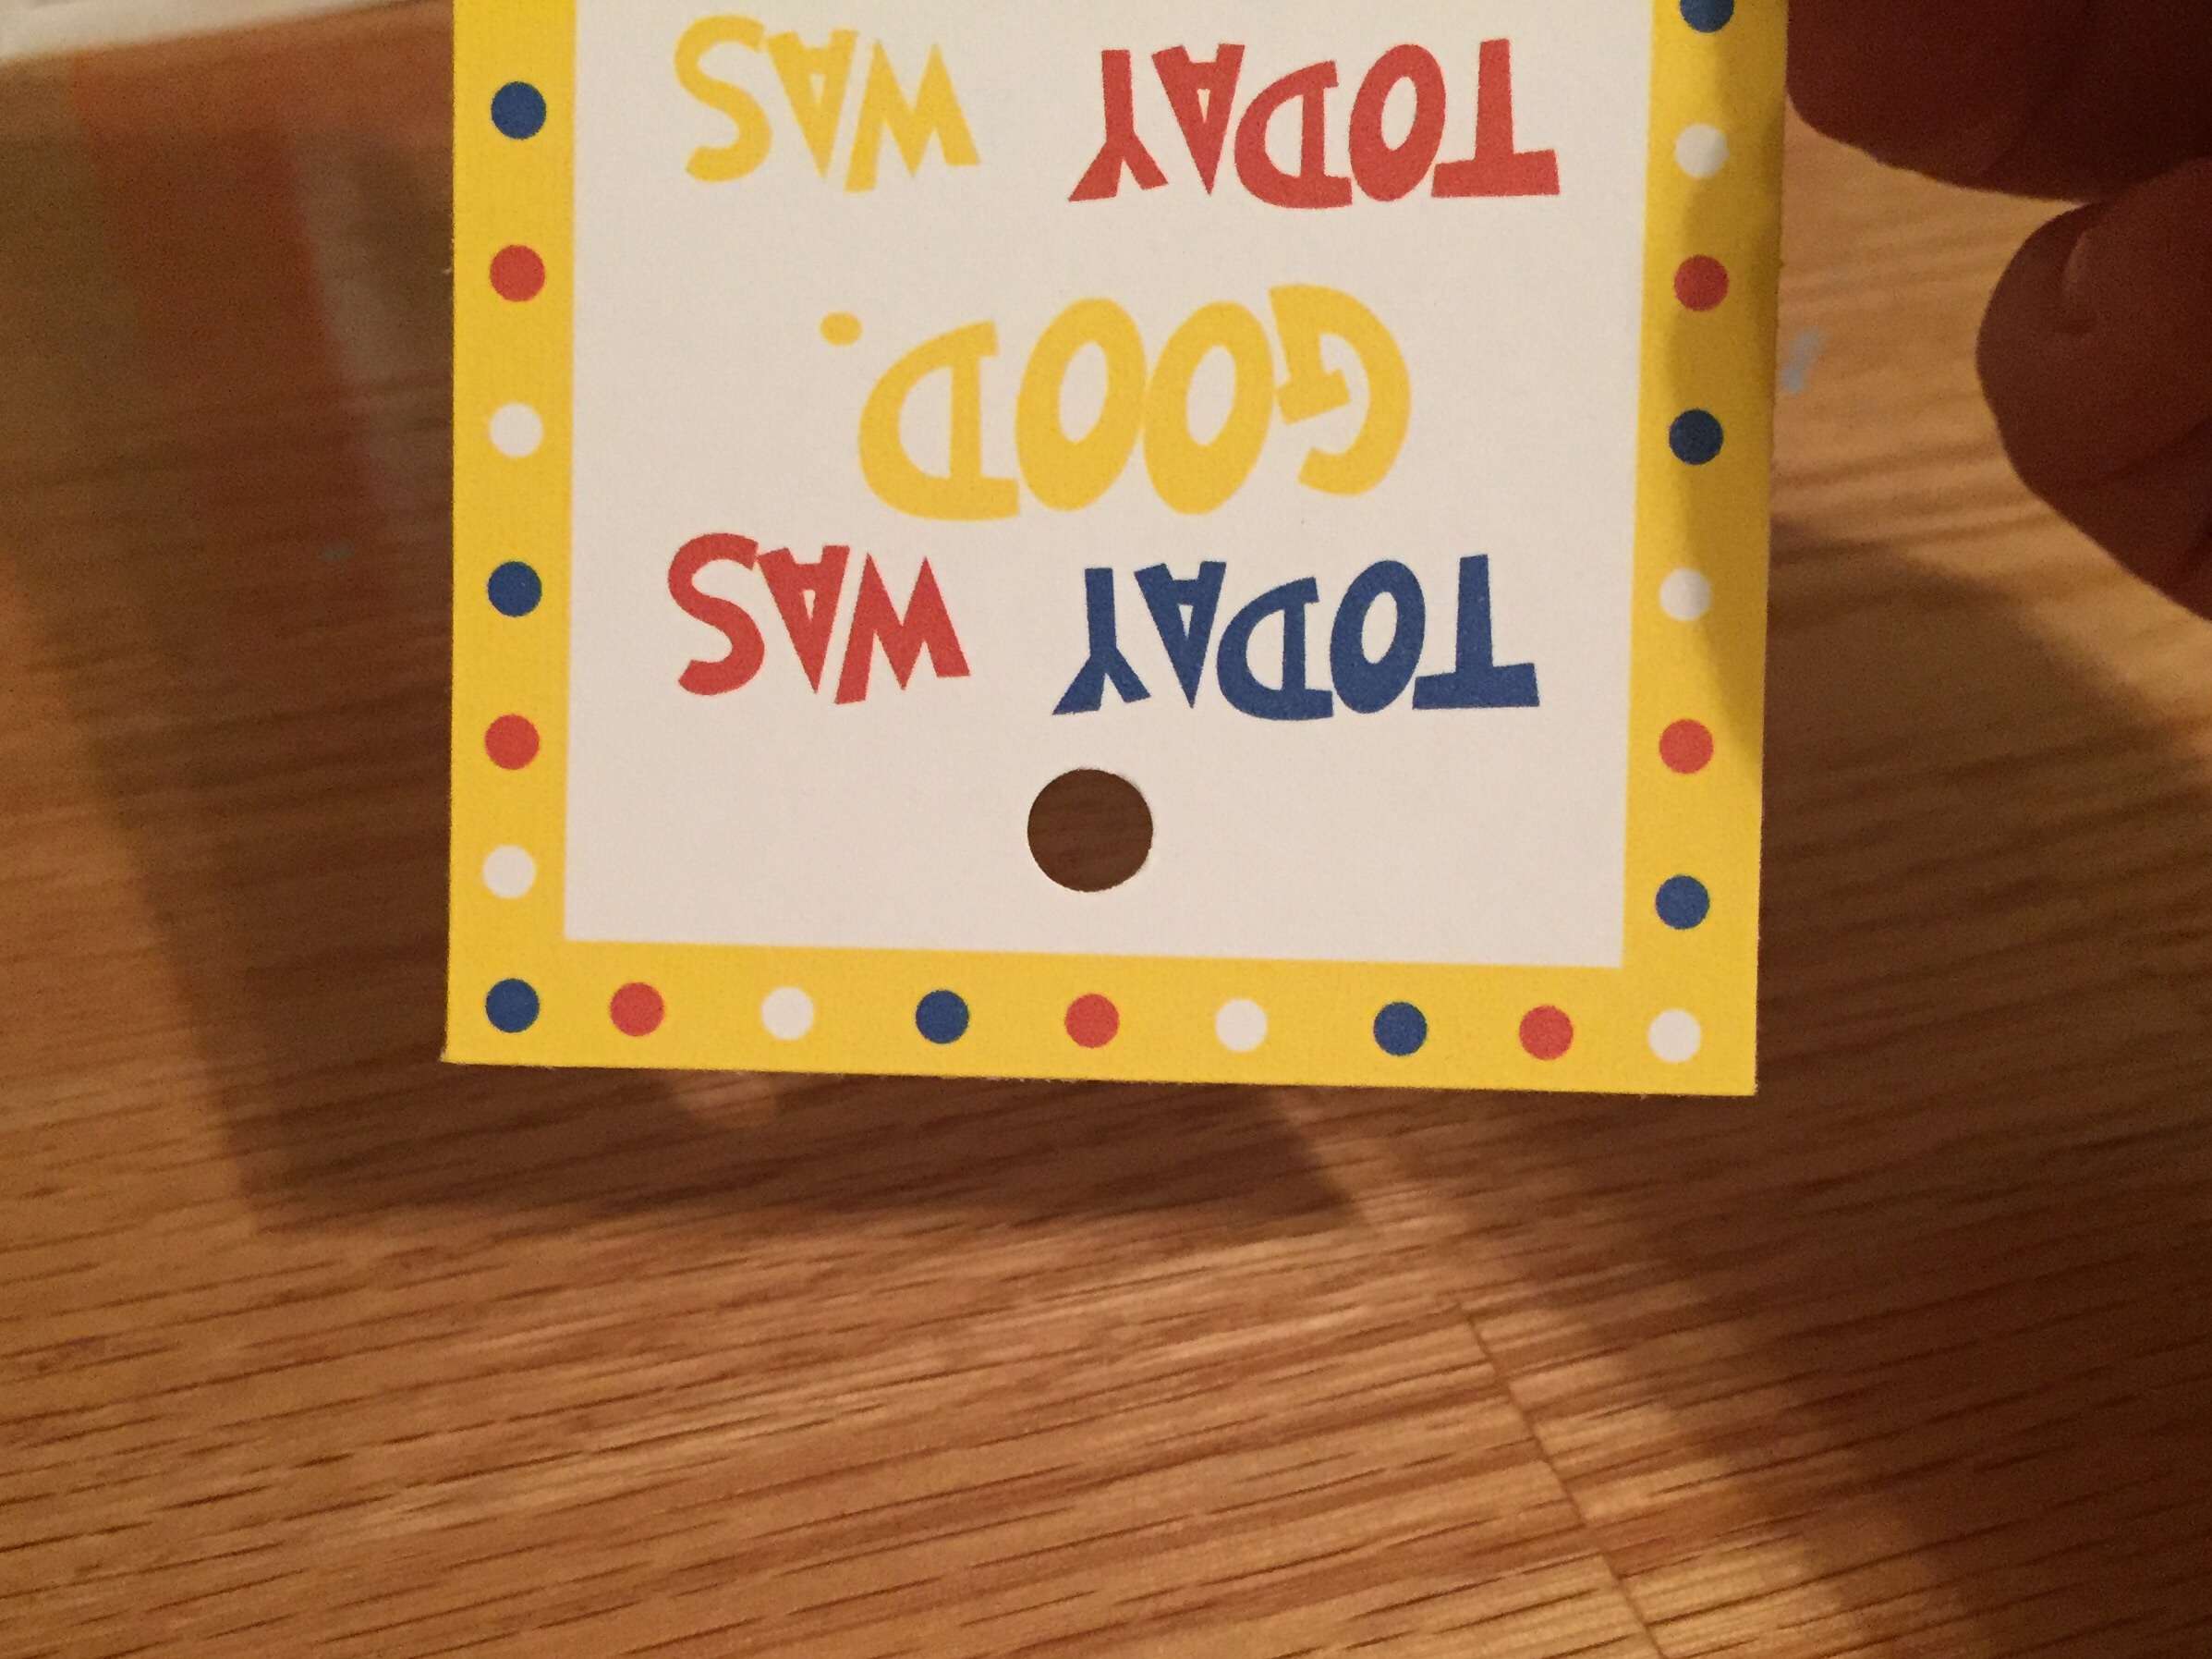
Using the hole punch, punch a hole in the top center in the white space.

Now, take the tassel and loop it through the hole.
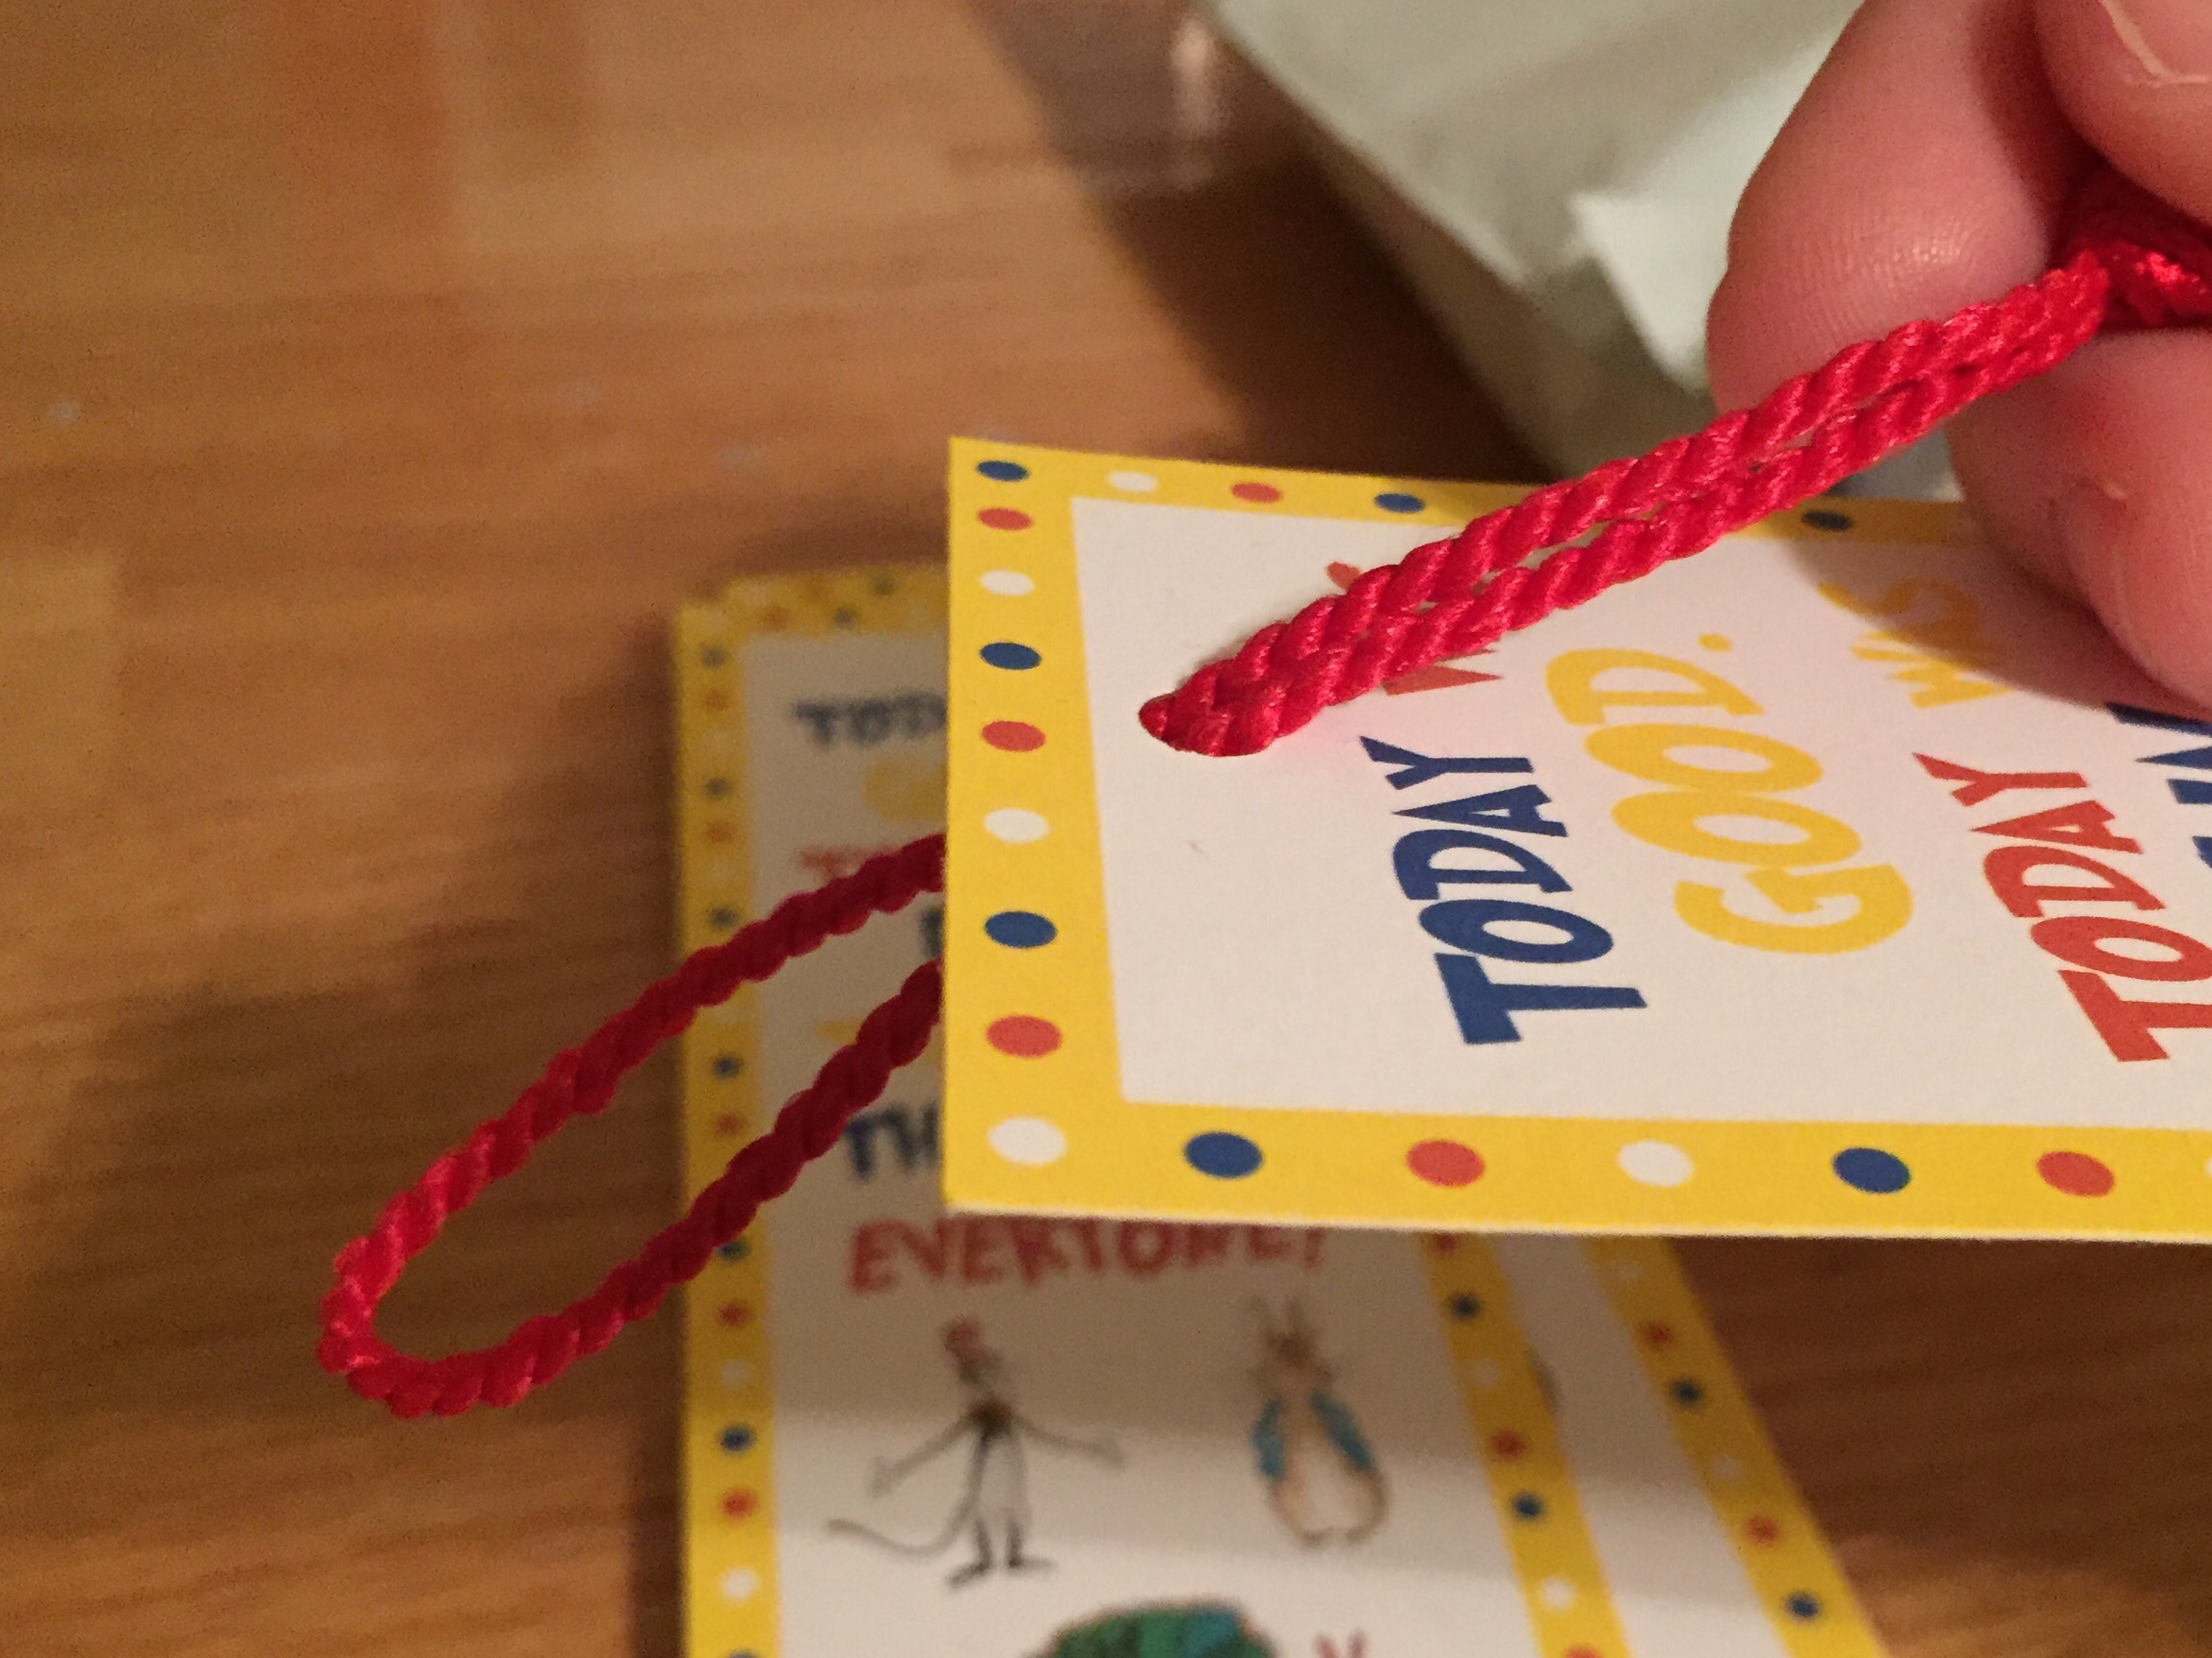


All done!


Here is the Pixelmator document. The font I uses was NewUnicodeFont from font space.