
DIY Baby Shower Invites
For my best friend's baby shower, I decided to design and create the baby shower invitations from scratch. Below is how I did the design, and then I also give some guidance on how I assembled them!
Design
I designed the baby shower invite itself in Pixelmator. That is the software I use the most for any picture editing or image creation. It is really easy to use and is much cheaper than Photoshop. It meets my needs perfectly! The colors for her shower were pink and gray. I also knew that I wanted to incorporate elephants into her shower as well. Since the invitations were the first thing I really did for her shower "design-wise", I knew this would be the basis for the rest of the stationary I used.
I researched different baby shower invites online to make sure I included everything that was standard, but I didn't want to overwhelm the invite. I did the standard "Please join us for a Baby Shower honoring 'Guest Name'". Then I included the date and time as well as the location. I debated about whether to include the hosts names and an RSVP, but in the end, I decided to go ahead and include it. I also listed where she was registered at. I mixed up the fonts, but I tried not to make it too overwhelming.
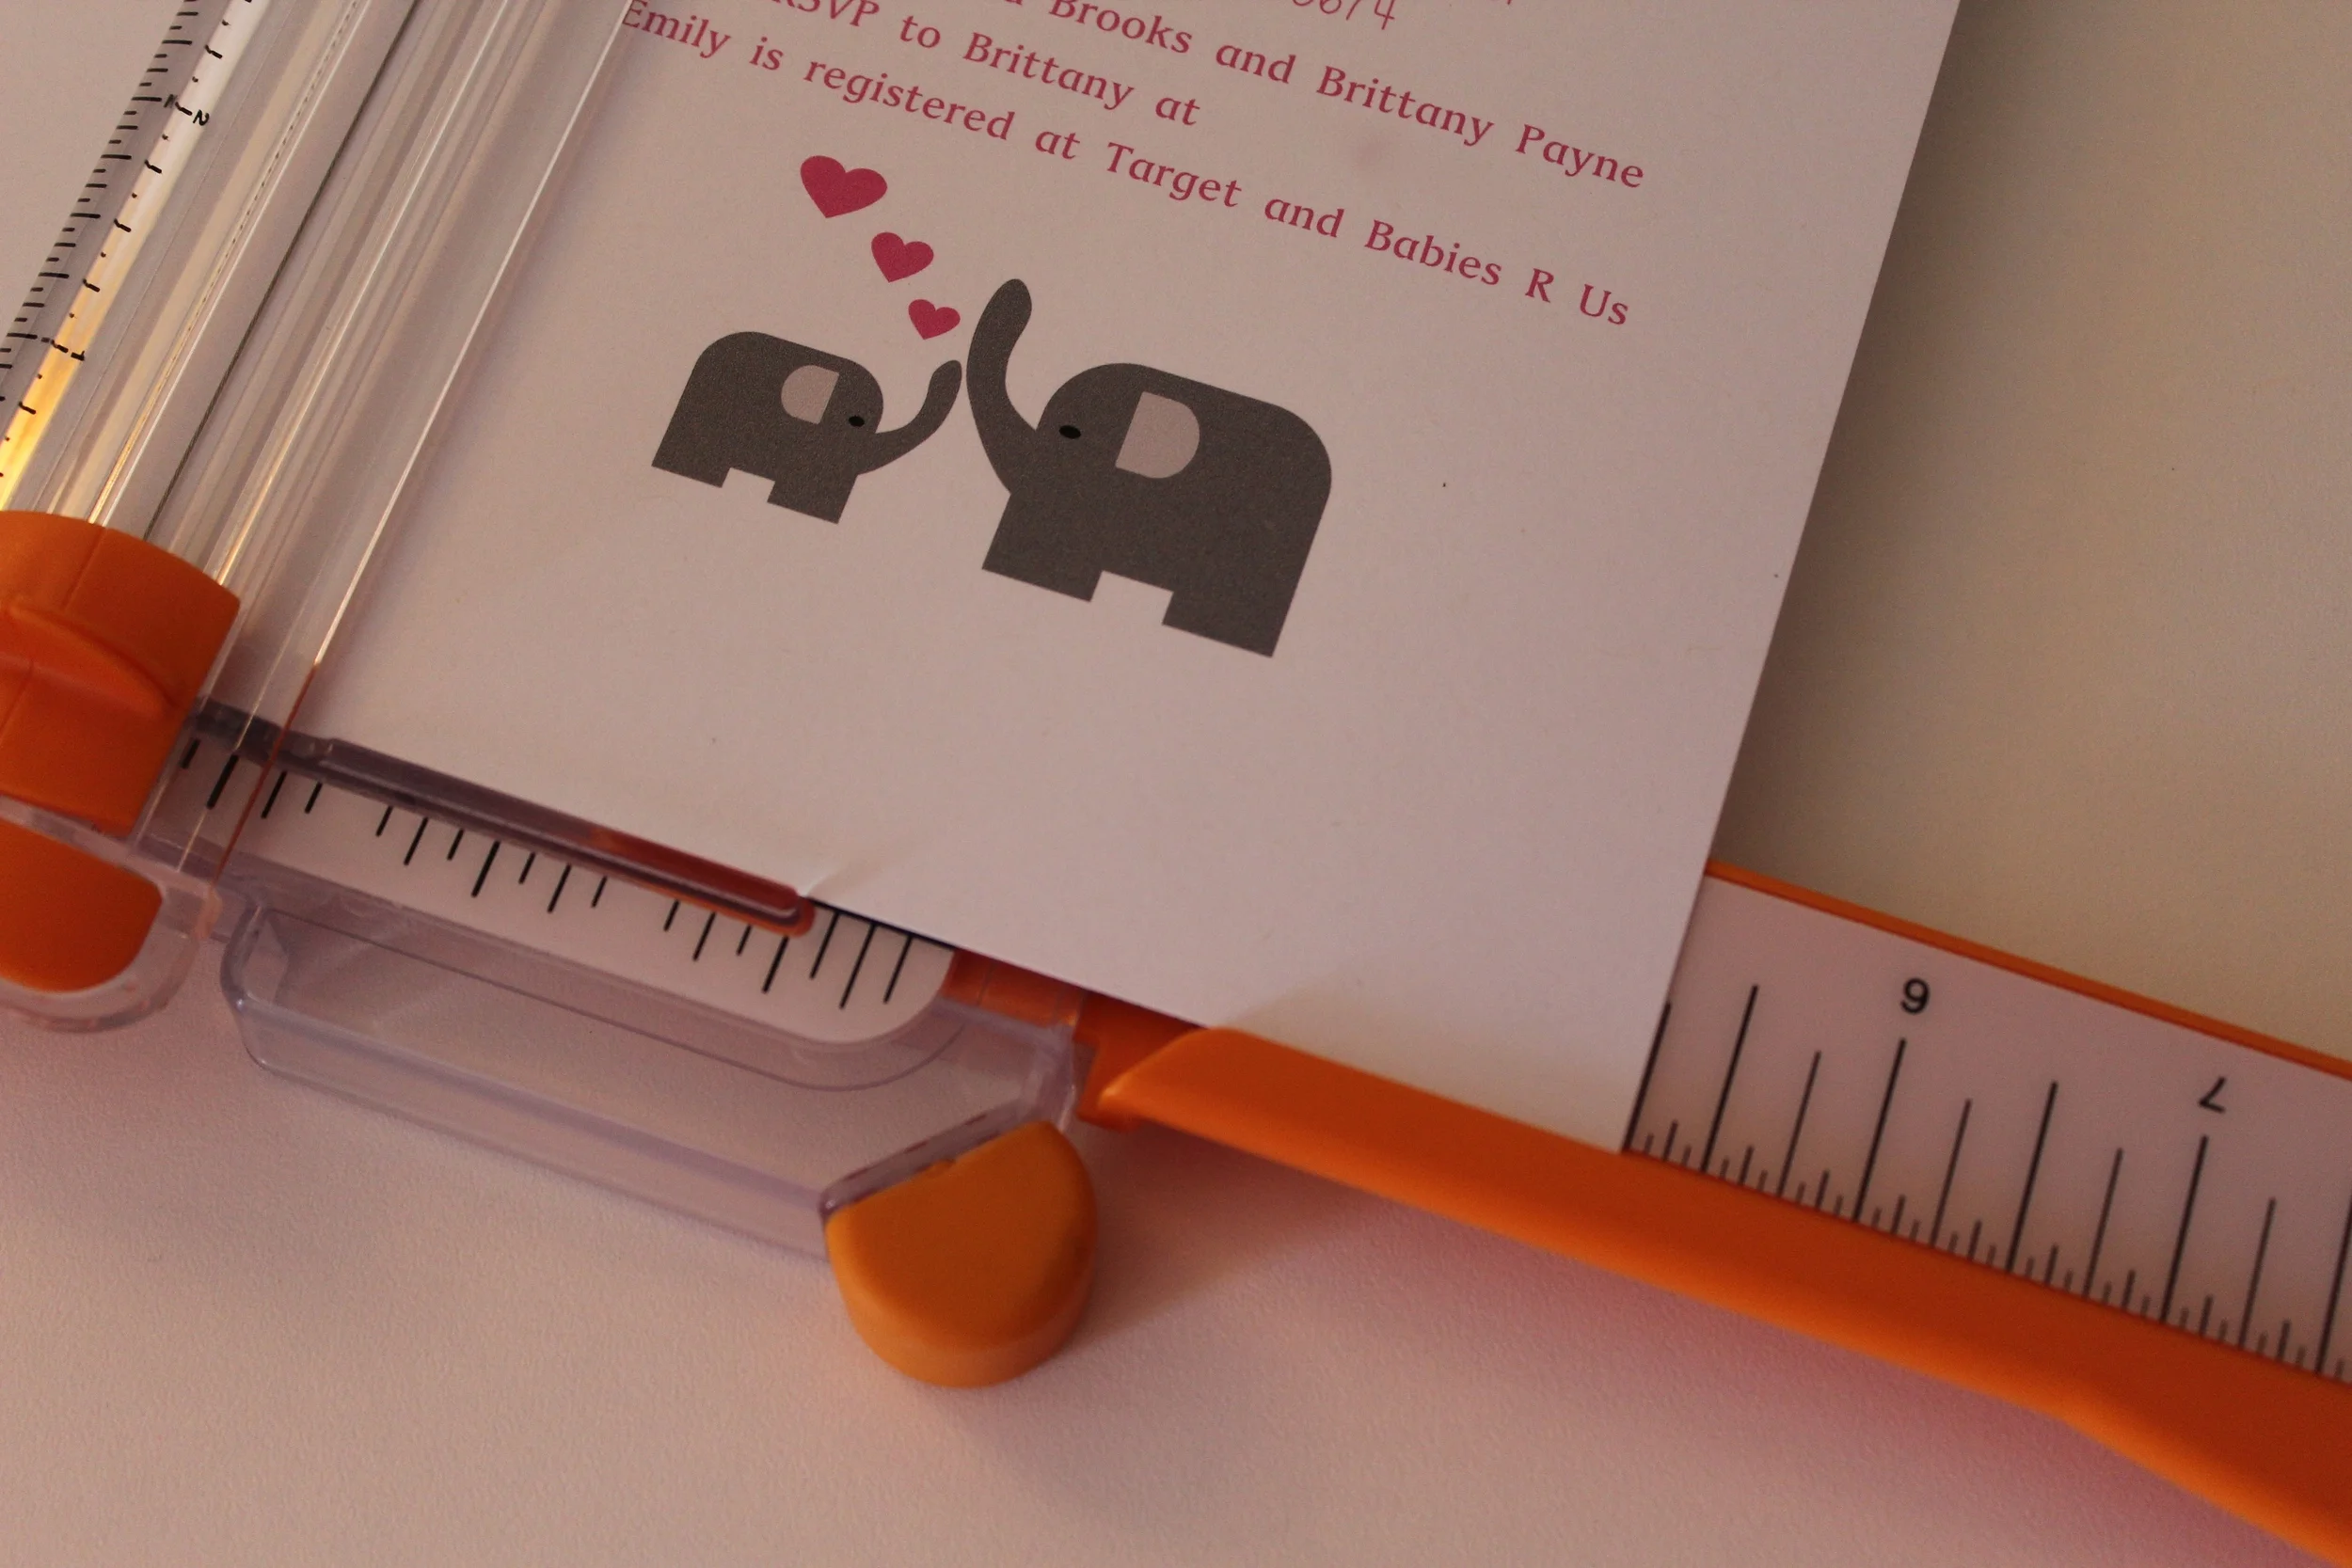
I did want some sort of elephant on the invite, but I really hated to just copy one someone did online and use it. Instead, I designed my own. Once I designed one elephant, I did a copy of it and made it smaller for the "baby" elephant. I added the hearts as just a cute addition. I used these elephants throughout the other stationary we used at the shower.
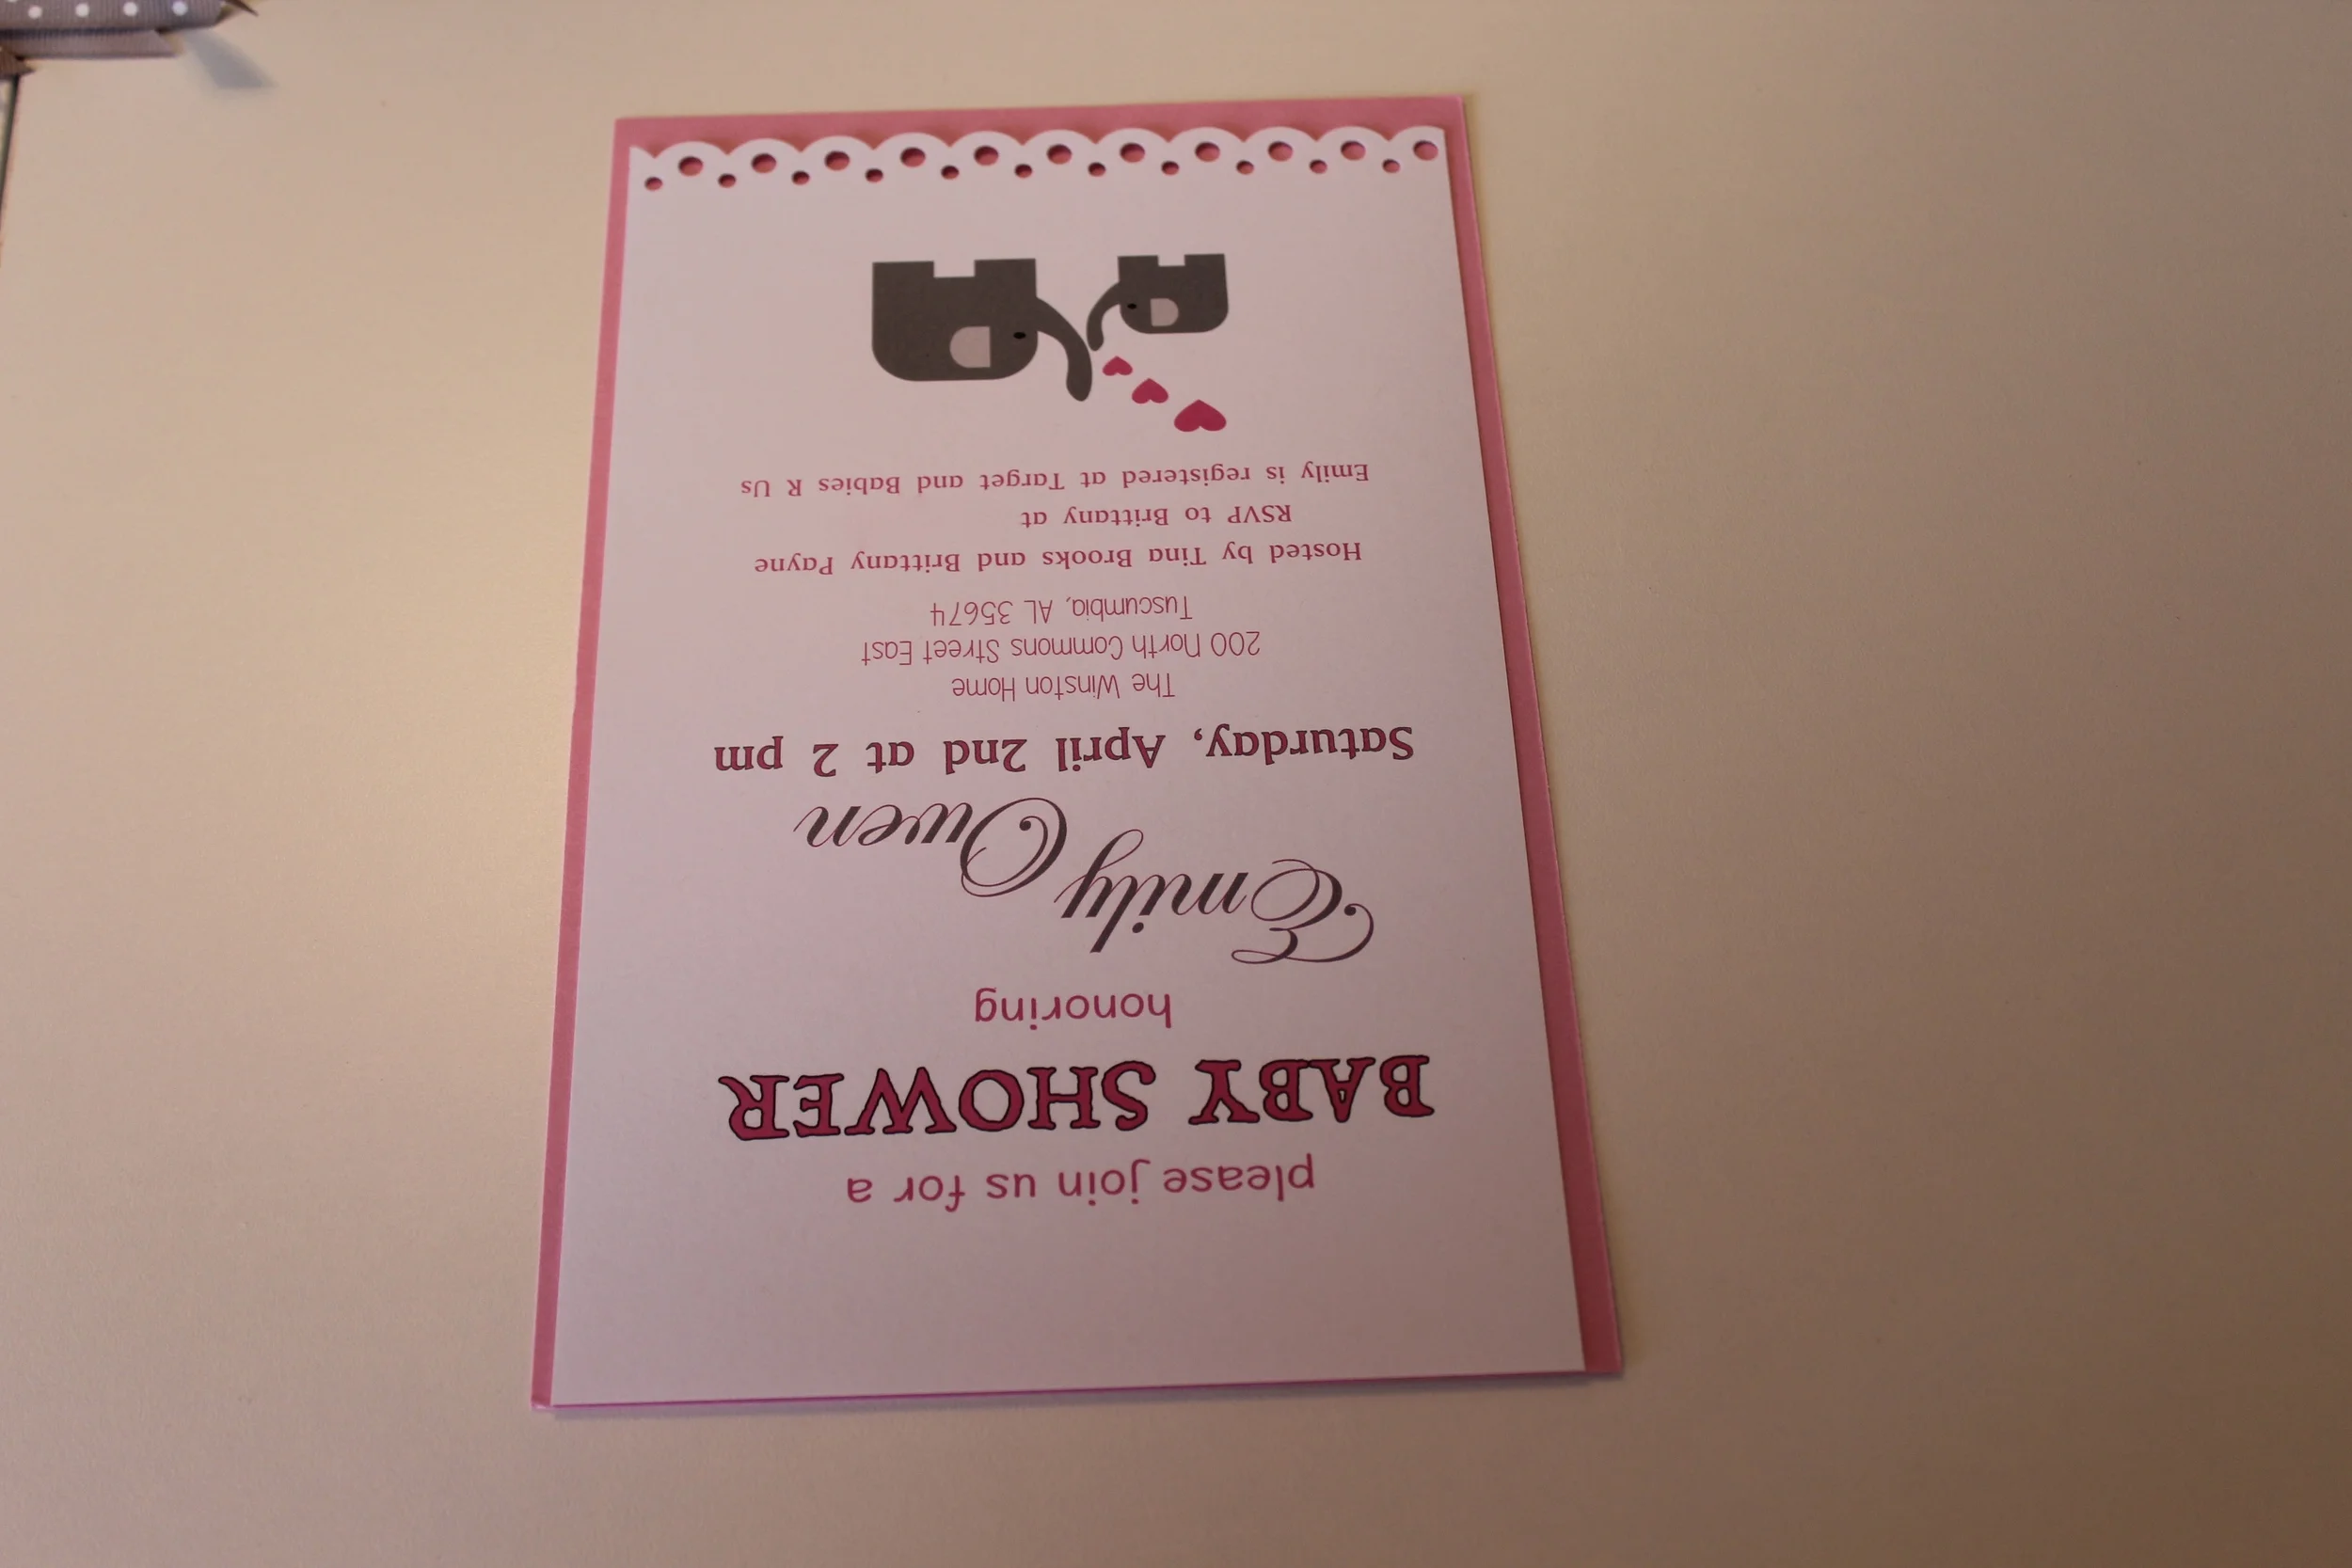
I knew the invite I designed just wasn't enough. I decided to attach the printout to another piece of cardstock to add some color. Then I would use some sort of ribbon as the "attachment". In doing this, I had to make sure I left room at the top of the invite for ribbon. I also wanted the invite to fit in an A9 envelope. So I did adjust the wording and images to make up for this. Below is a final picture of the design of the invitation from Pixelmator:
Assembly
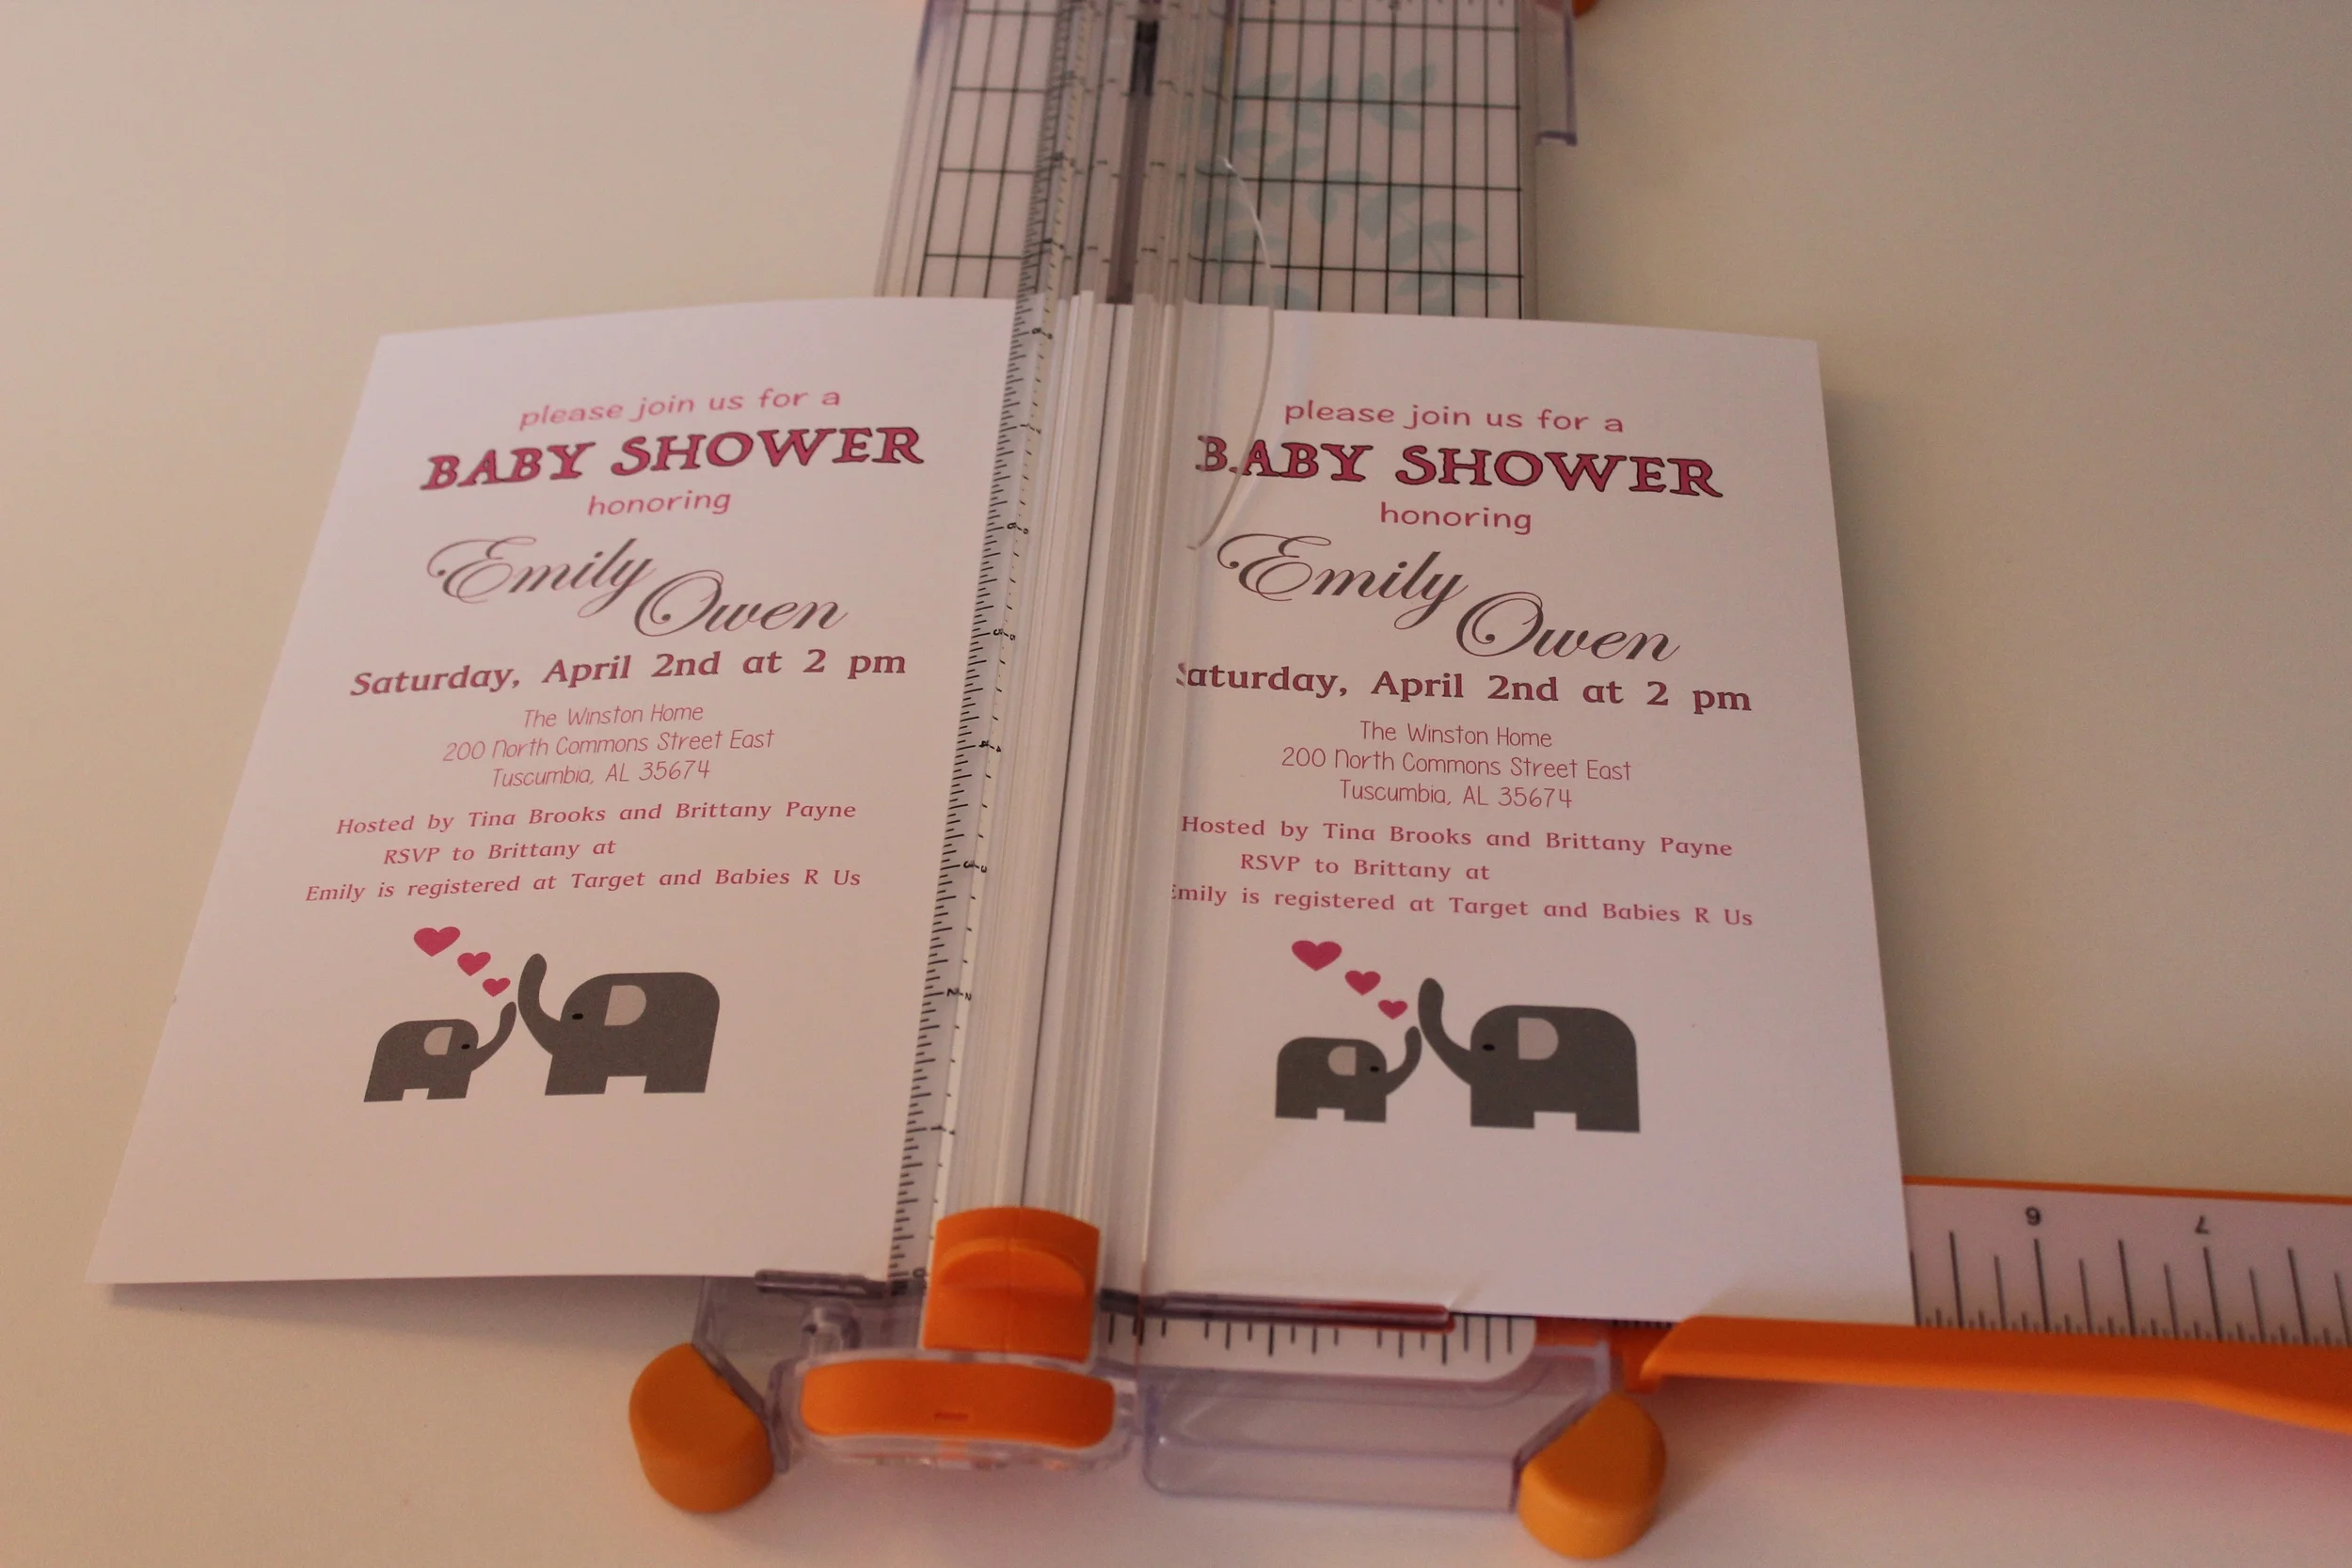
Like I said before, I wanted to attach the invite itself to another piece of cardstock. I printed the invites on white cardstock. I printed two per page. I had to play with the placement of the invite so that when I cut the cardstock, it would center the wording. I cut the cardstock so that each was 5 inches wide.

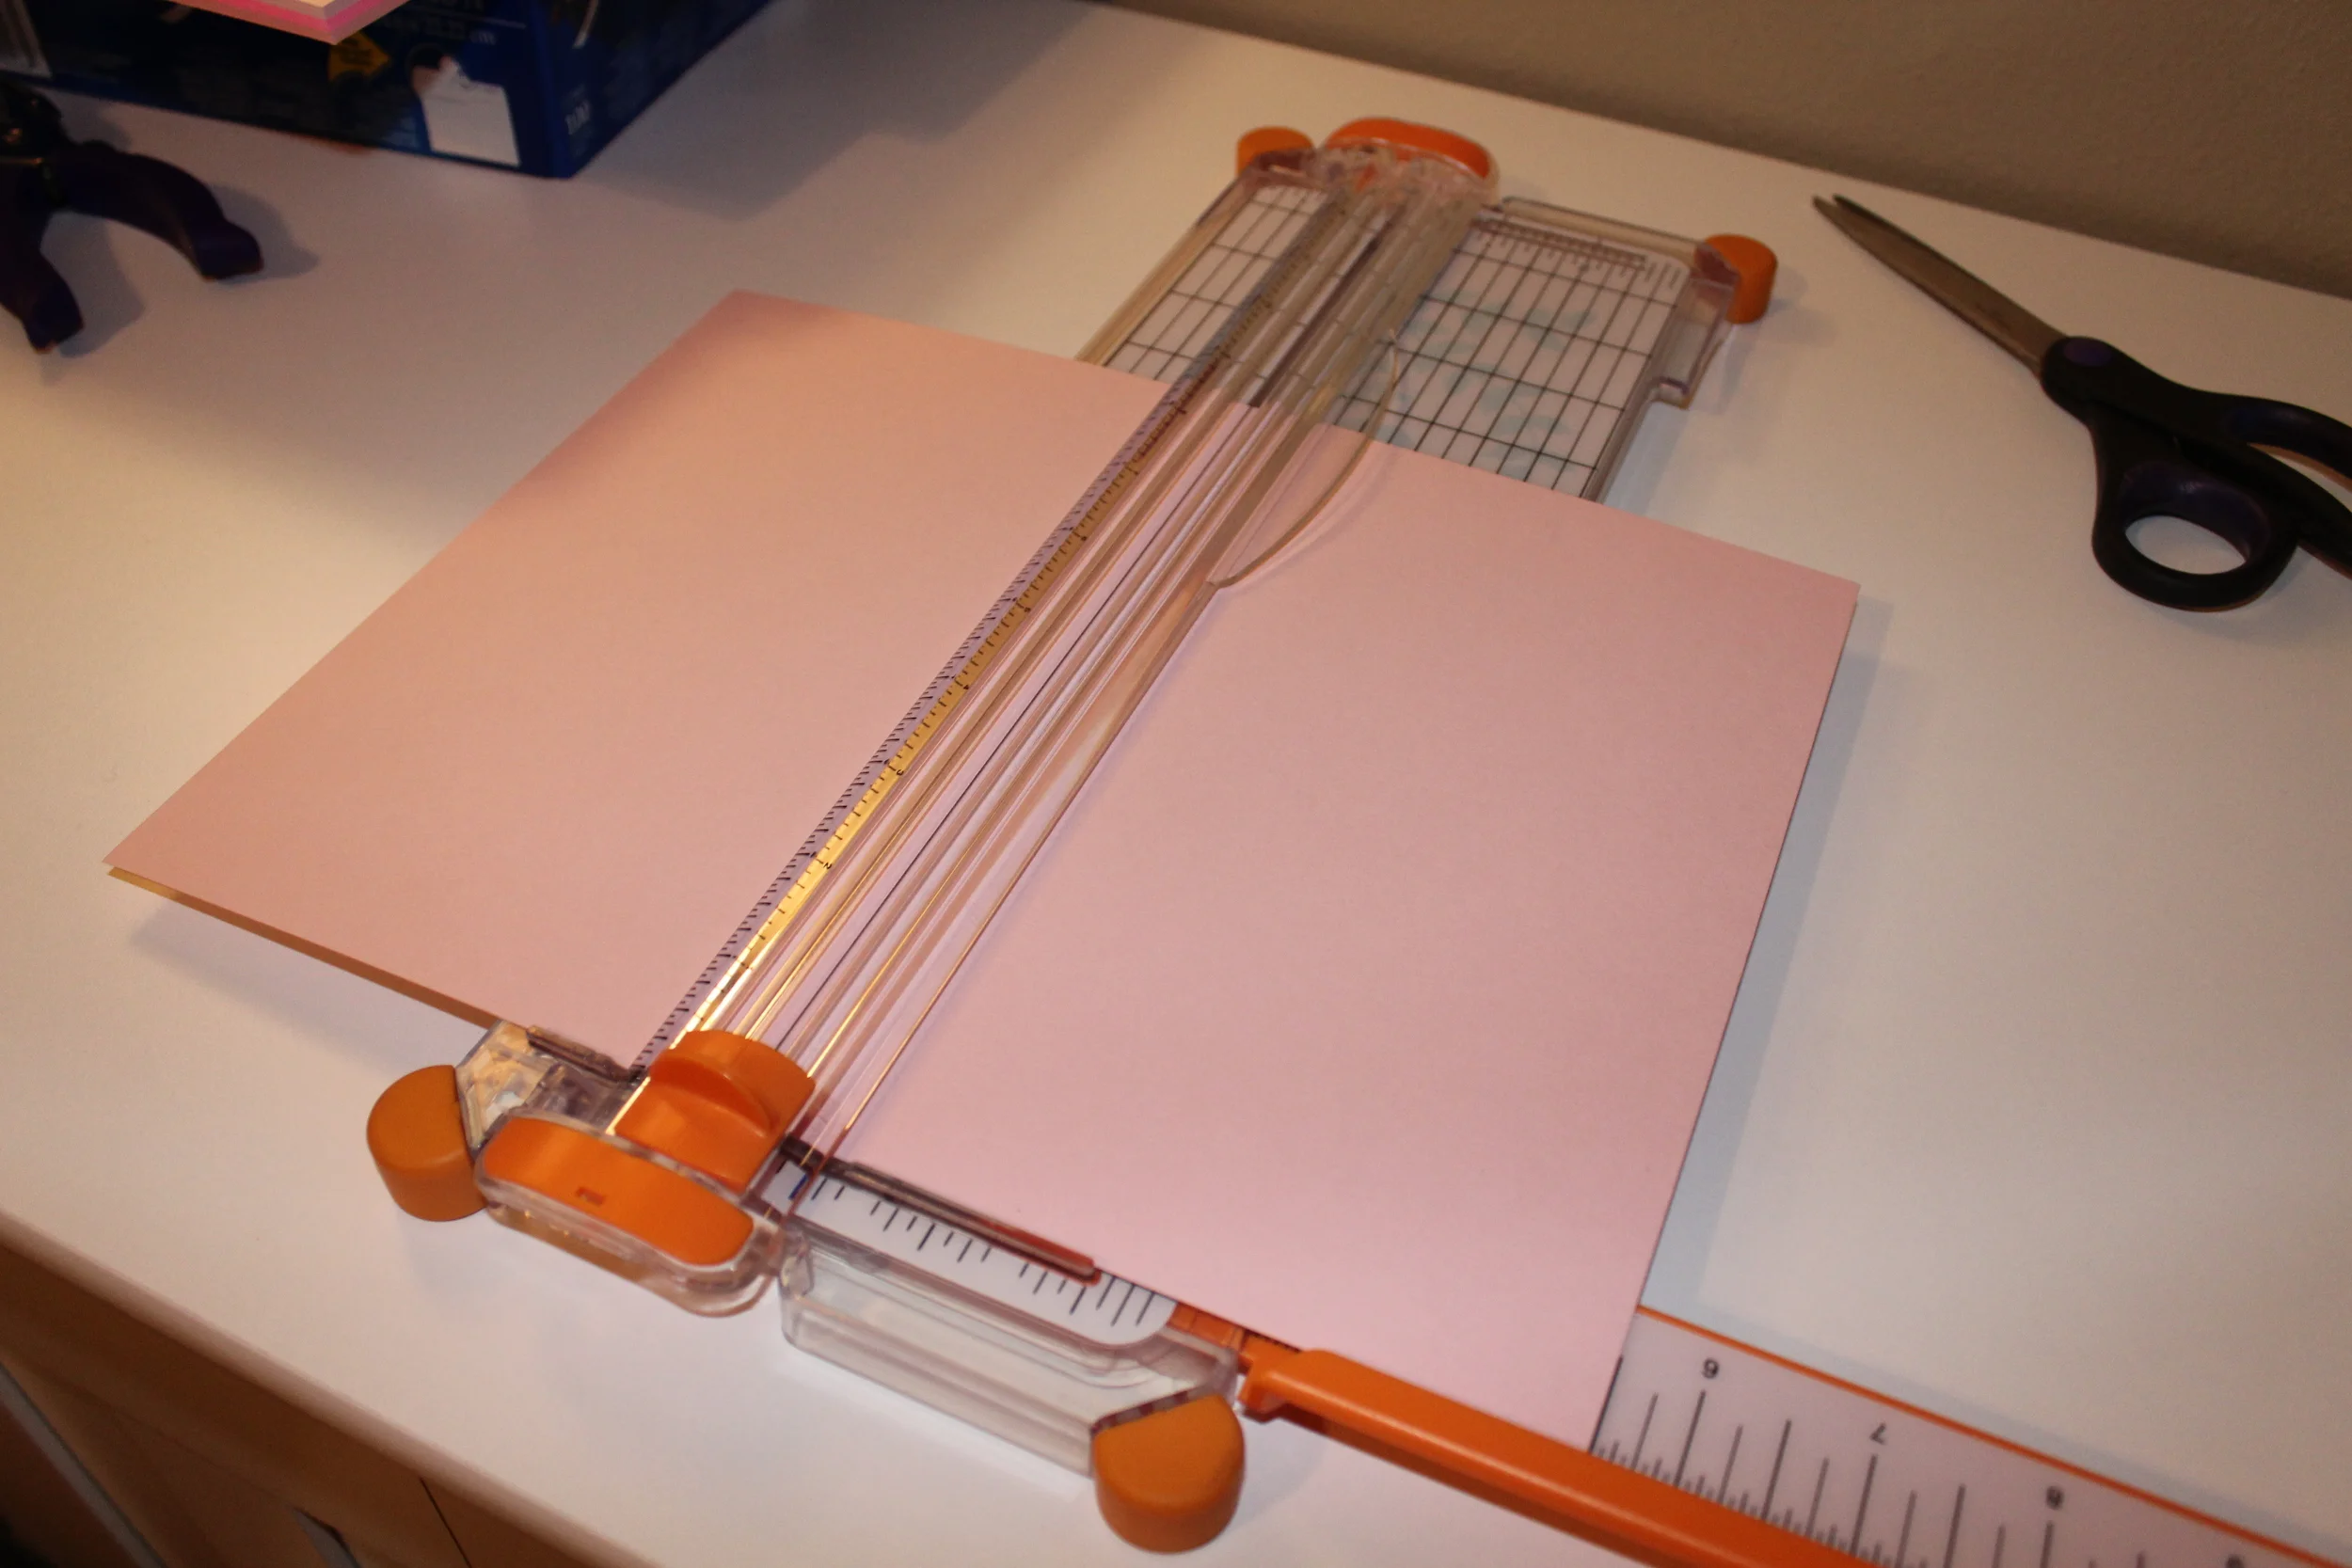
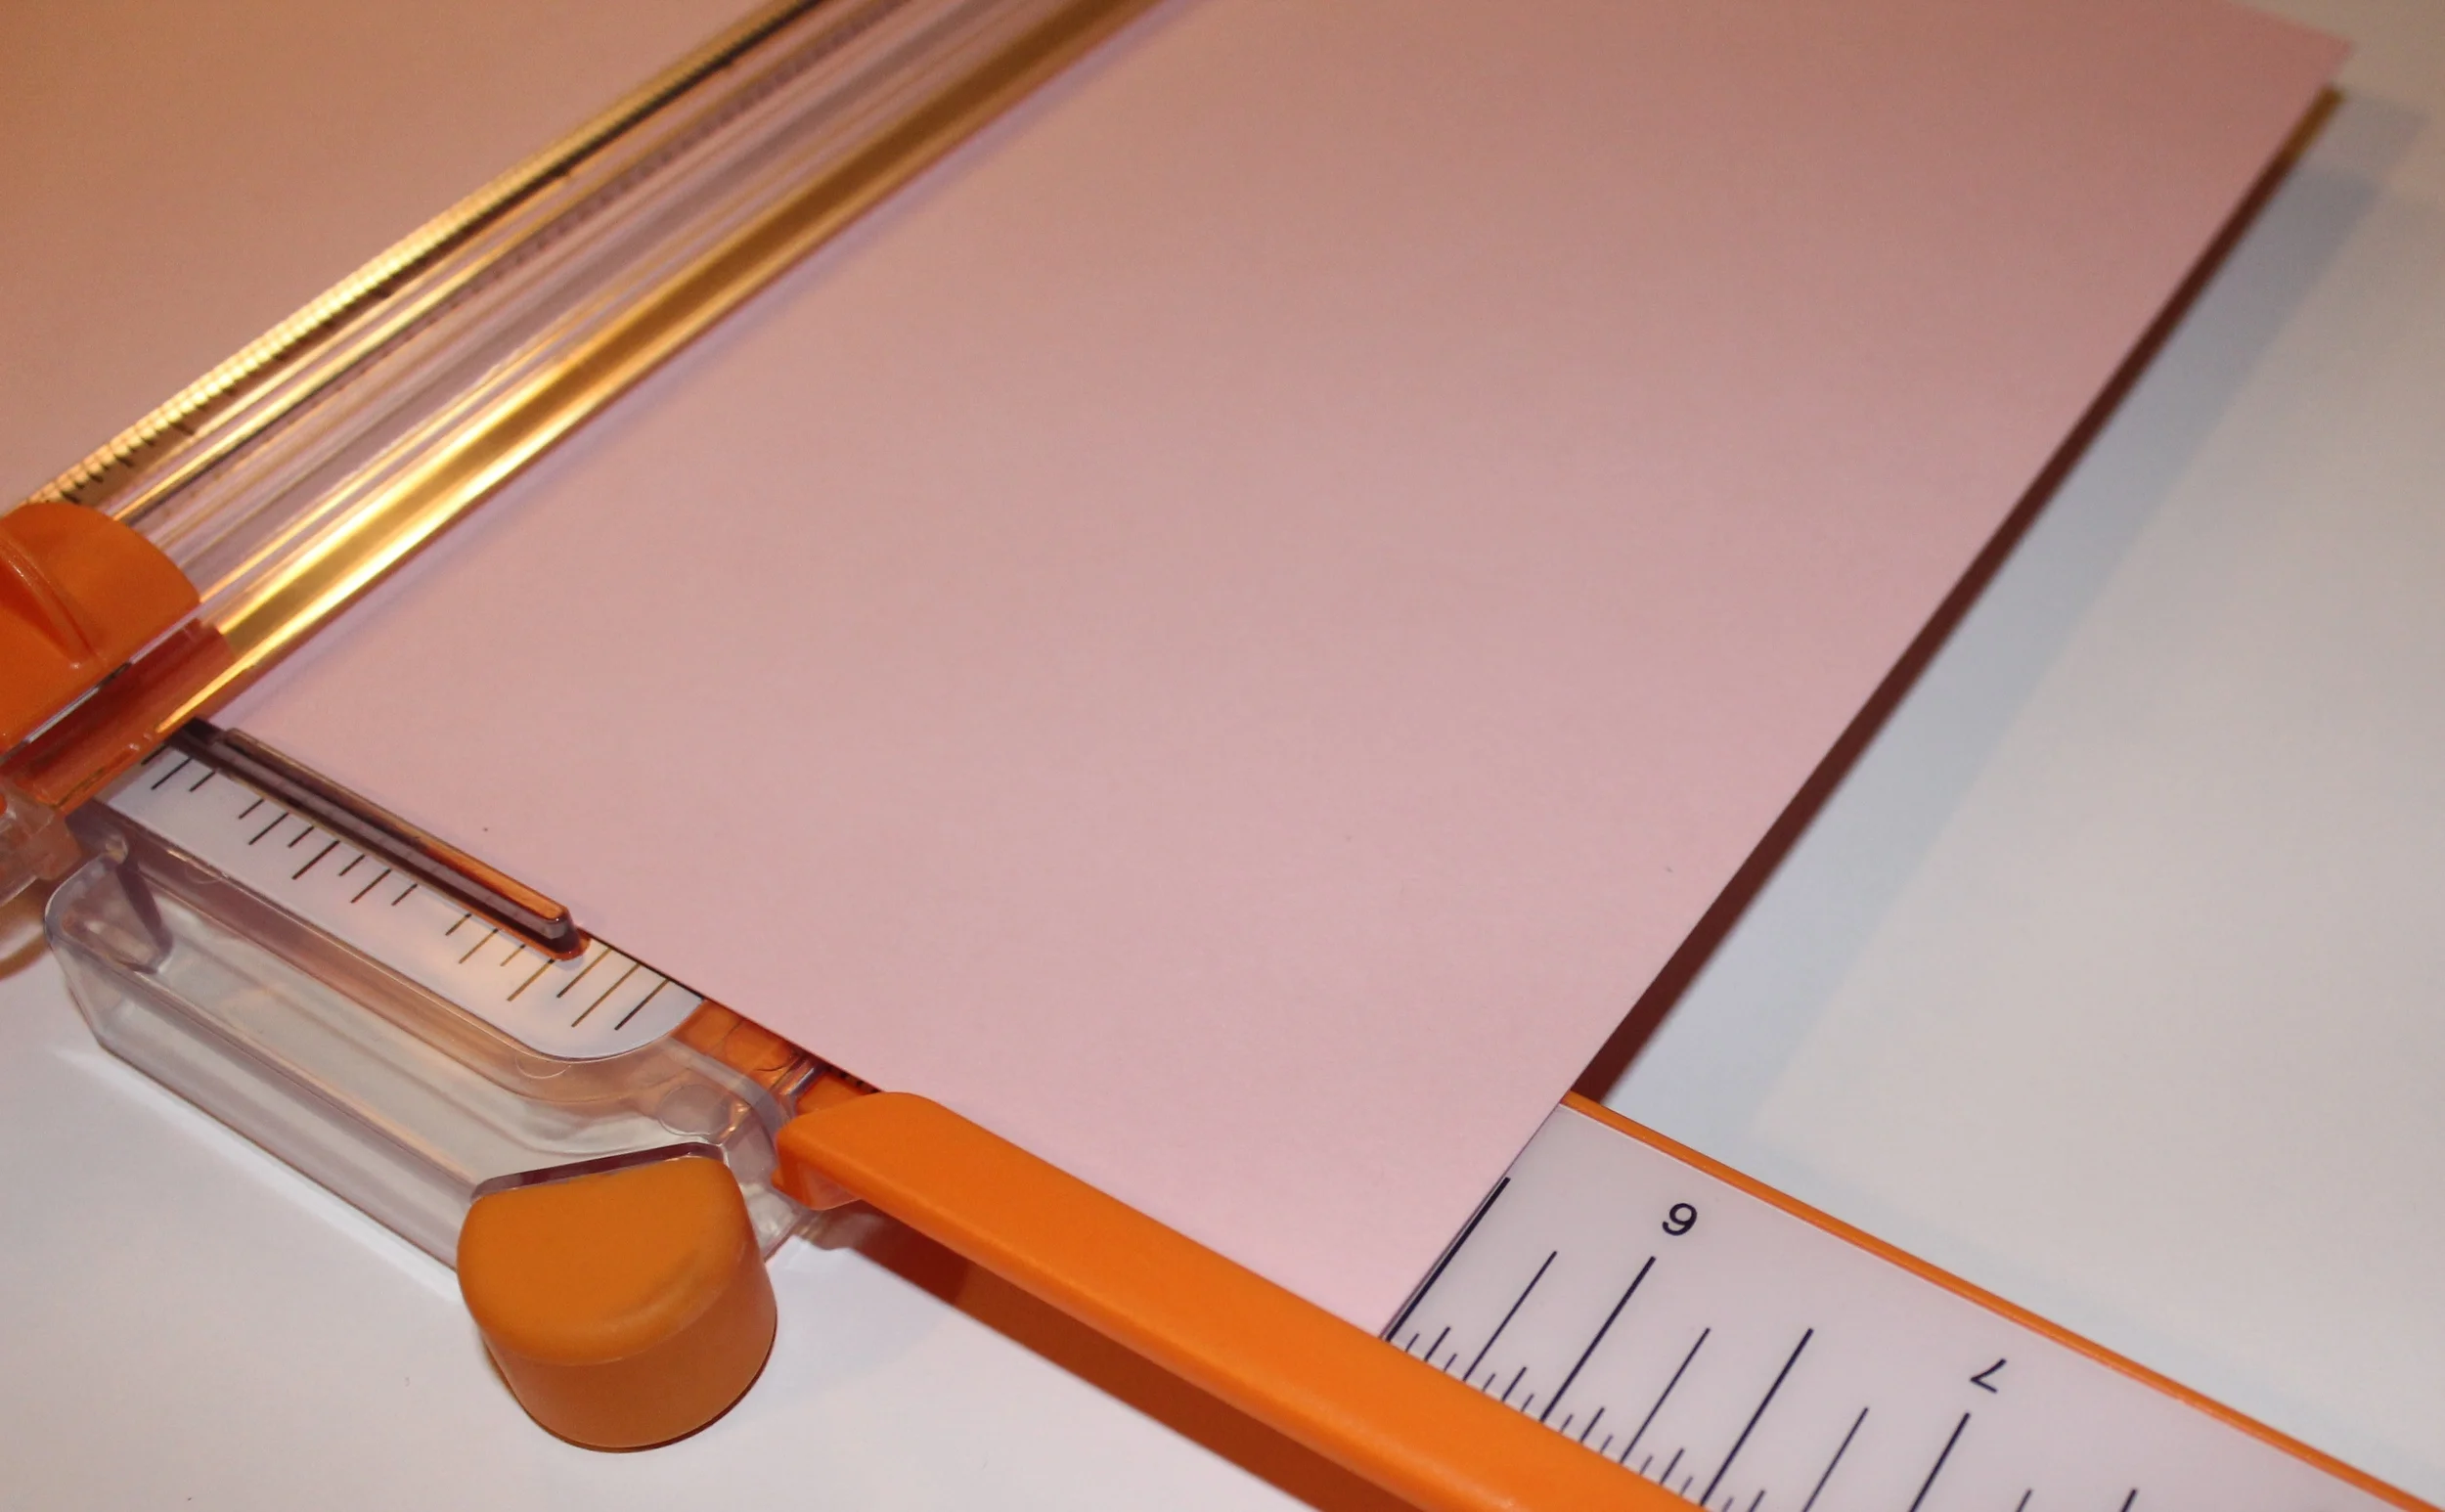
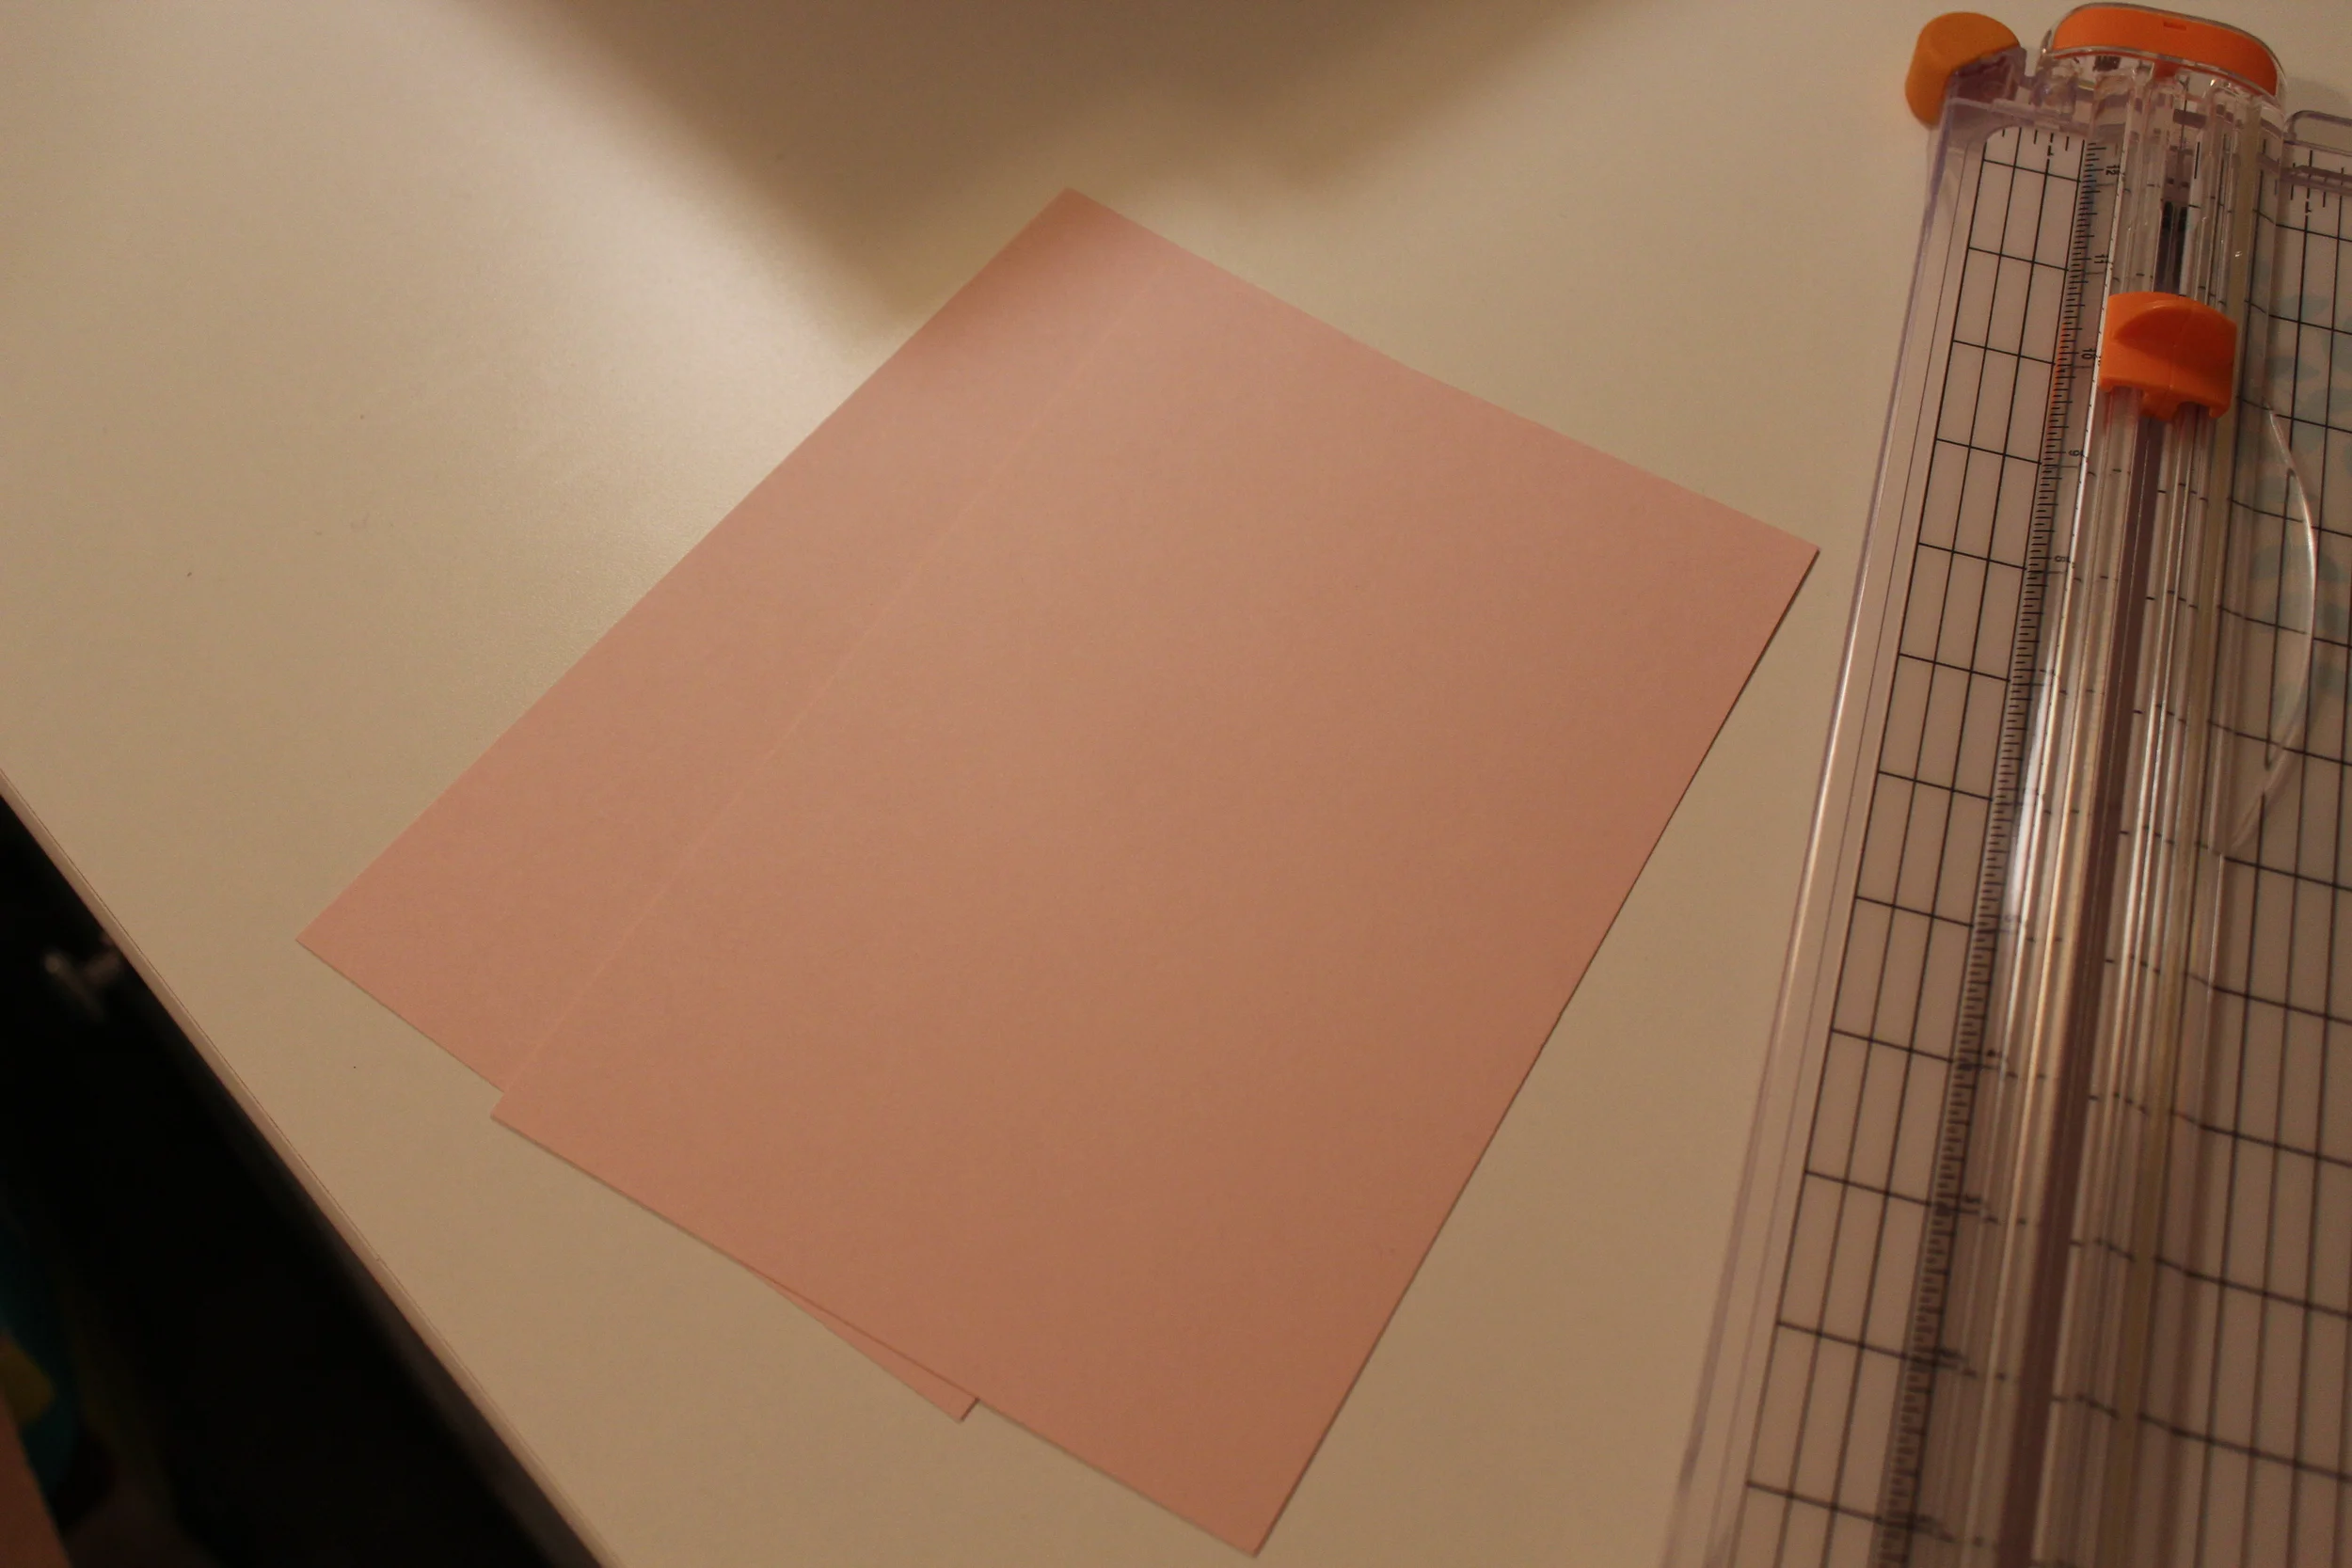
I planned to attach the invite to pink cardstock. I cut the pink cardstock directly in half. I used a variety of shades of pink for this.
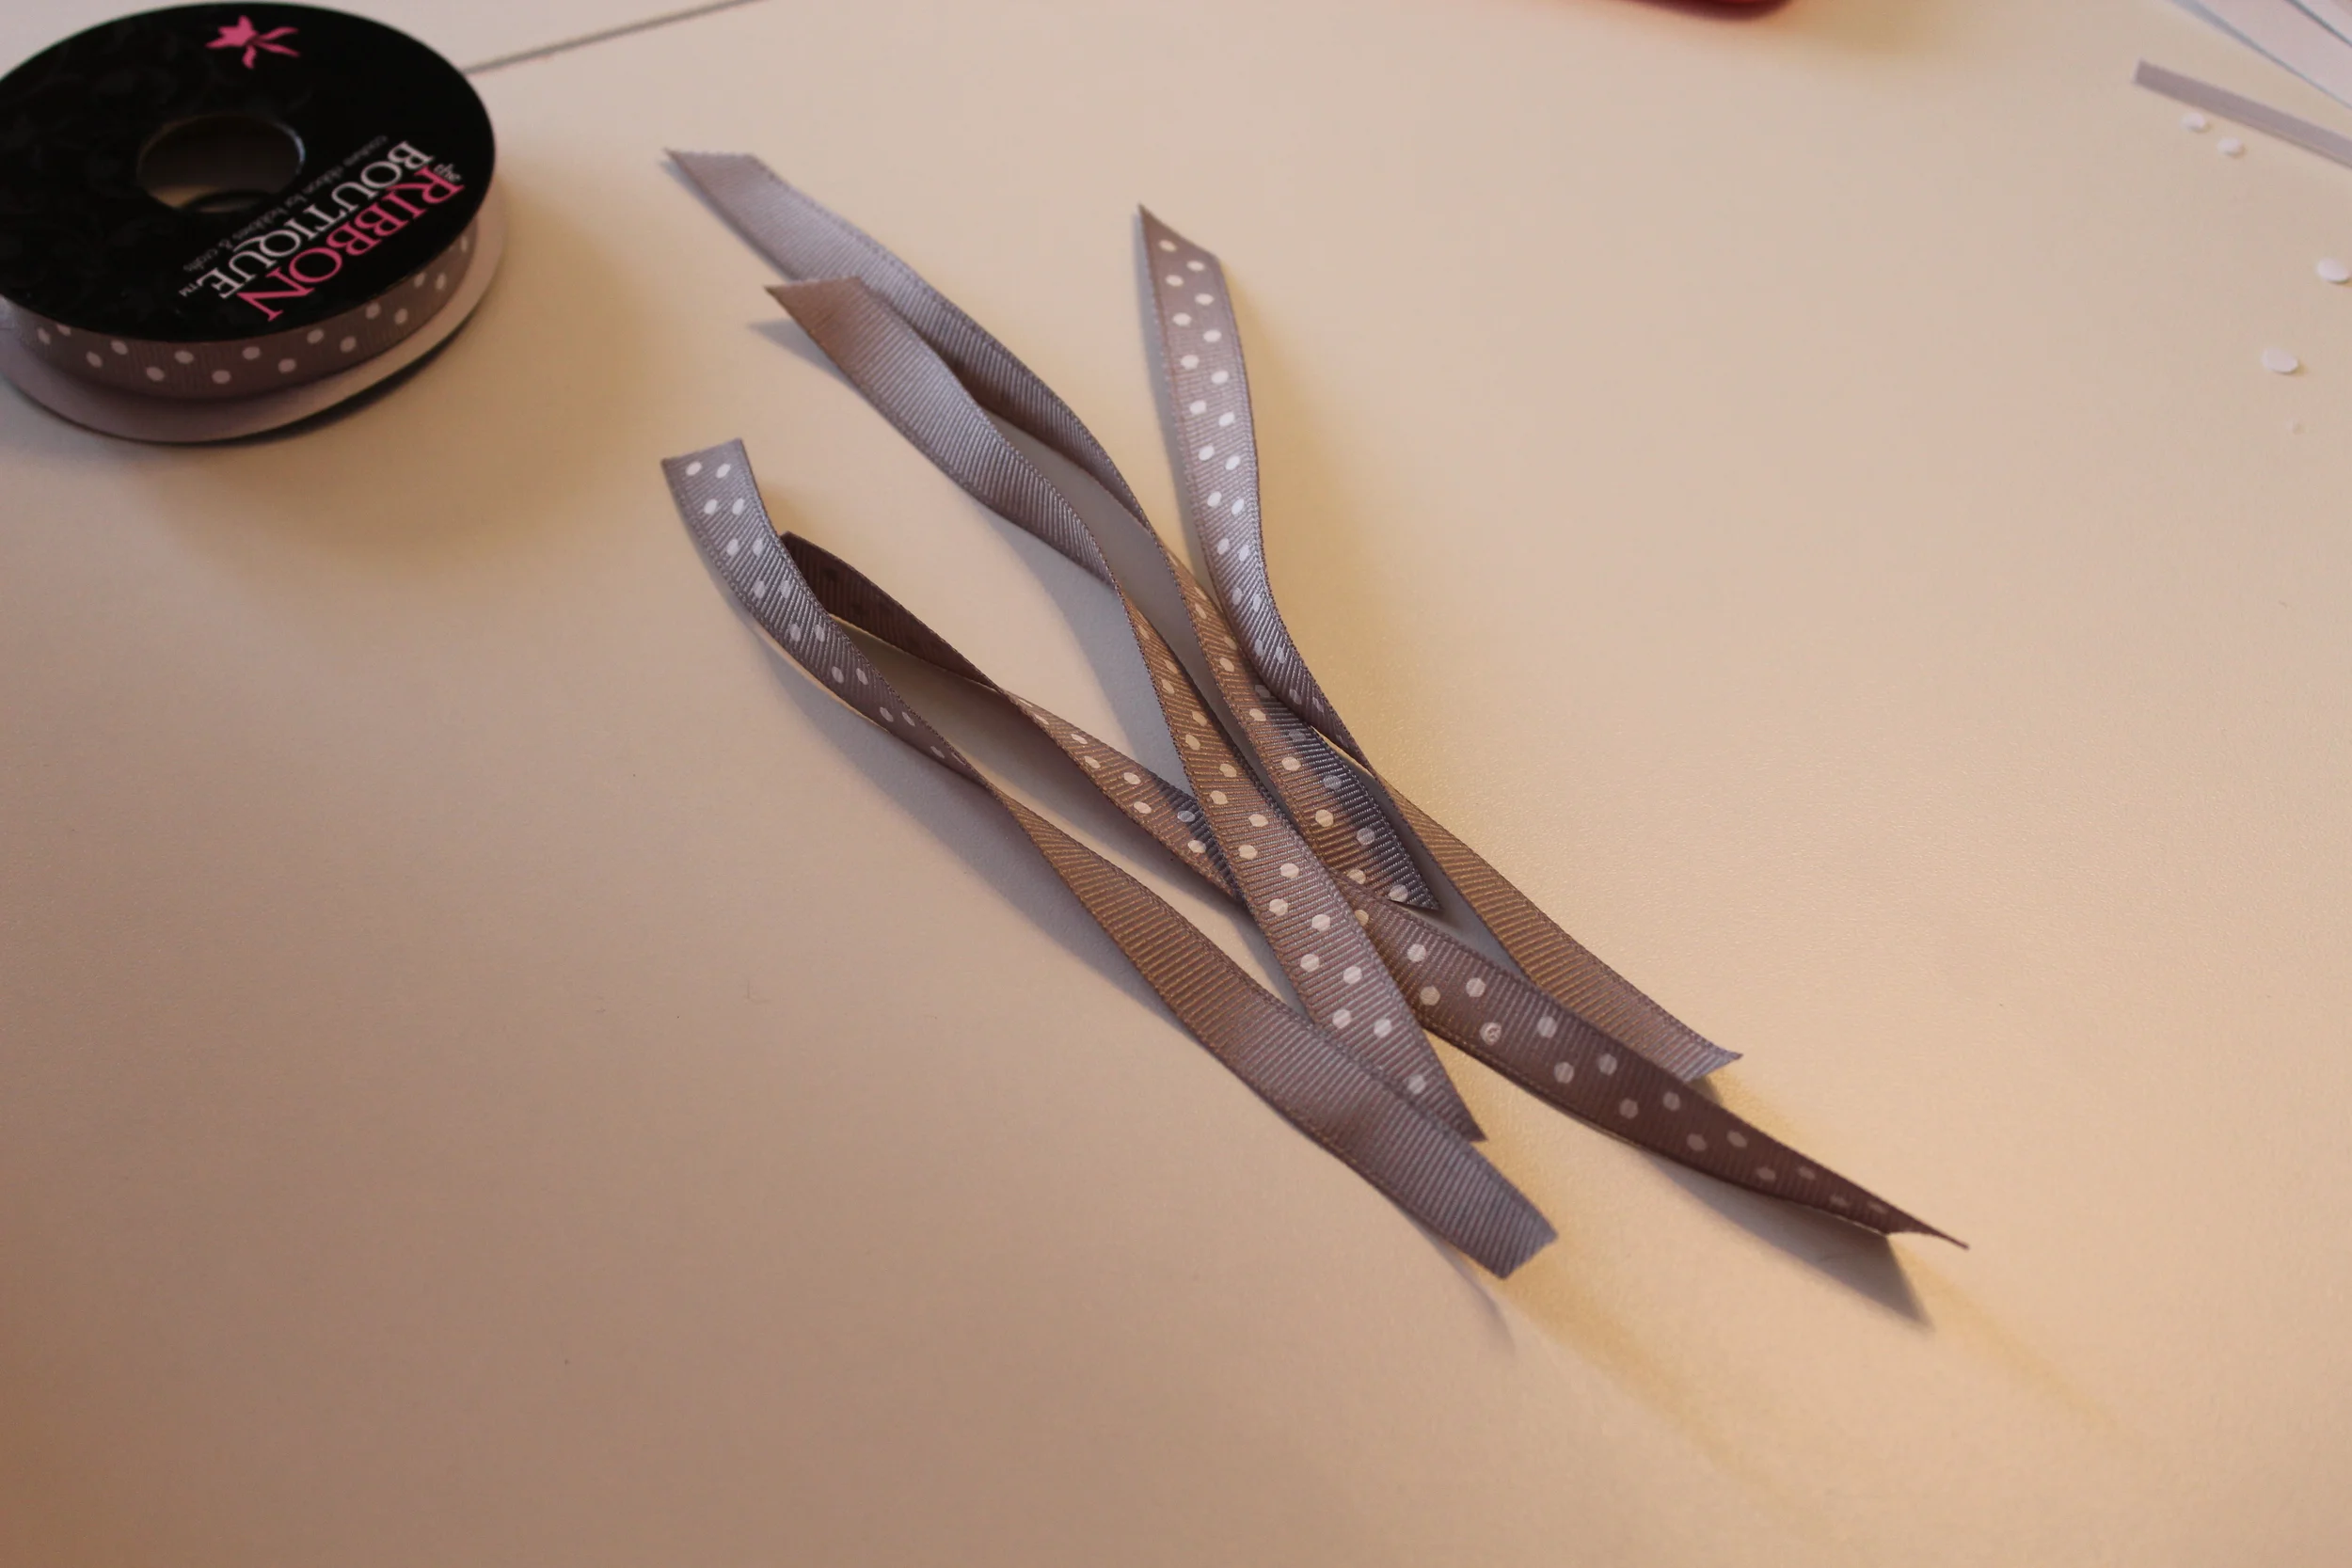
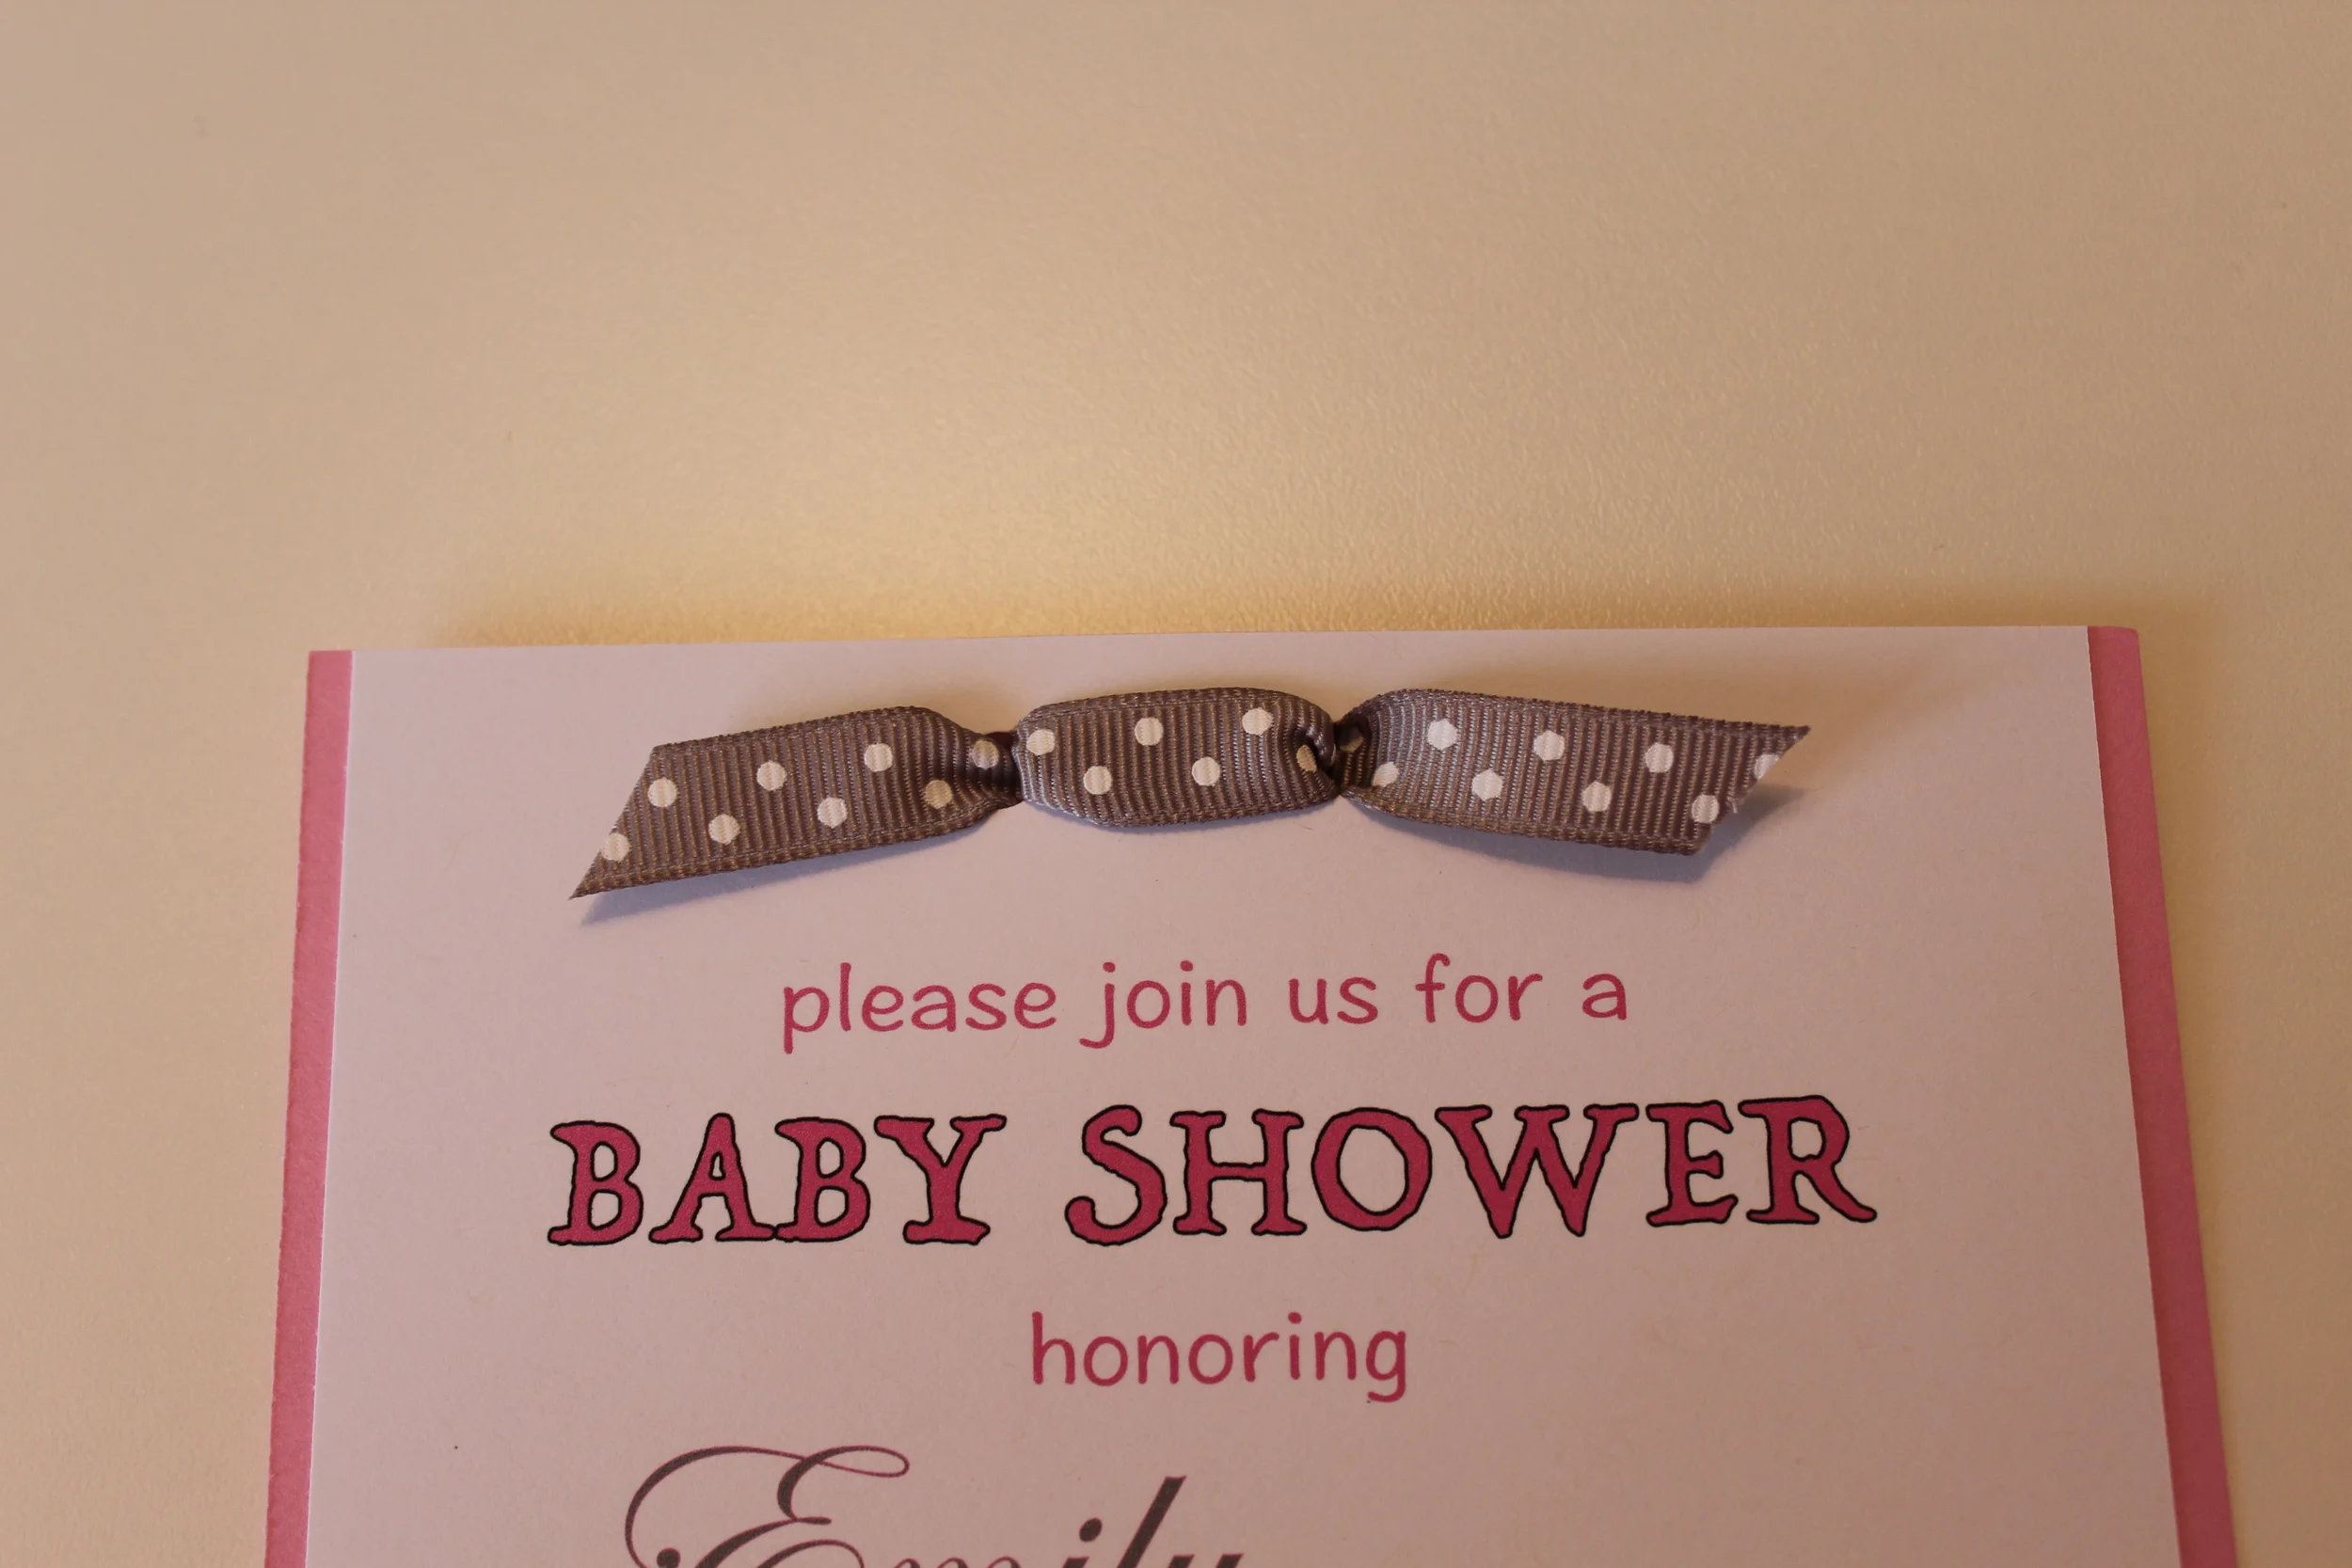
I found some gray ribbon with white polka dots on them at Hobby Lobby that I bought. We cut the ribbon into 6 inch lengths.

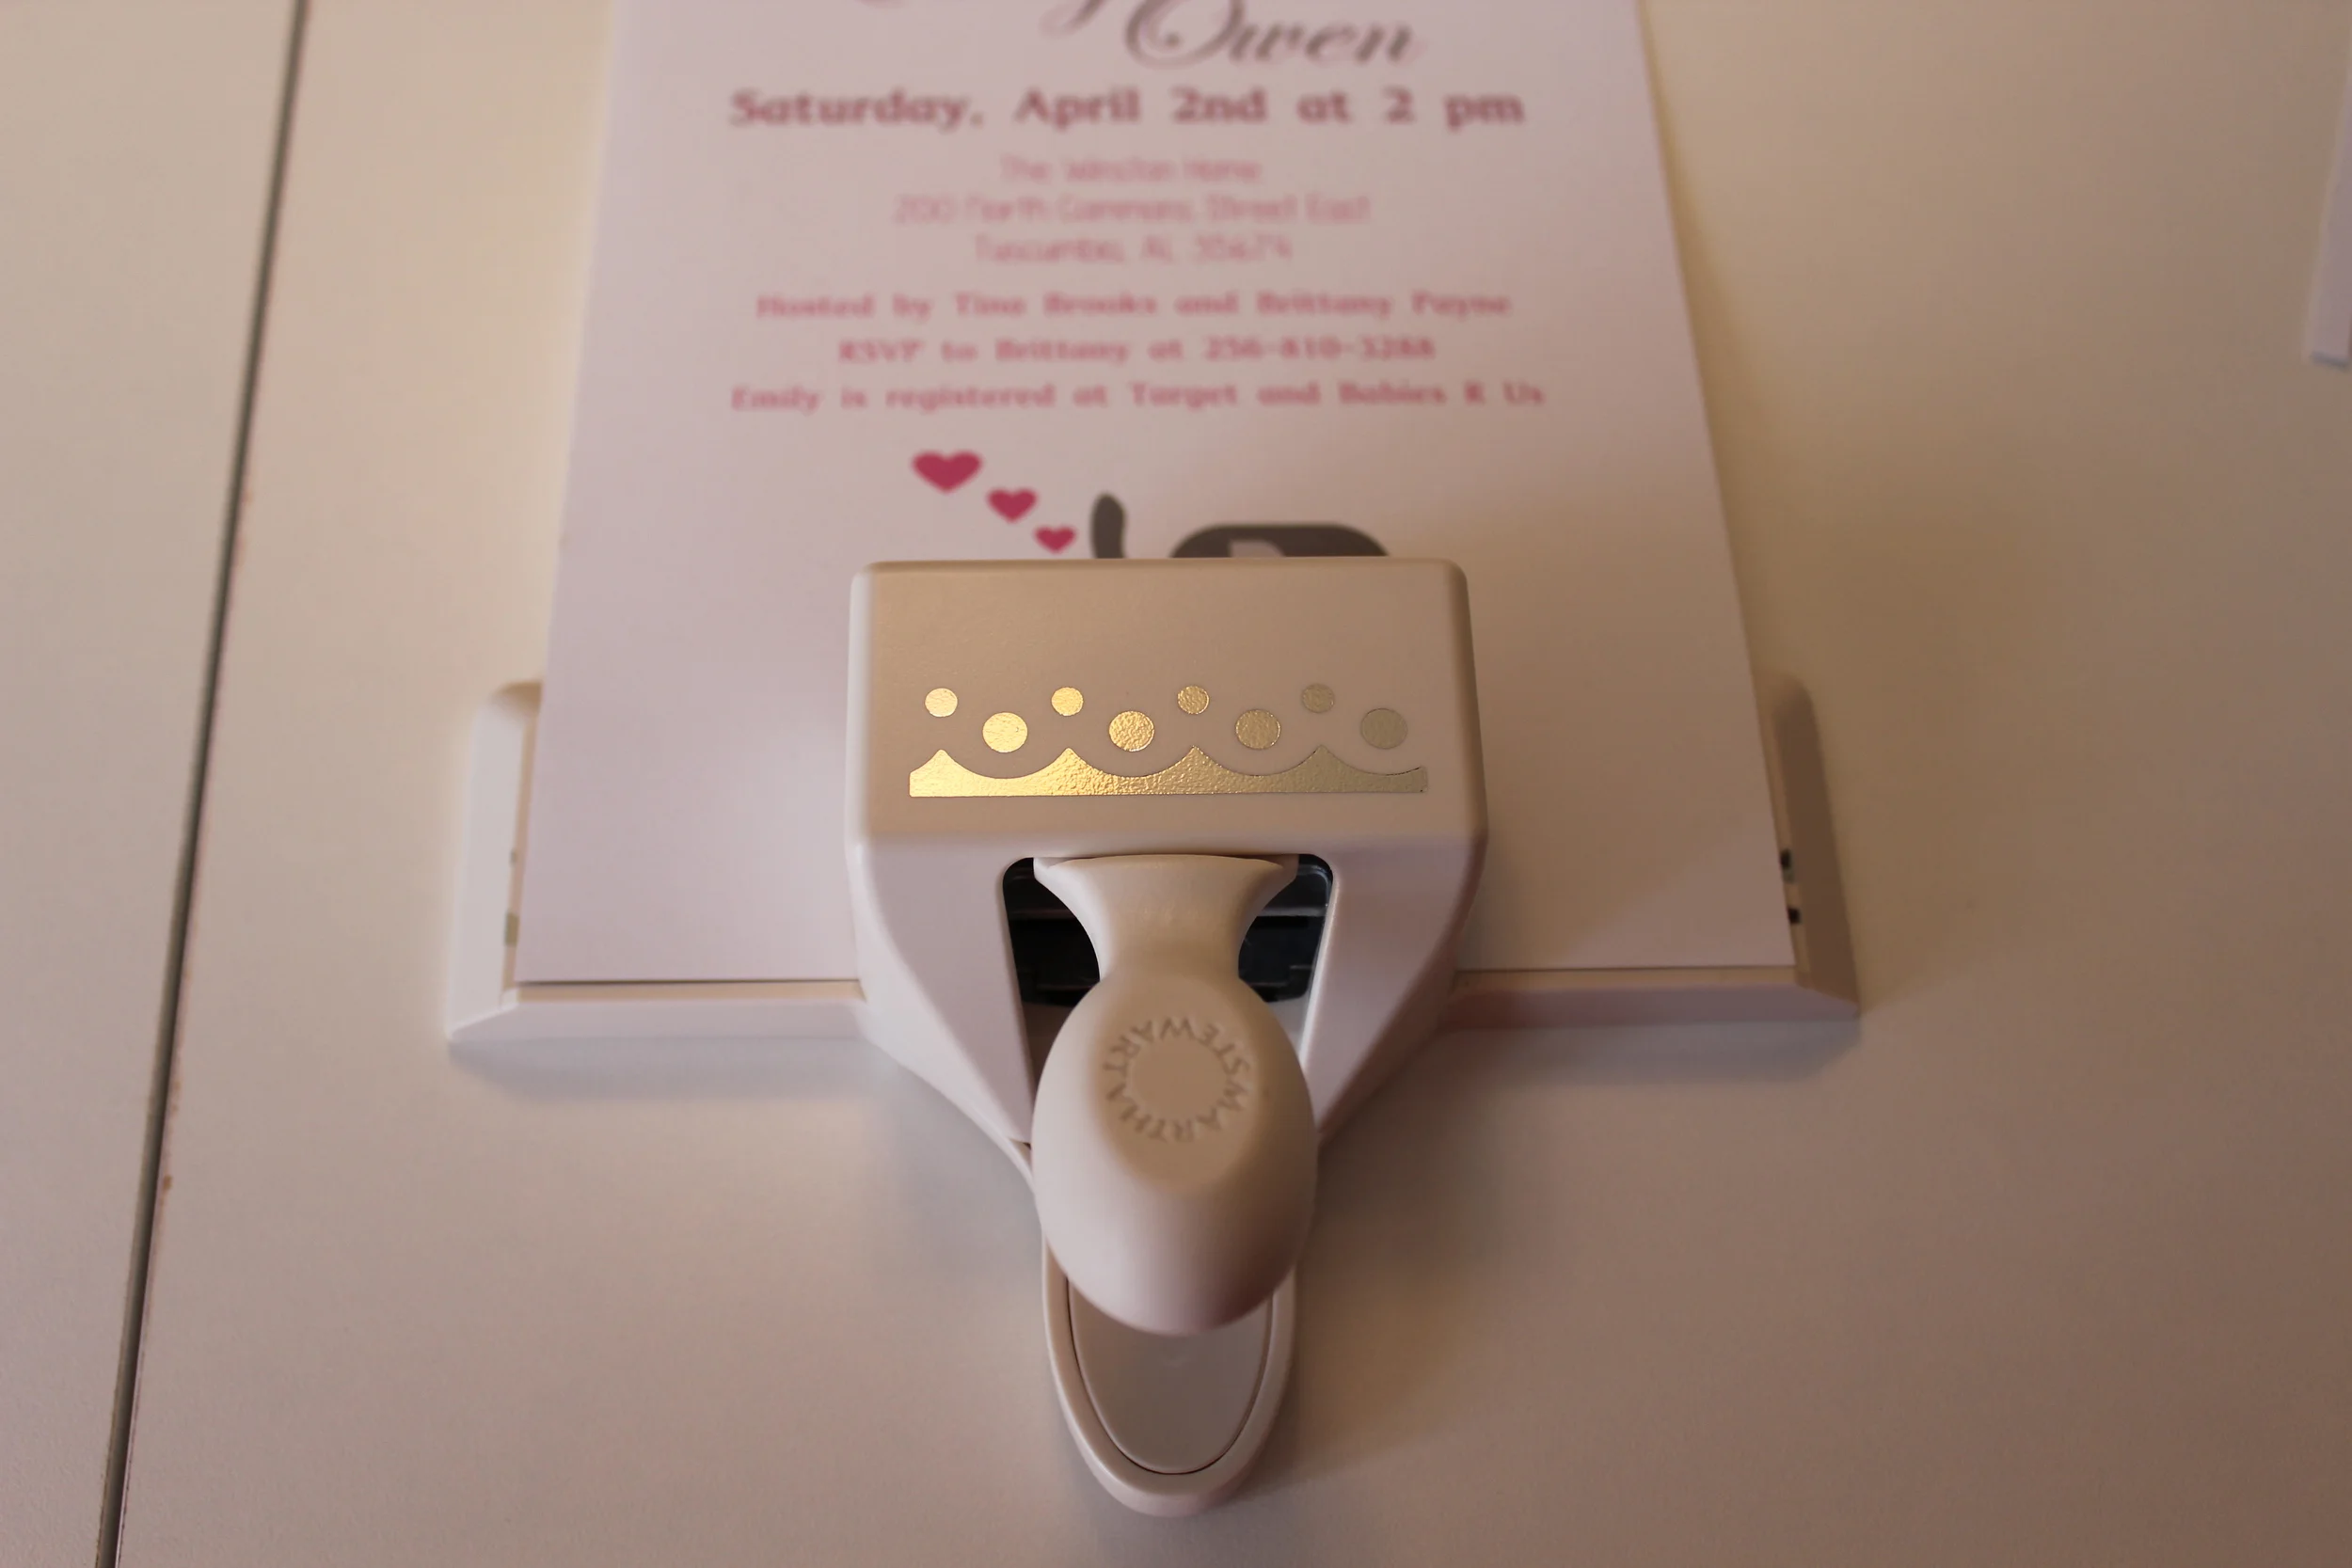
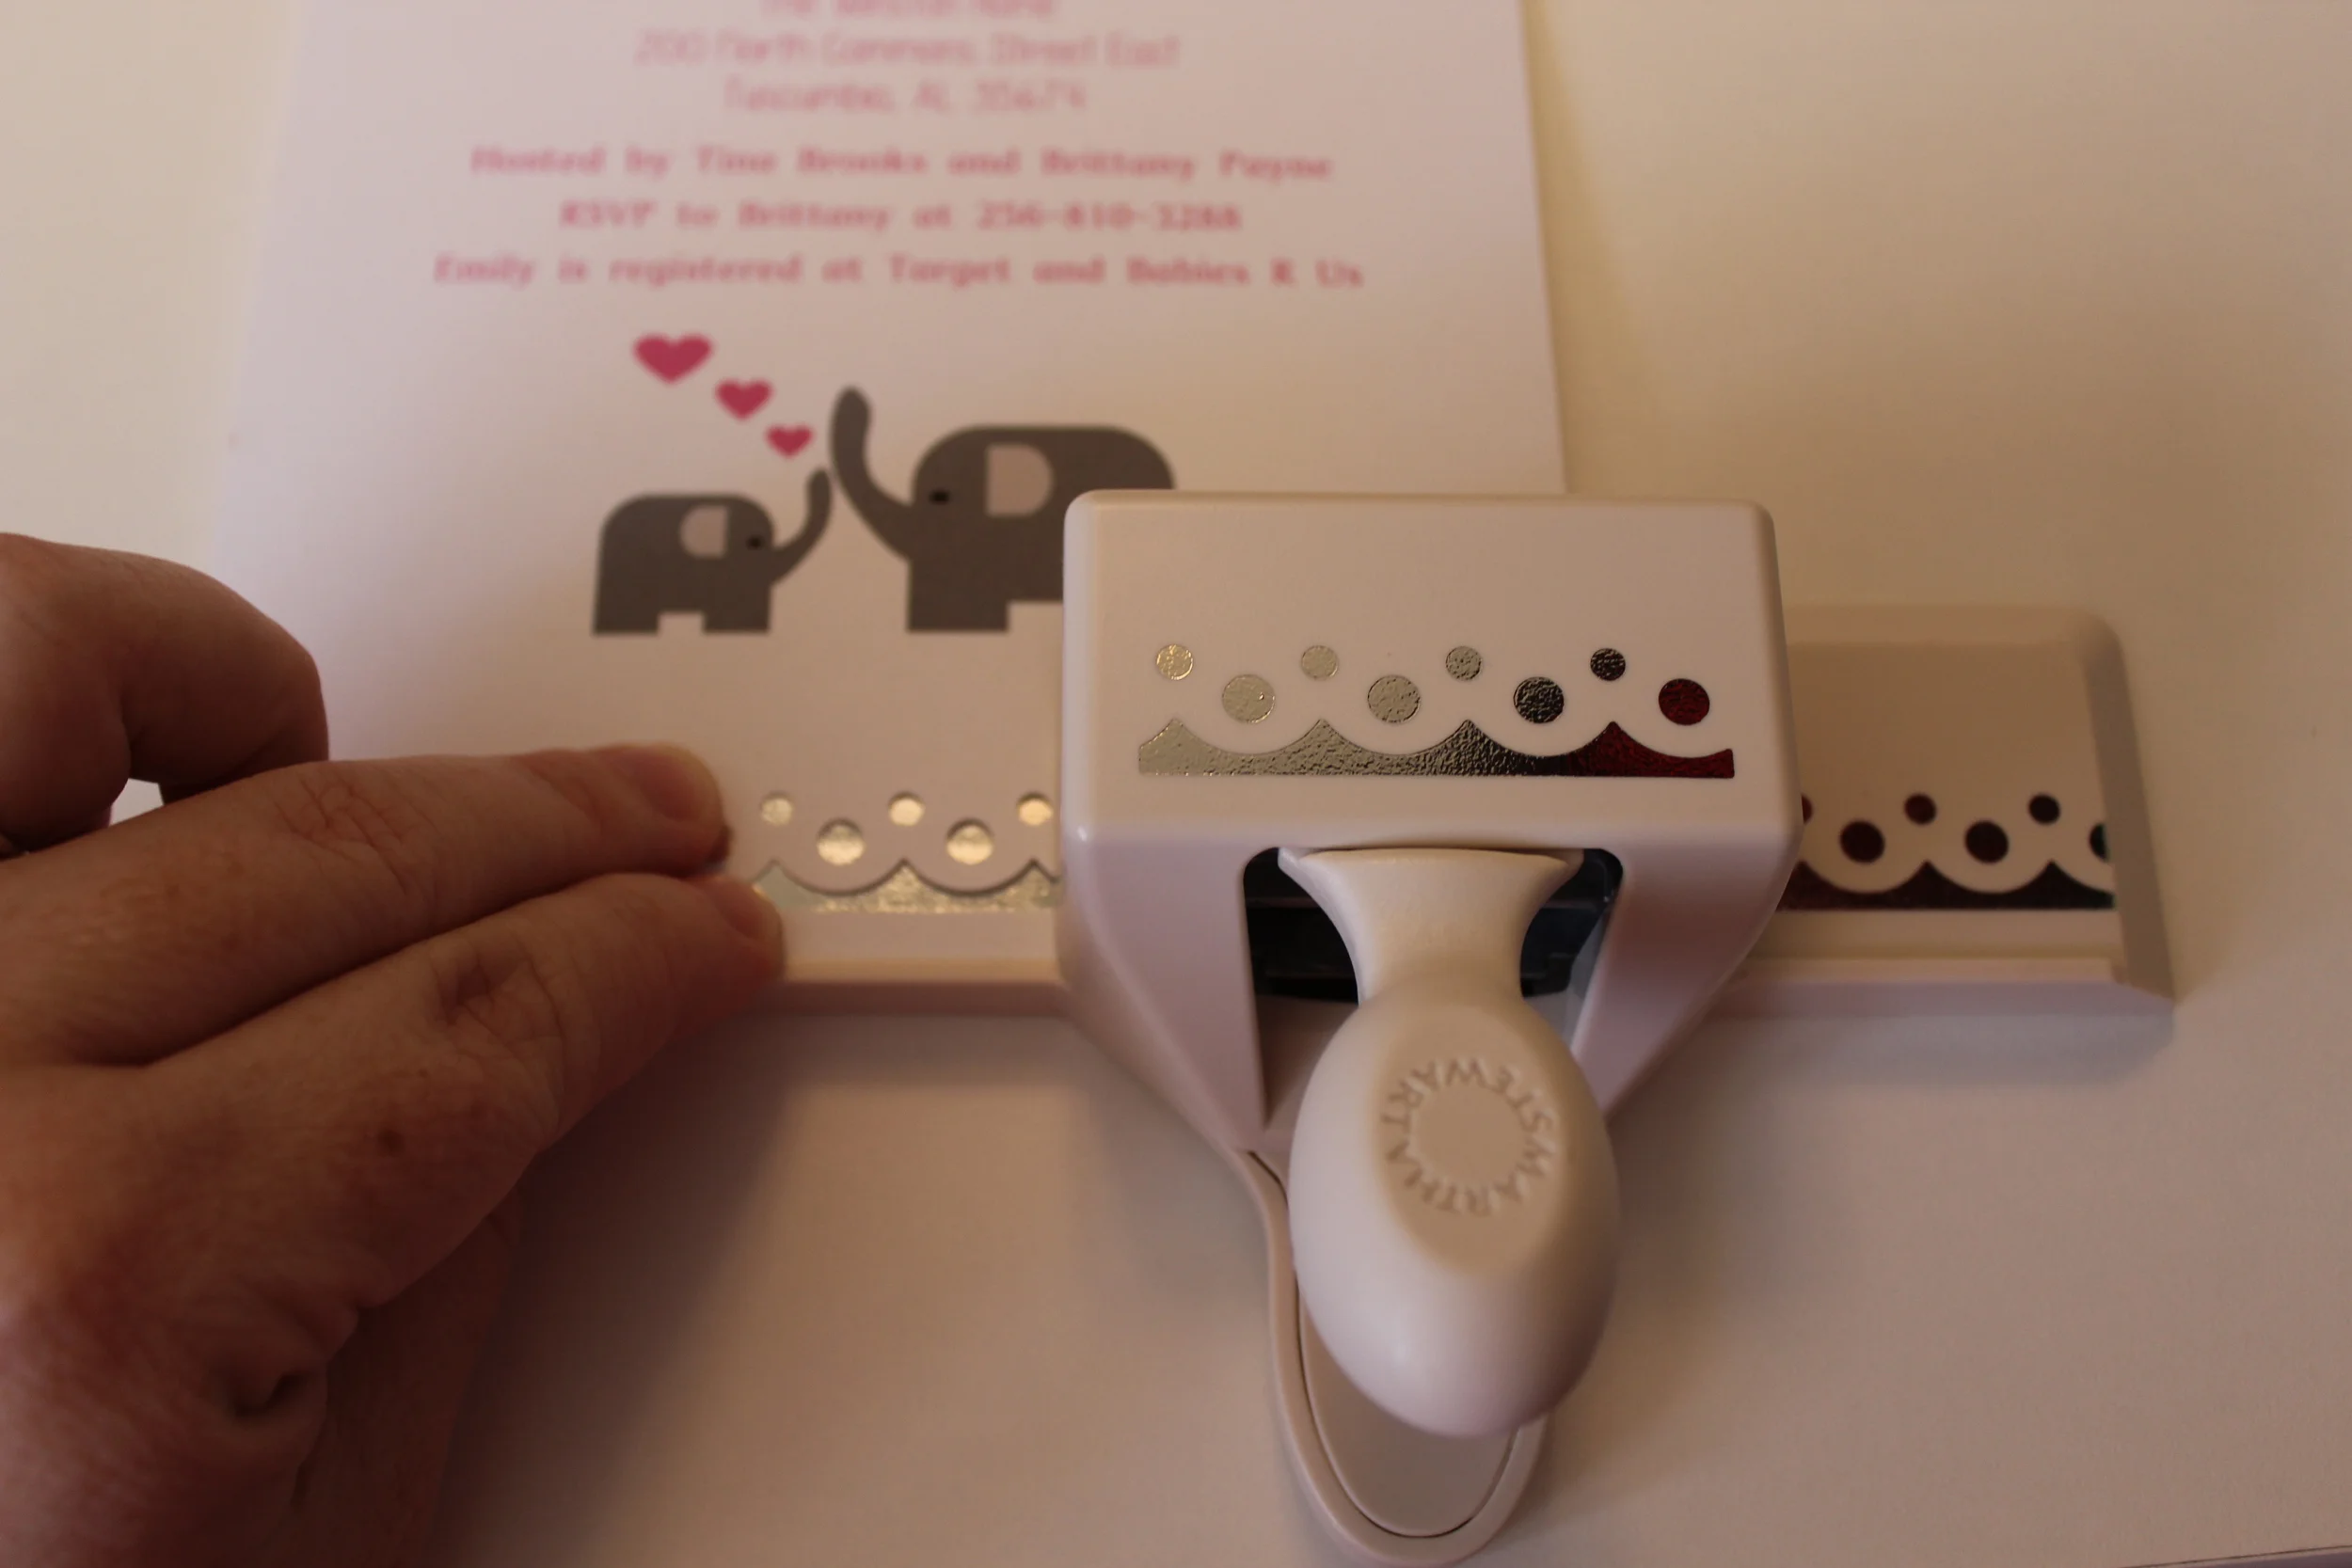
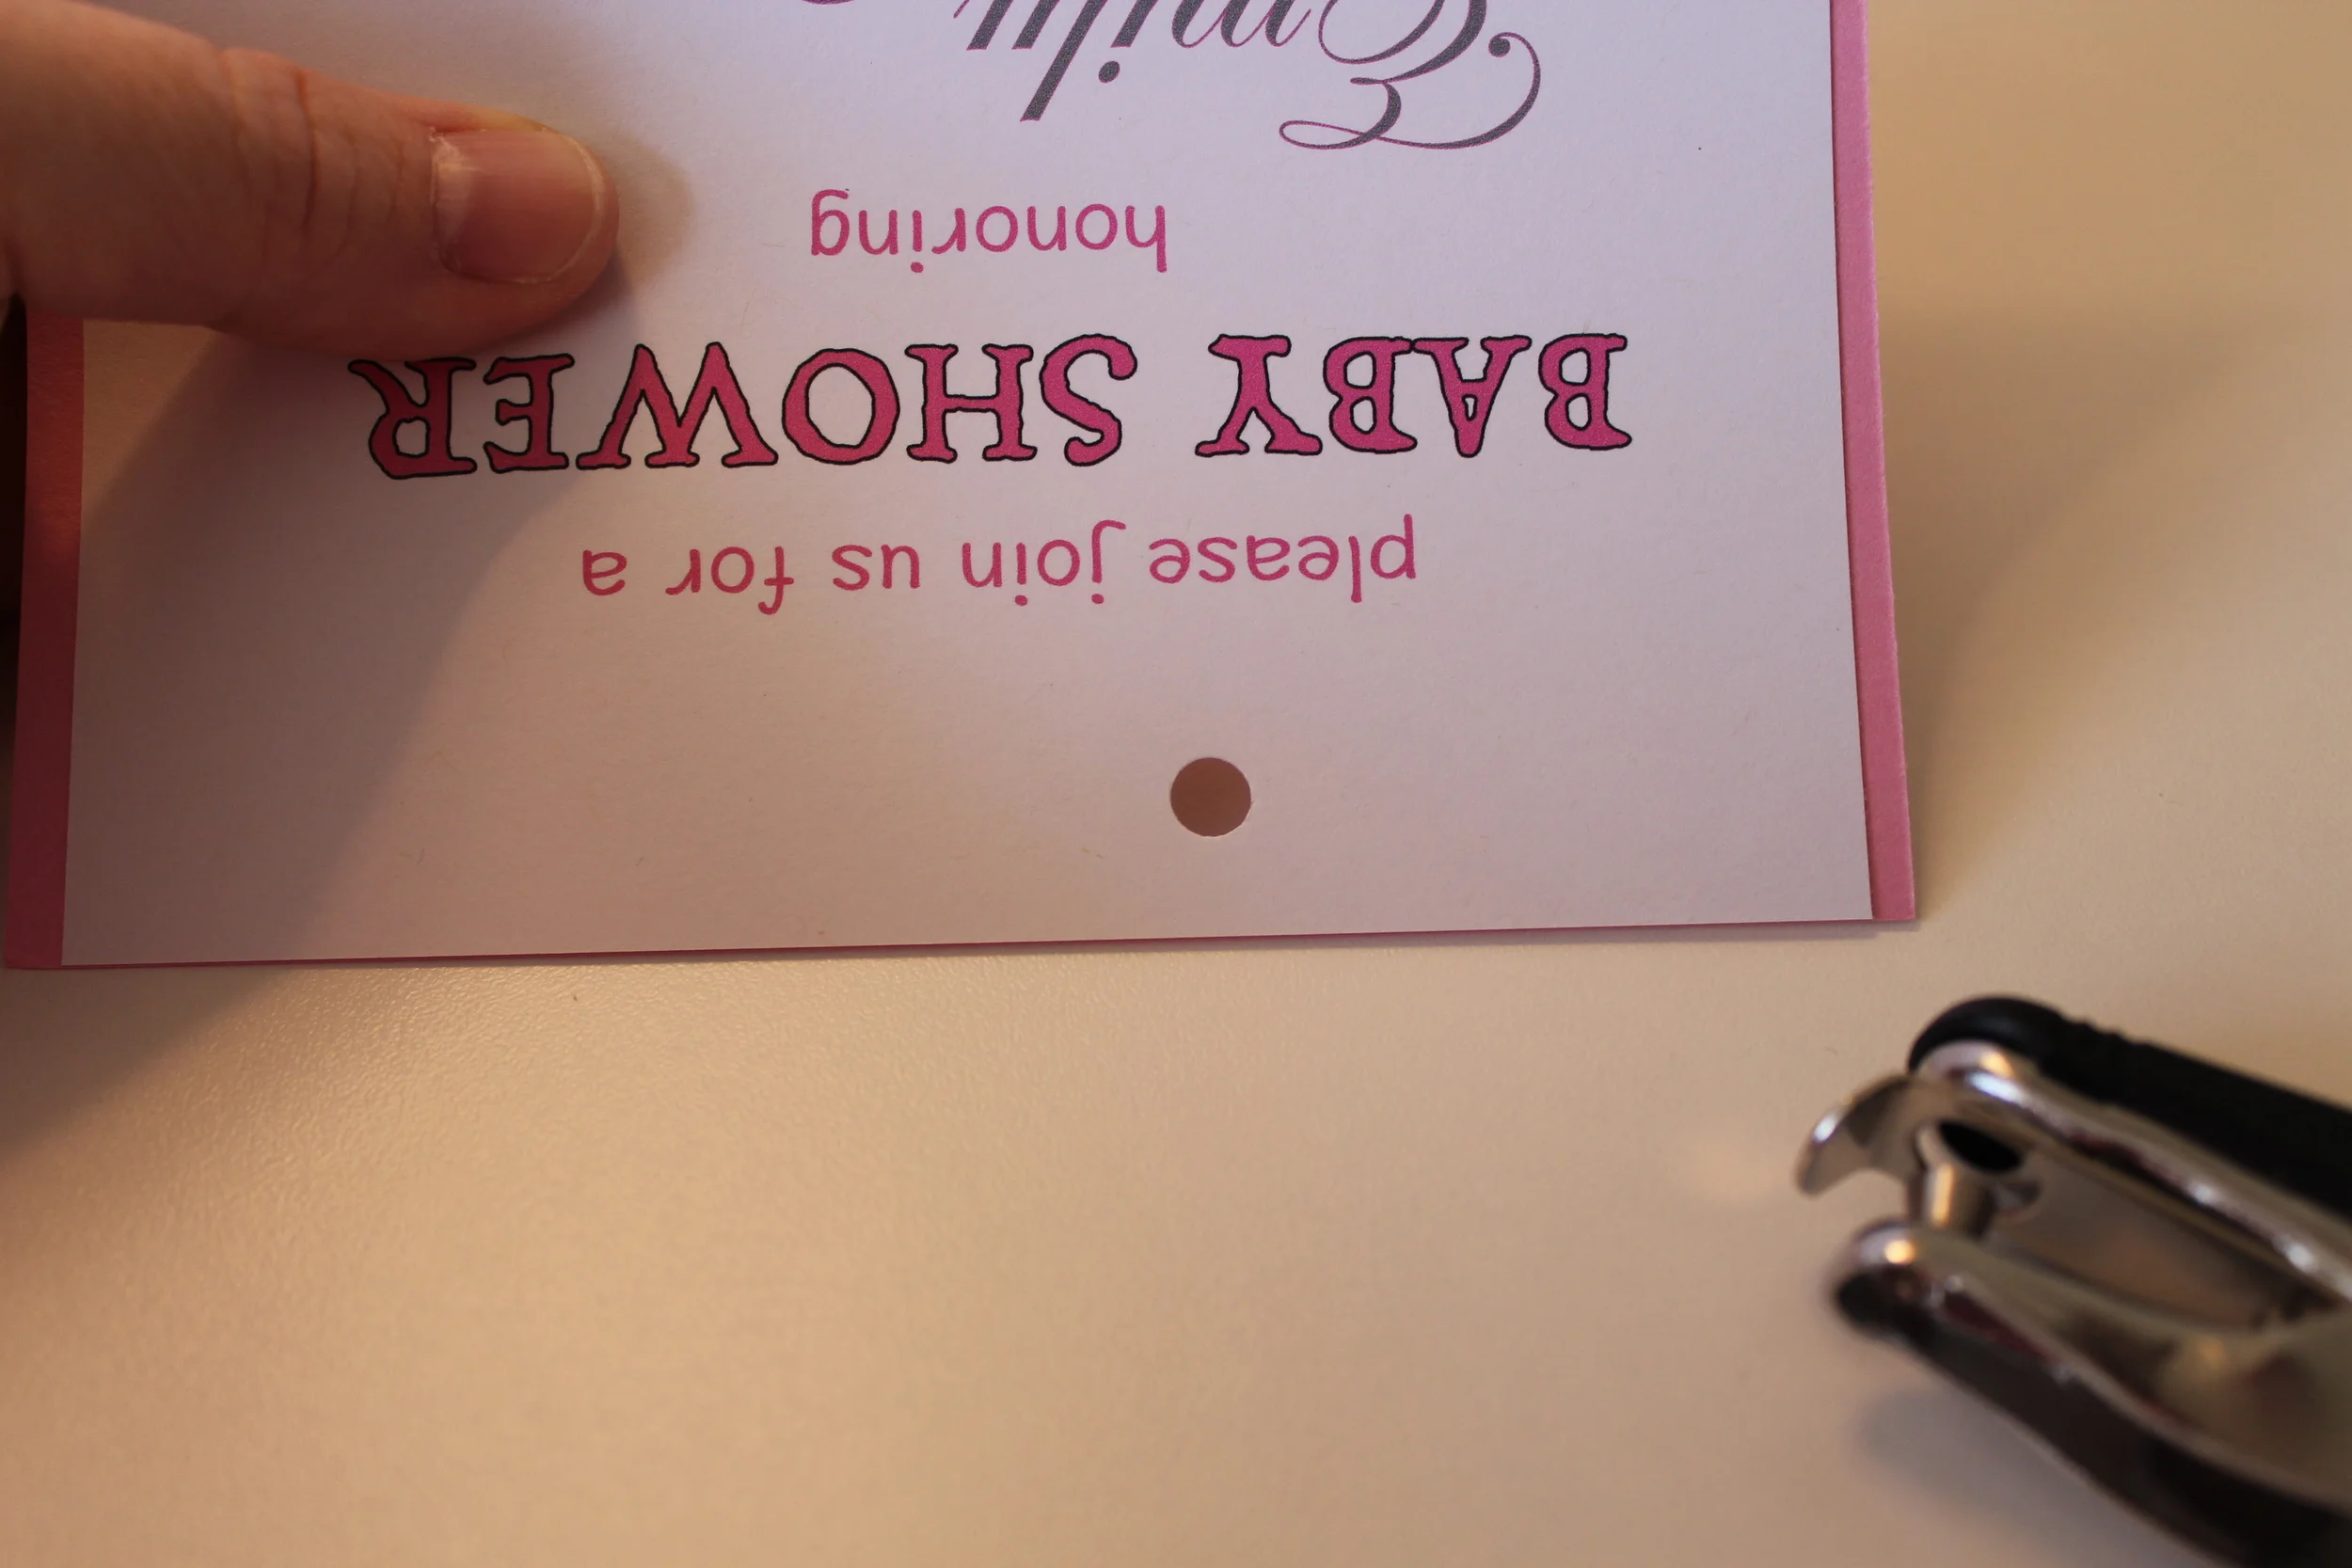
For added decoration, I found a cute Martha Stewart punch on Amazon that I purchased. On the invite portion, I used the punch at the very bottom to add some more flare to the invoice.

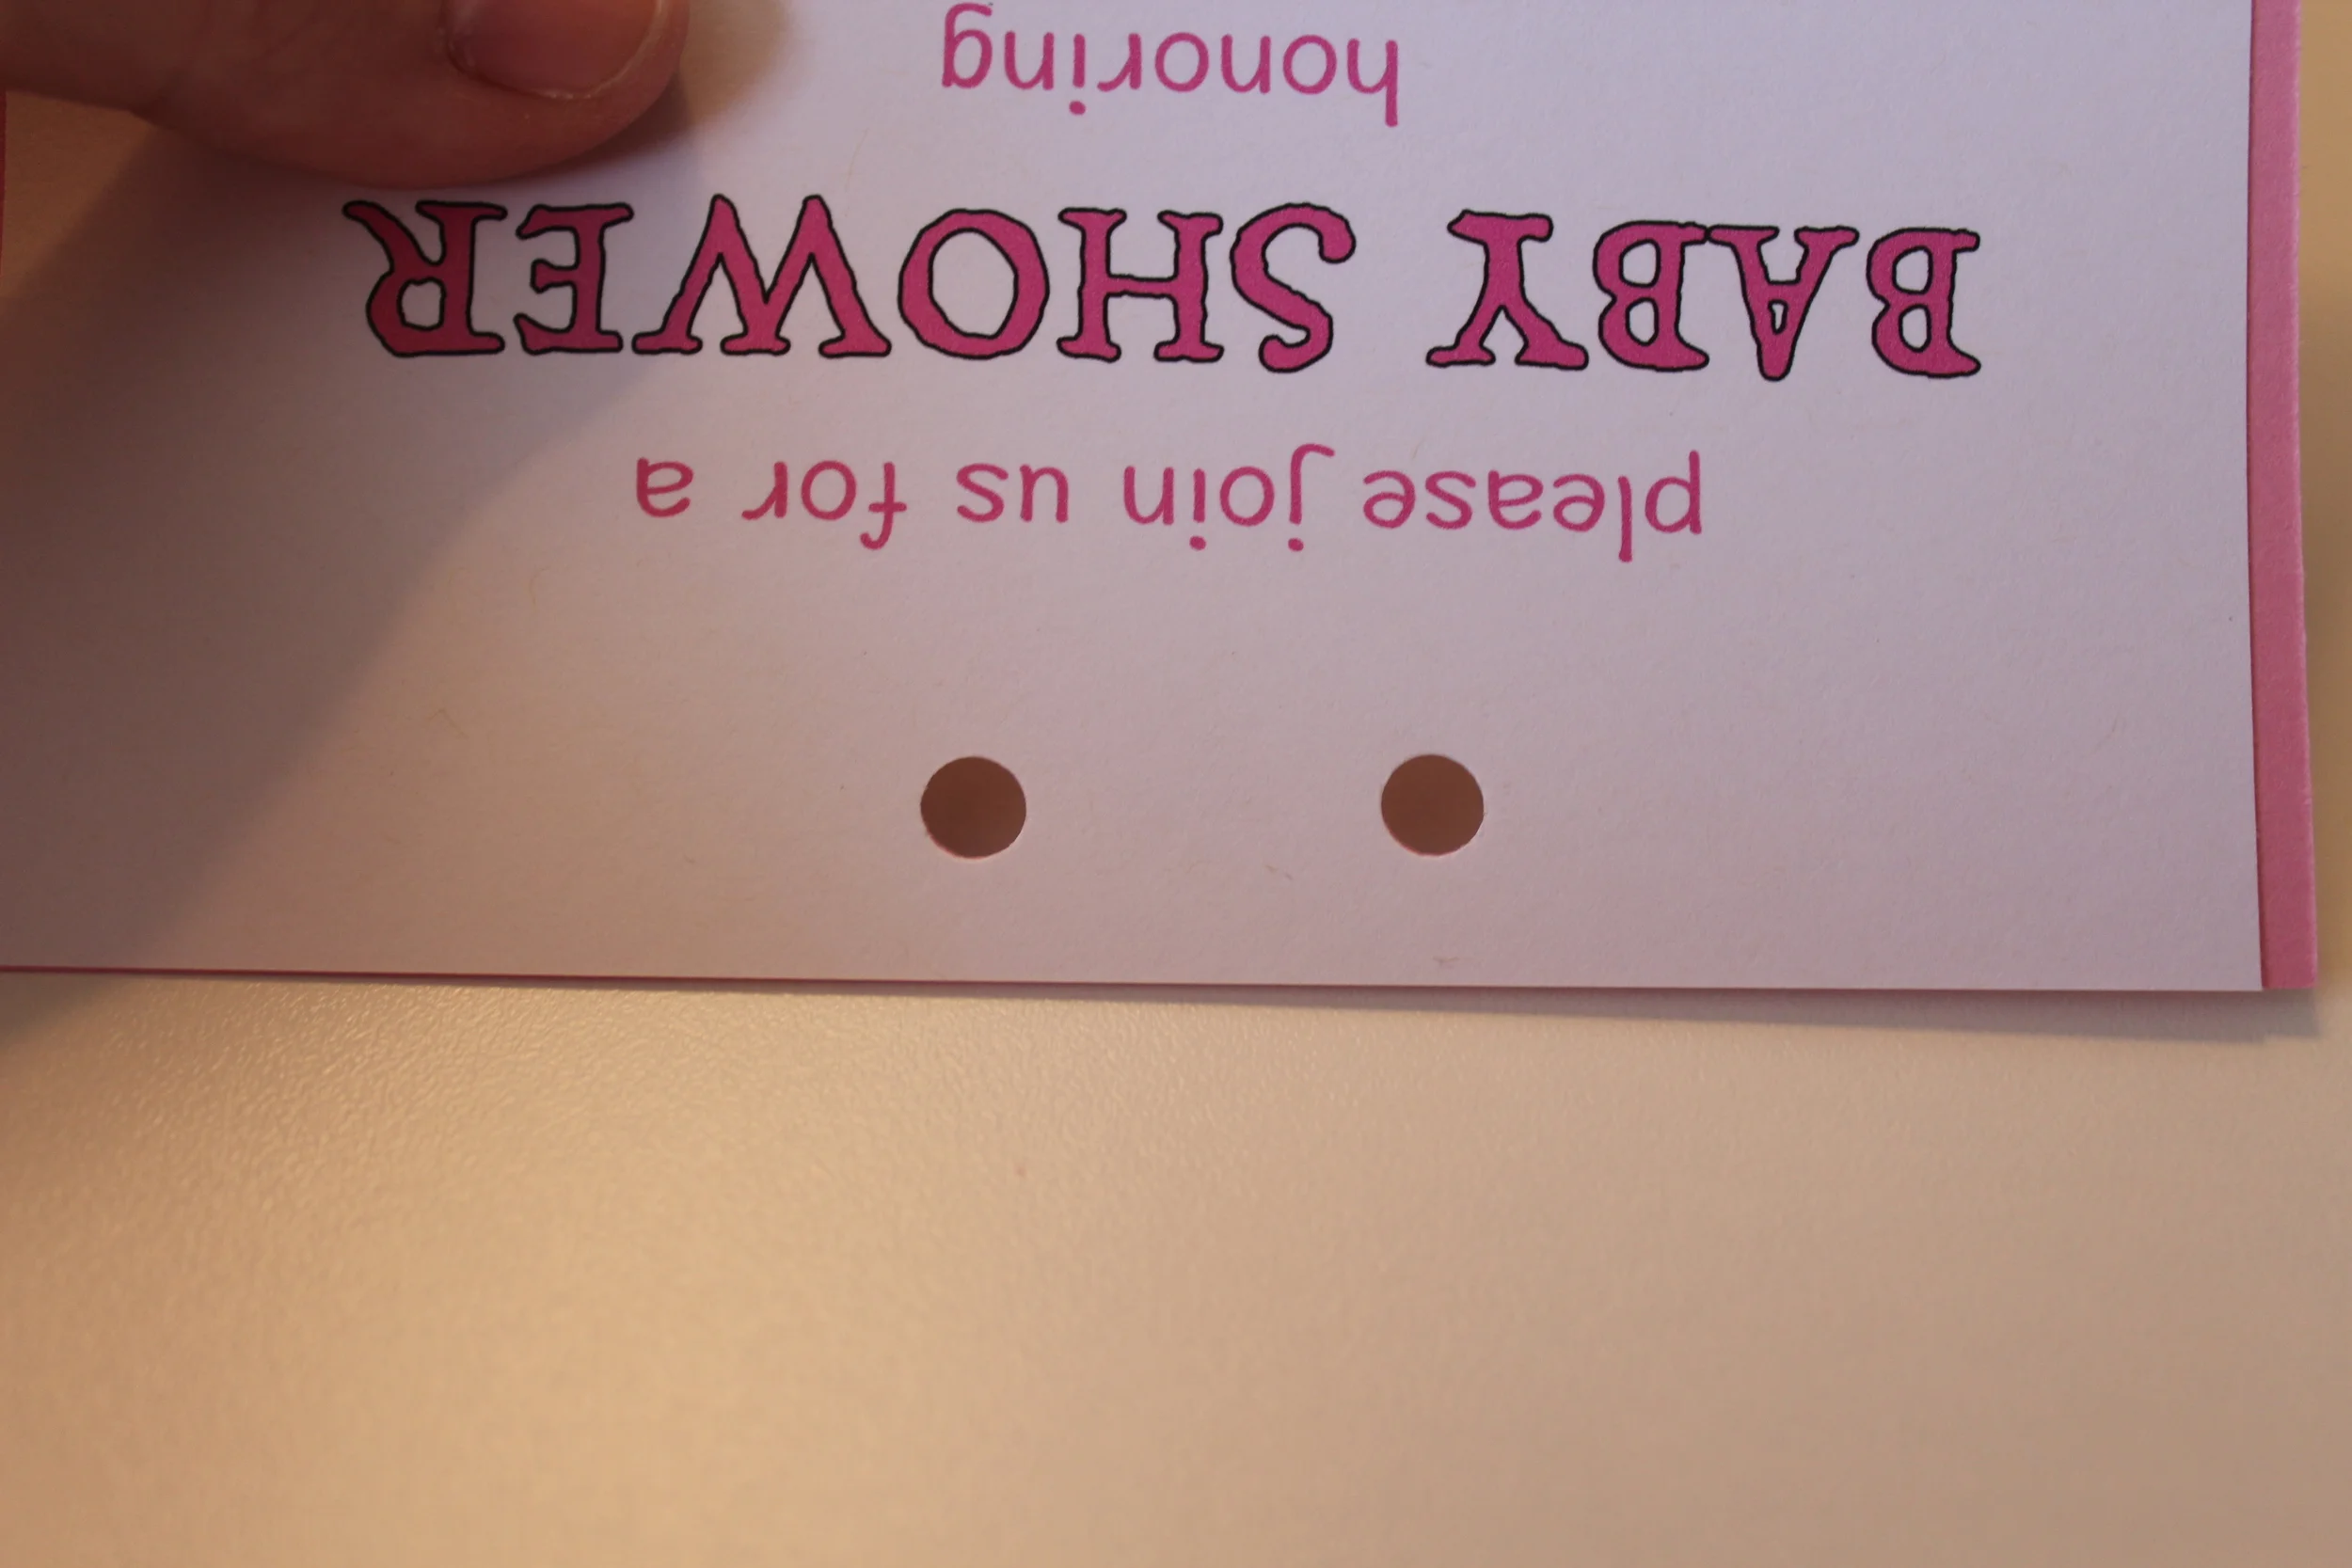
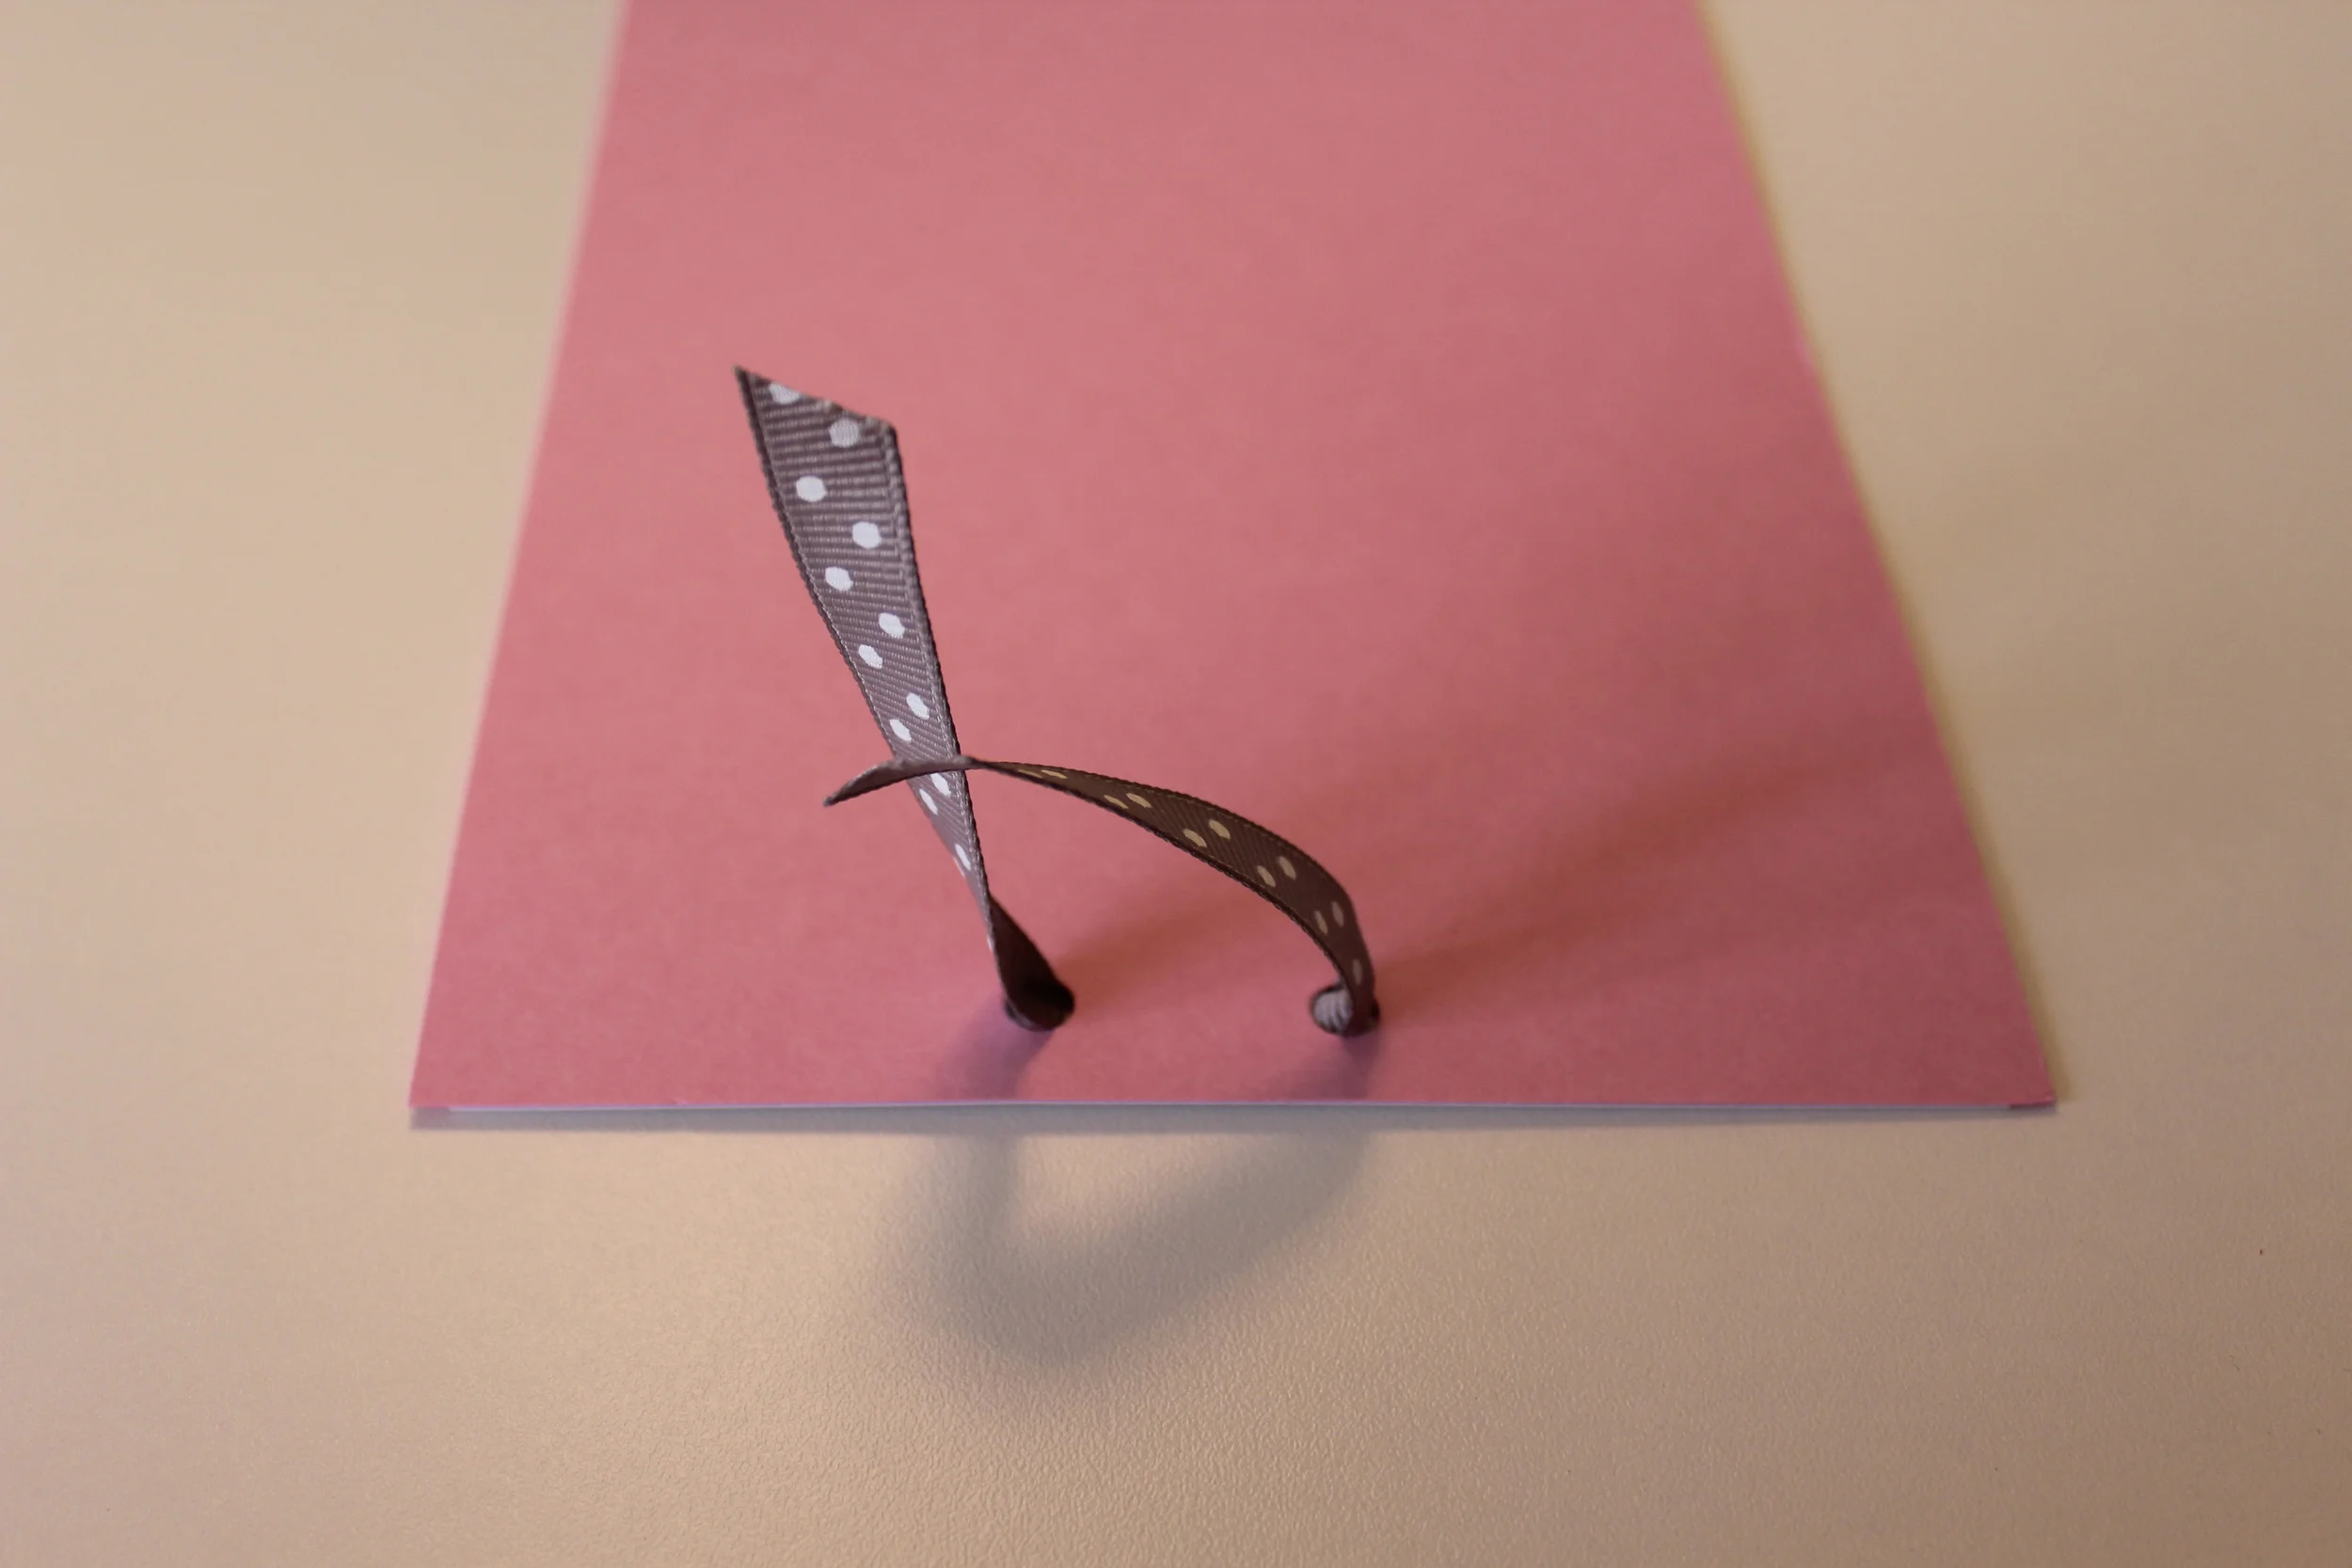
Now to attach the two pieces of cardstock, I used a standard hole punch and centered two holes at the very top of the two pieces of cardstock. I left about an inch between each hole.
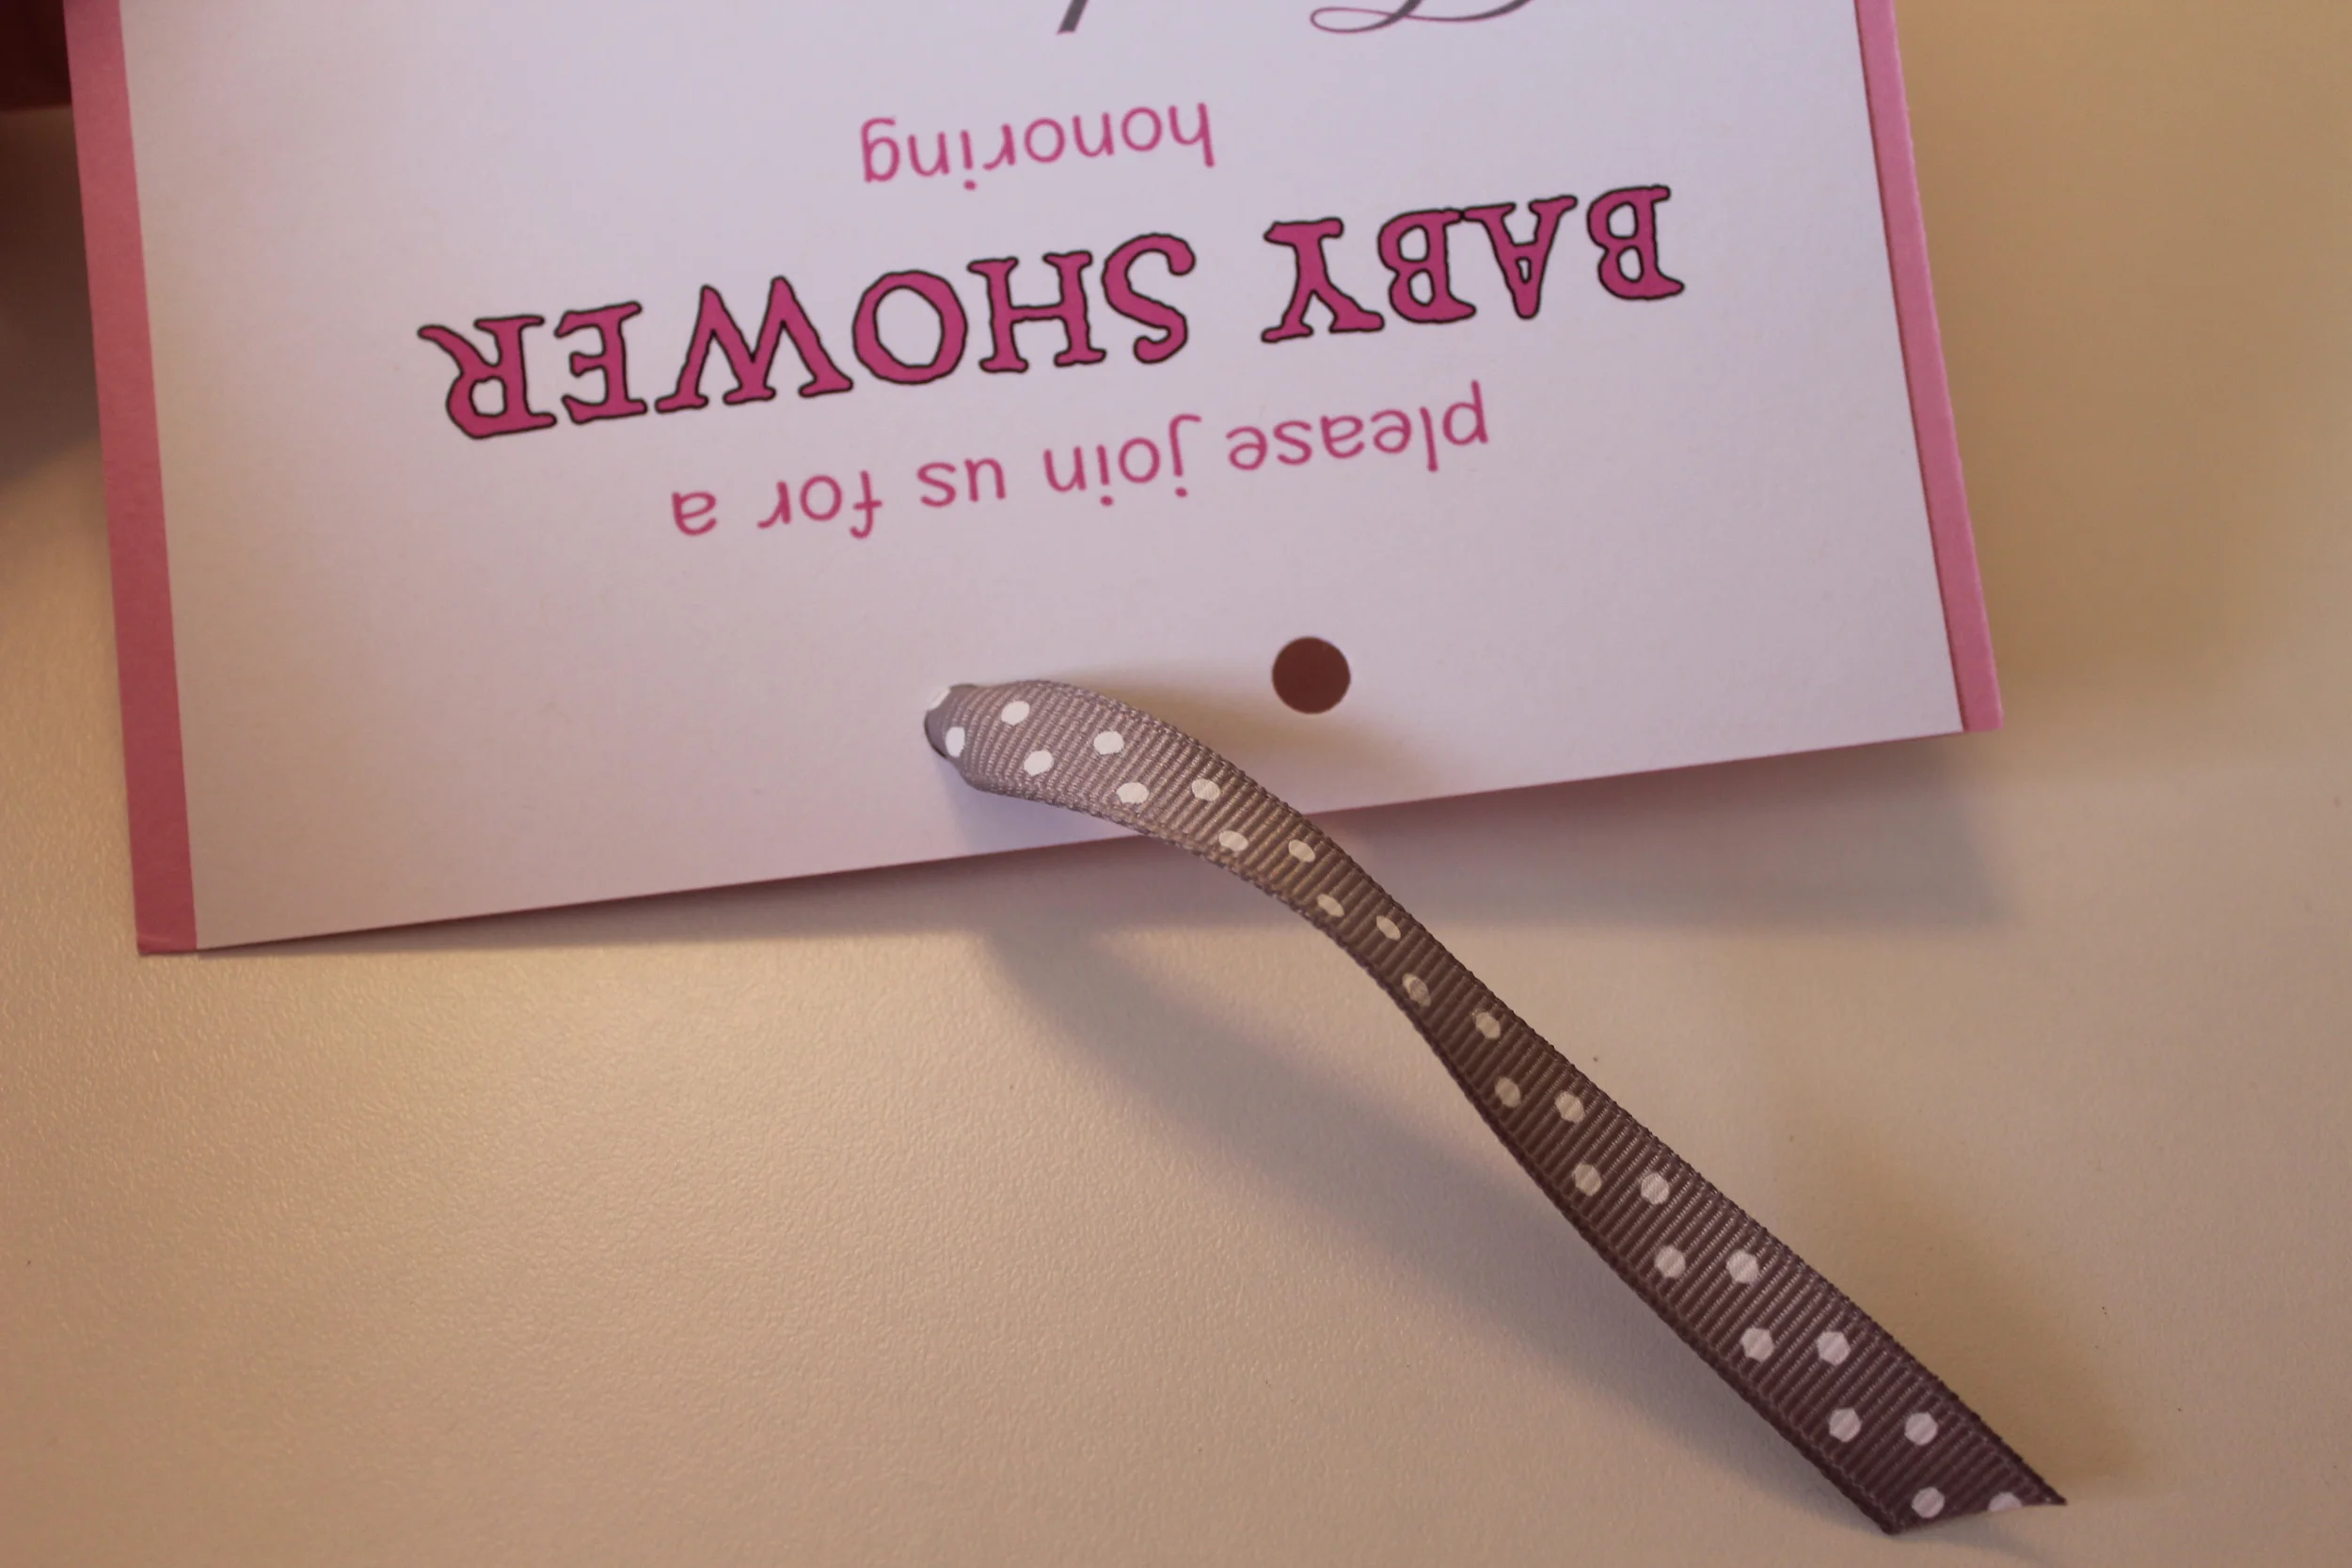
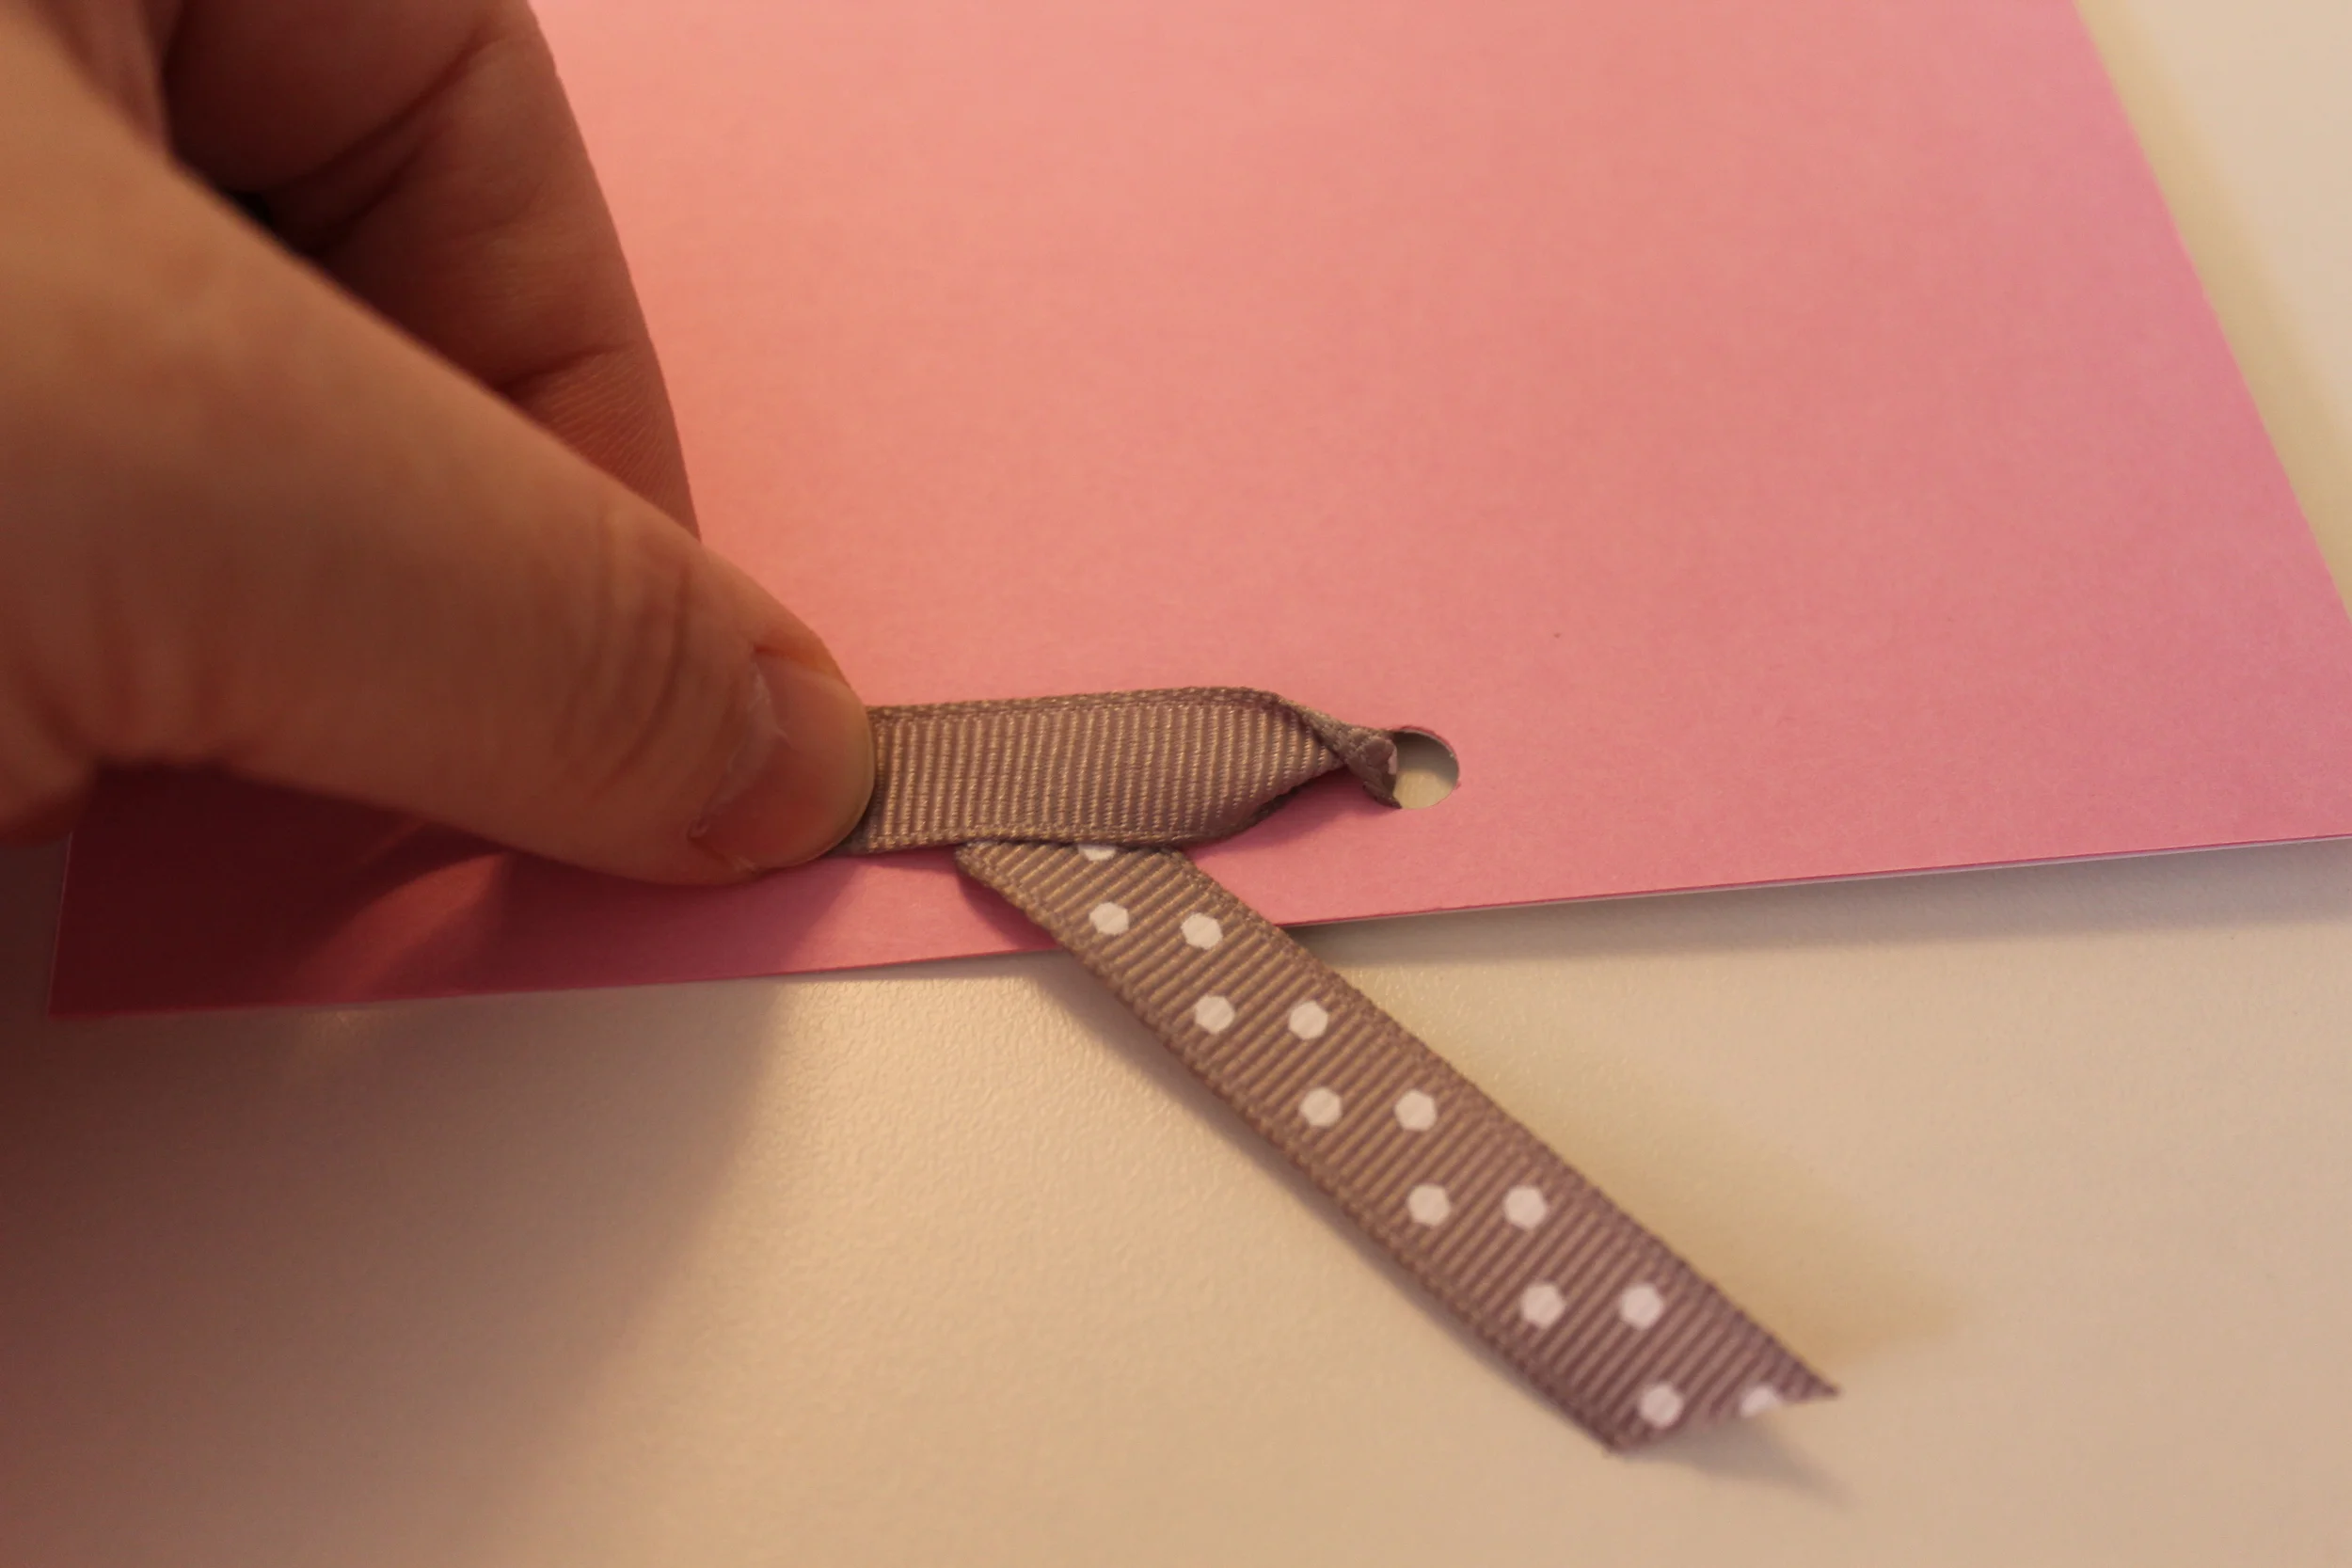
I entered the ribbon from the top of the invite first and pulled it through to the back and made sure it was centered. I also made sure the polka dots were seen.
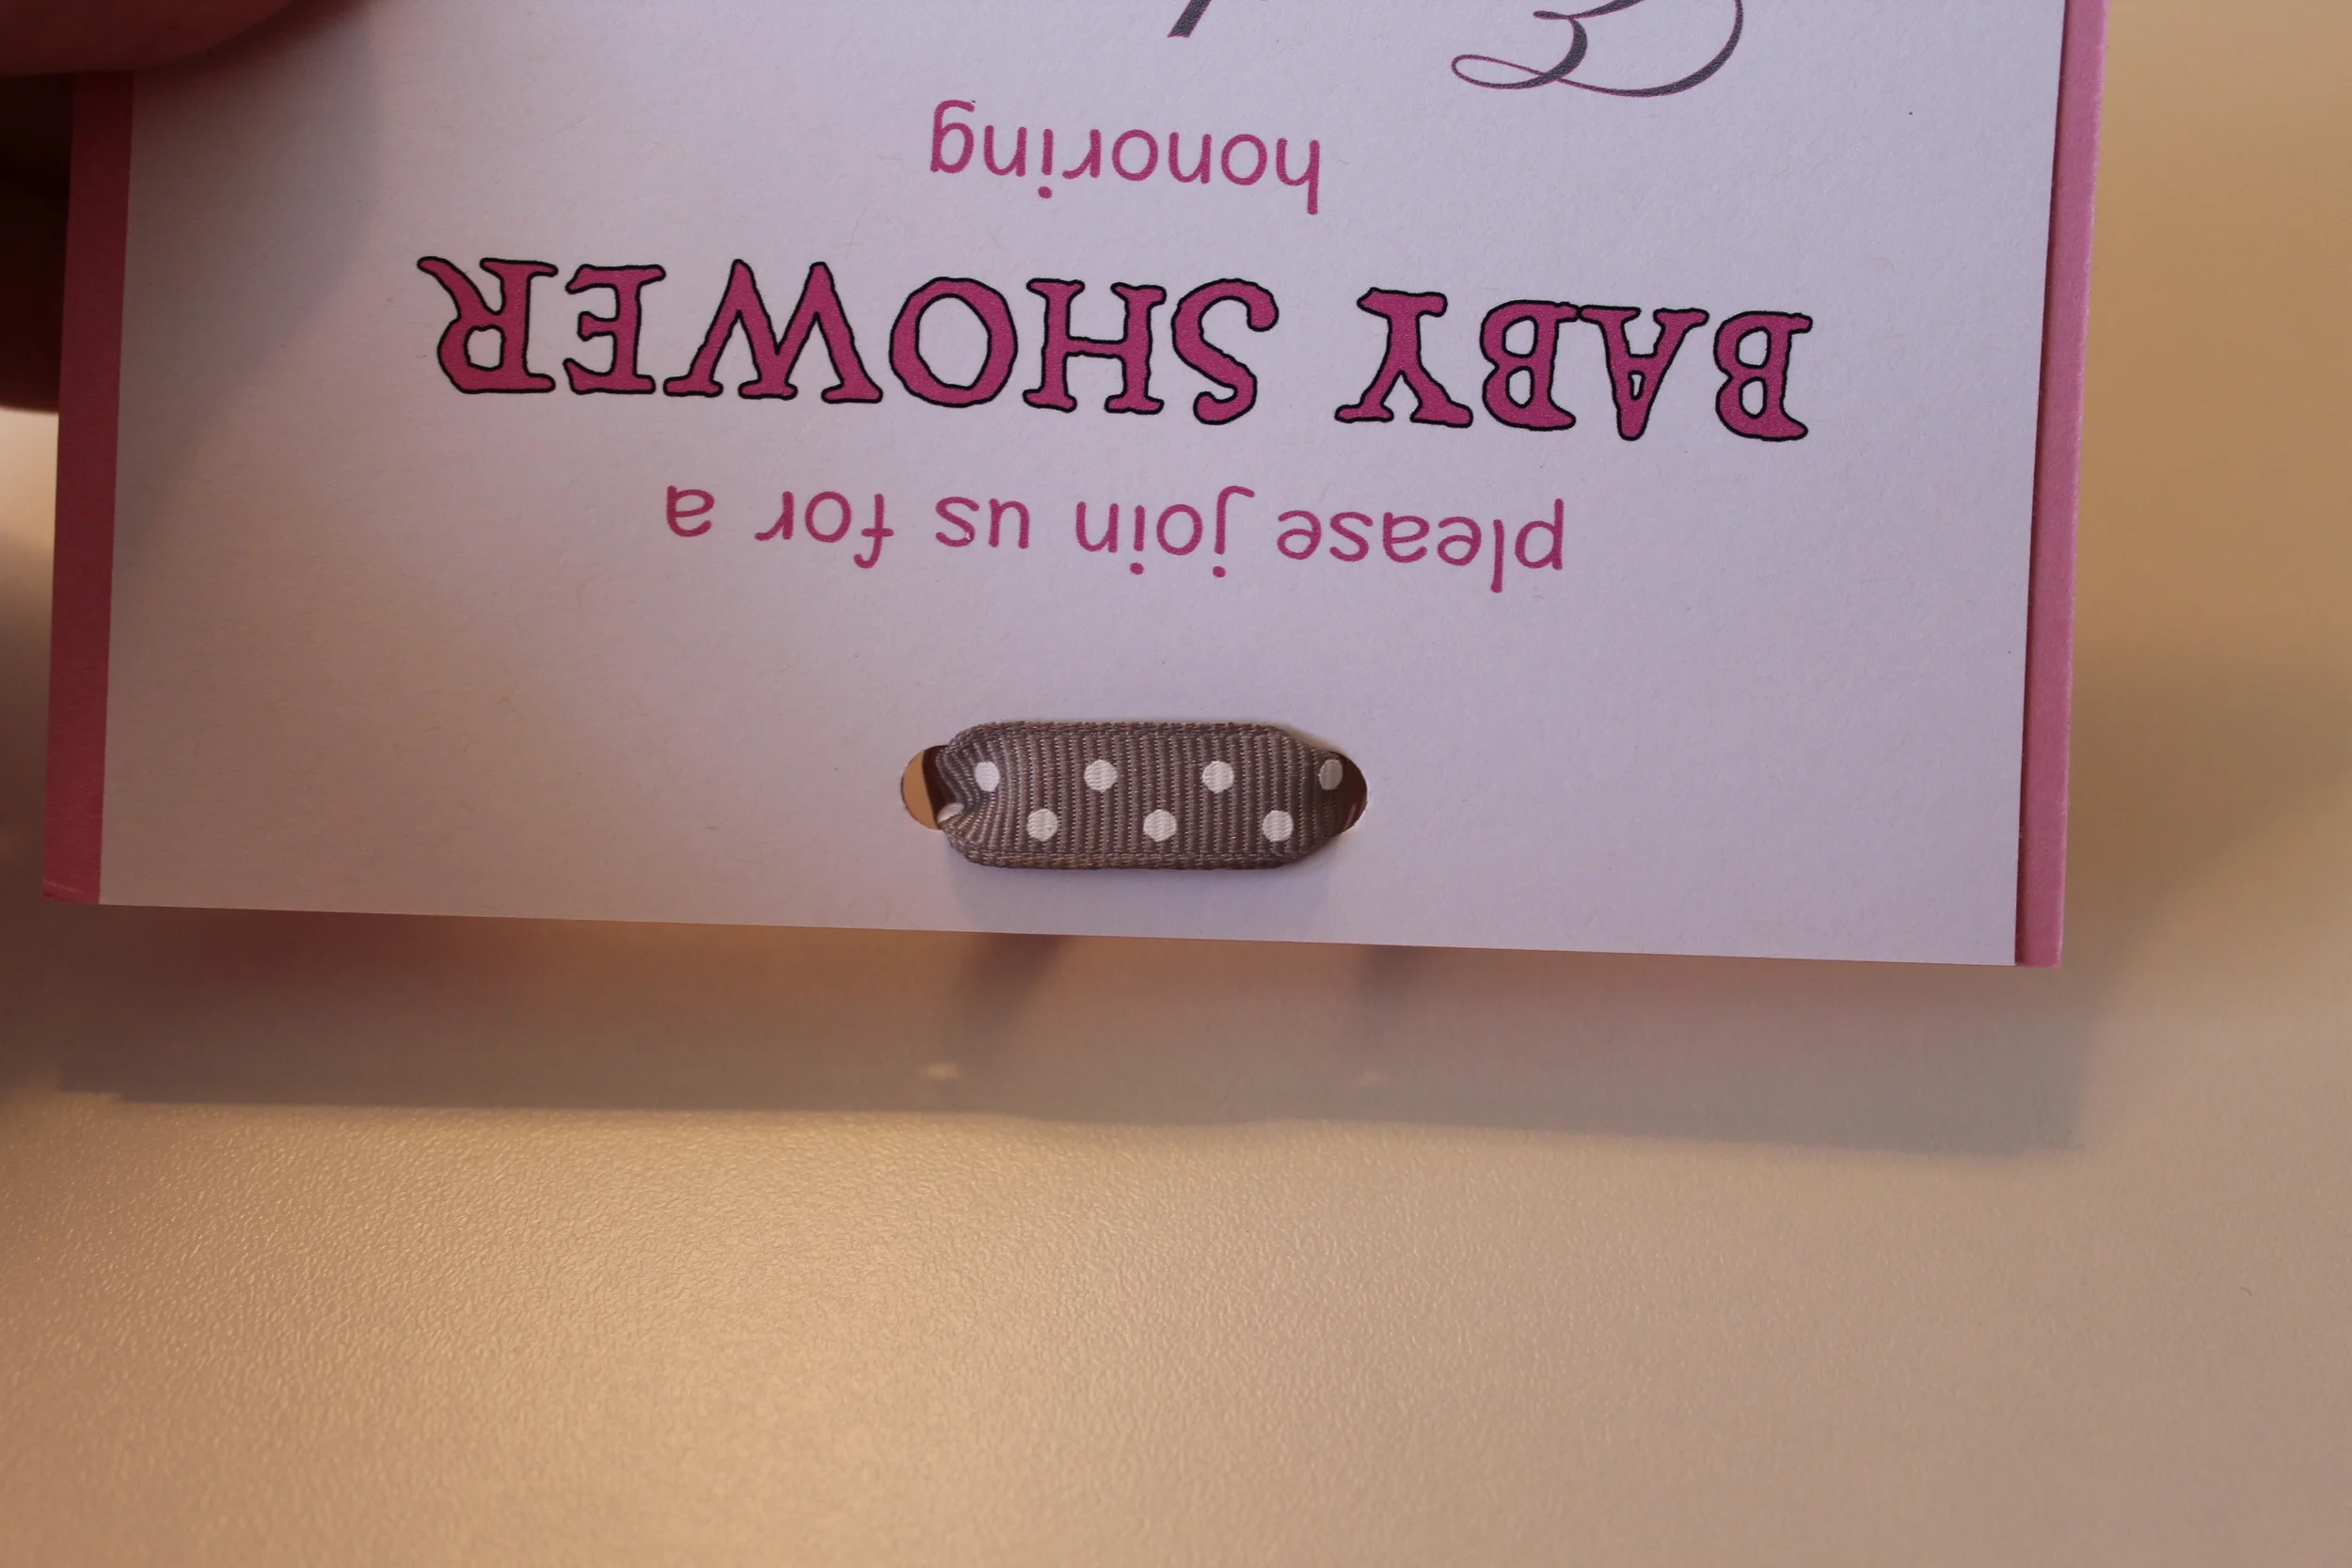
Next I flipped the invite over and pulled the ribbon back through to the front. It is hard to explain this, so see below for the images.

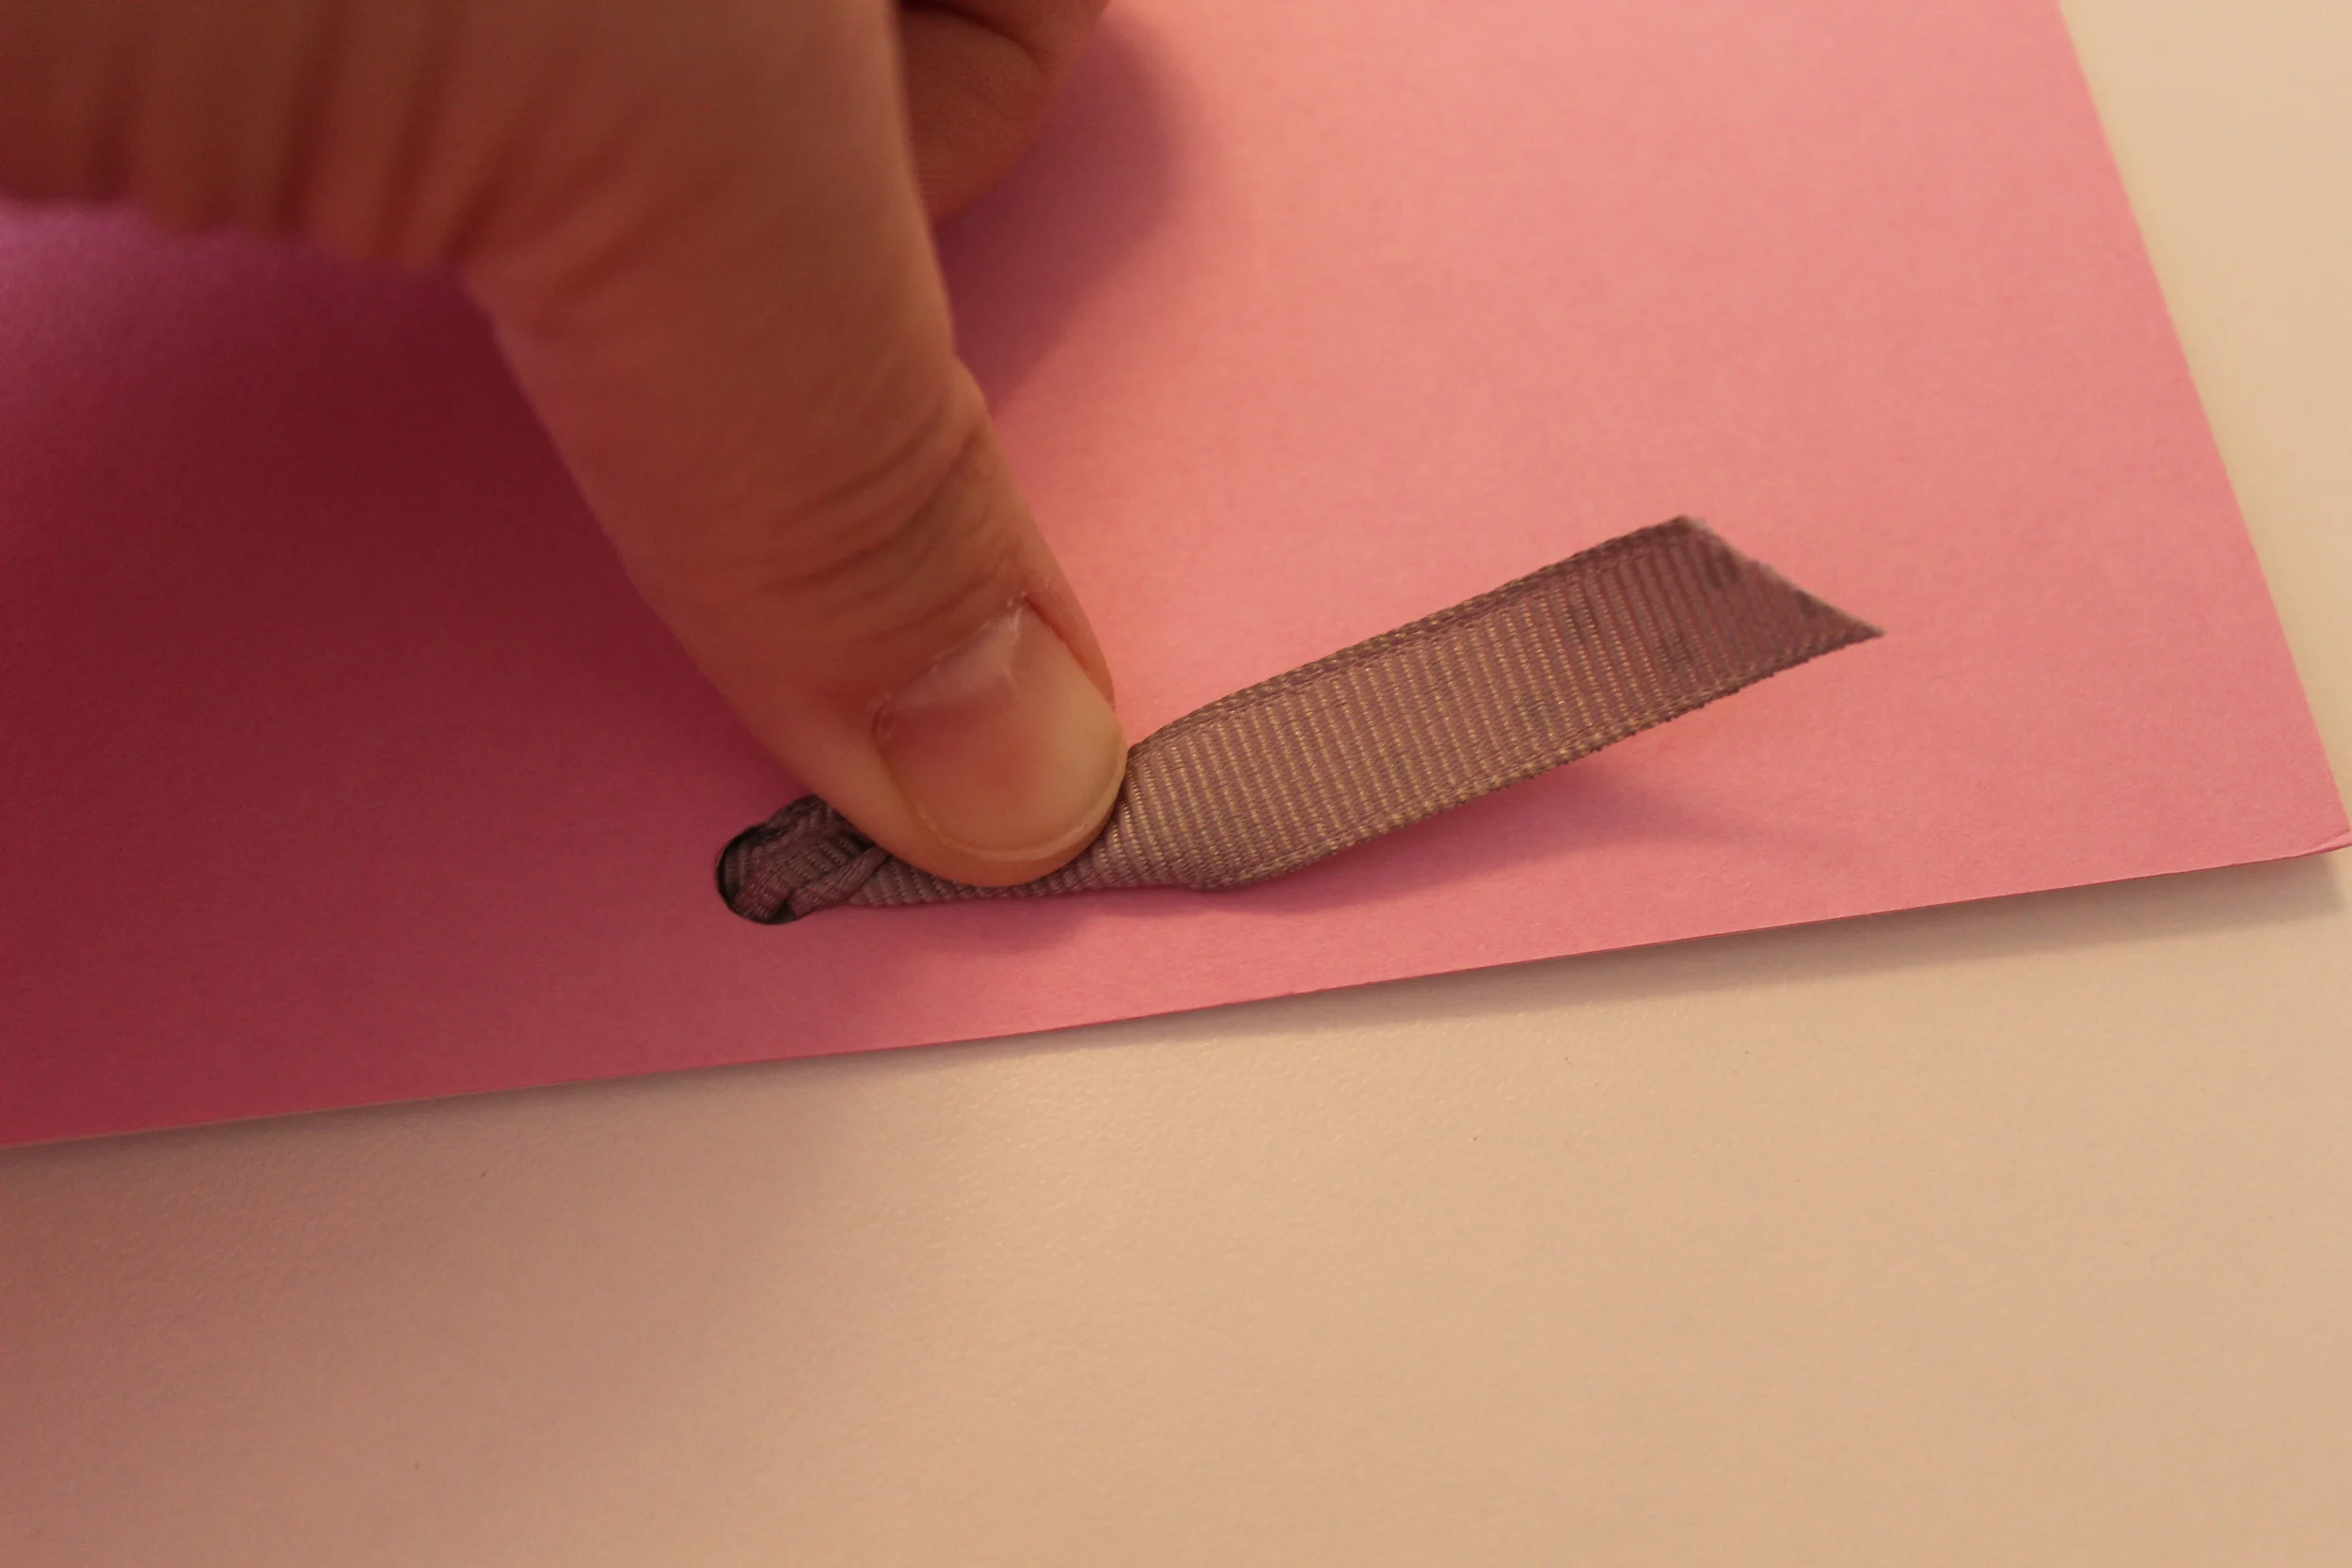
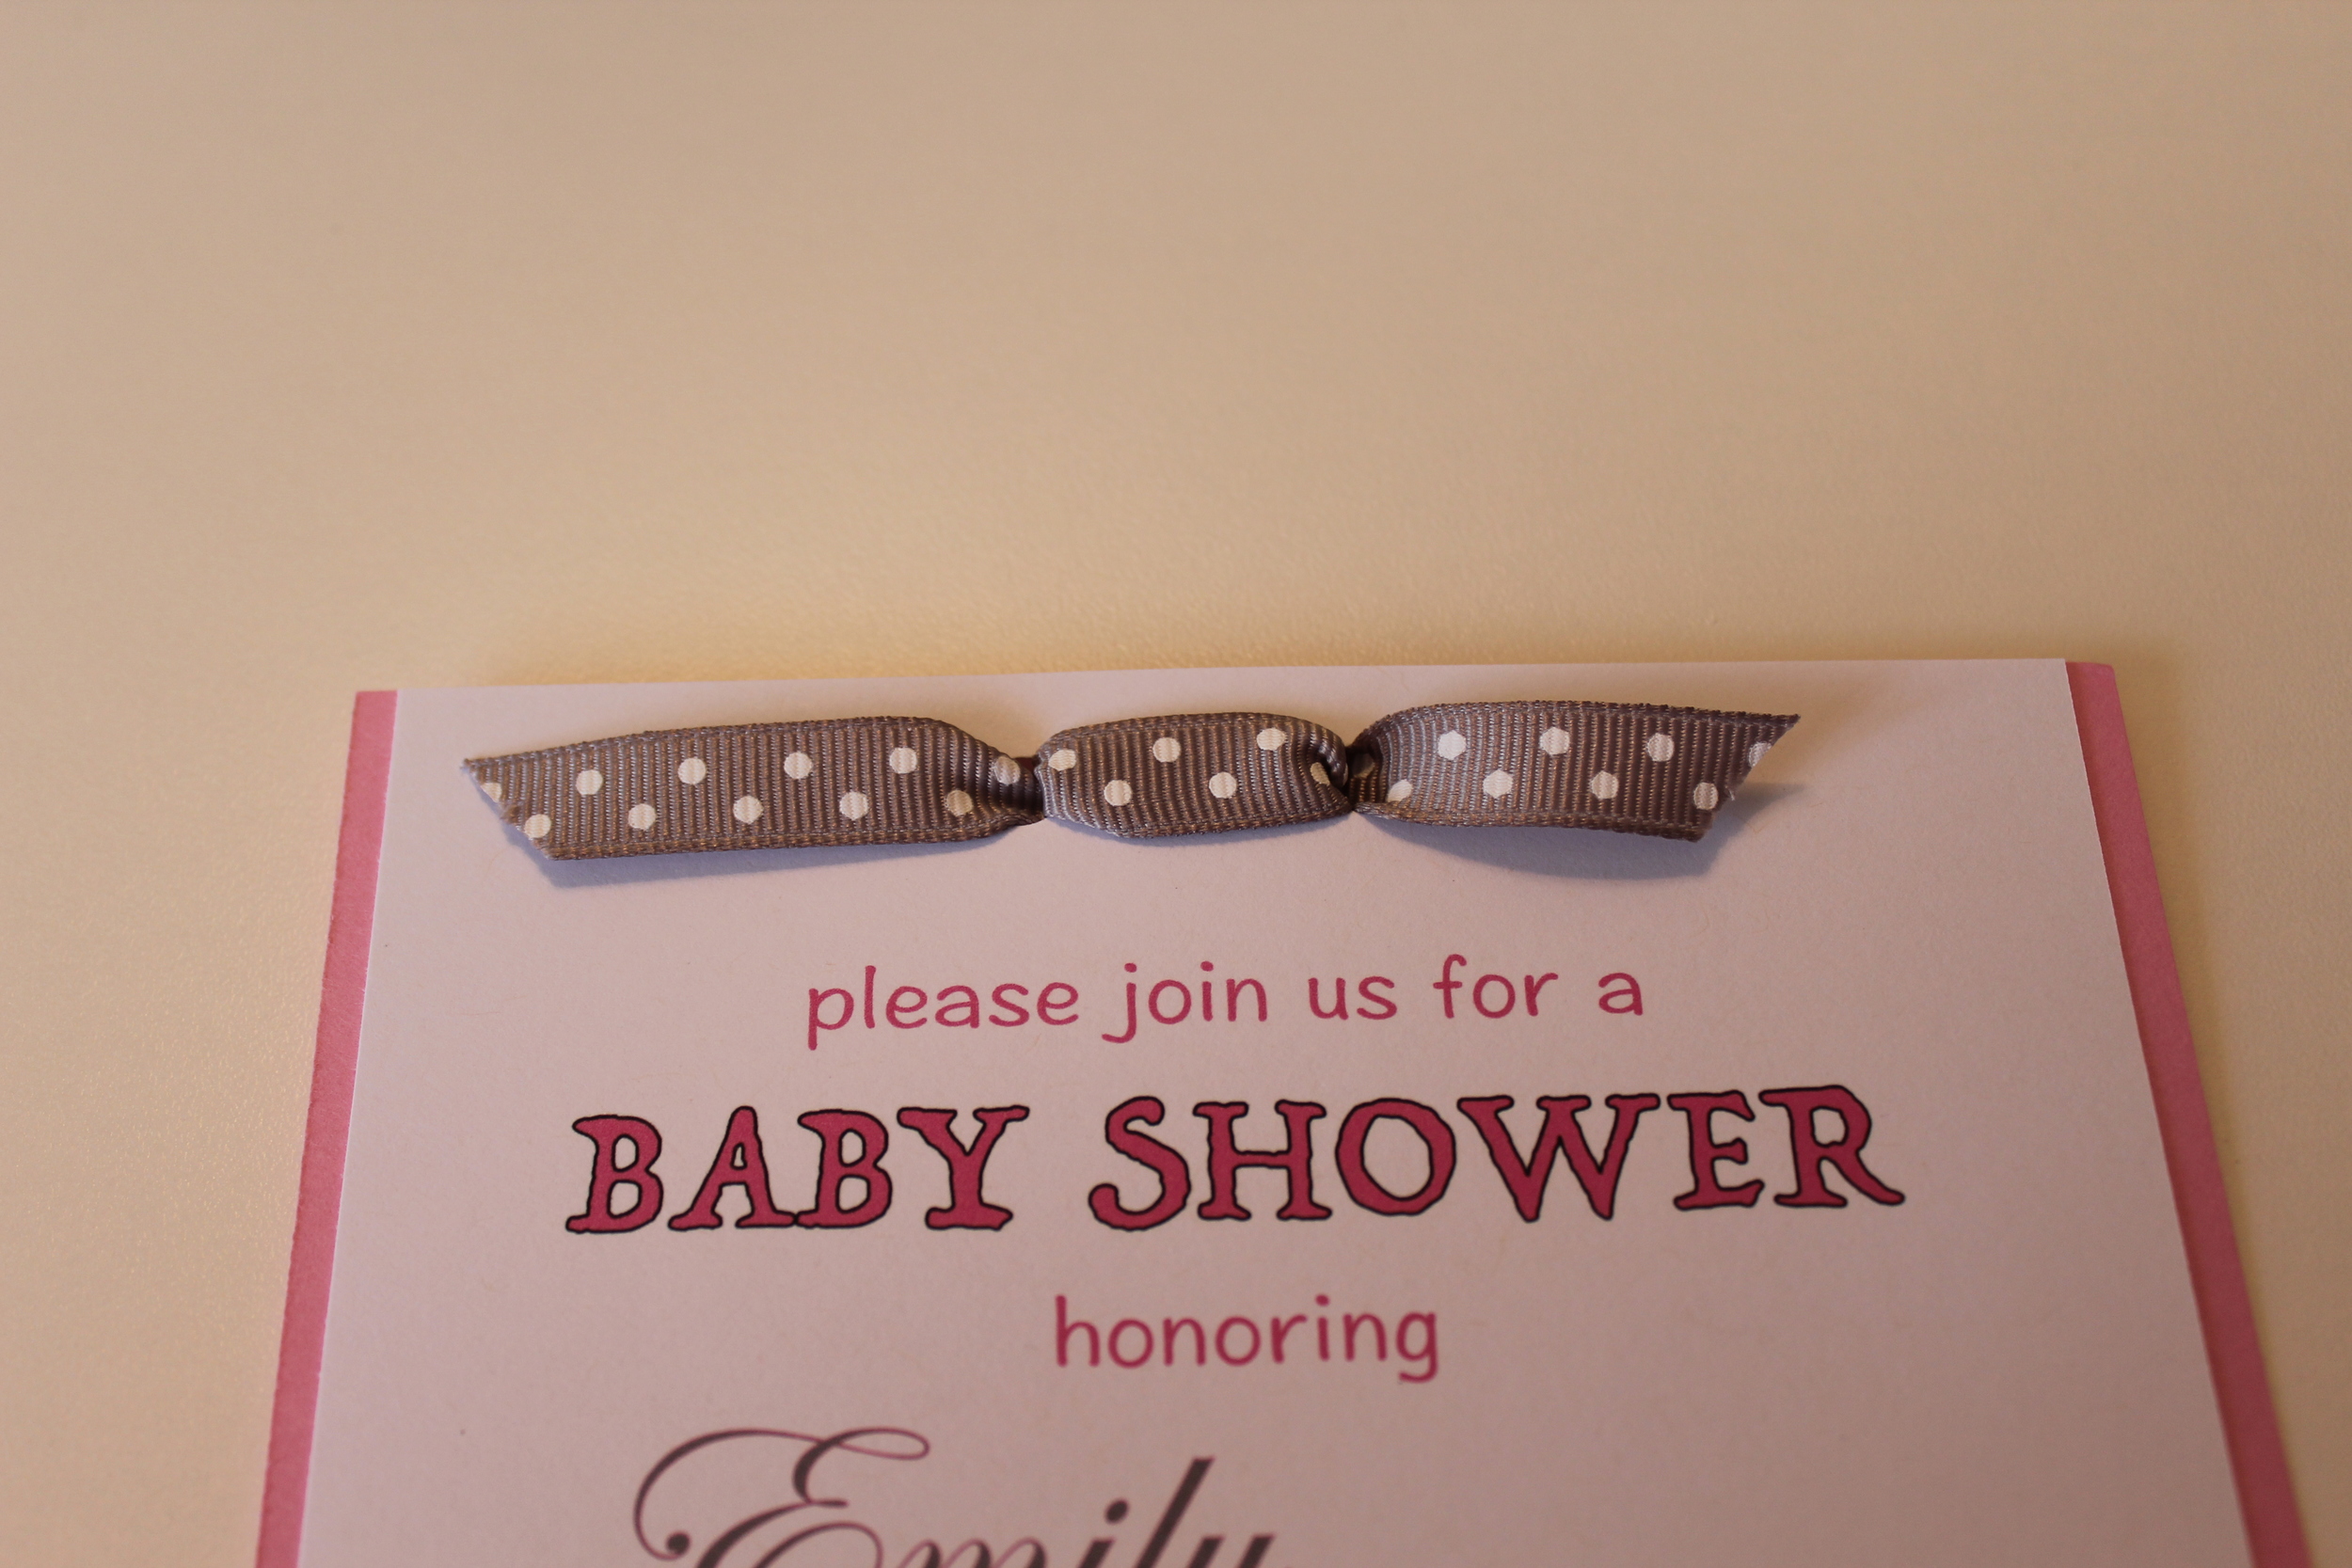
Lastly, I trimmed up the ribbon for any lose threads or to even things out.

All done!
I purchased the A9 envelopes from Amazon and they fit perfectly!