

Burlap Football Door Hanger
So Brad and I cheer for opposite college football teams. We have good reason seeing that we both attended different colleges. I am an Alabama graduate and fan, and Brad is an Ole Miss graduate and fan. It is very, very hard to find house divided things for Alabama and Ole Miss. I could always get something custom made, but I usually want to attempt it myself if I am resorting to that. So I decided to make a door hanger from burlap. It is a super easy craft. It only took me a few days and that was primarily me waiting on paint to dry! See the steps below:
Items Needed
- Burlap - the size of the football is 22 inches by 12 inches, and you will need double for each side
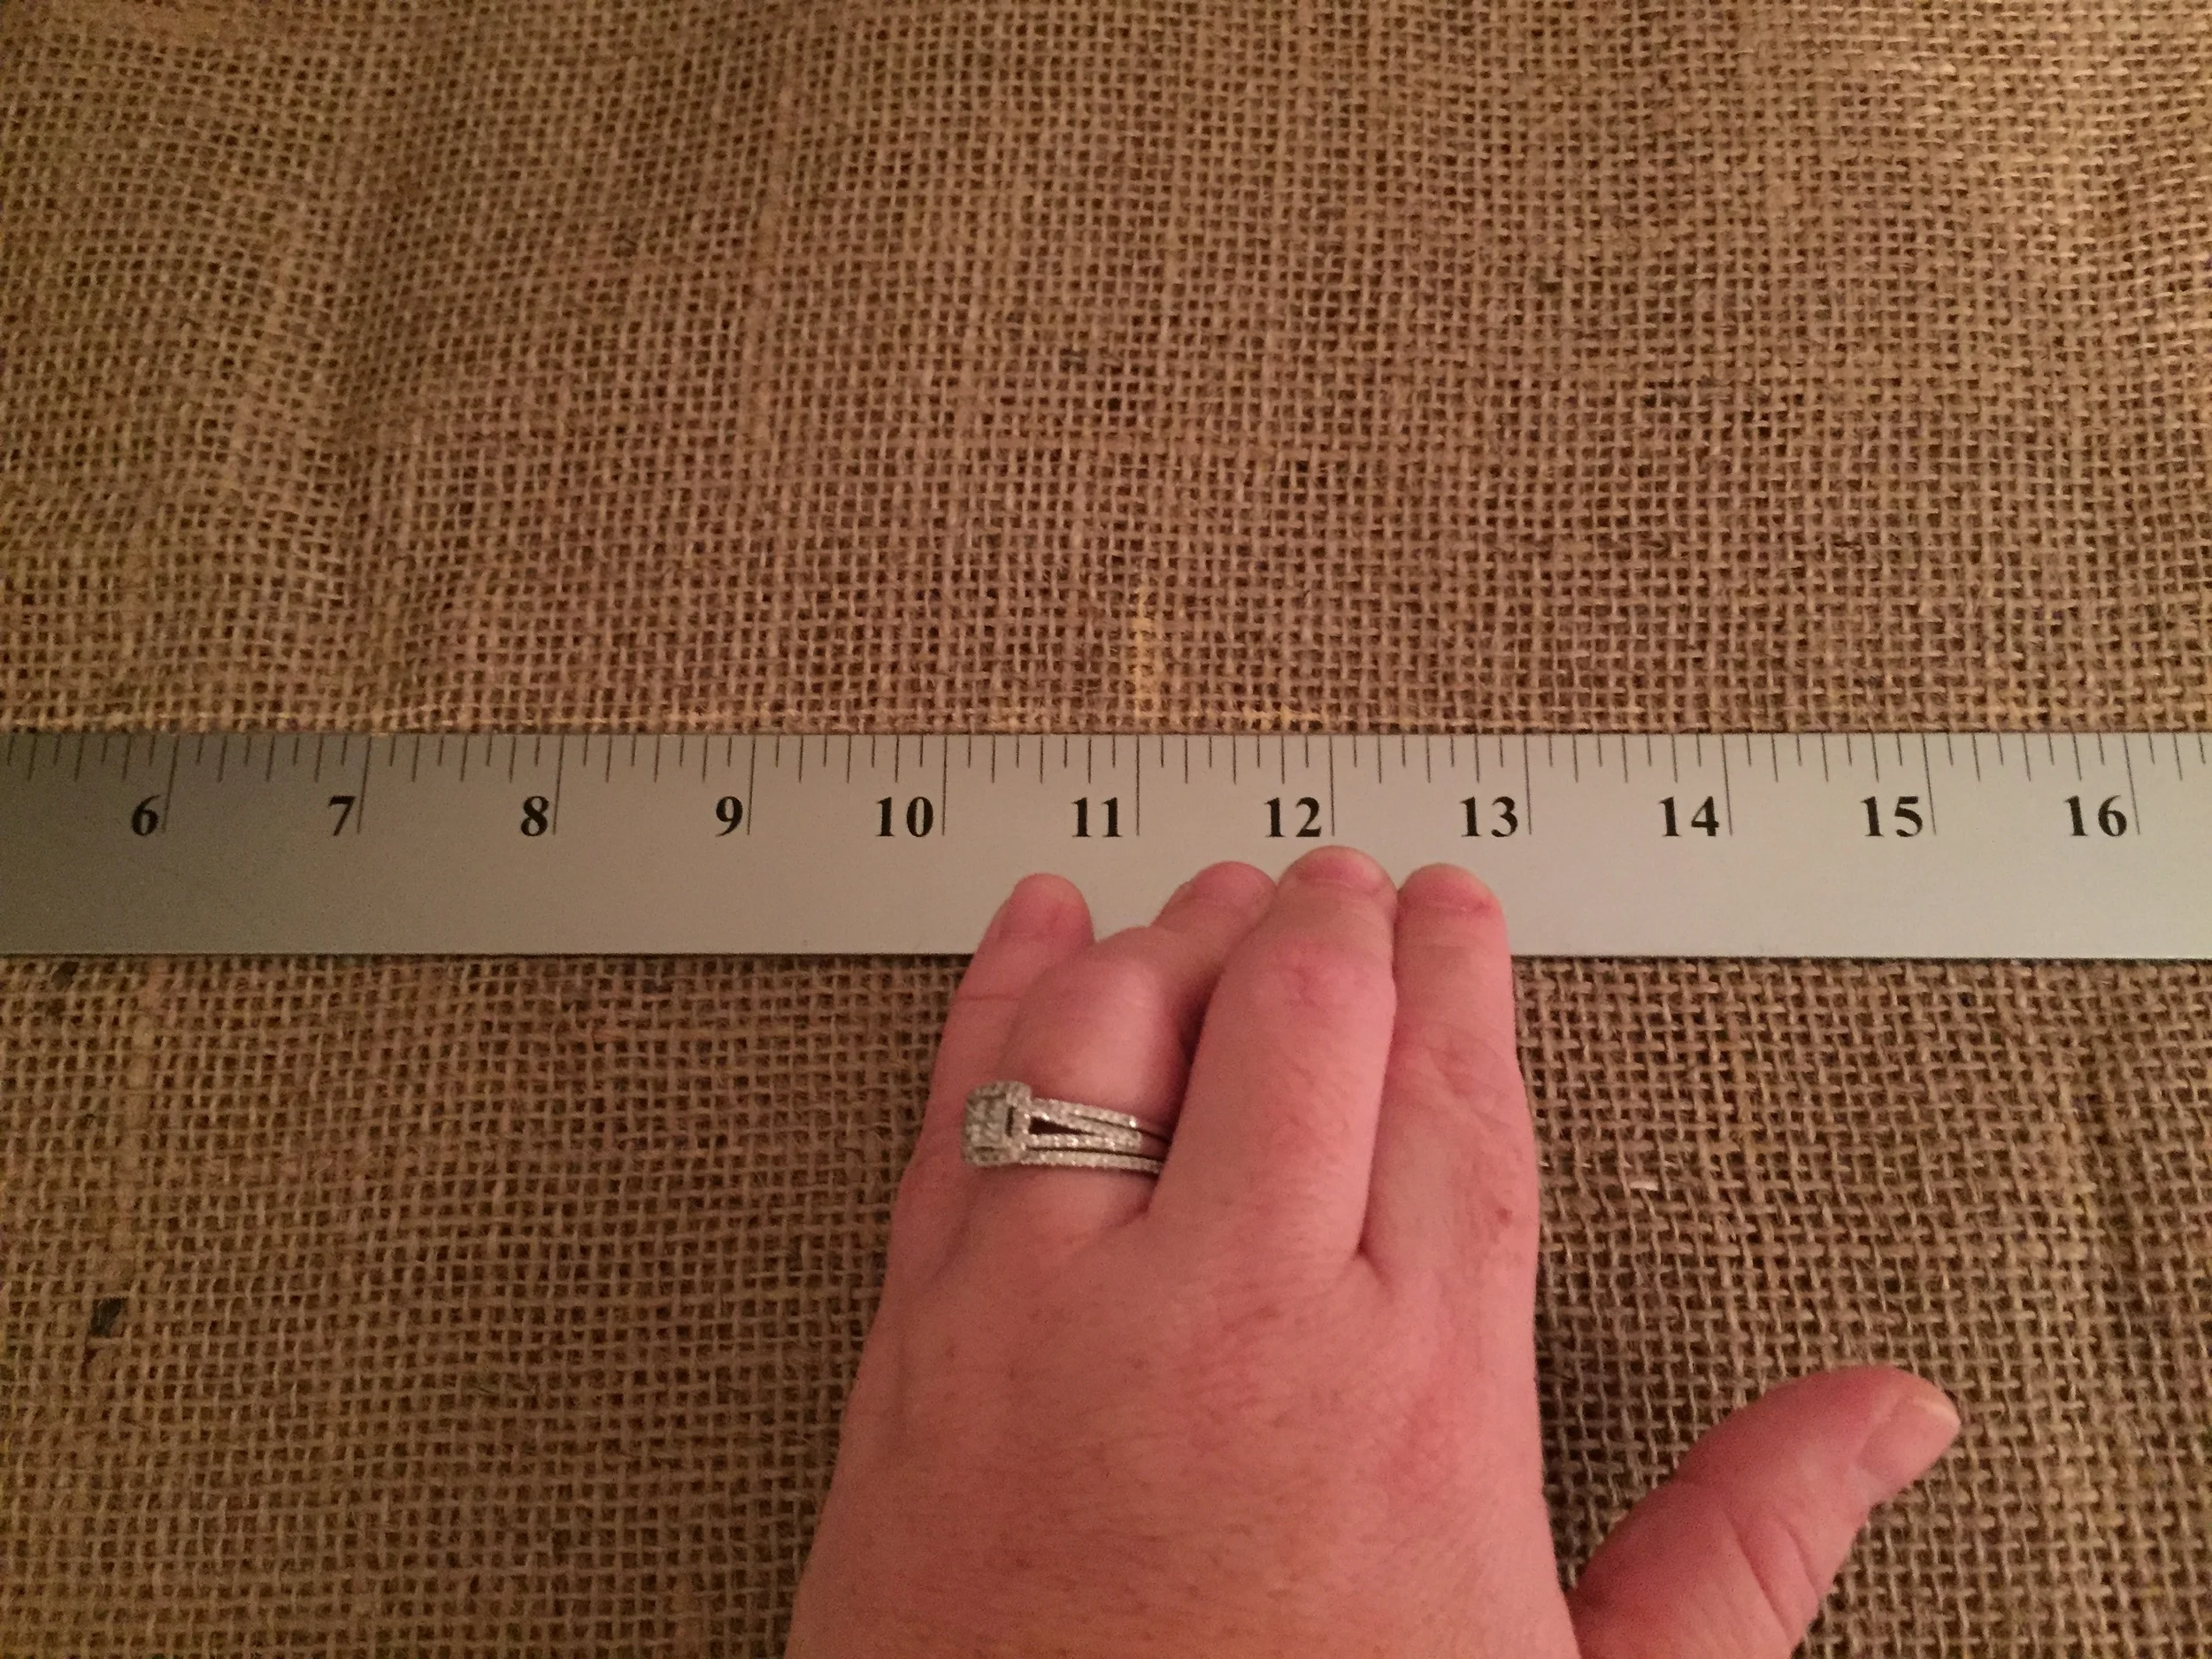
- Ruler - for measuring
- Scissors
- Sewing Pins
- Chalk Pen - something not permanent to draw on the burlap
- Paint - white, black (if you're doing house divided), and school colors
- Paint brushes - you'll need a few; the burlap is rough on it
- Hot Glue Gun
- Plastic Bags - like Walmart or Target bags
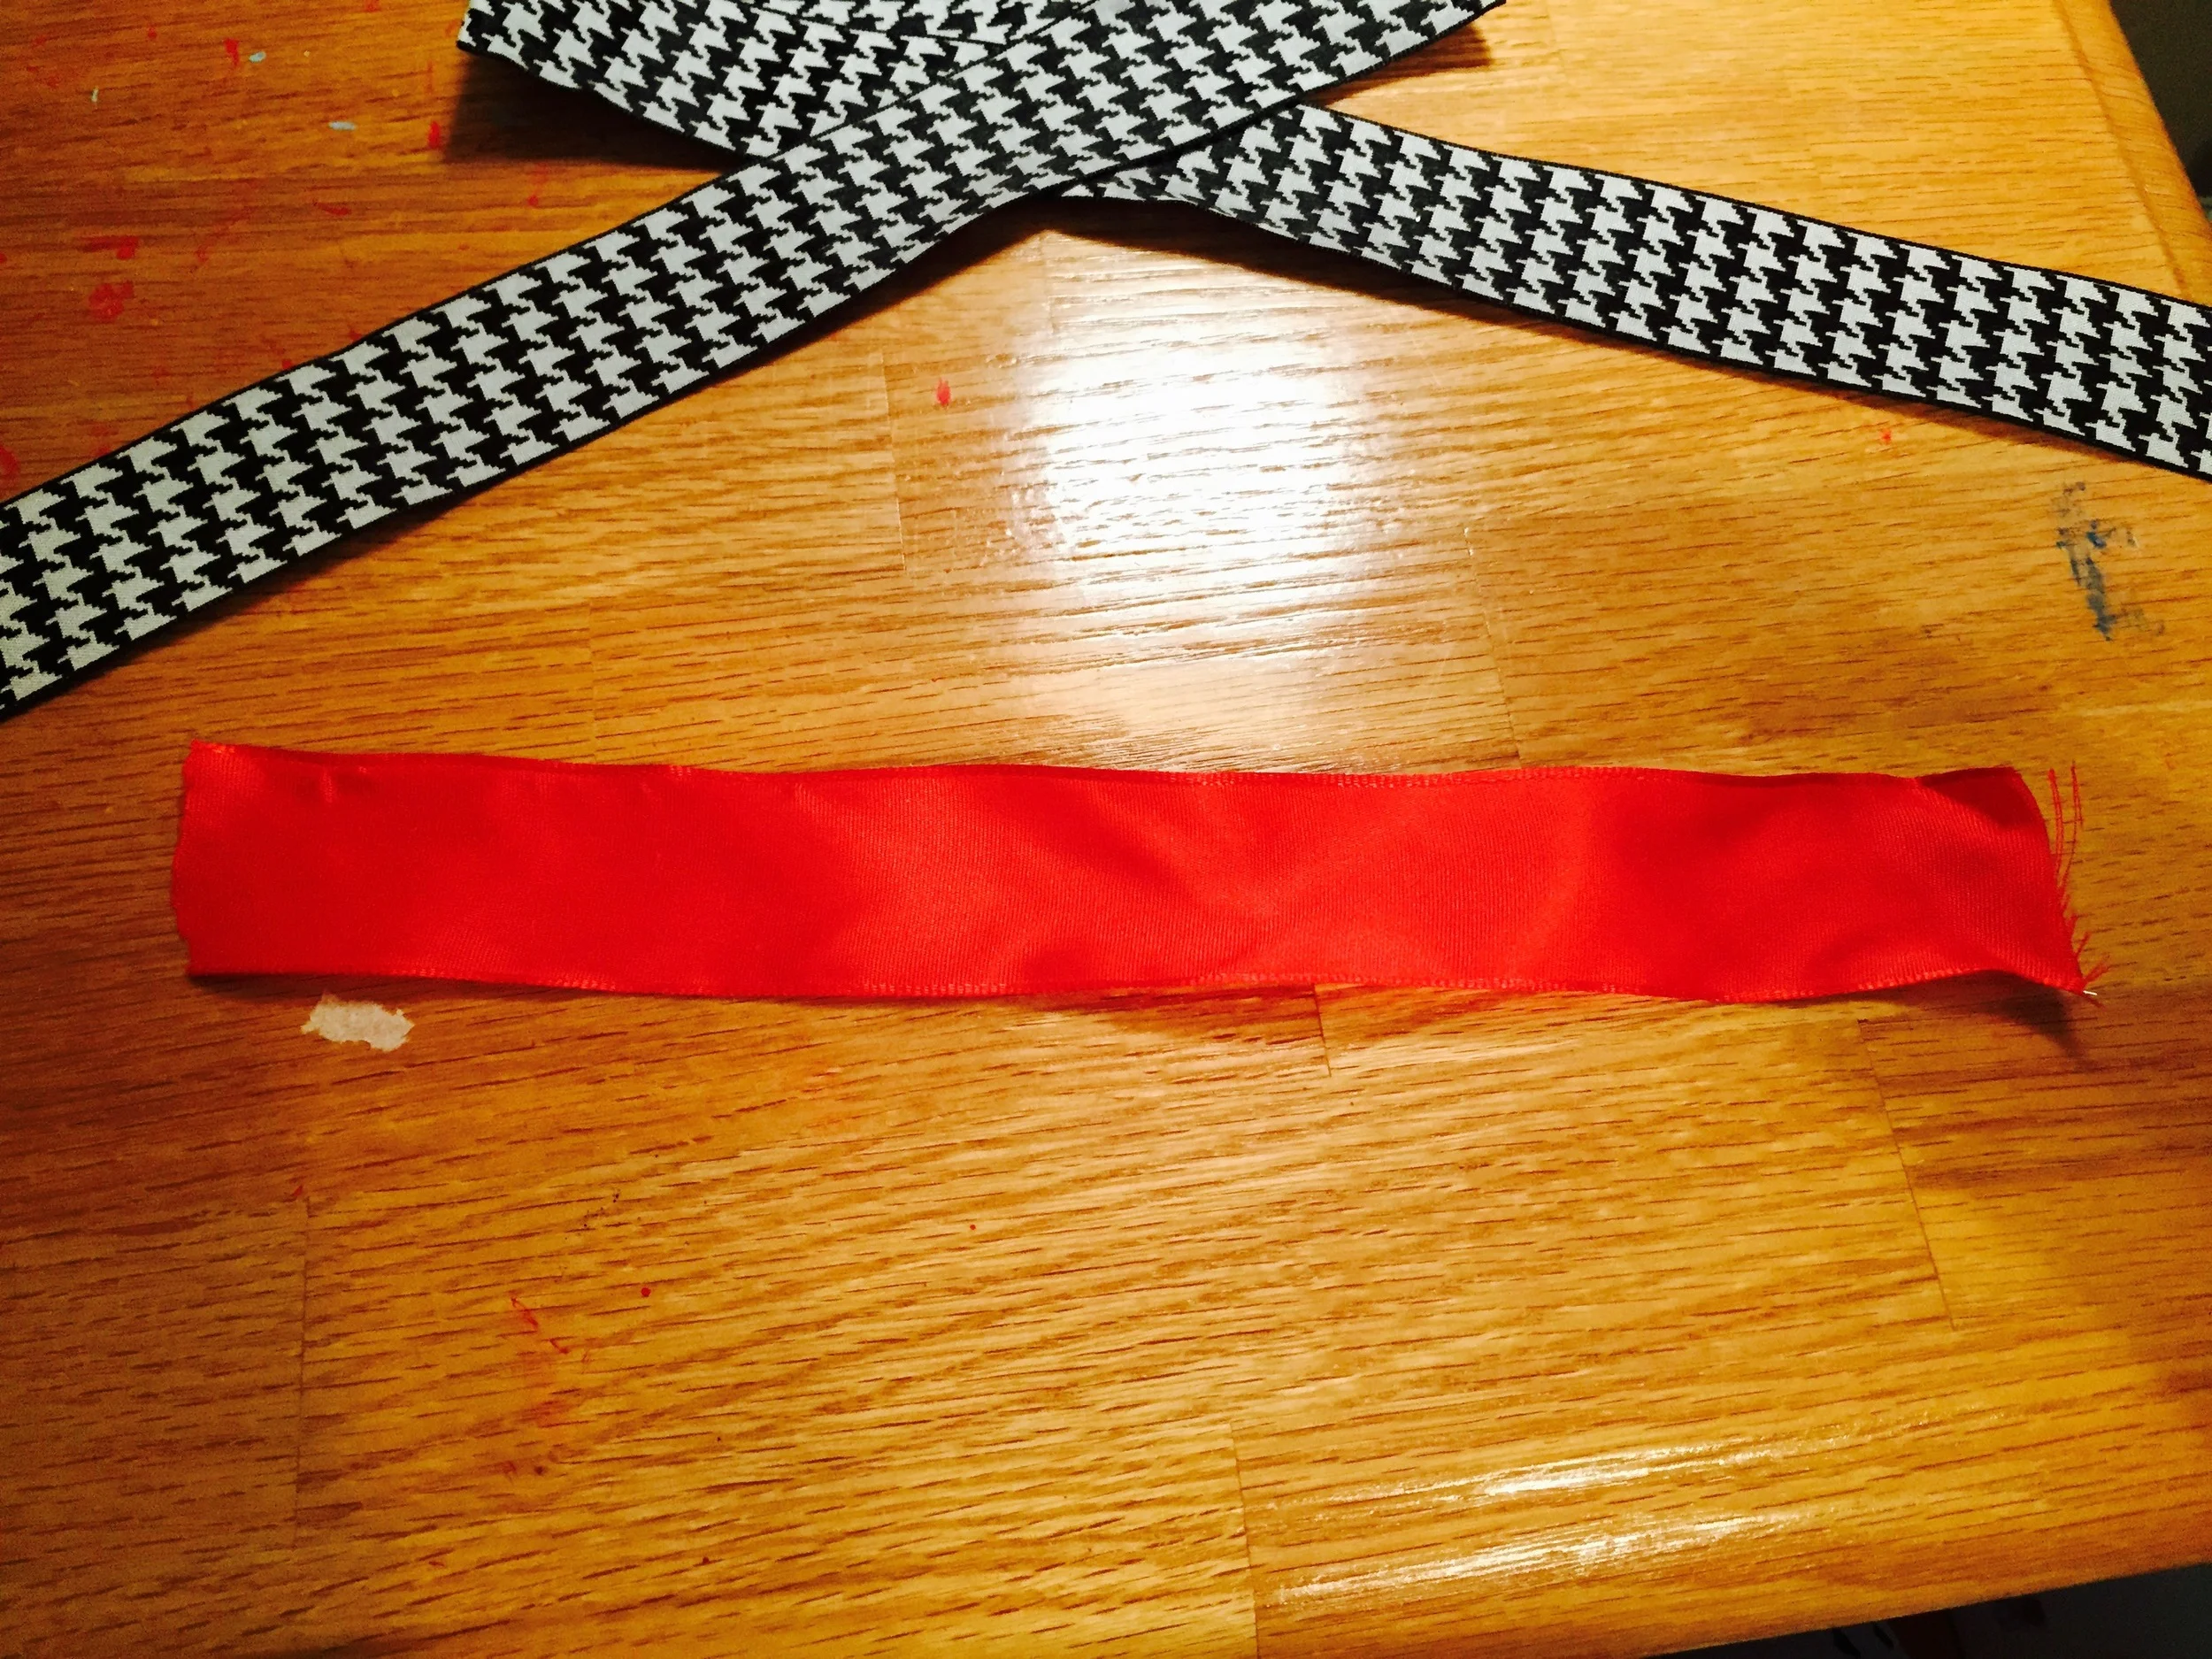
- School Colored Ribbon
- Wire
Instructions
1. Measure out the football on the burlap. I used the chalk pen and first measured the length (22 inches) and marked it. I noted the middle point. Then I measured height (12 inches). I was sure to center it with the other markings. Lastly, I connected the points with the chalk to make a football.


2. I used sewing pins to attach the two pieces of burlap together. Then I cut the football out. Now you have two pieces of burlap shaped like a football. If you haven't, you may want to iron the burlap if there are any wrinkles in it.


3. Set aside one of the pieces. I put aside the one I drew on. Now draw the football markings. I placed a piece of paper underneath the burlap before I painted the markings with white paint. I recommend this because the paint easily bleeds through.


4. Now I cheat in order to get the team's logo onto the burlap. I printed the logo off the computer and cut it out. Then I traced it with a chalk pen onto the burlap. The size of the logo depends on your placement and such. I printed multiple ones until I had the right sizes. Once you draw it with the chalk, you can paint the logo. Once it dried, I used white paint to outline the logos.


5. Now that the logos are finished, I added some detail. On the sides, I used the school colors and put polka dots on each side. Lastly, I used the black paint to make it appear as if the football is being torn in half (house divided).


6. Once the paint is COMPLETELY dry, layer the two pieces of burlap onto one another. Since the back piece is the original piece you marked up, make sure the markings are facing inside so that they are not seen. Attach them using the sewing pins again.


7. Now you are going to attach the two pieces using hot glue. I remove a few pins at a time. Then I squeeze the hot glue on the edges. Since the hot glue will easily bleed through the burlap, be sure and do this on a surface you don't care about but won't stick to the glue. Then also make sure to keep it from sticking to the surface (I used a metal scraper for this).


8. When you get about half way, start adding plastic bags. Then continue with the hot glue. Near the end, you will want to make sure the plastic bags fill out the football how you want before you hot glue the last bit!


9. Next I added the wire so that it can hang on the door. The measurement will vary depending on how you want it to hang.


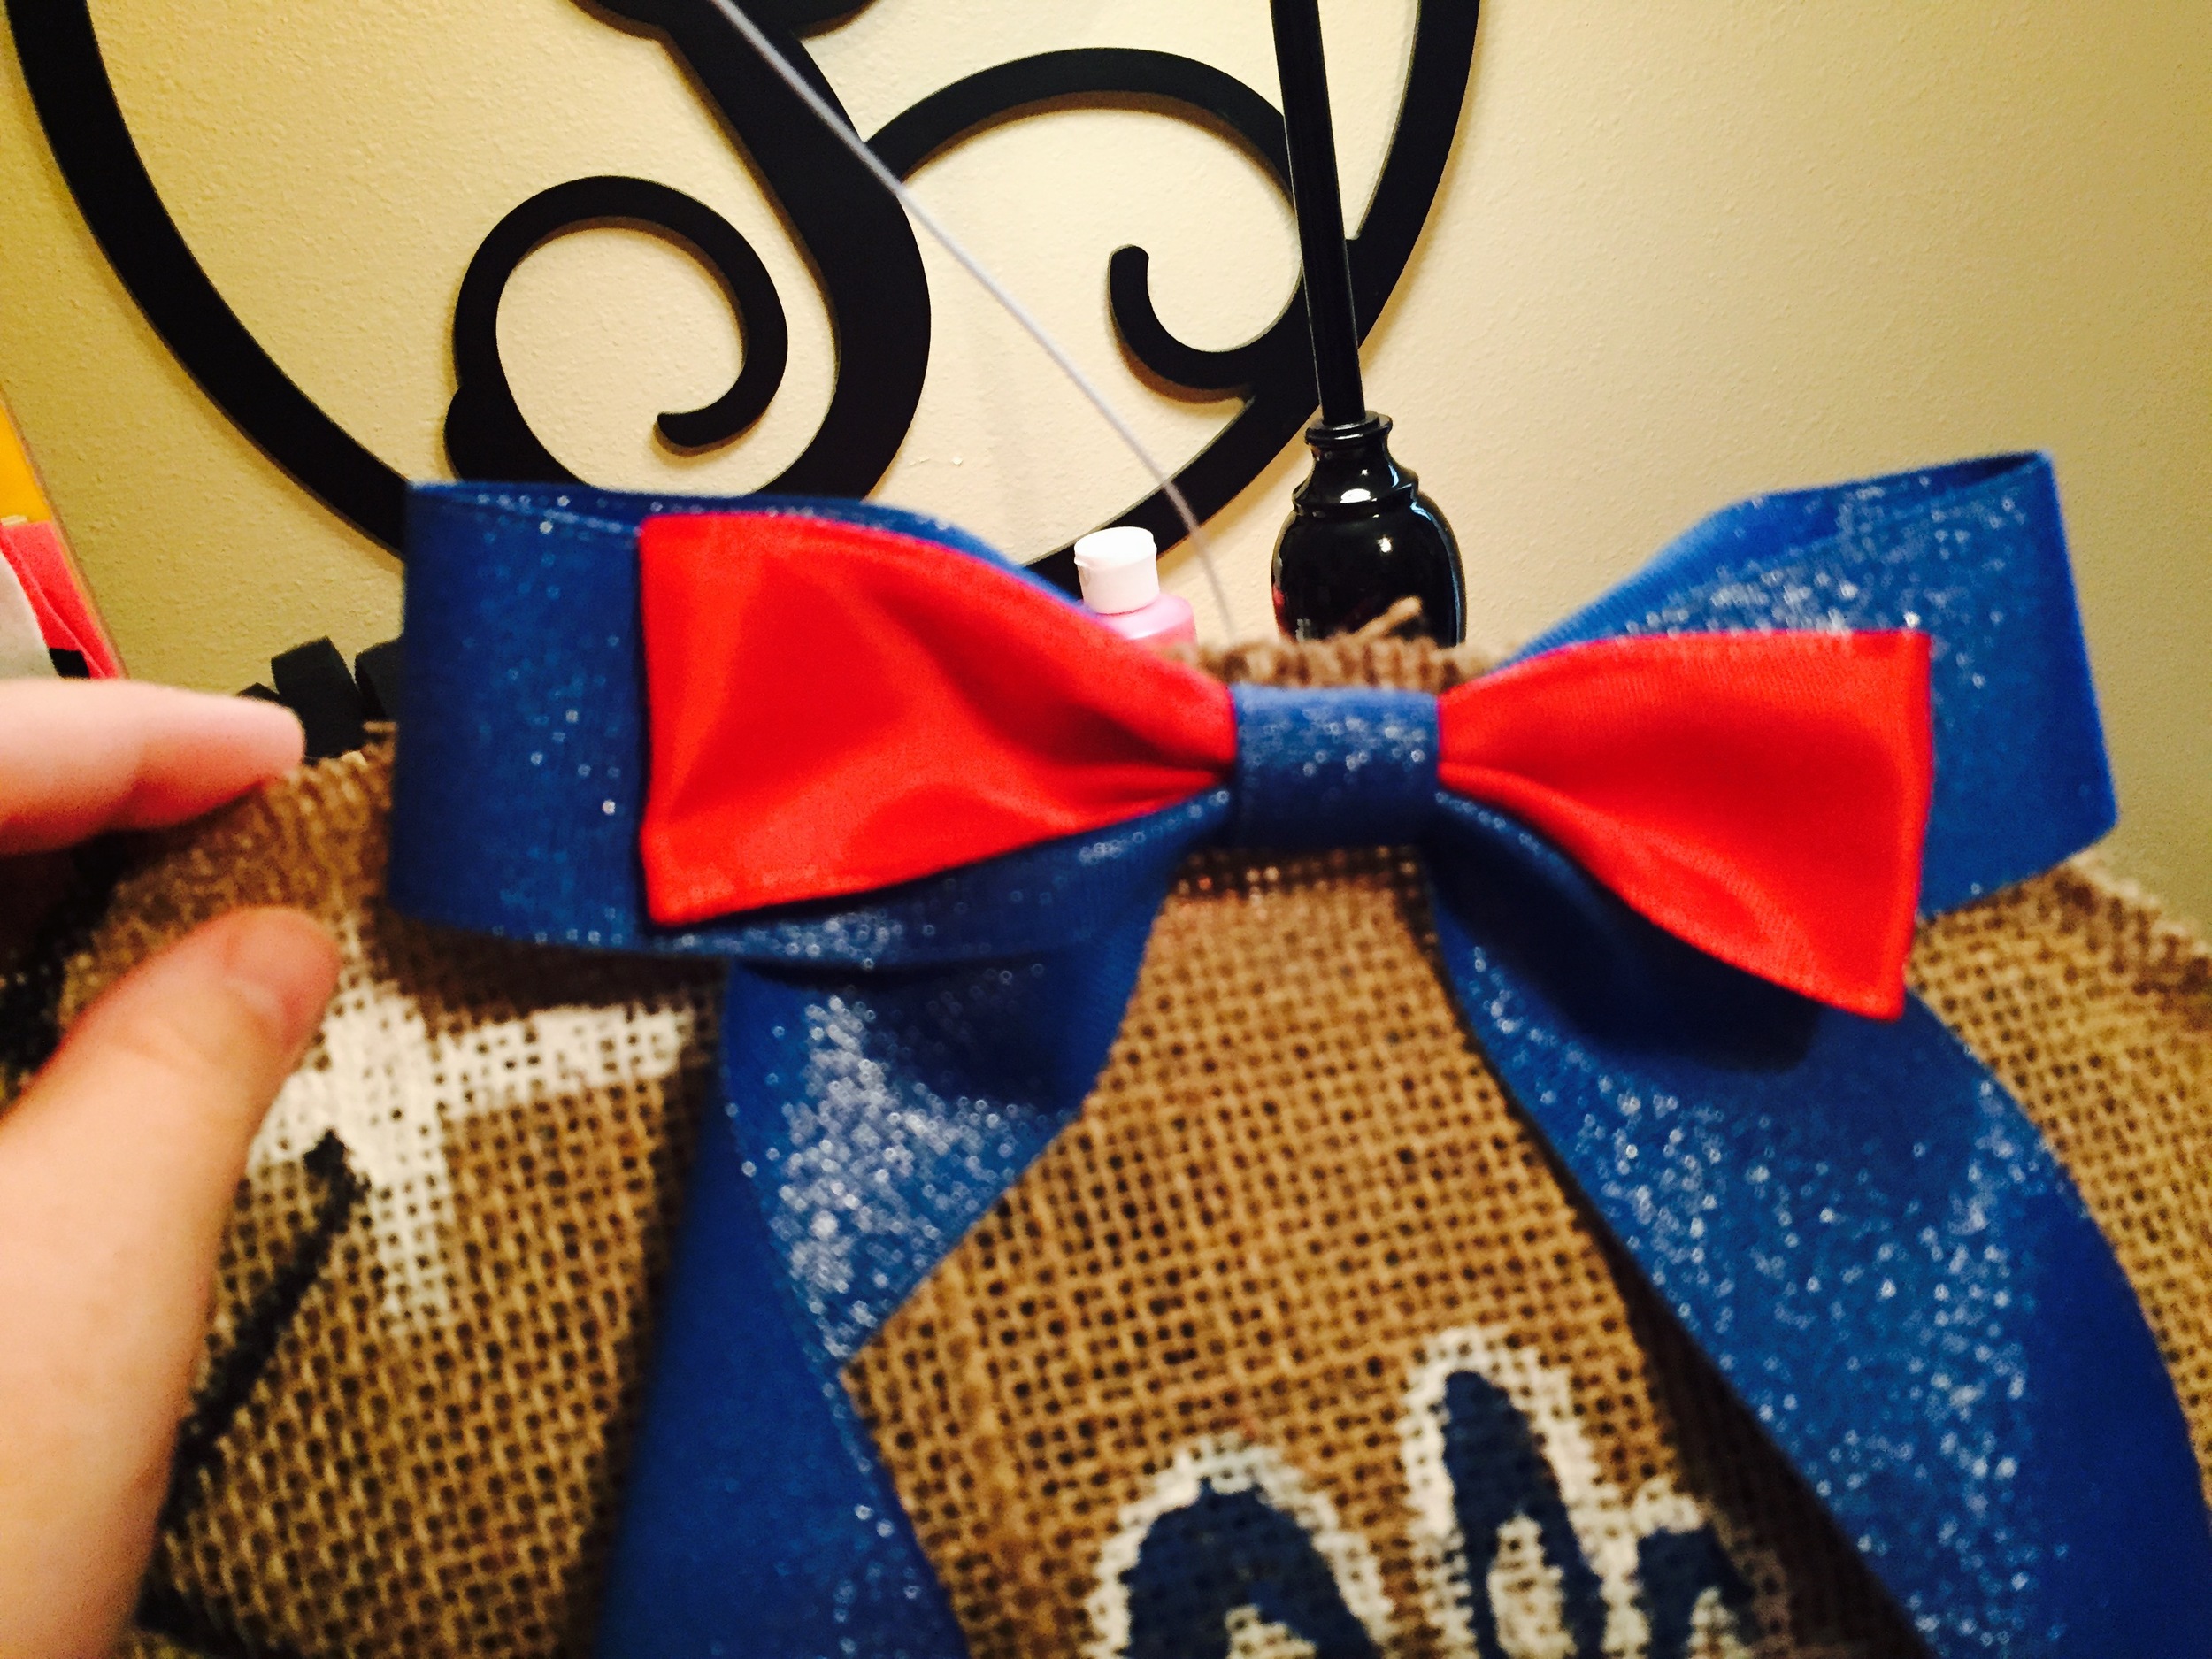
10. I opted to add bows to each side of the football where the wire is to cover it up some and add some cuteness. The size of your ribbon is really your call. I can't remember the exact measurements I used, but I will guess. So for the base of the bow, I cut approximately 18 inches of wire ribbon. I folded it like an "X". Then I used another piece of ribbon and cut it about 8 inches. I folded that piece of ribbon in half then placed it on top of the previous ribbon. I squished them together (yes, that is a technical term :P), and attached them using wire. I did this for both sets. The ribbons matched the team. Lastly, I cut a small piece of the first ribbon used and used hot glue to attach it over the wire.


11. Now I attached the bow to the door hanger. I slid wire through the back of the bow I made. Then I attached the bow to the door hanger using the wire. I cut the extra ribbon off so that all of the door hanger is seen.


12. All done!


