Silhouette Cameo Projects Part One
Brad bought me a Silhouette Cameo 3 for Christmas last year. I wanted one for a while, and I was ecstatic when he finally bought me one. I started doing projects almost immediately. As you may have read, a lot of Melody's first birthday was done using my Cameo. Below are some of the projects I have done so far!
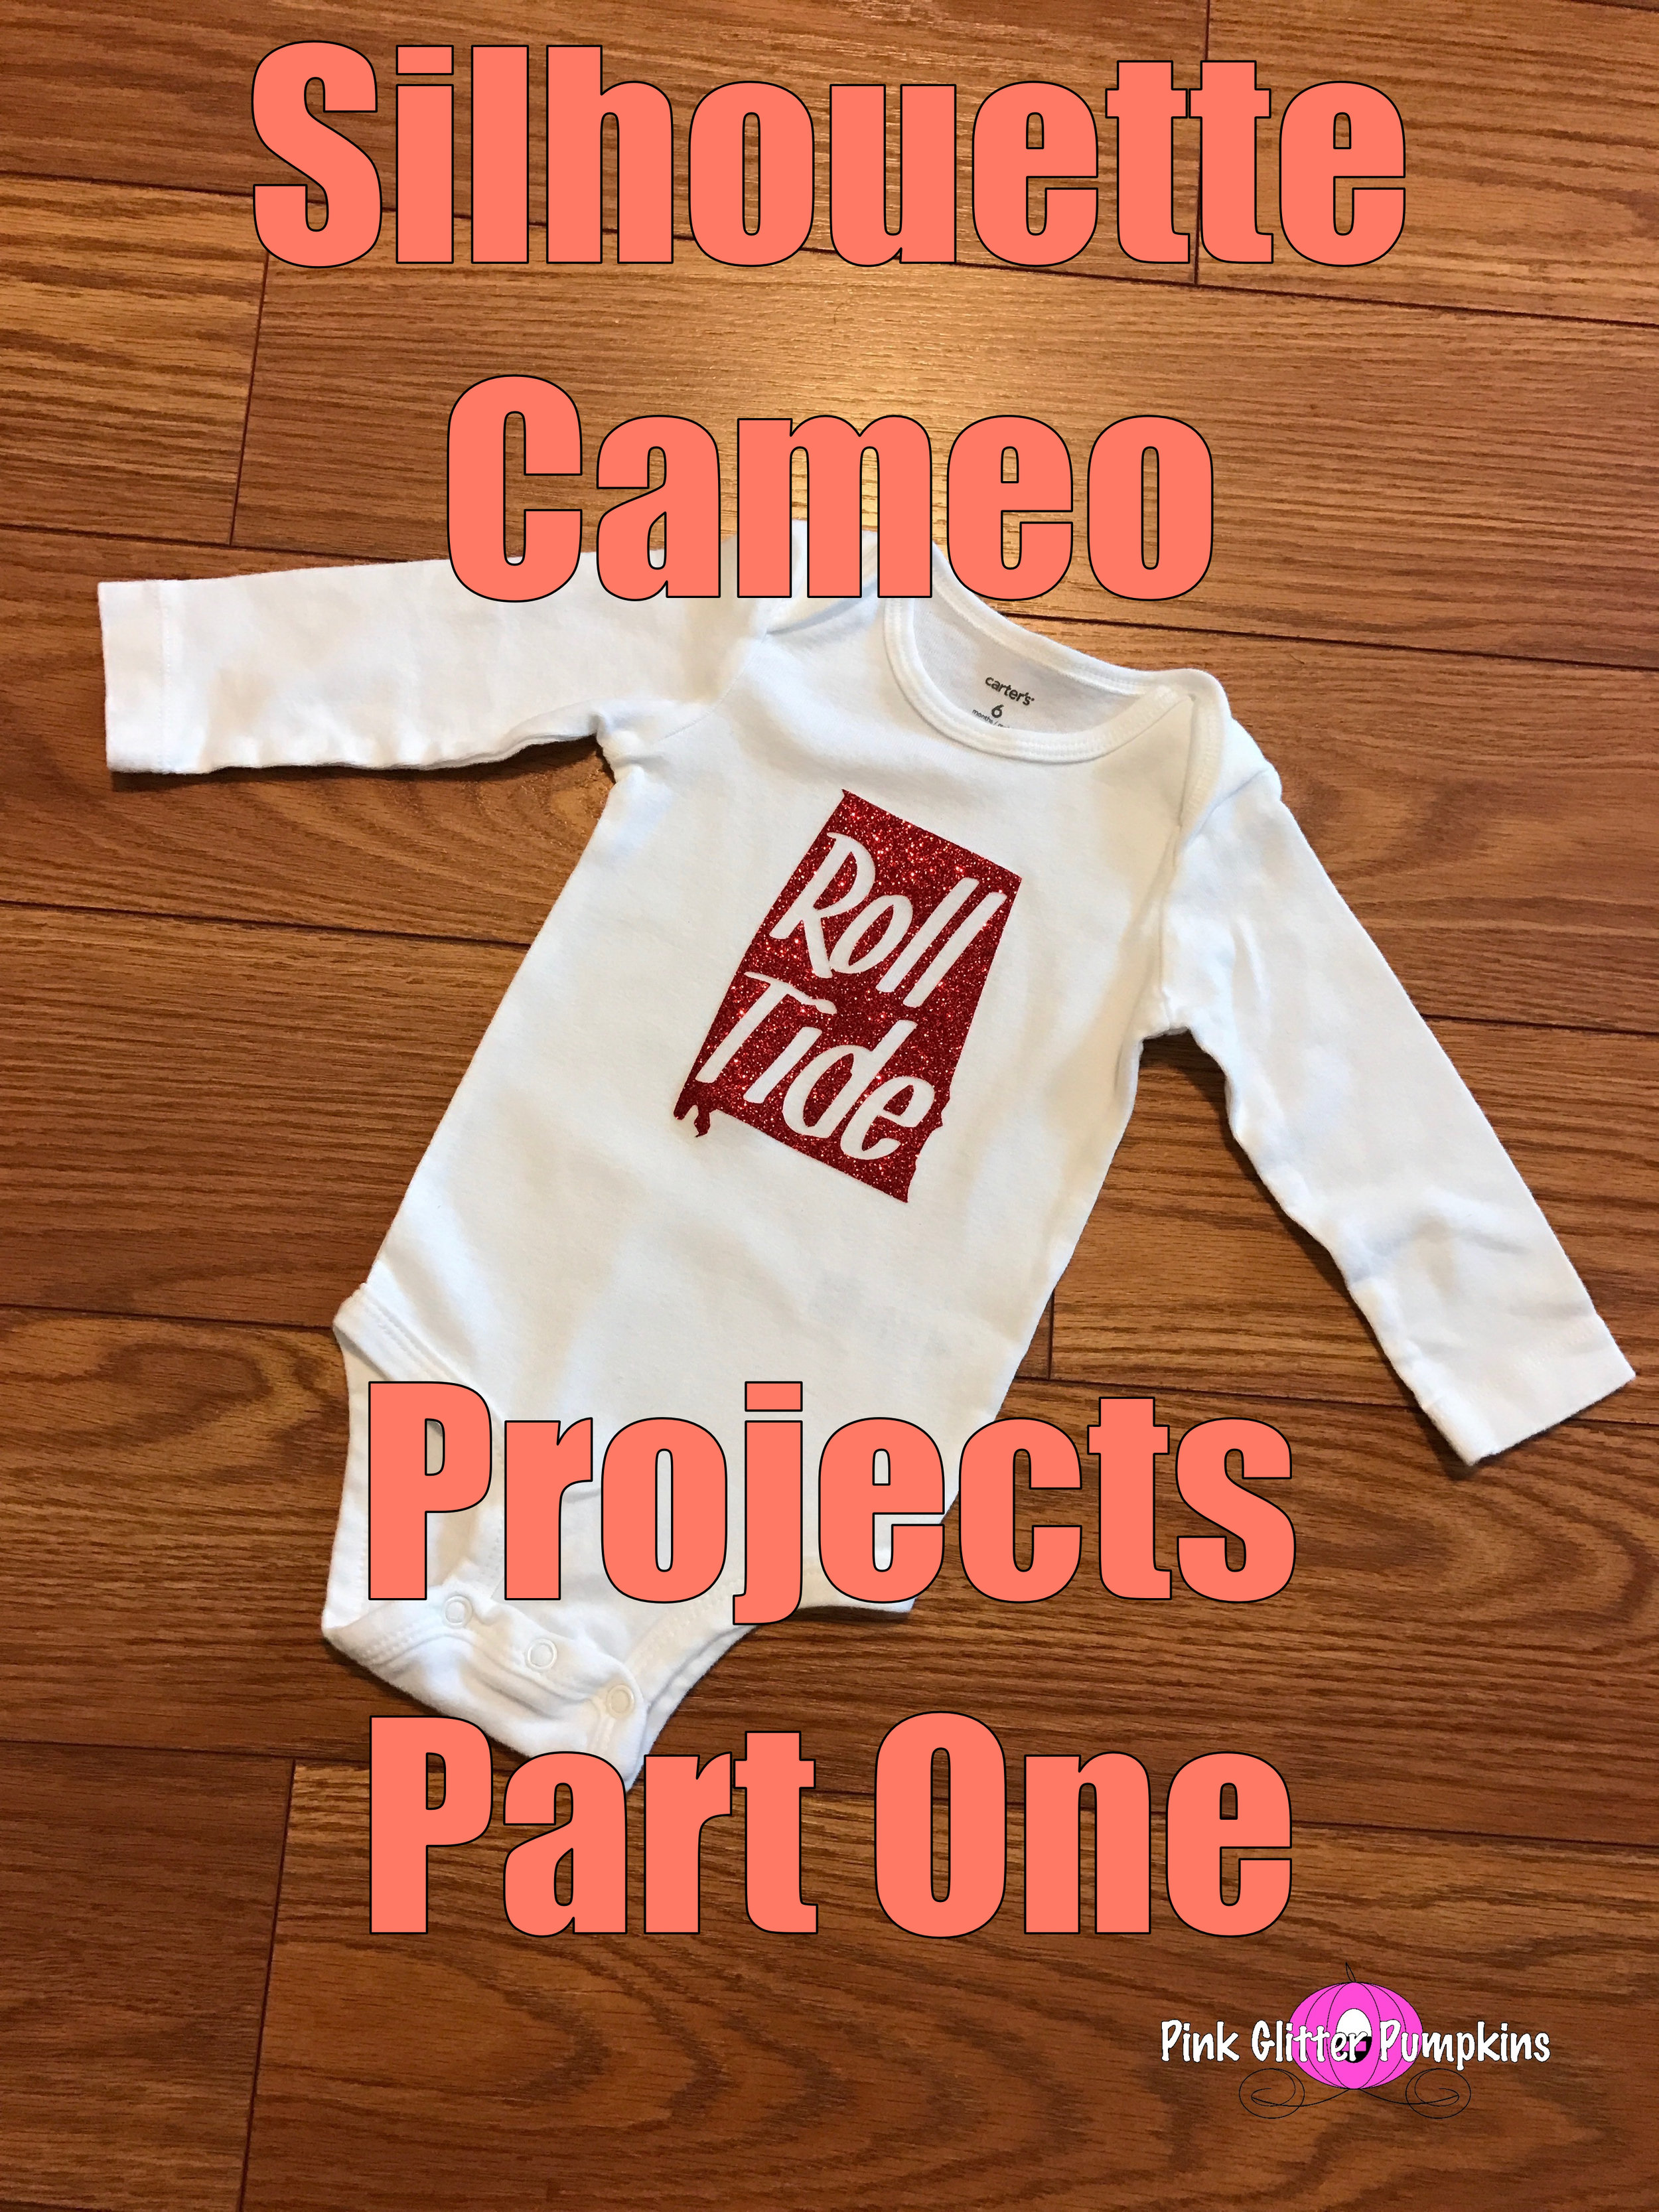
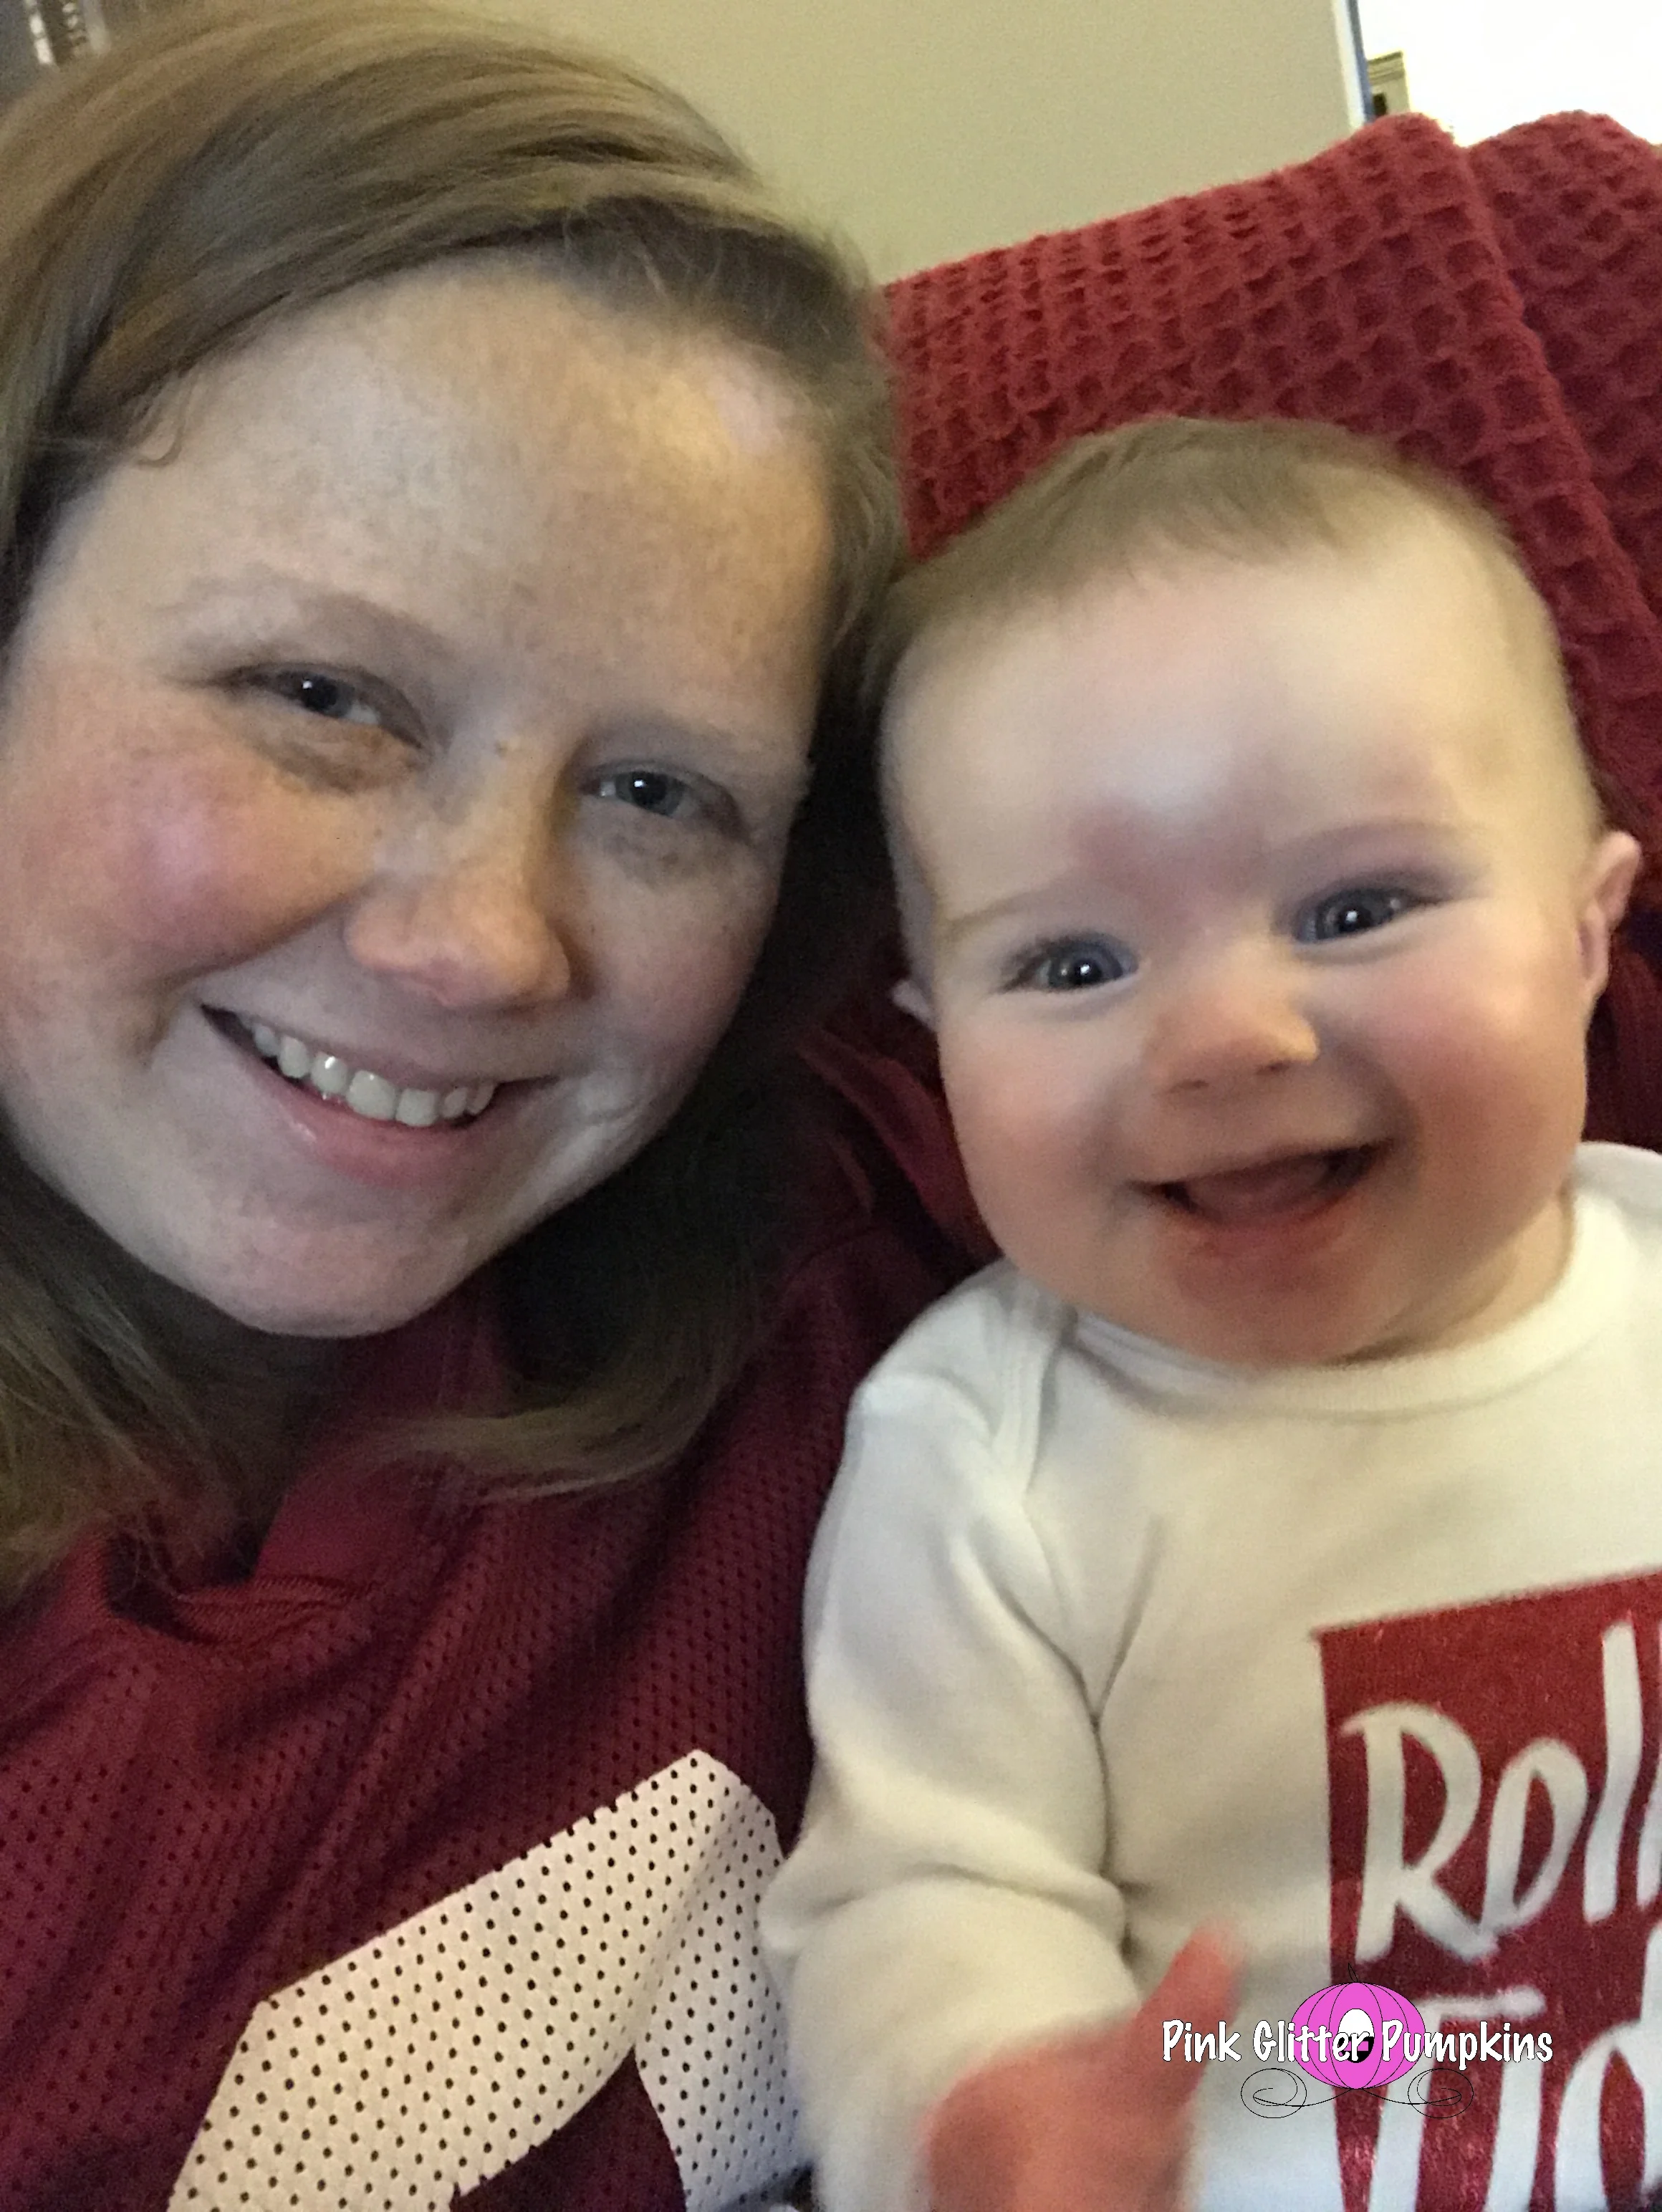
My very first project was an Alabama onesie I made Melody for the National Championship. I freehanded the state of Alabama in the software. Then I inserted the text "Roll Tide". I used an iron to apply the transfer to a onesie. Melody didn't get to wear this outfit as much as I would have liked for her to simply because of its size. I applied it to a 6 month onesie I just had laying around. At that time she was almost 8 months old! I will probably cut this design again and apply it to another larger shirt for her to wear this fall!
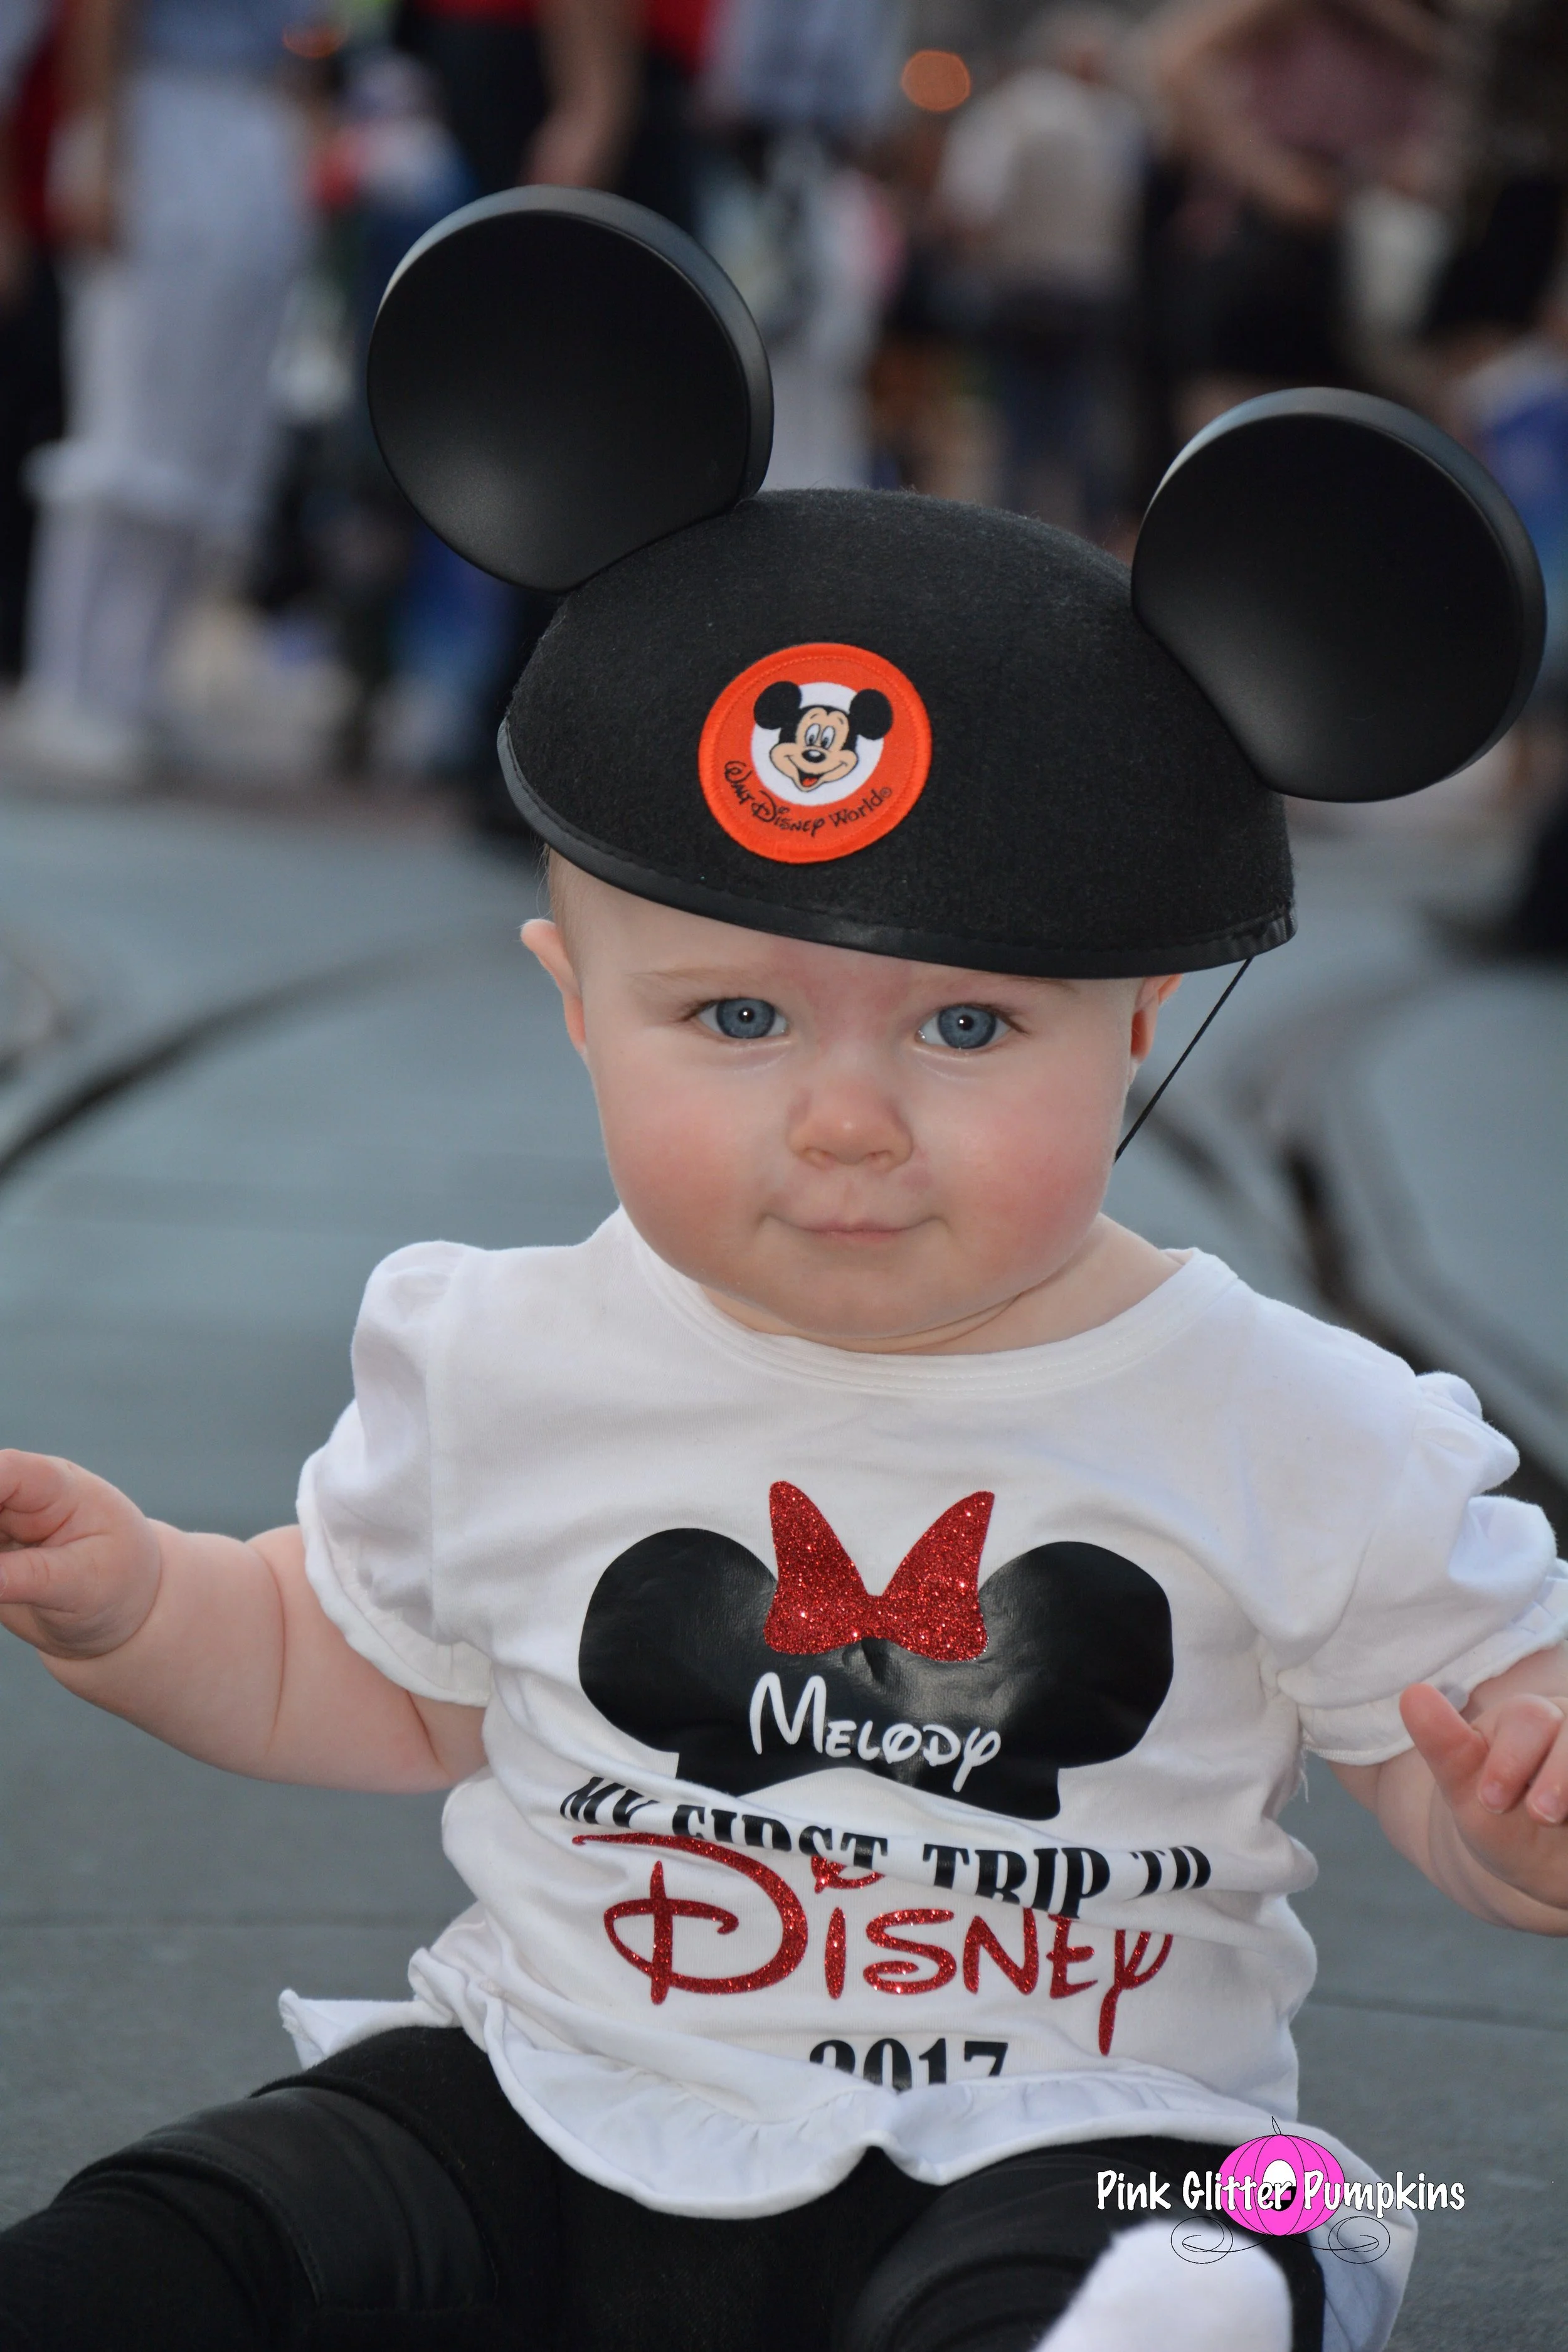
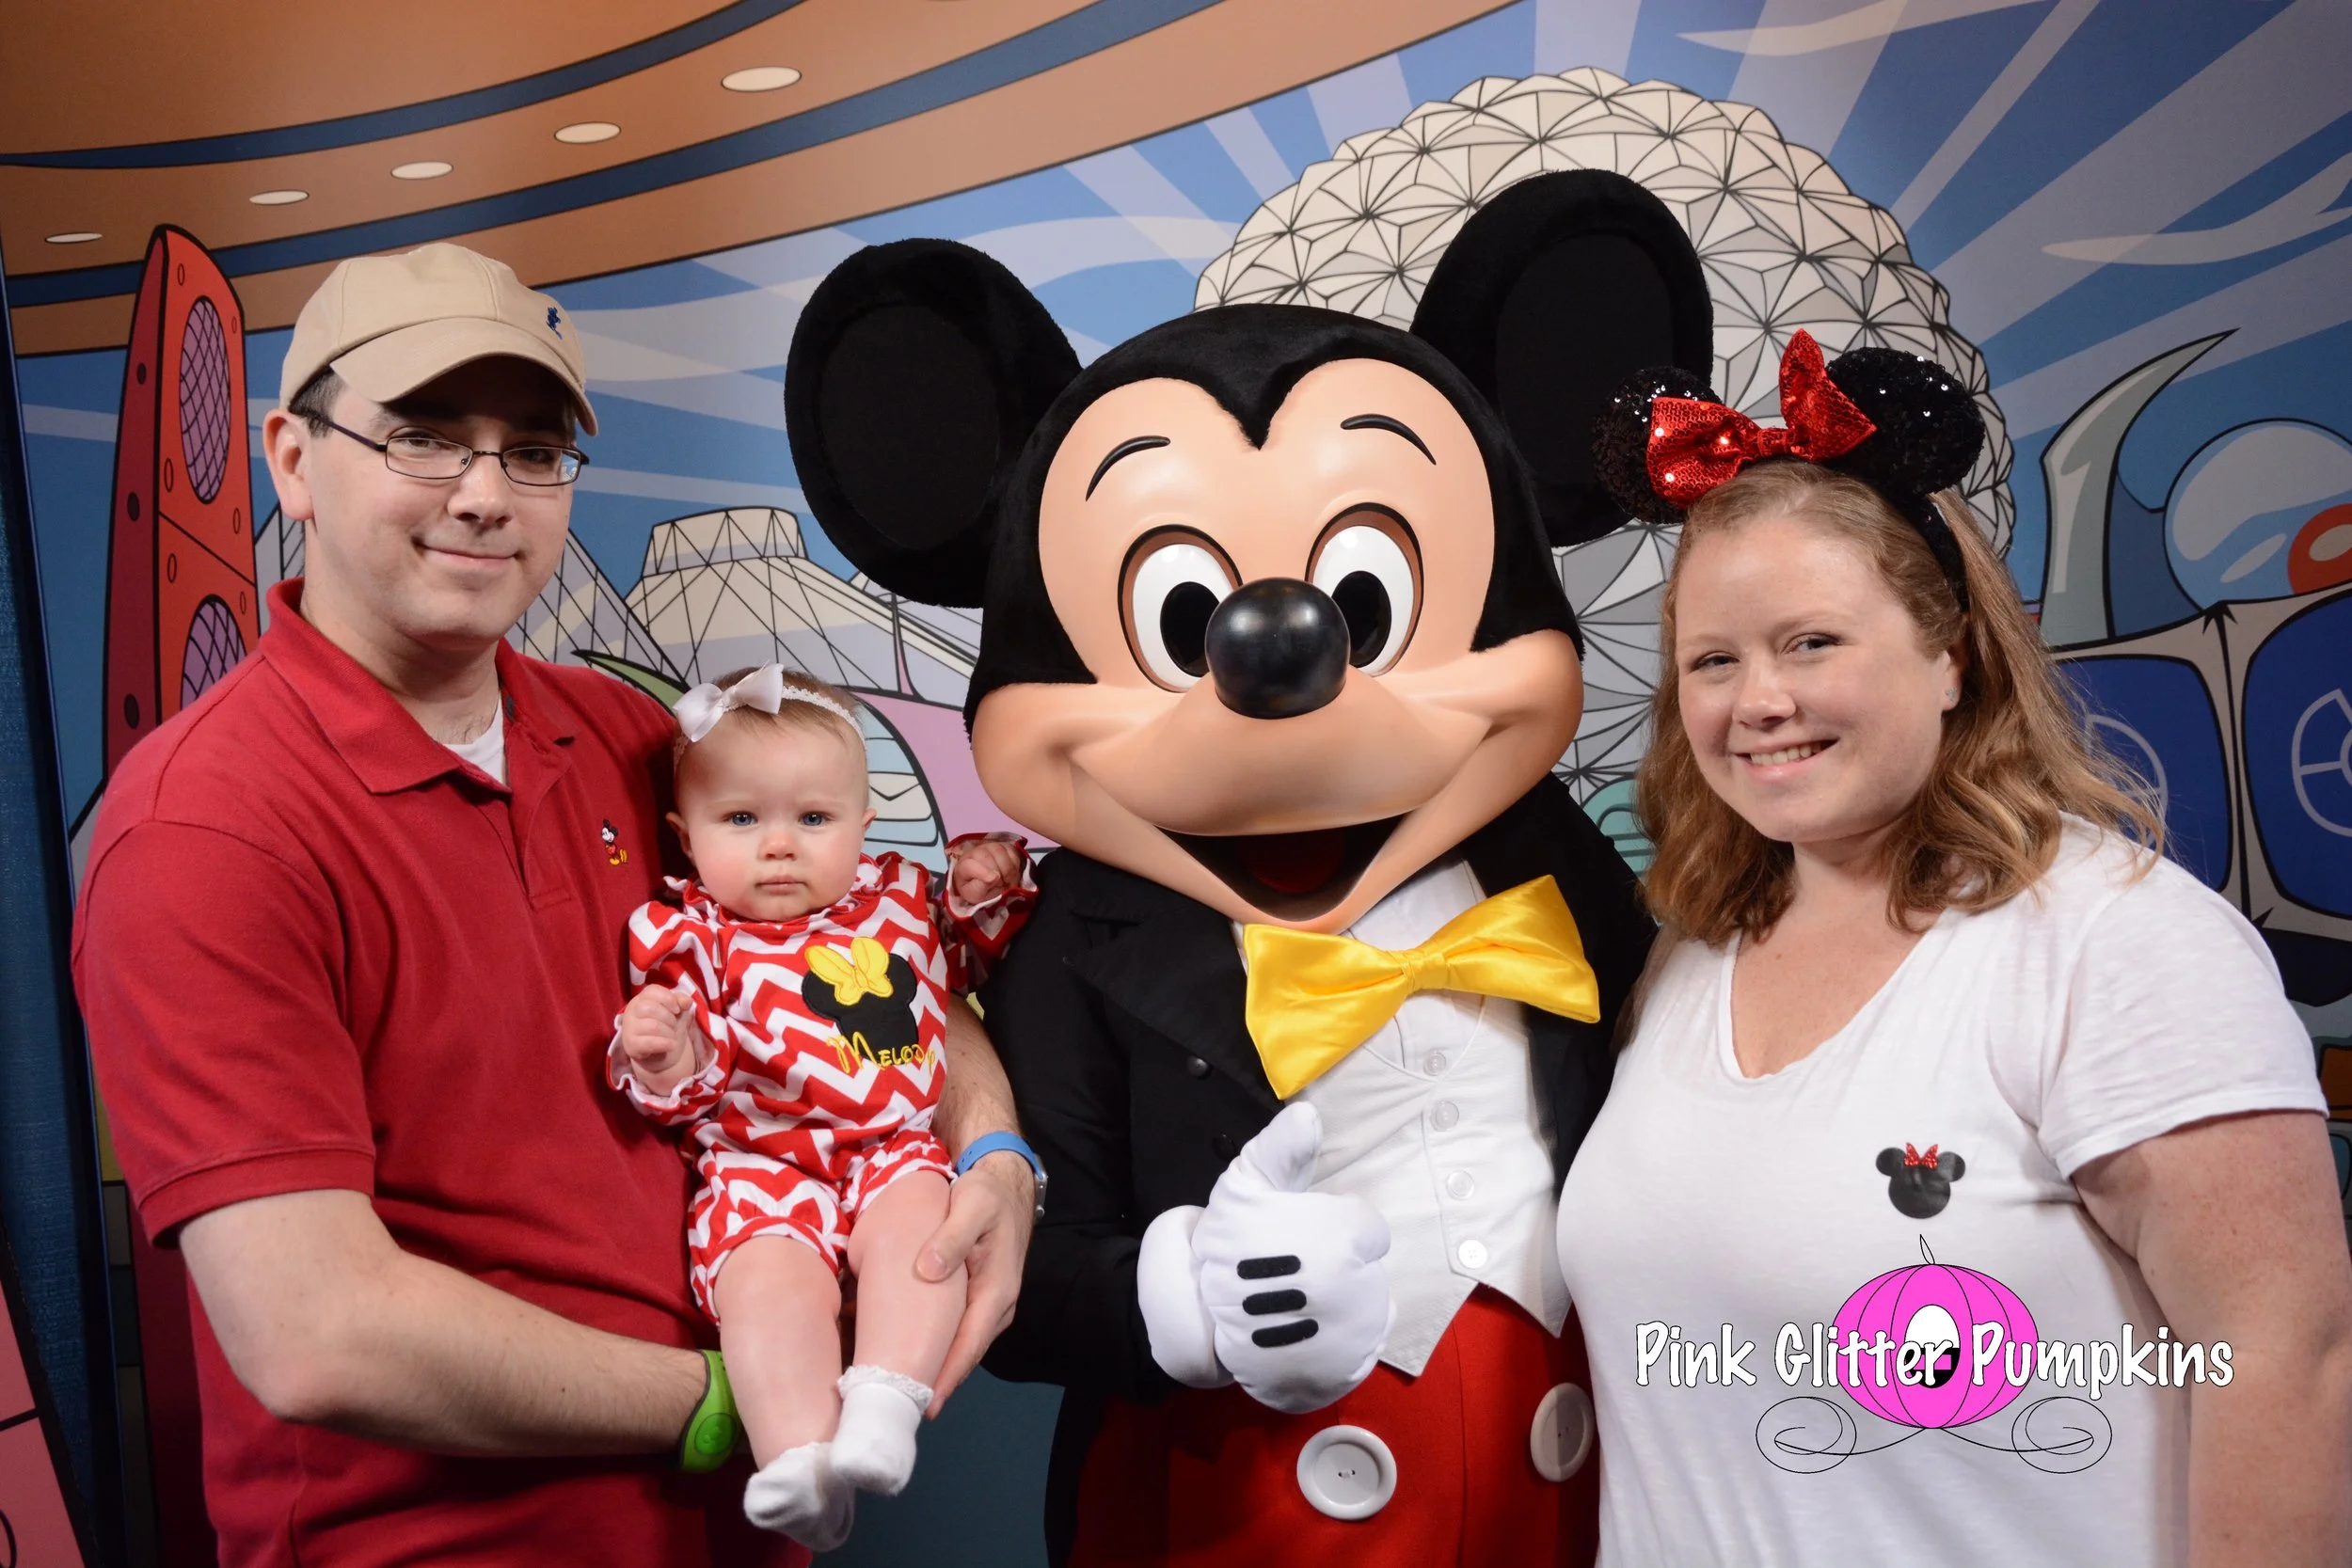
The next projects were shirts for our Disney trip in February. One shirt I made was to mimic Cinderella's castle. I drew this myself using different shapes. Then I added the Mickey outline as the door. I also used this for our monorail countdown I wrote about before. I found this shirt off of Amazon, and she can still wear it today at 15 months old [7 months later!]. I also wanted a shirt to document her first trip to Disney World. I drew Mickey Ears and added a bow to the top of them. I also added her name to the ears. She wore this for some cute pictures in front of Cinderella's castle. She could still wear this shirt if it made sense, but I have put it in a box to keep safe. The last Disney shirt made was for me. I had a white shirt laying around, so I decided to had a Mickey head along with a bow to it. Very small and simple, but it was still cute.
For Valentine's Day, I made Melody another onesie out of one laying around the house. It was also a 6 month onesie, so it did not get a lot of use. I didn't draw this image either. The Cameo came with a free $25 credit to the Silhouette store, so I used it to purchase this (and many more) images.
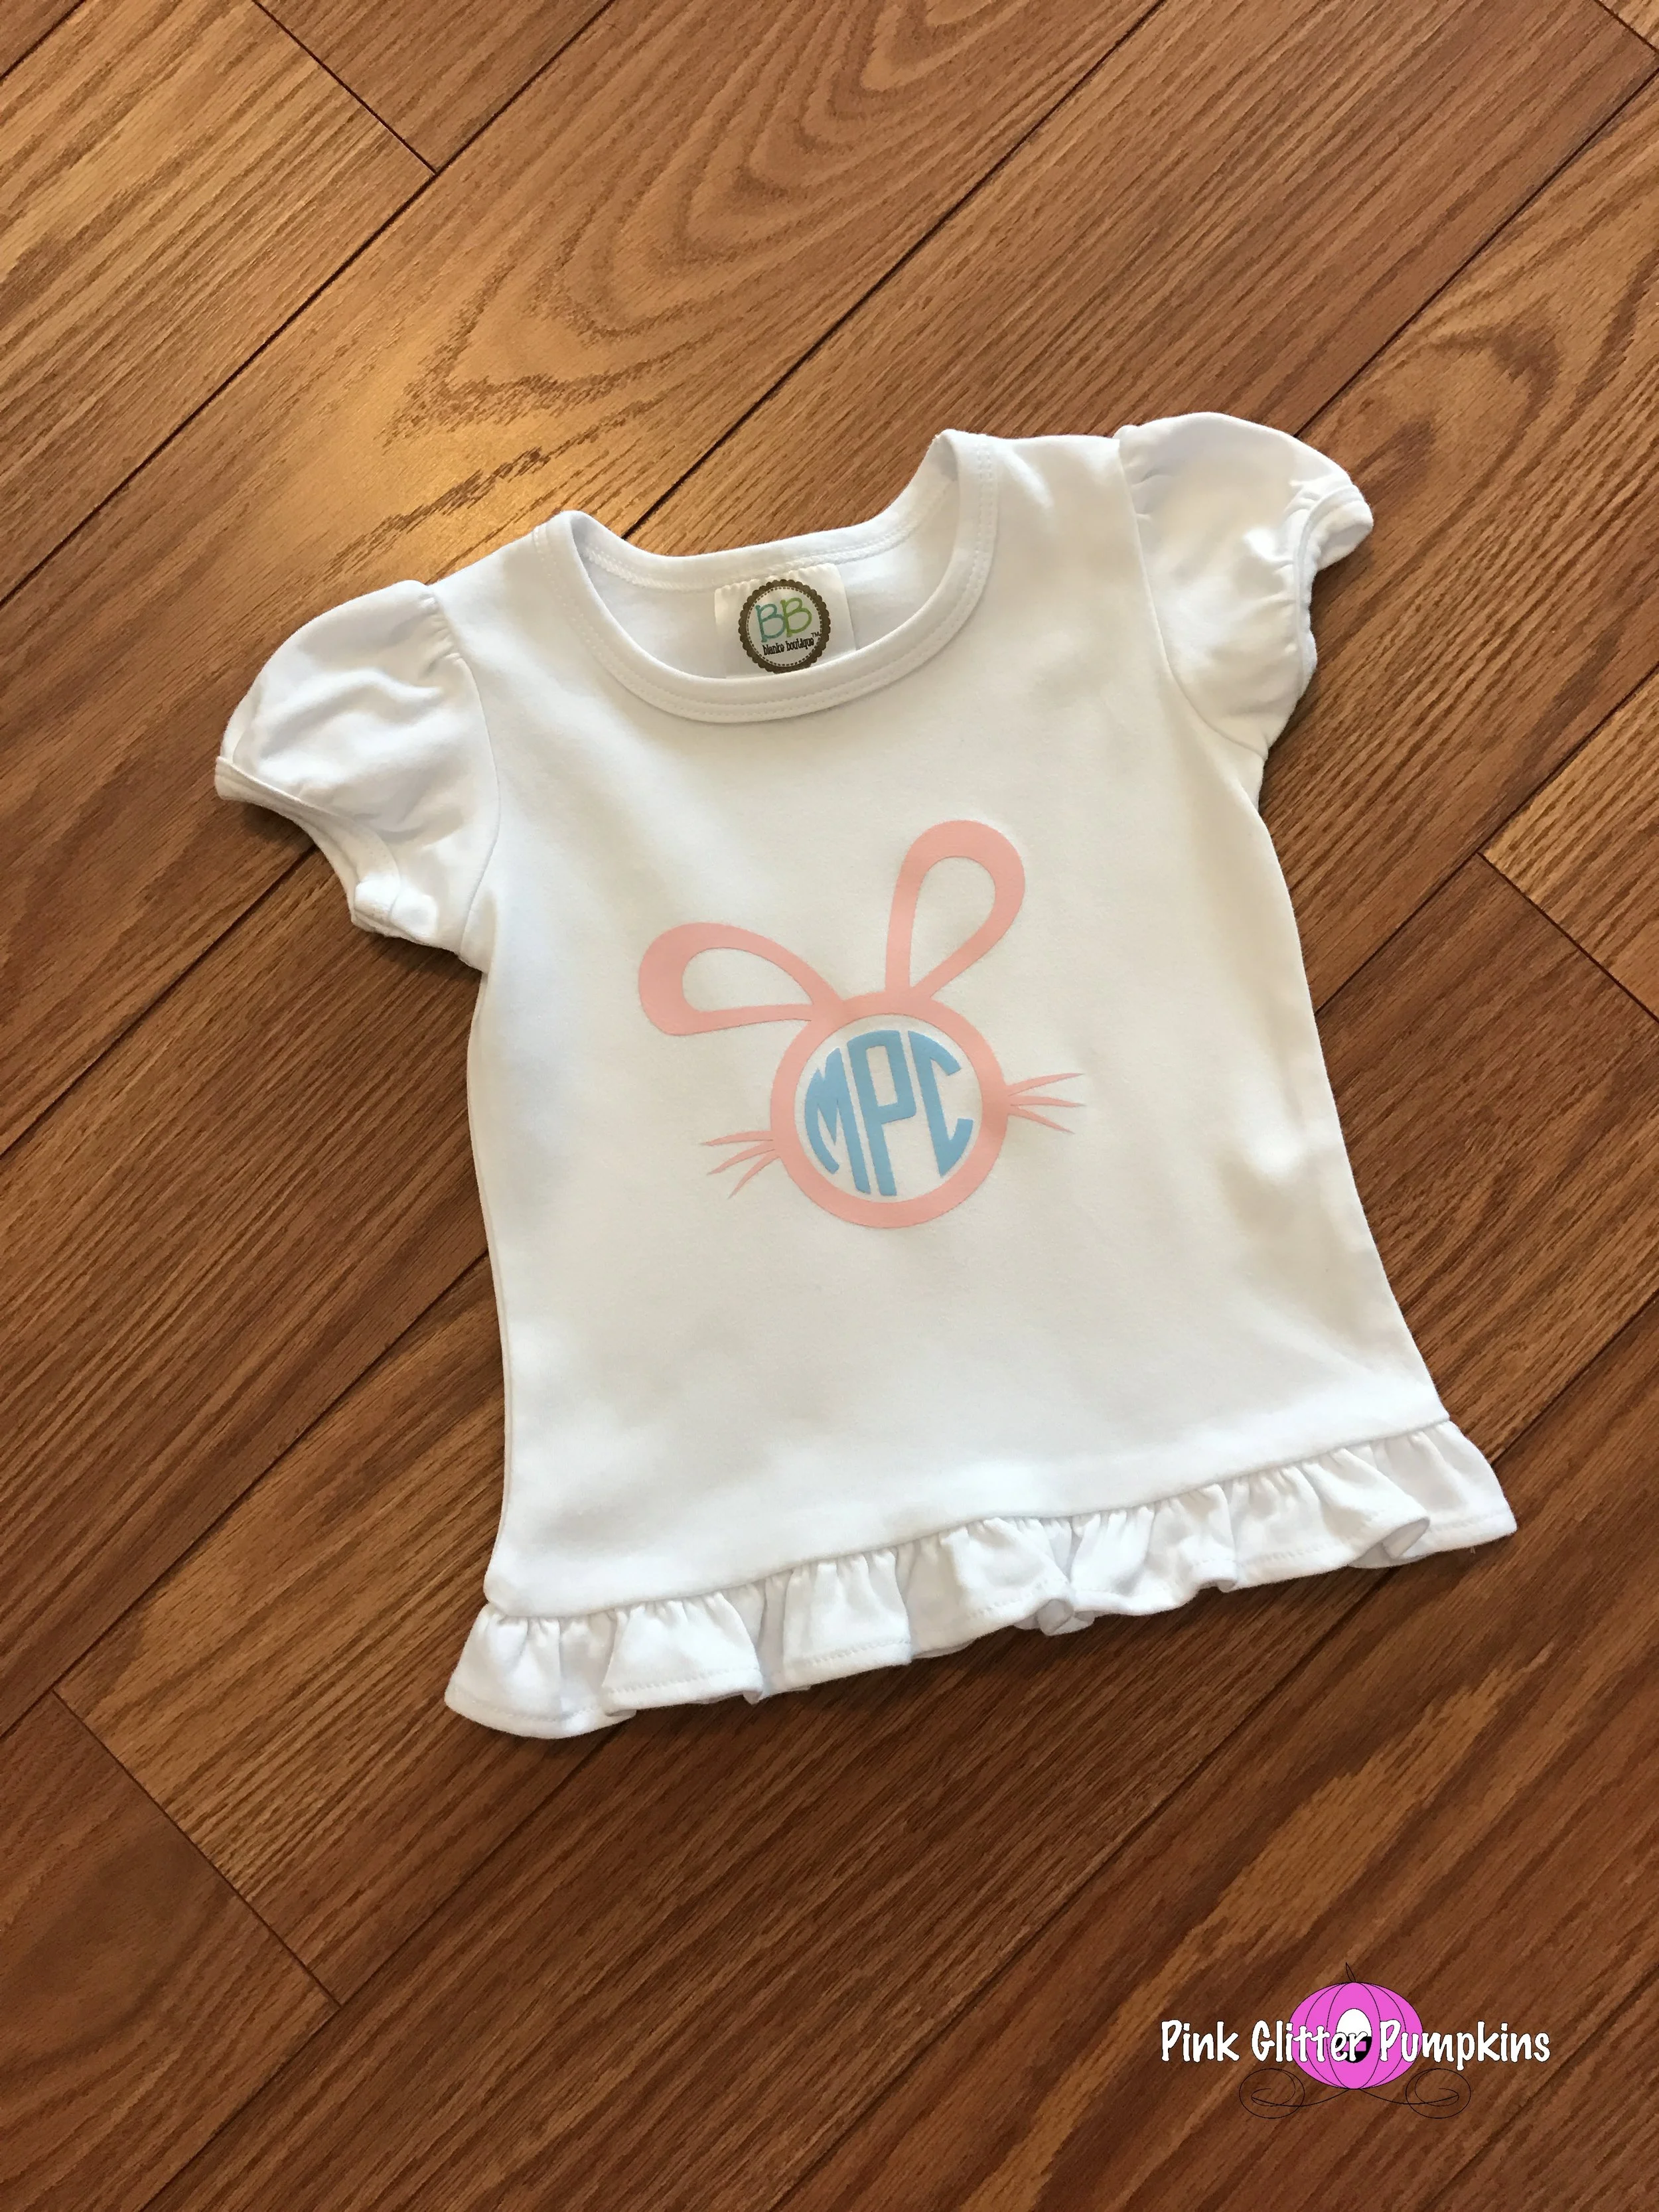
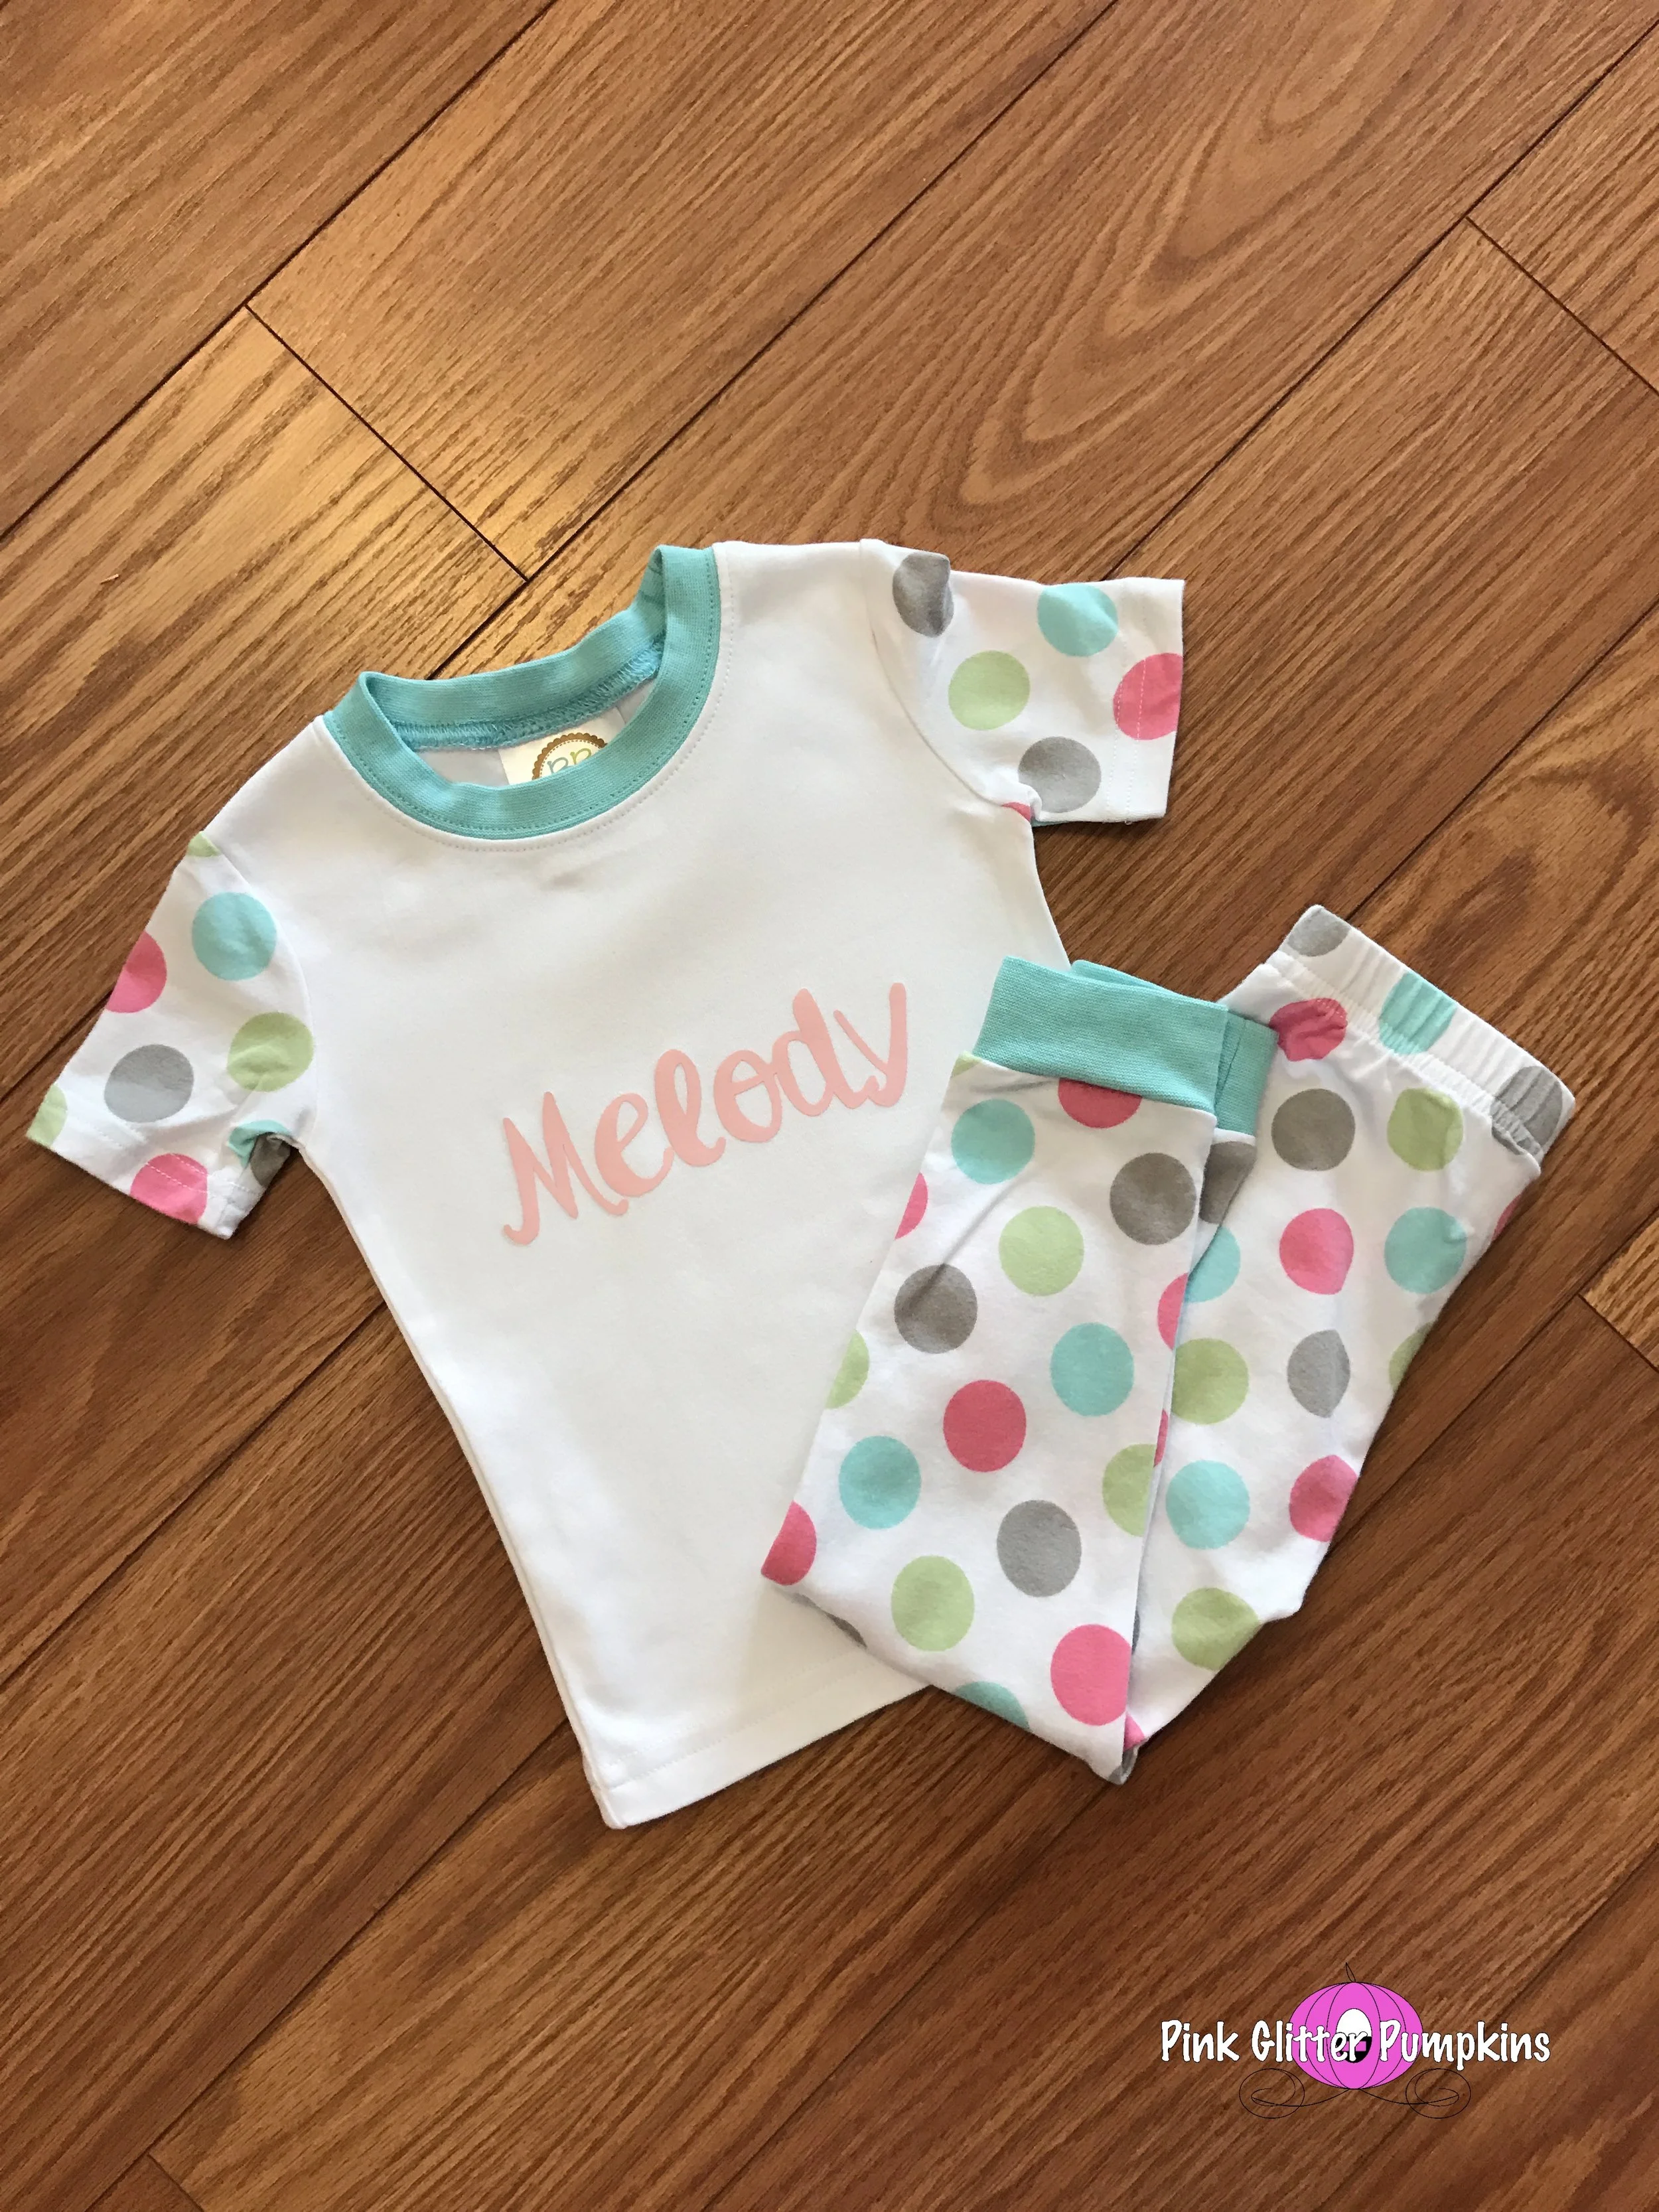
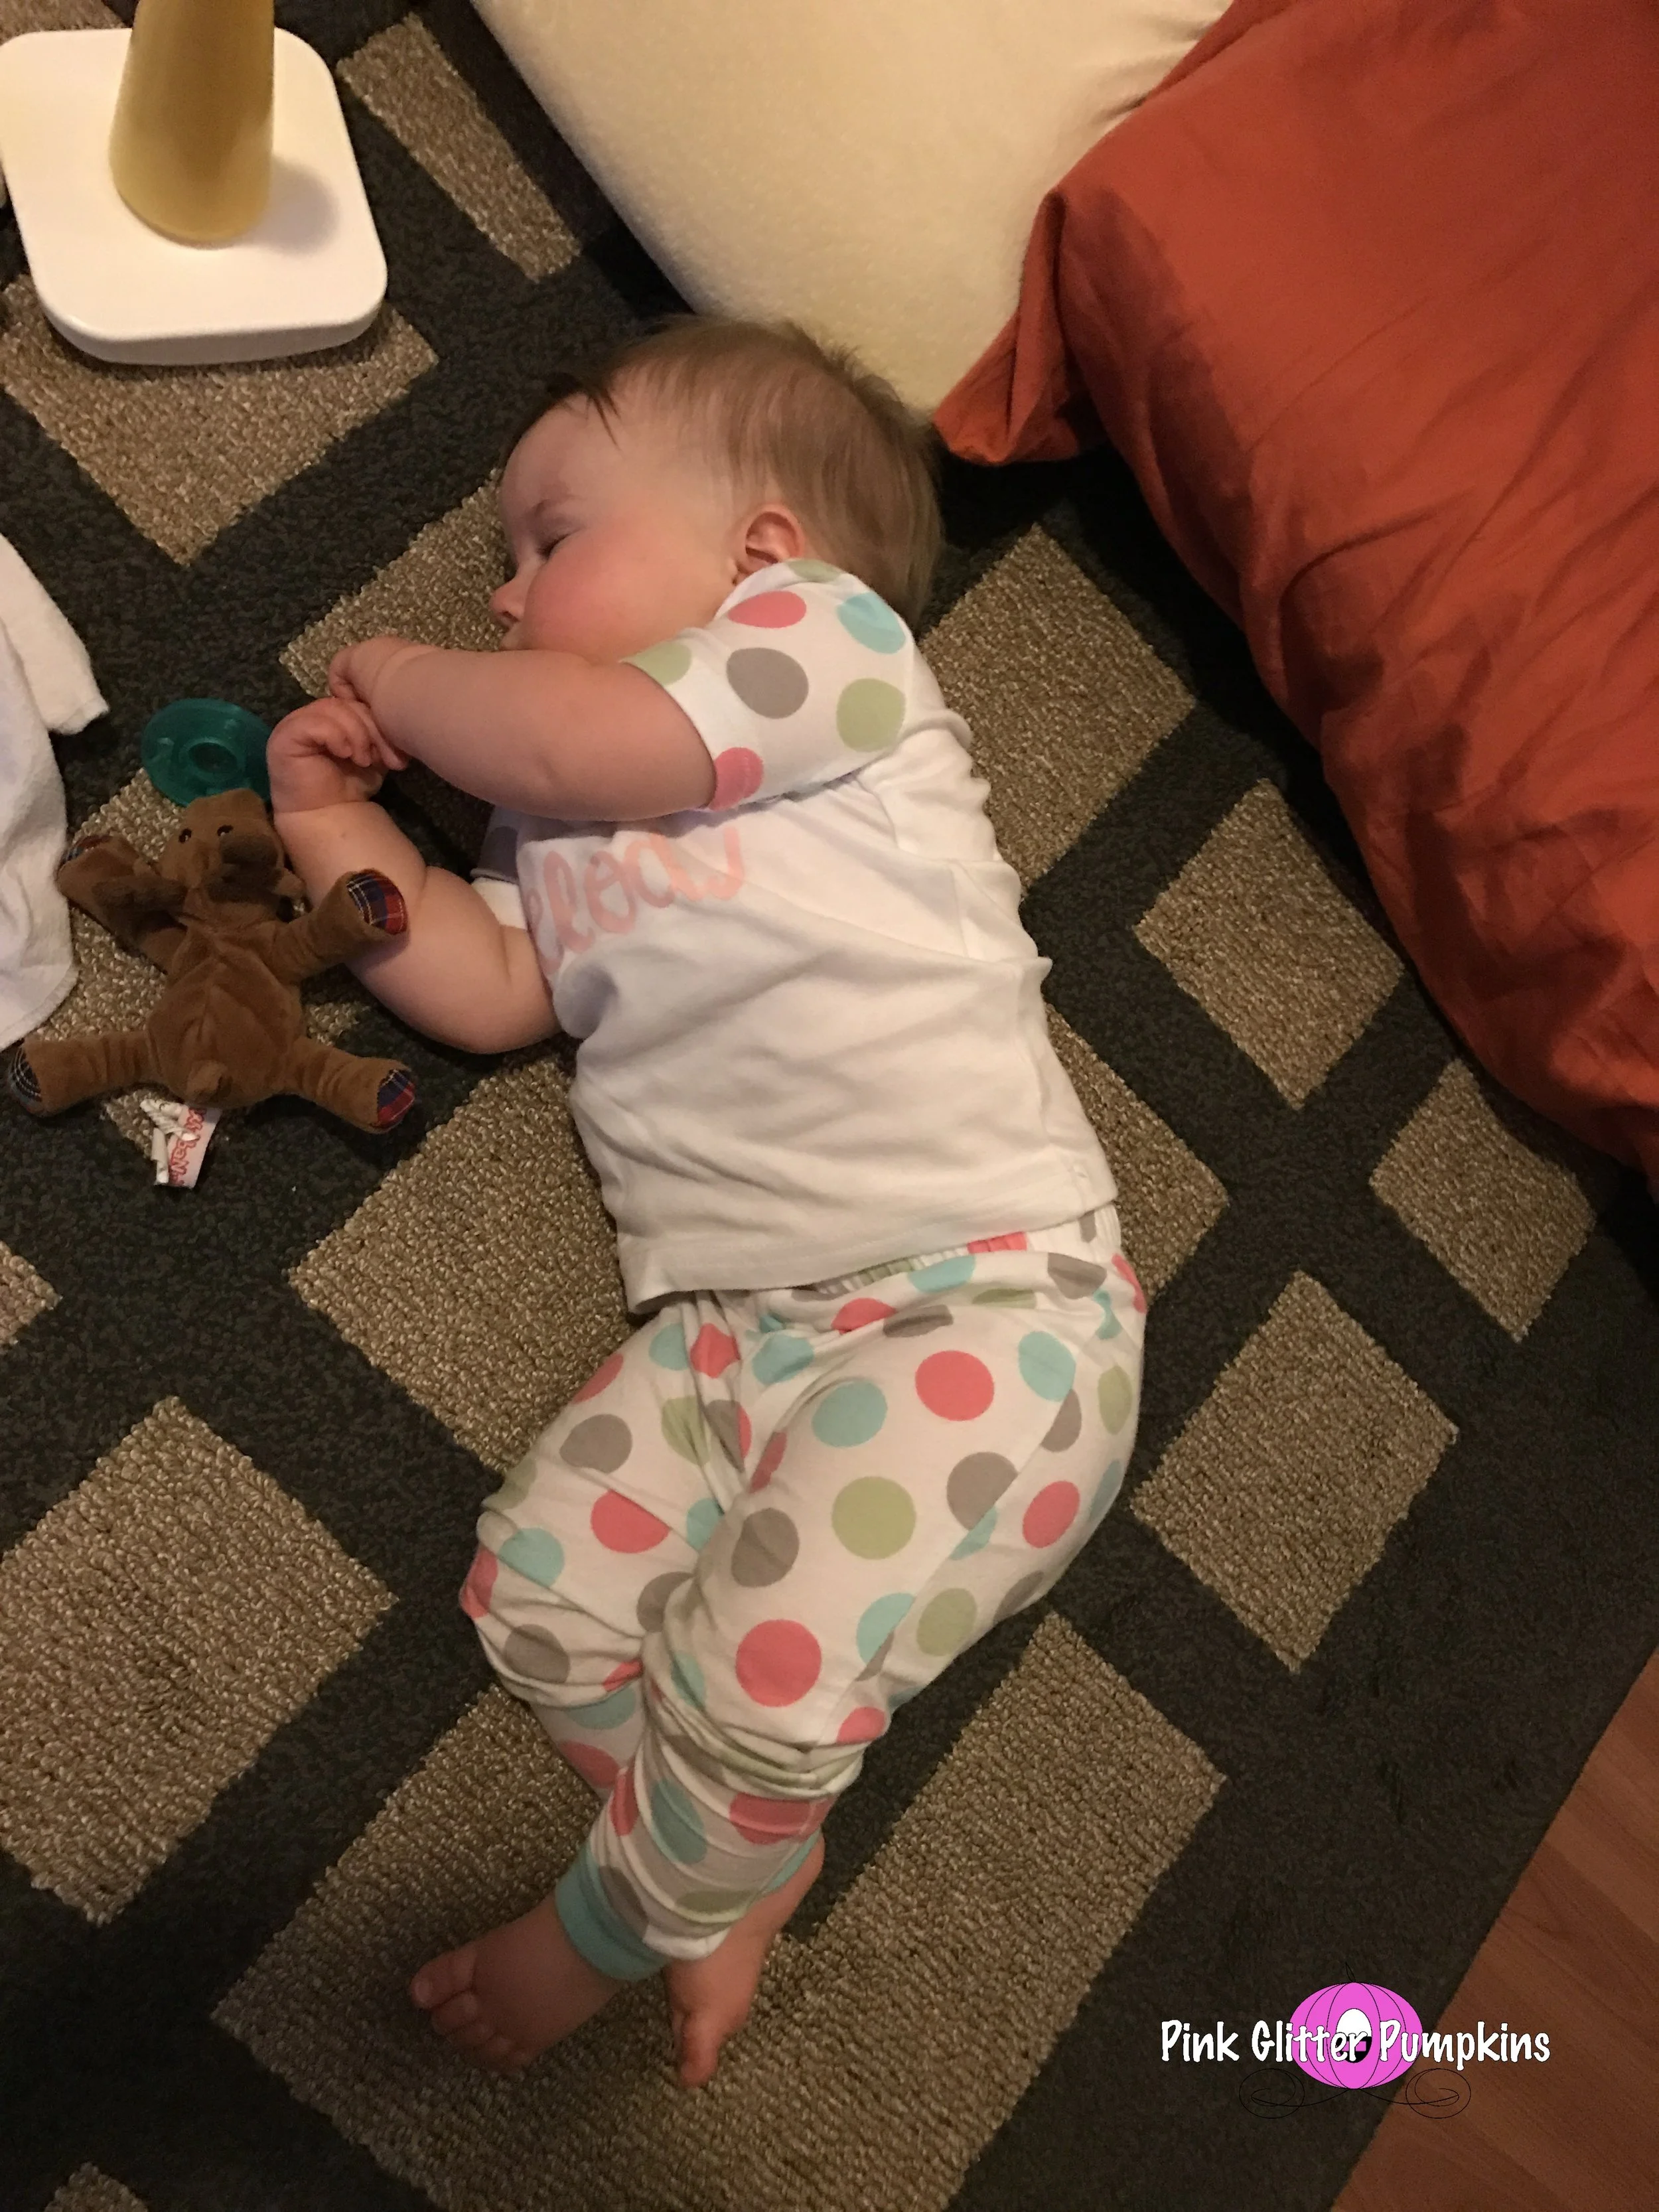
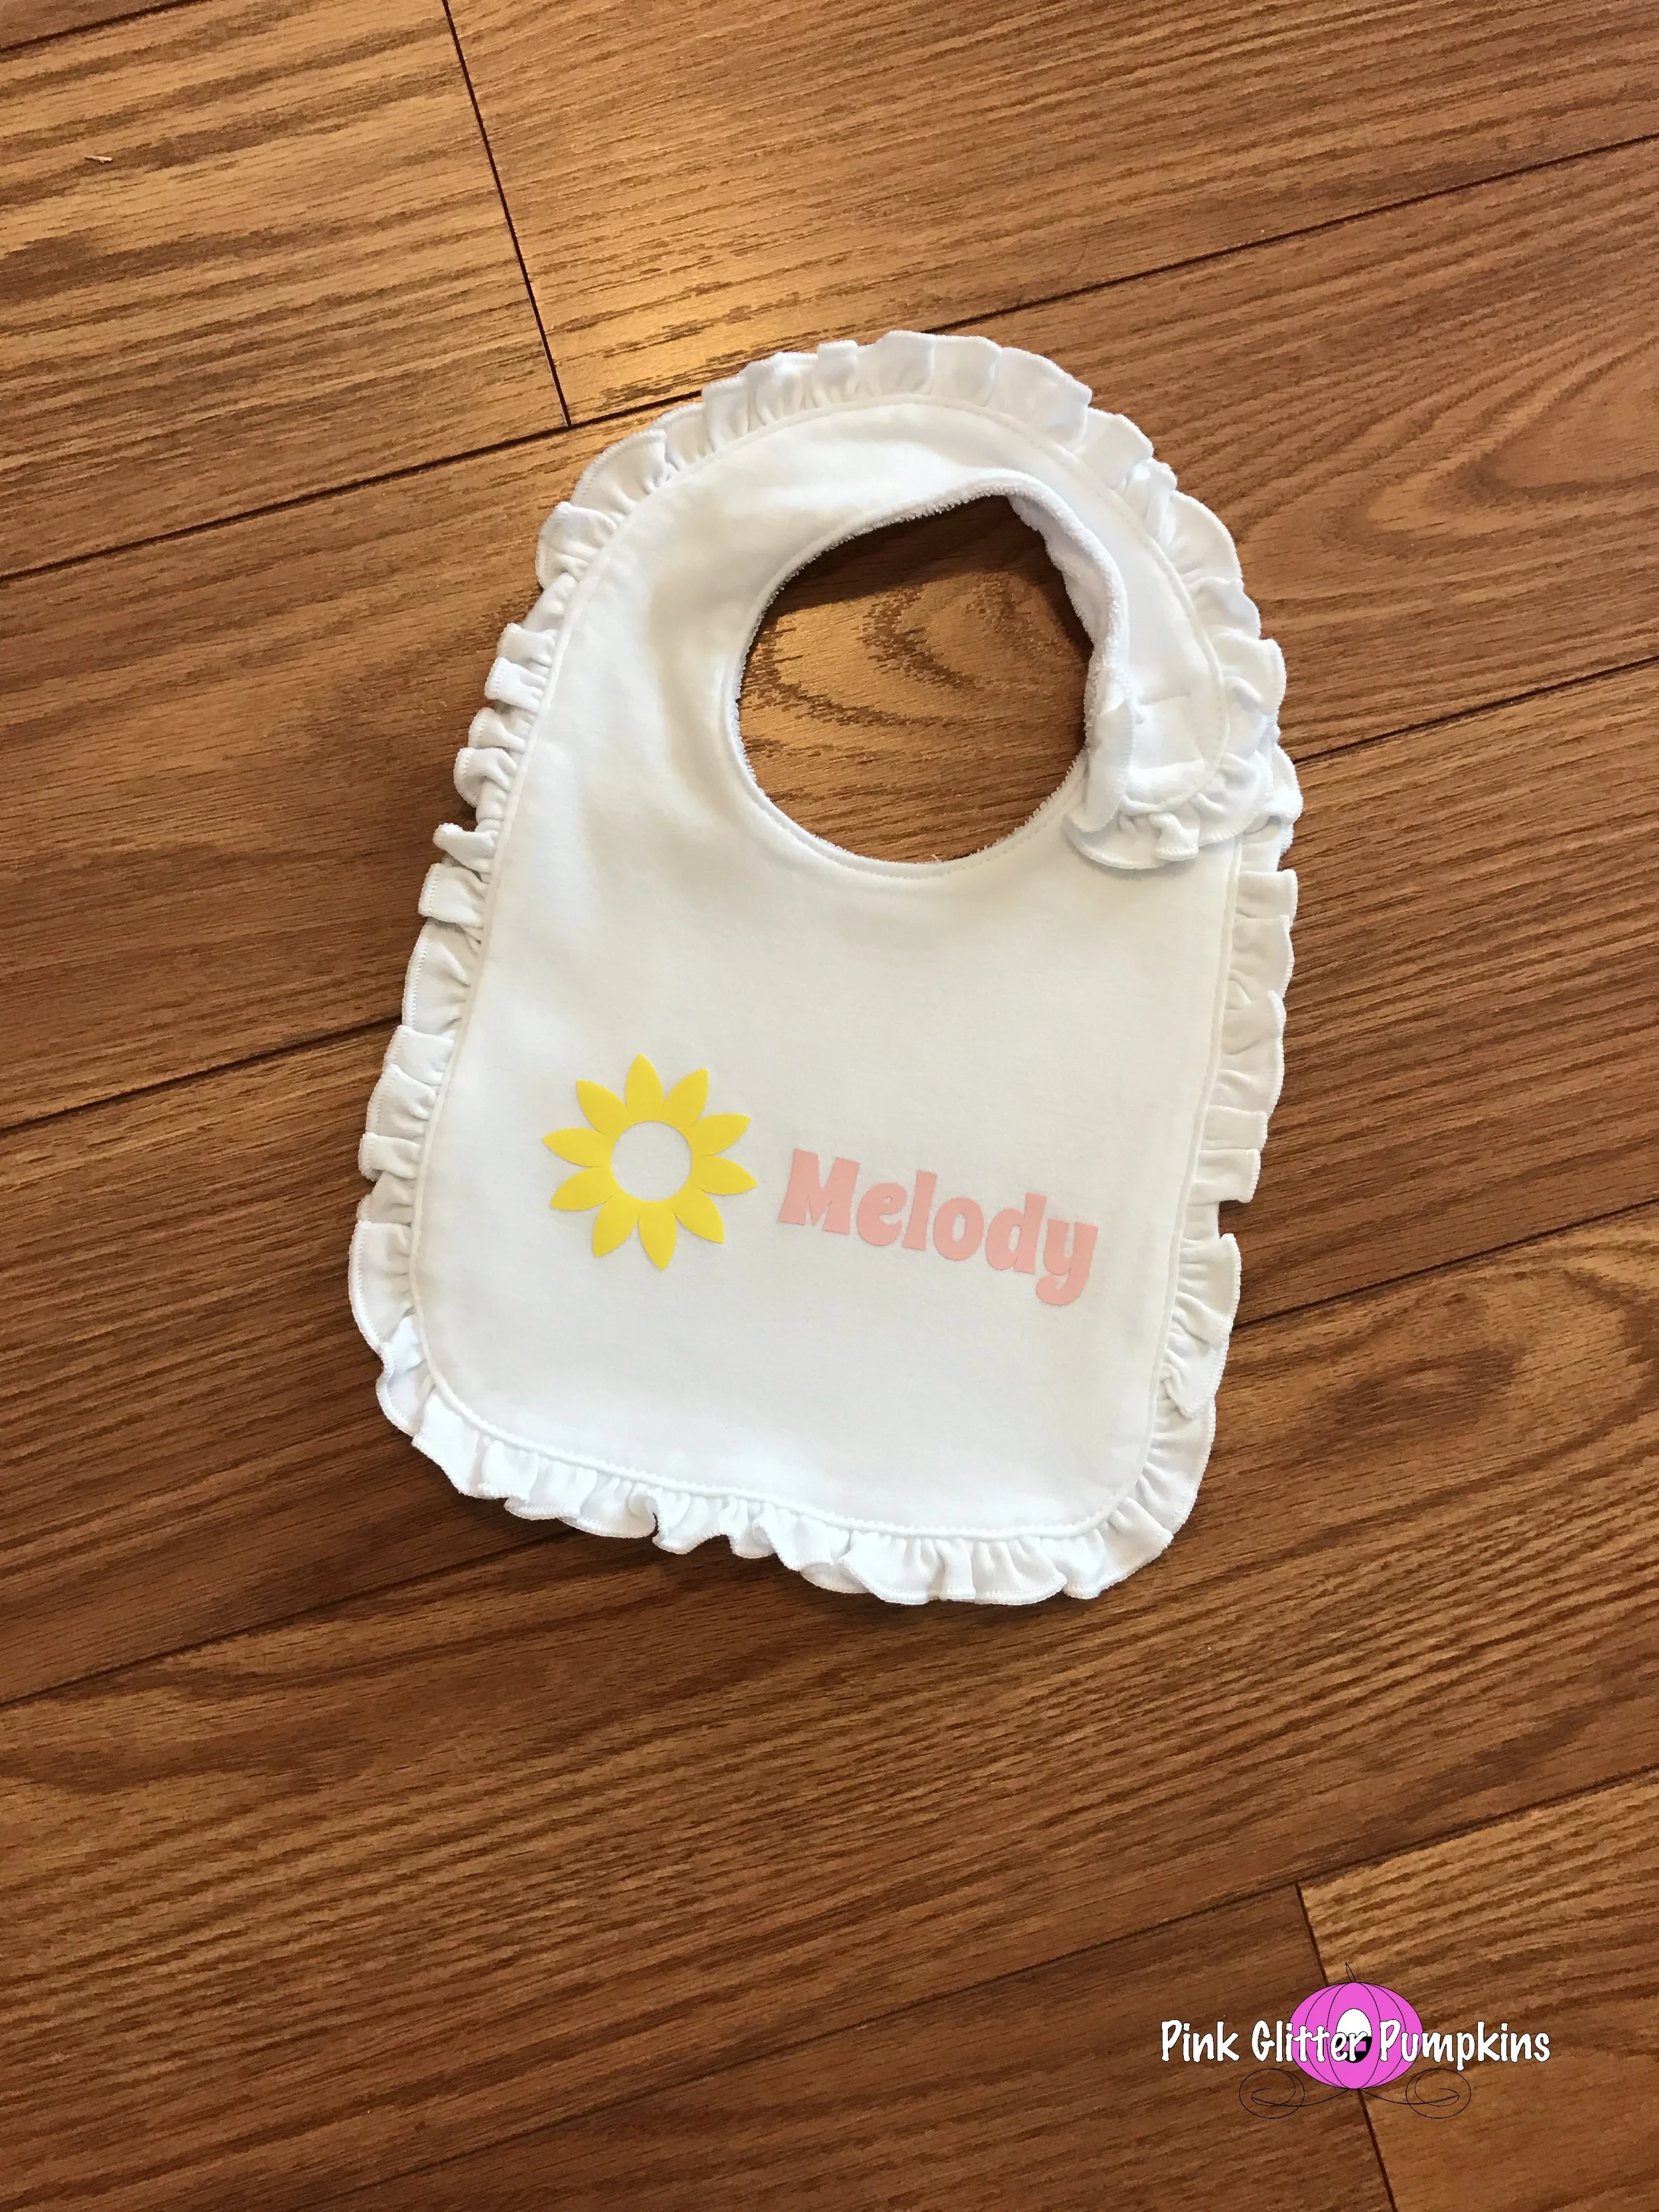
I used the Cameo to do some Easter presents for Melody. First was a cute Bunny shirt. This was another design I used my free credit to purchase. I added her name in pink to these cute Easter pajamas. The font was one I used my credit to purchase. Lastly was the bib I made. The sun and font were both designs preloaded onto my software. I purchased the shirt, pajamas, and bib from Blanks Boutique.
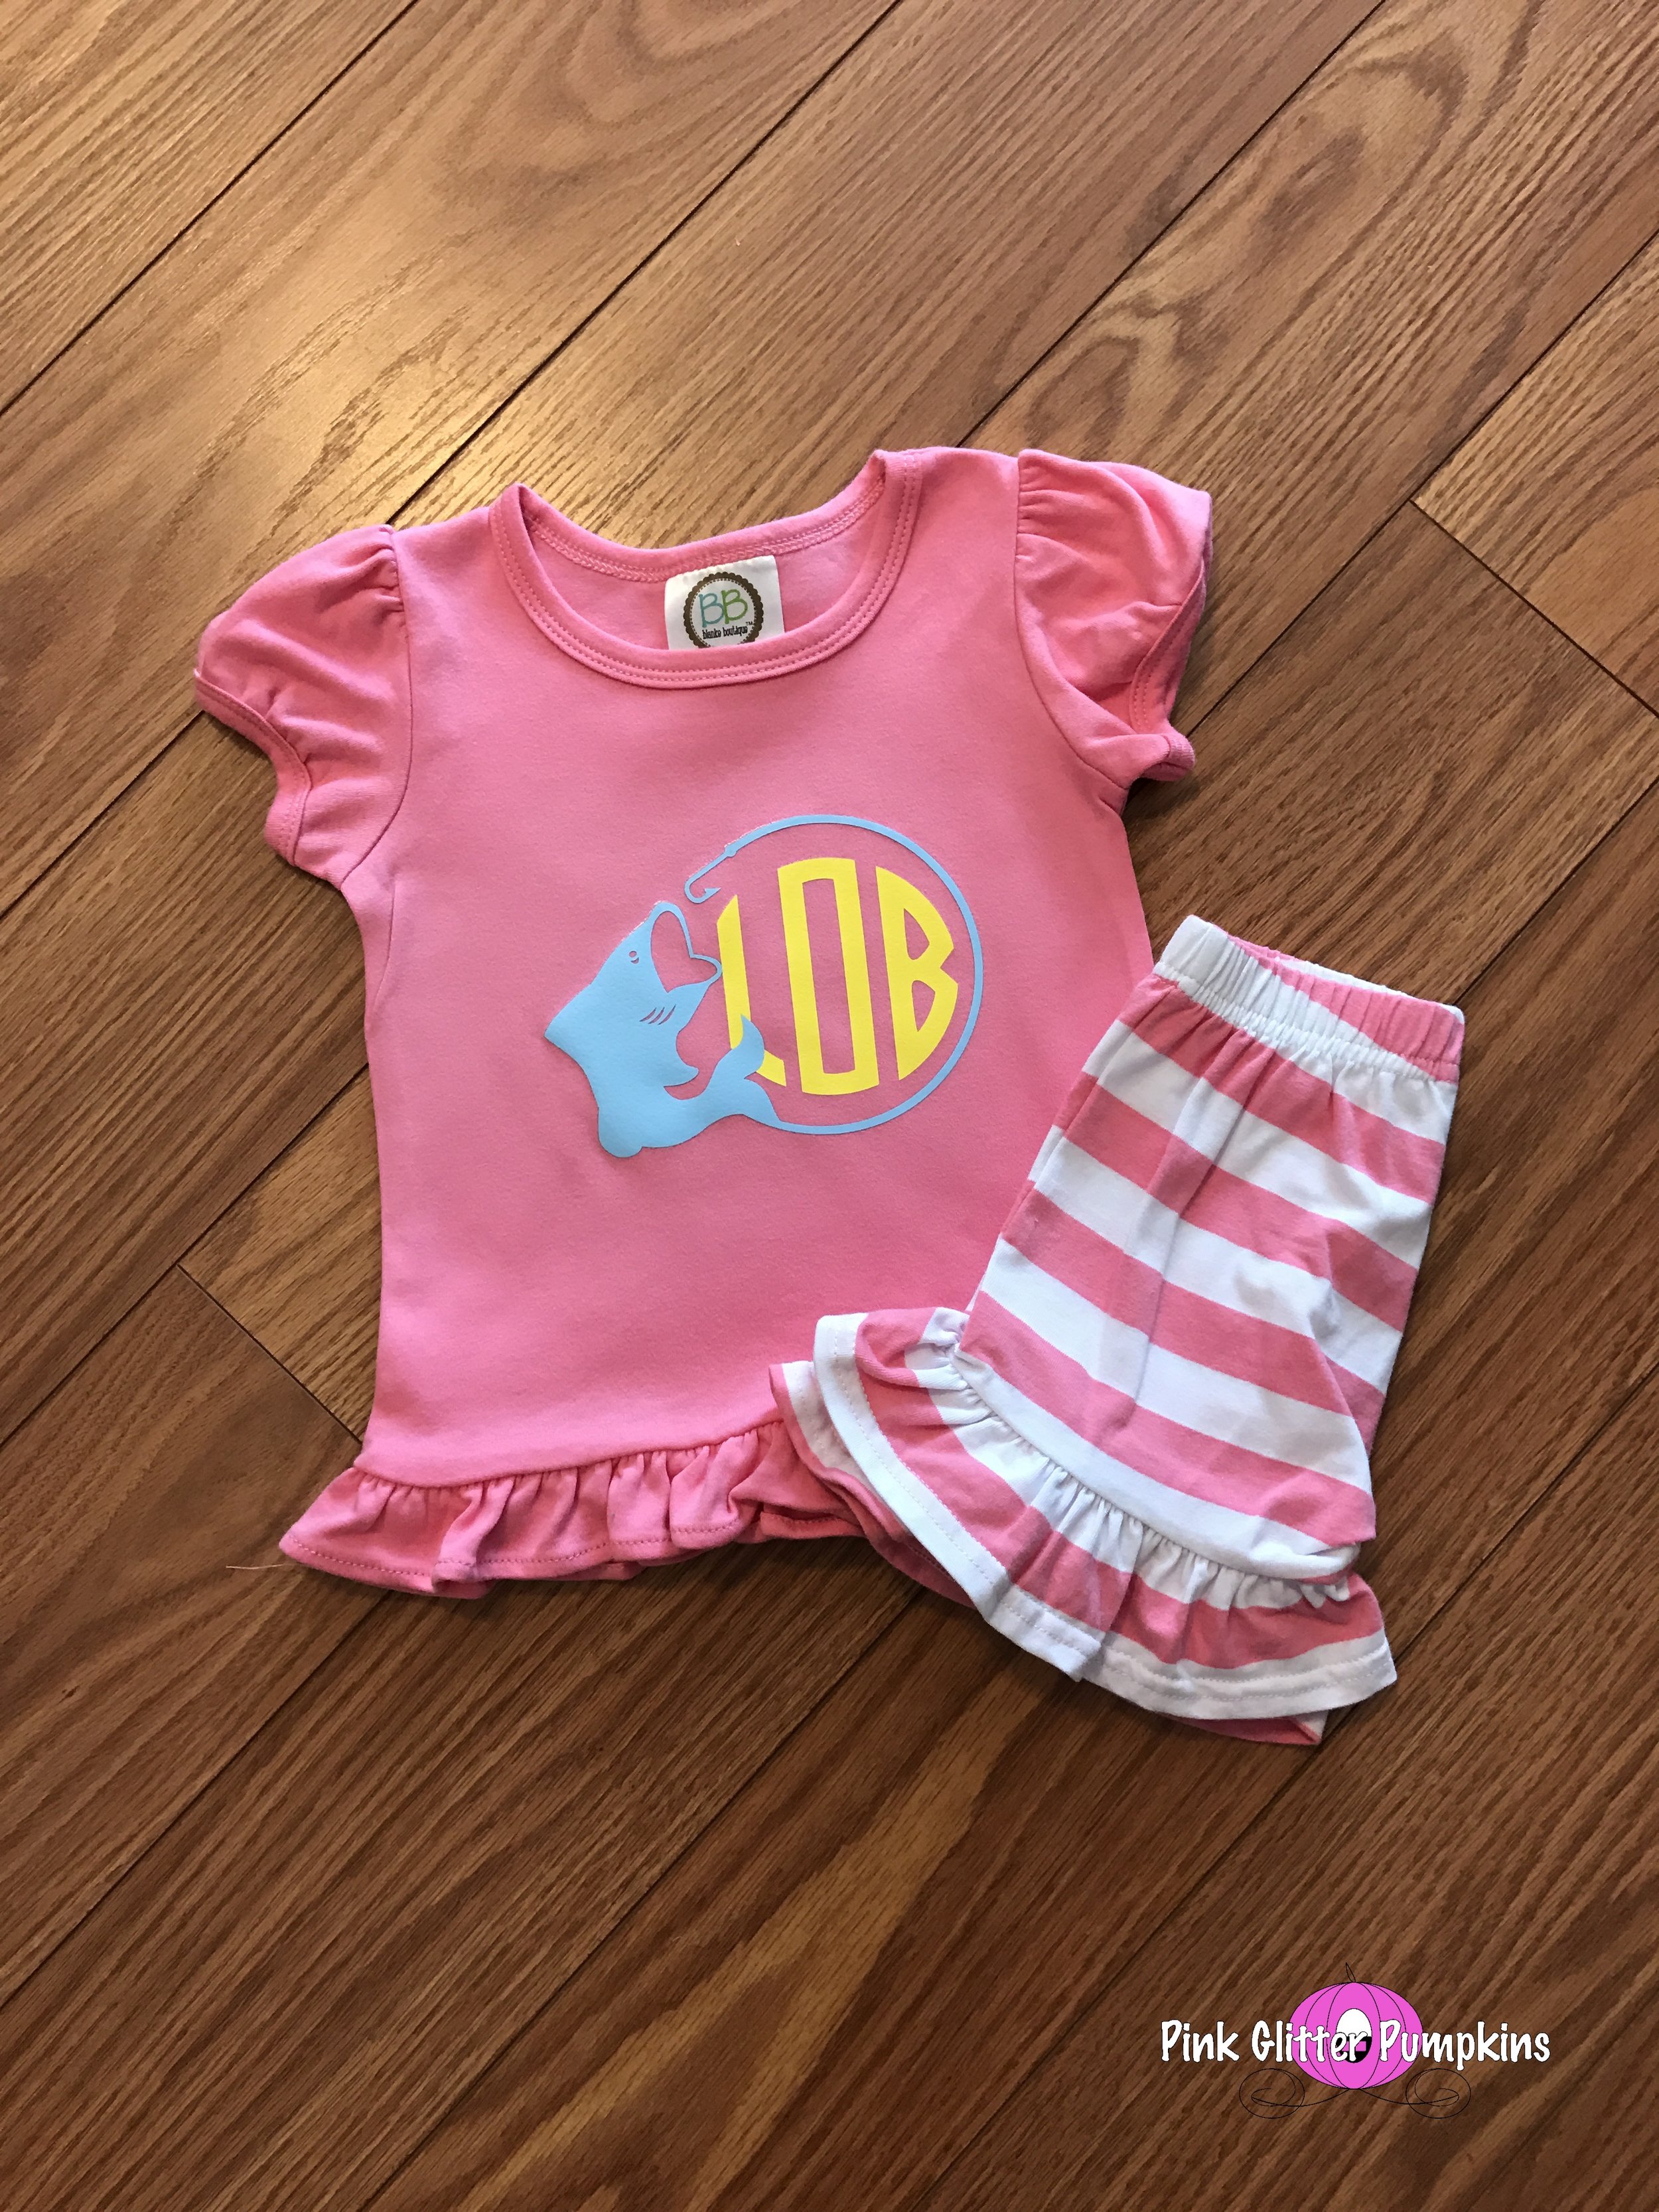
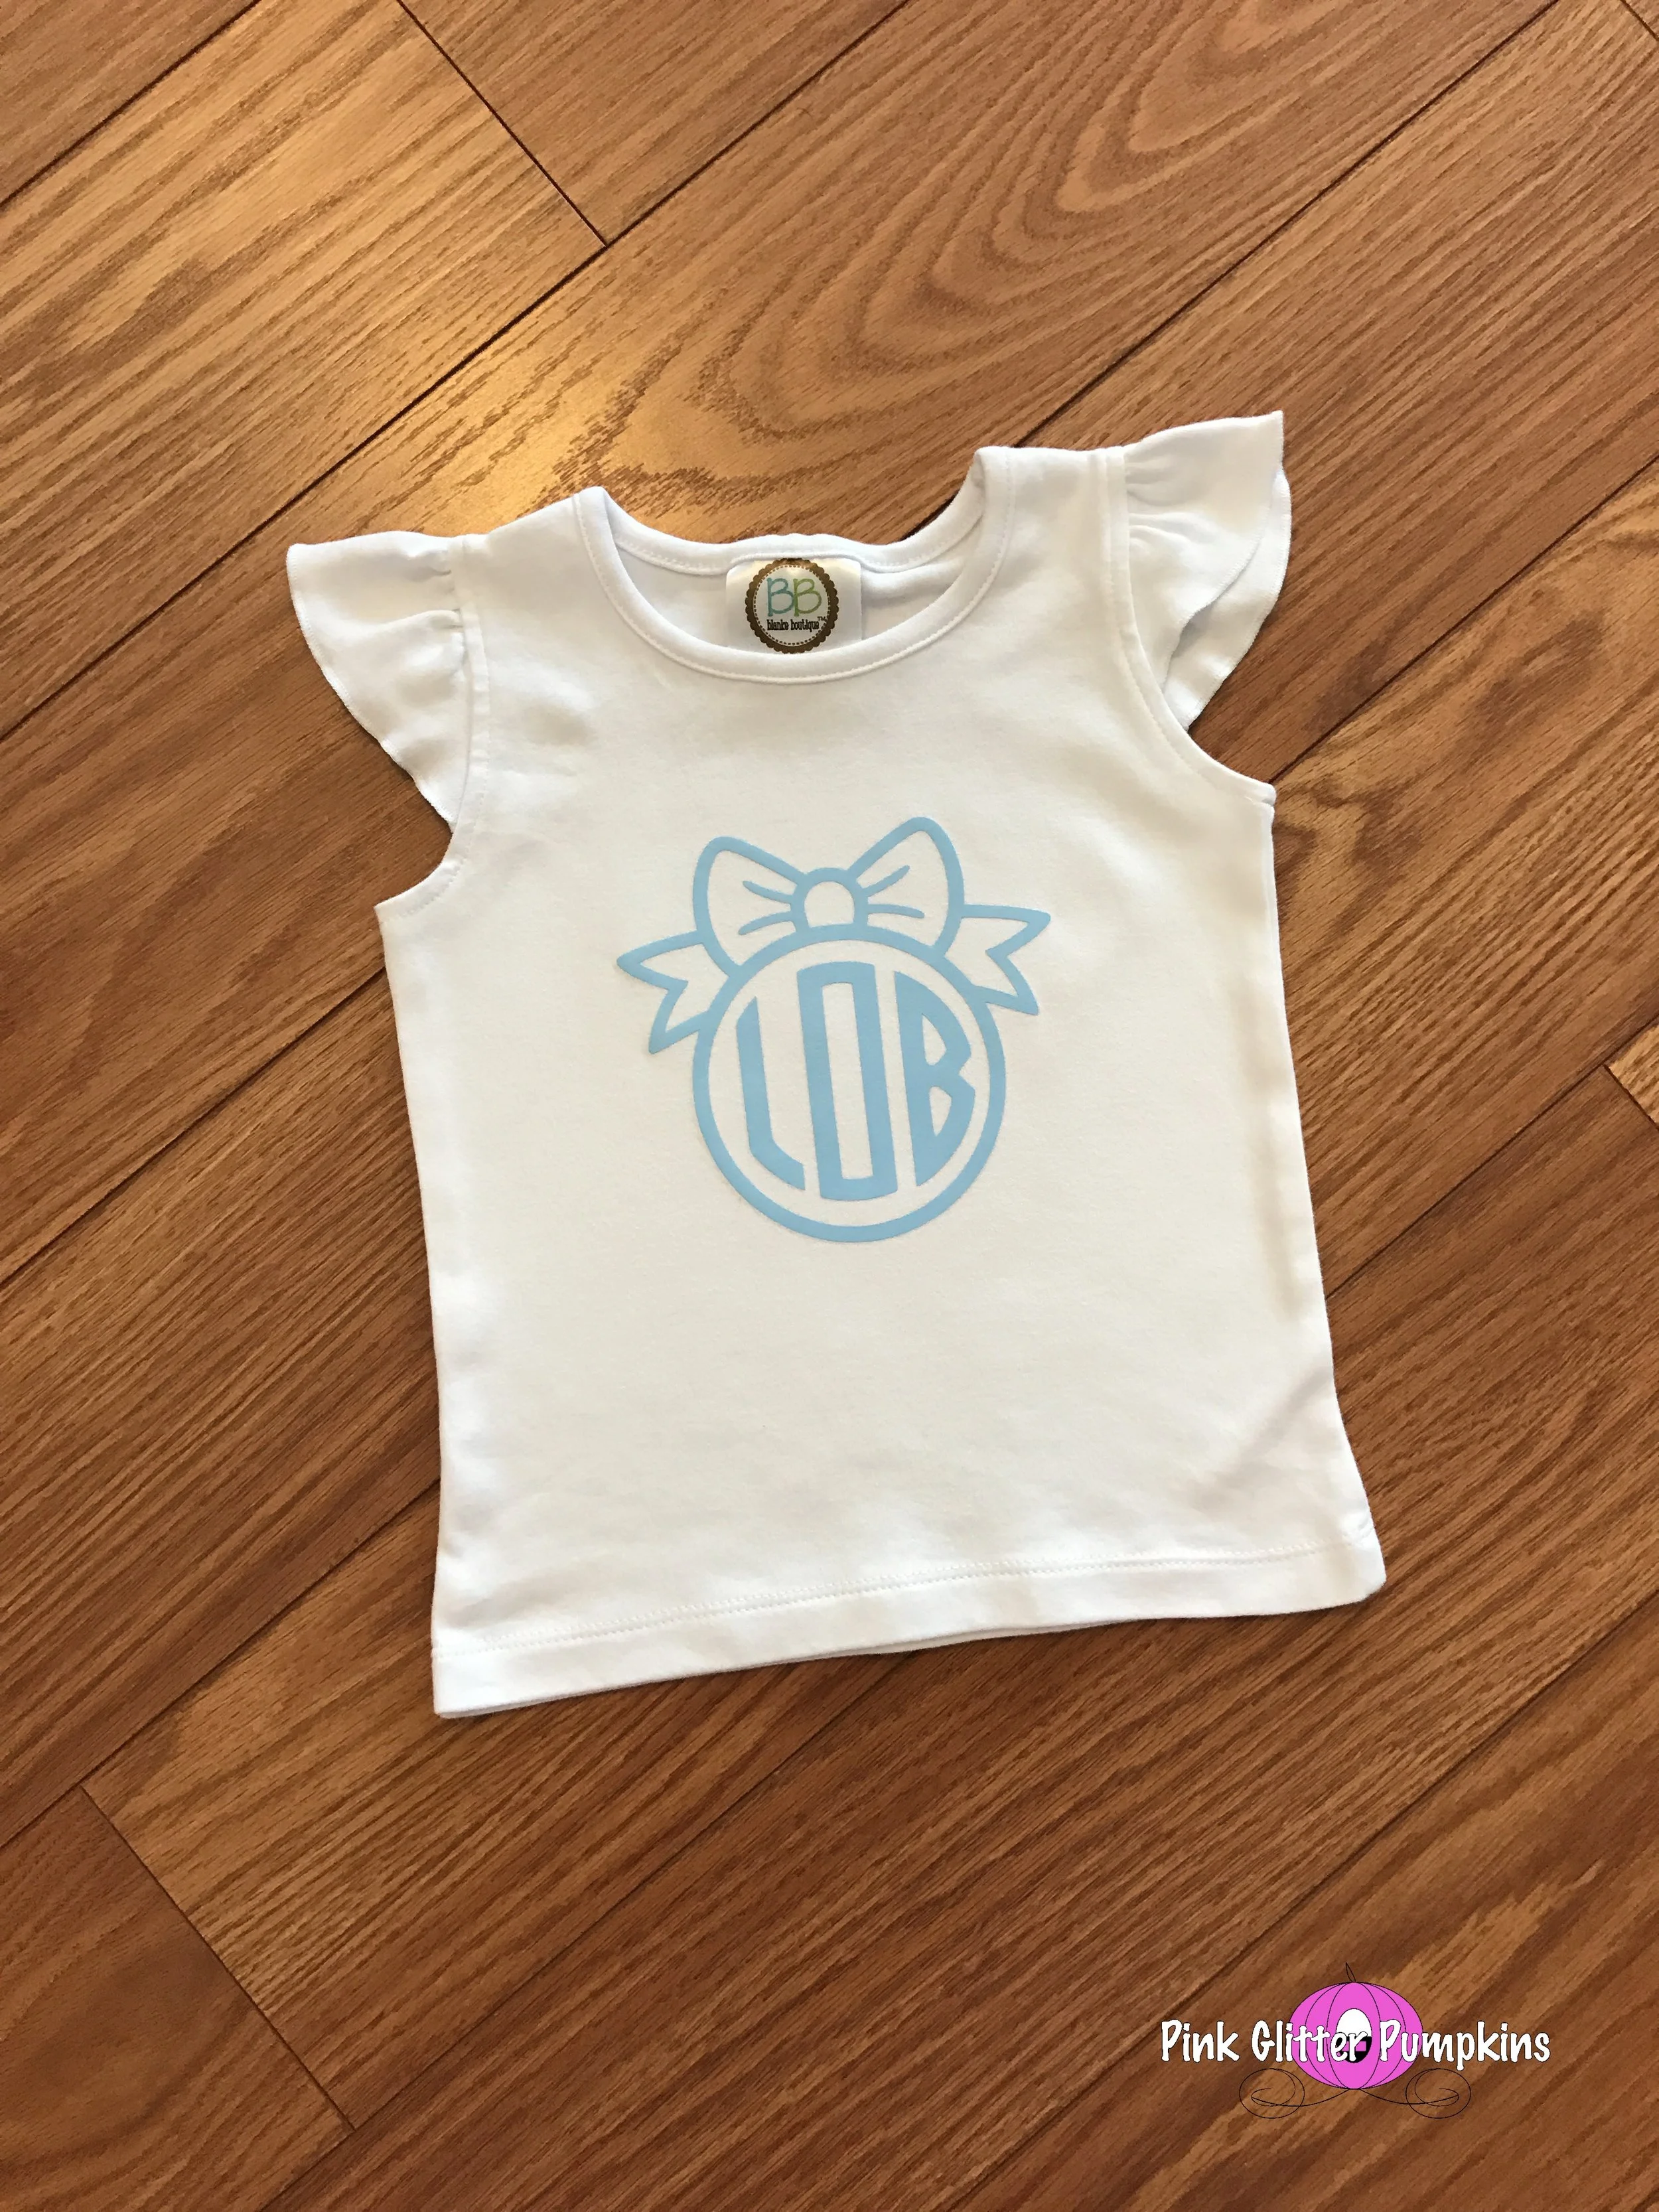
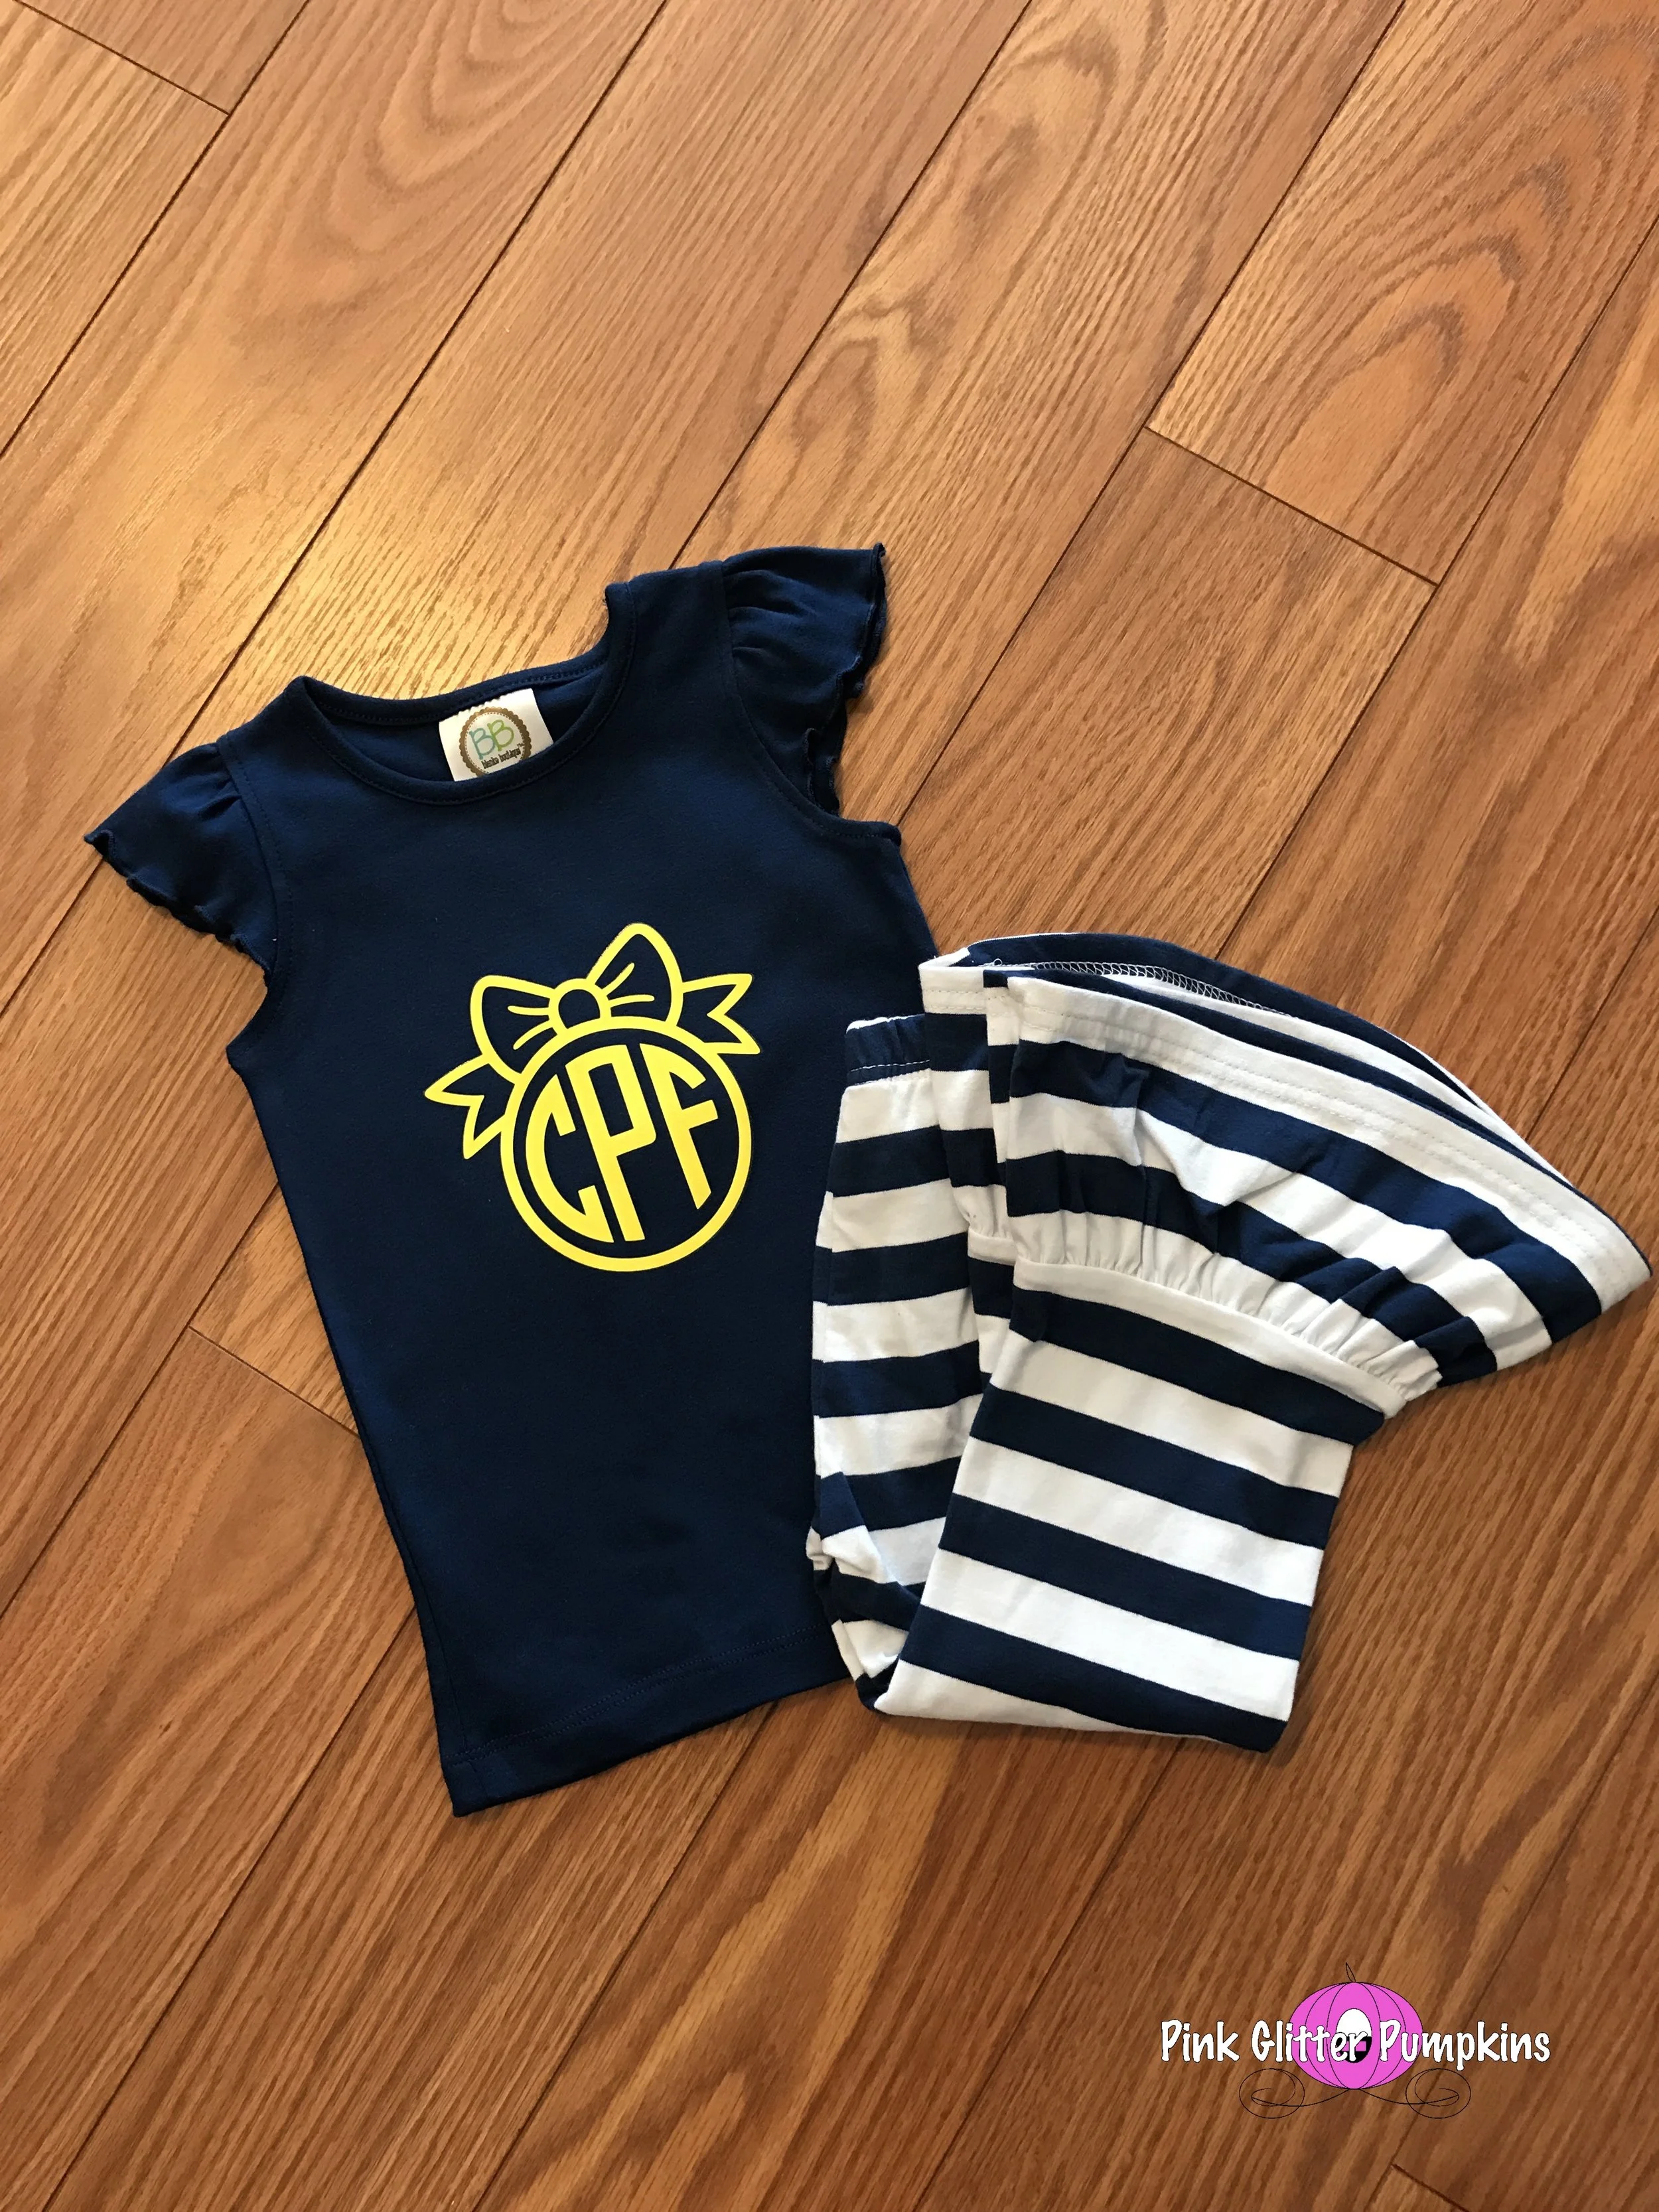
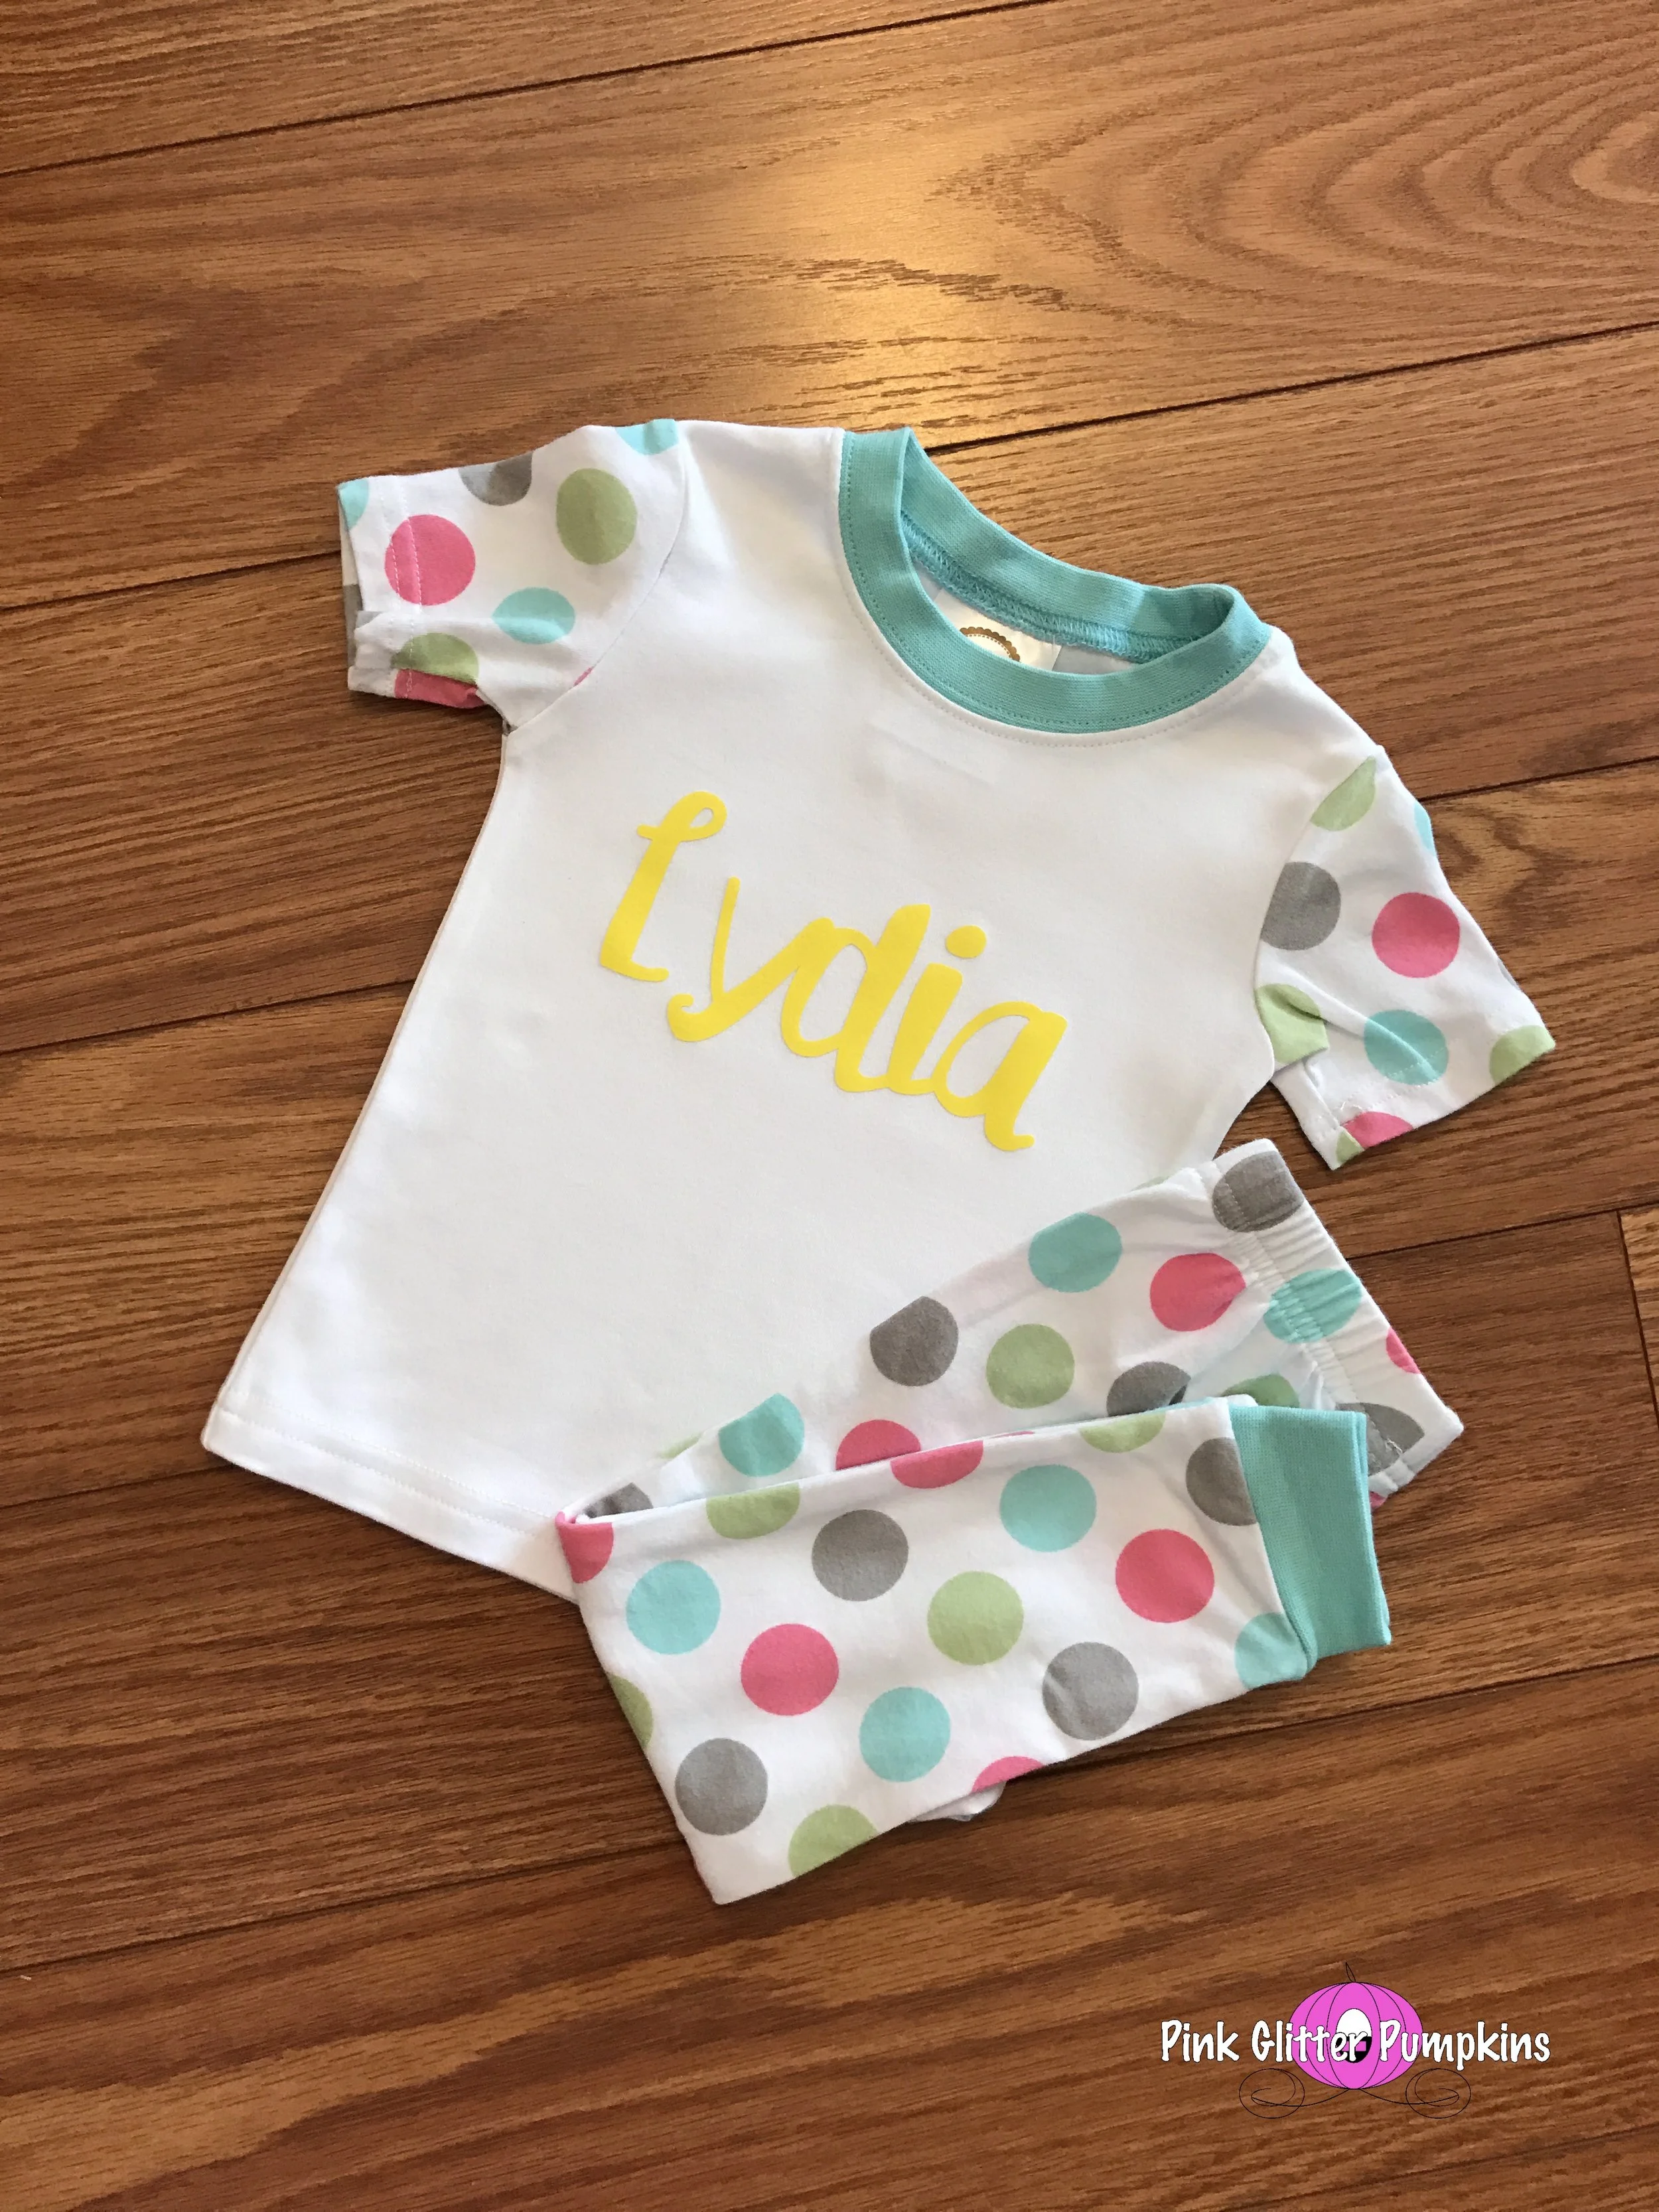
I made a few shirts for Emily's daughter, Lydia, and one for my niece, Caroline. The designs and font were from Silhouette and the shirts shirts, bottoms, and pajamas were also bought from Blanks Boutique.
Below is a shirt I made for Melody to wear on Father's Day. The shirt was purchased from Kohl's.
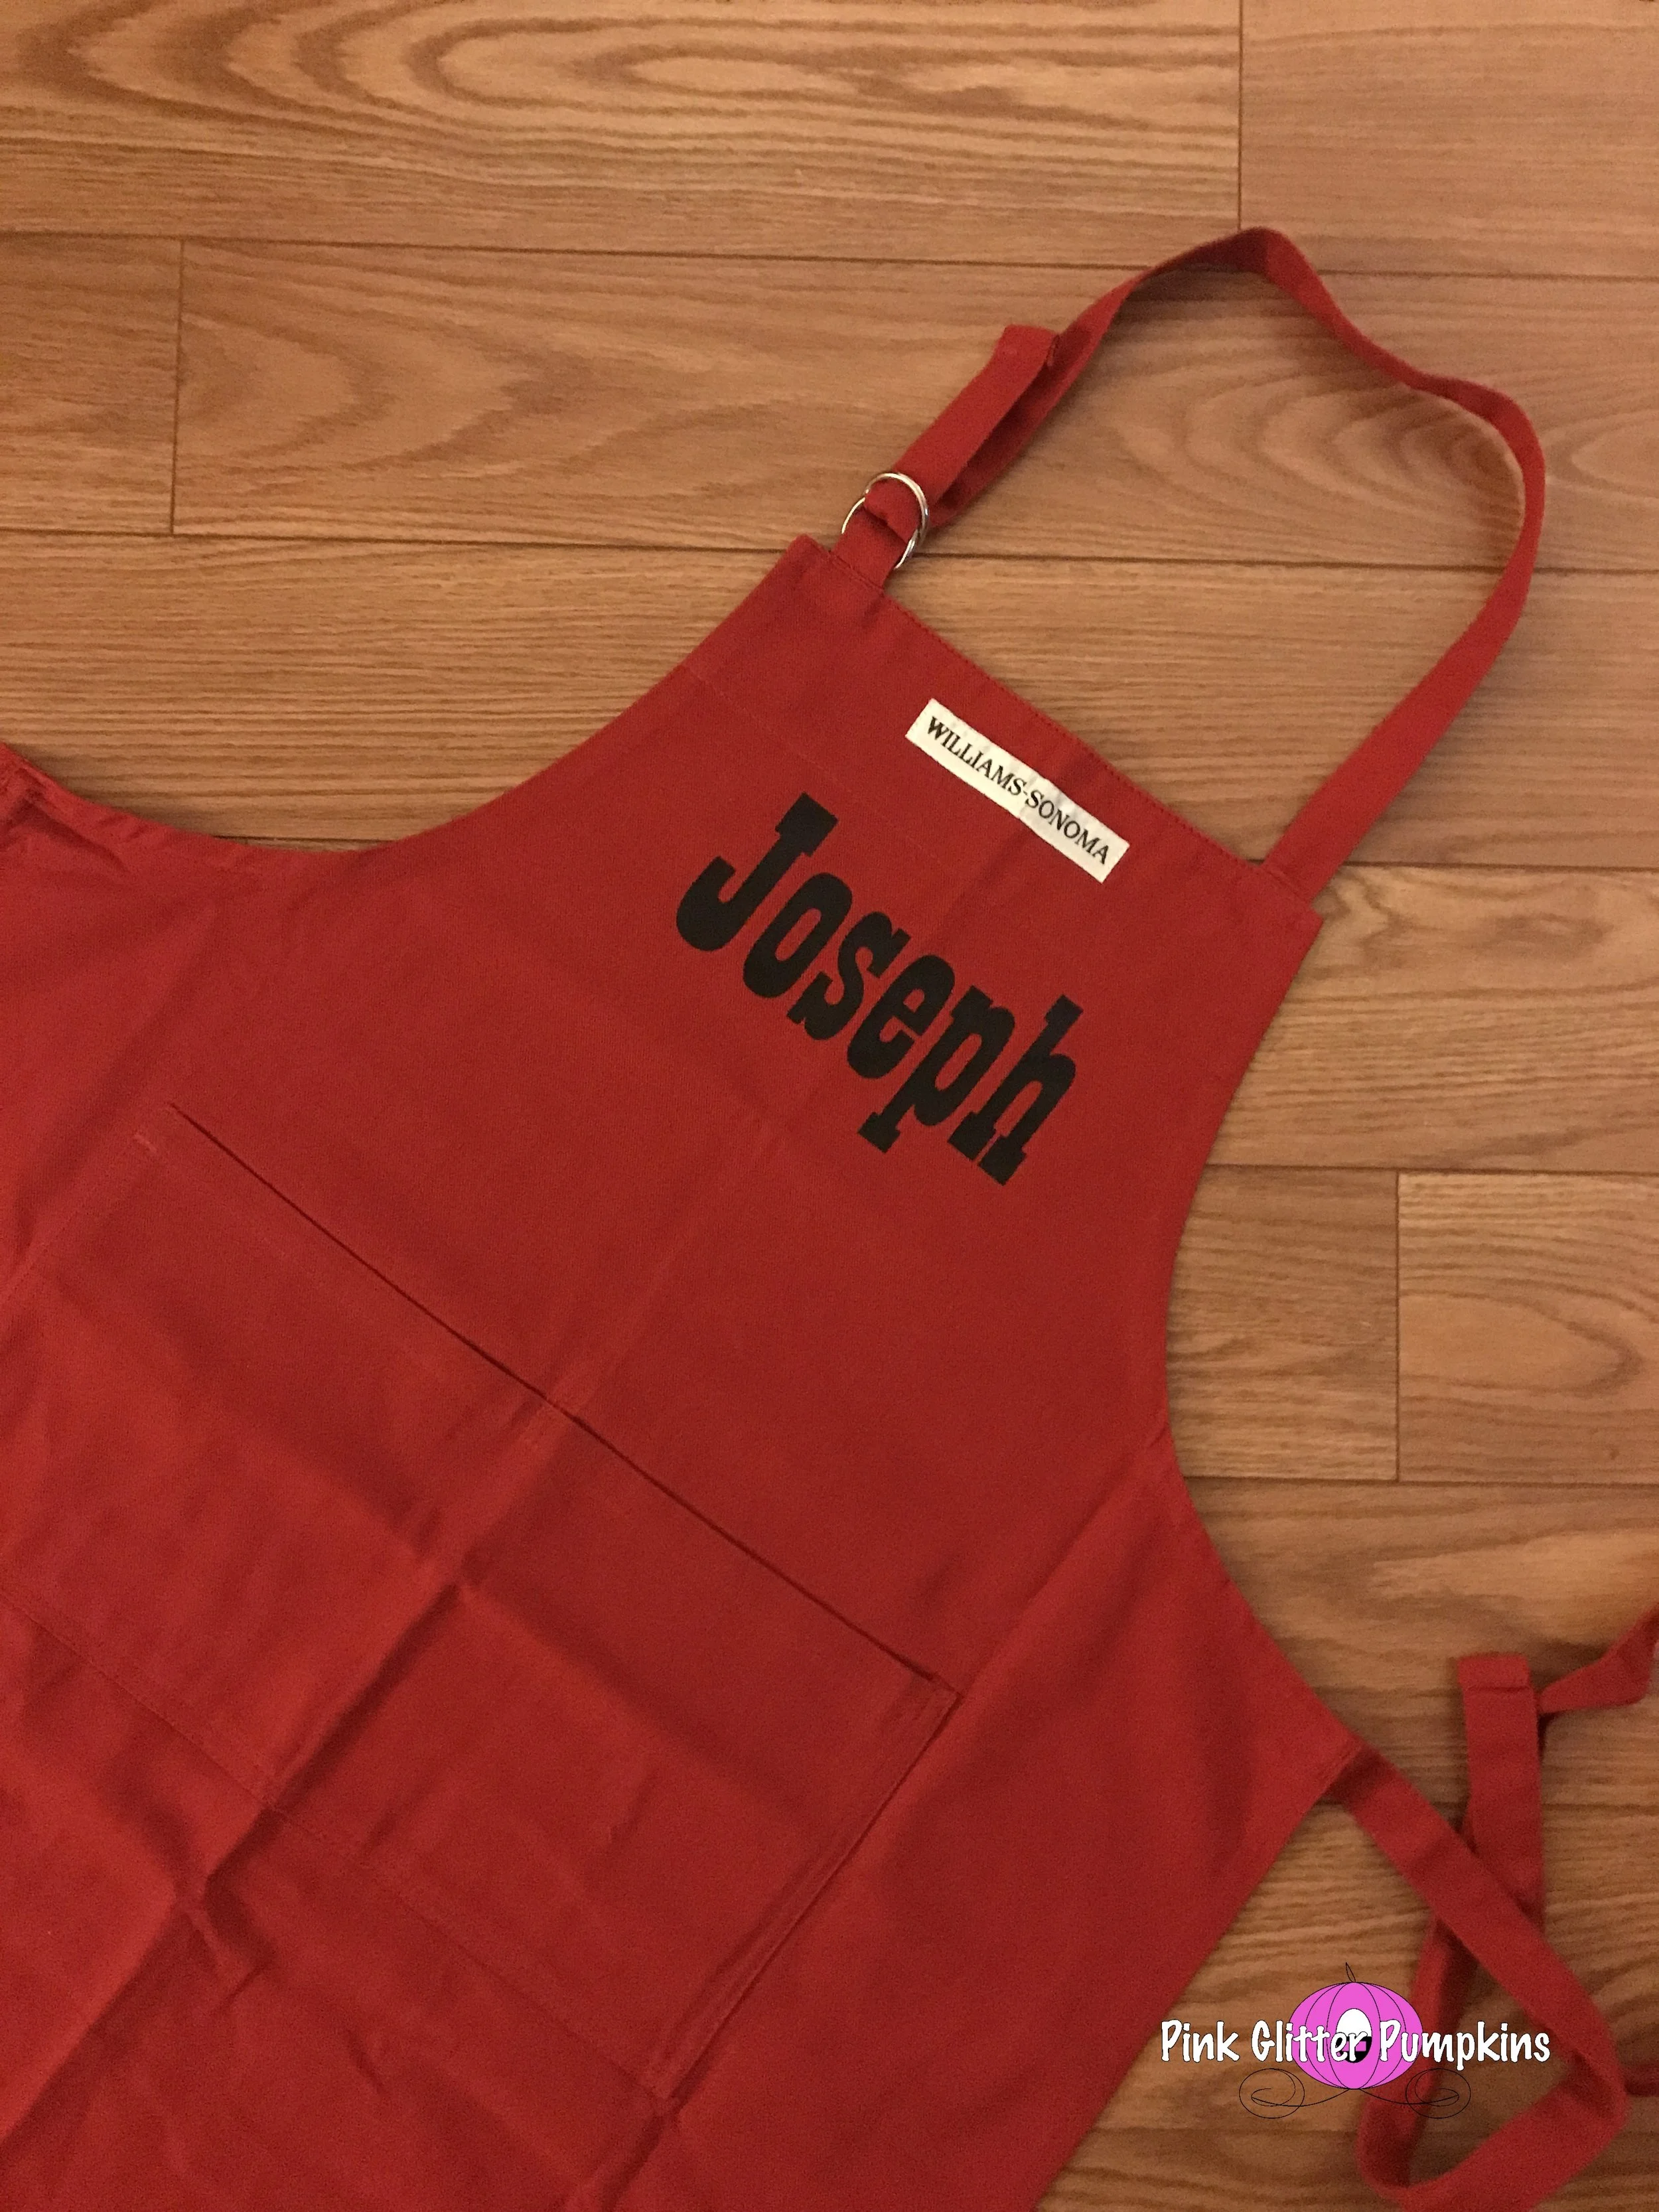
Here is an apron I made for the Memphis Couple's Shower I helped host. The apron was purchased from Williams Sonoma.
I have also made two coffee cups. One was for Emily's husband for Father's Day. The Risk Solutions one was for my father-in-law for his birthday. Those were both tricky to apply, but I think they both turned out very cute. The key is to purchase transfer paper [I bought mine from Amazon]!
I have used a variety of brands of heat transfer vinyl. I have used Cricut and Silhouette brands, and I have recently ordered Siser brand. I don't necessarily have a favorite. The game changer for me and heat transfer vinyl was my purchase of a heat press. I bought one back in April, and it has been amazing. The vinyl lasts much longer and it is much easier to apply. I highly recommend it if you plan to use your machine for heat transfer items. The adhesive vinyl I used was an off-brand that was really inexpensive, but it was worked really well. The key with adhesive vinyl is to use transfer tape to apply it to the object.
So far I really love my machine. I don't use it quite as much as I thought I would, but I am certain I will with the fall holidays coming soon. I am also discovering new ways to use it. Brad bought me some pens I am going to test soon with it! Look for future posts with other projects soon!
