
Dining Room Makeover

During this quarantine, we have decided to take the time to complete some lingering projects since we are home 24/7. Brad is still working from home, and I am trying to keep a routine with Melody and continue teaching her preschool things. But we still are constantly seeing these uncompleted projects ALL the time. So the project that we see the most, and it is the easiest to complete was our dining room. We had everything but the paint, and we already had samples picked out that we wanted to try. And since it was the first thing you practically see when you walk in our house, it just made the most sense!
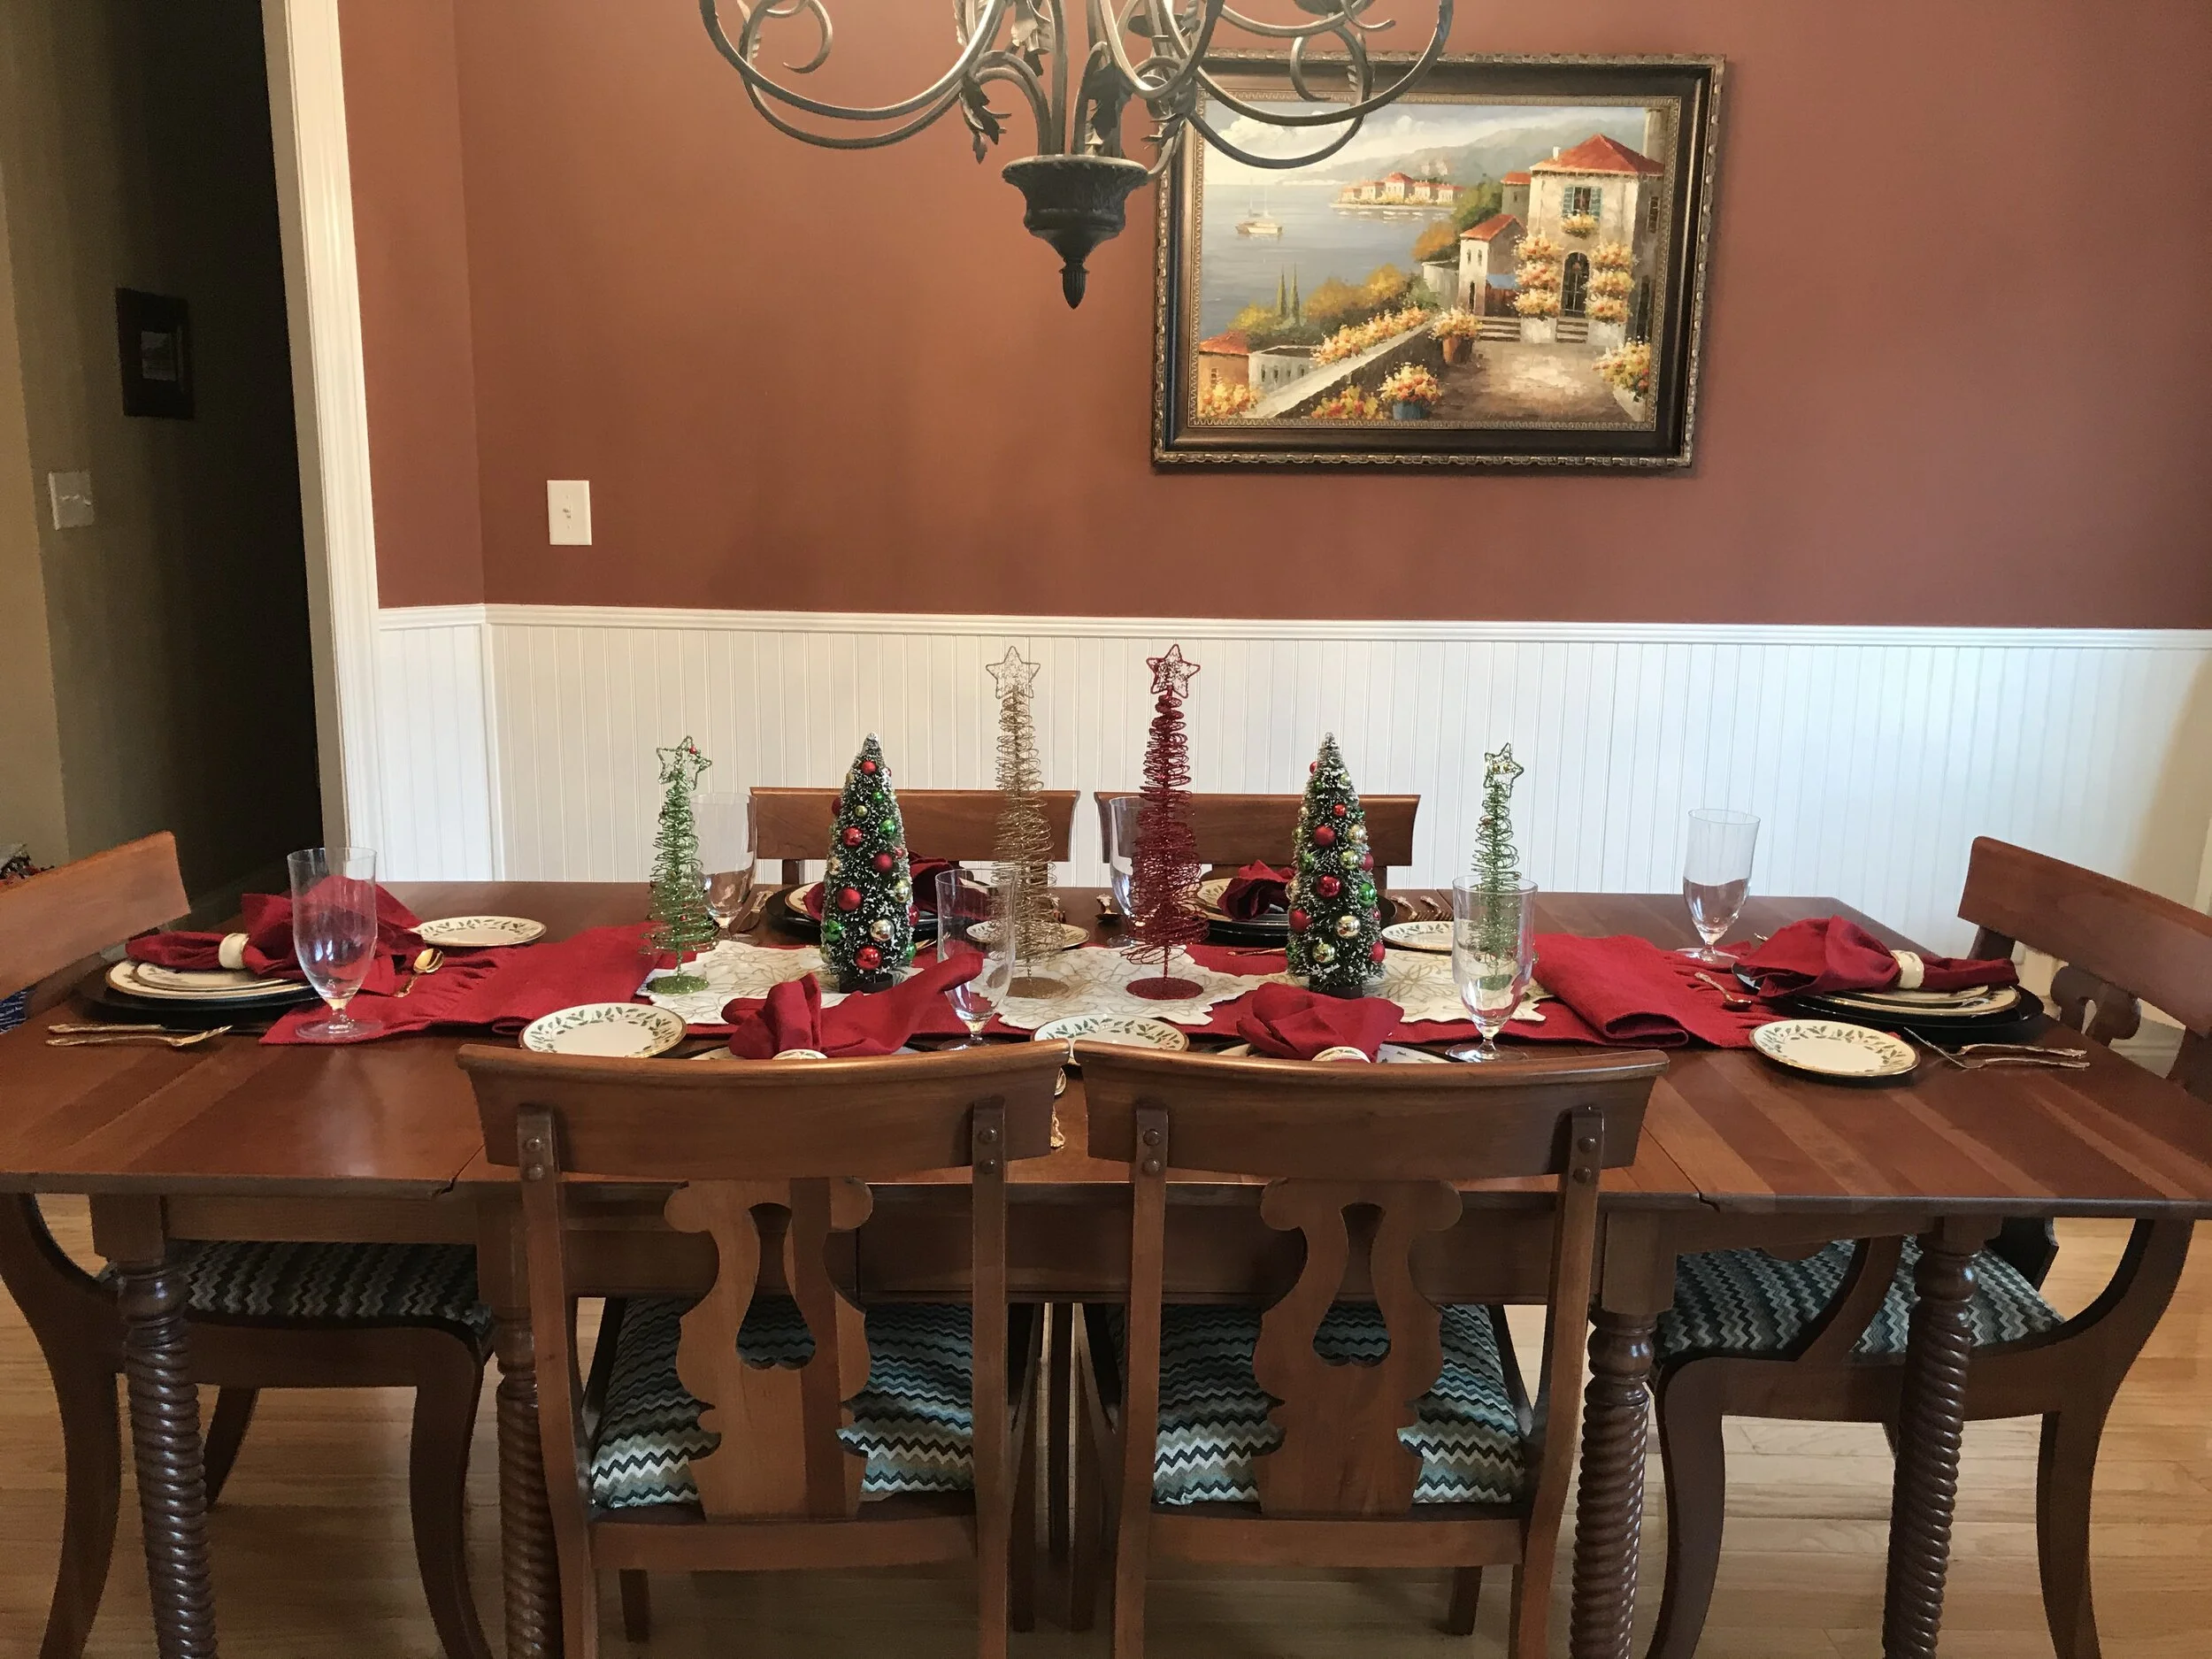
So below is the best “before” I really have without using our previous owner’s images which I don’t feel comfortable doing. Overall, the orange/burgundy just isn’t us. I mean if this is your ideal color, that’s great. We just tend to go for a more earth tone color as well as more neutral color that a lot of things can really match. This was really the only “bold” room in our new house. All the other walls are either green or beige. This room is in the very front of our house, and it is really huge. So it made sense to do it first. Plus we received a piece of art and some sconces for Christmas for this room, but it did not match this orange. So we knew painting was coming and needed to happen. The goal was to complete it in March, so it made sense with us home to go ahead and do it.

So now for paint choices. So we did great when picking out Melody’s gray for her nursery at our previous house. We didn’t do anything put the paper samples found at Lowe’s. And we loved it. Well when we did our kitchen renovation at our previous house and it required painting, we were really struggling to pick a green. We wanted the green found at Emily and Justin’s house, but the lighting in our house was much brighter because of all of our windows. So every color that looked like theirs on paper was too lime green in our house. Emily recommended we buy actual paint in the sample cans. I had never heard of this, so we gave it a try. Well it took 9 samples, but we found one.
Well we made a mistake when painting our master bedroom at our previous house and went by paper alone. It did NOT look the same as the paper as it did in paint form. With the perfect lighting, it looked just like I imagined, but with ordinary lighting, it looked too yellow and almost neon. So learning from that mistake, we always buy paint sample cans! Even with Melody’s room at our new house, we still bought paint samples.
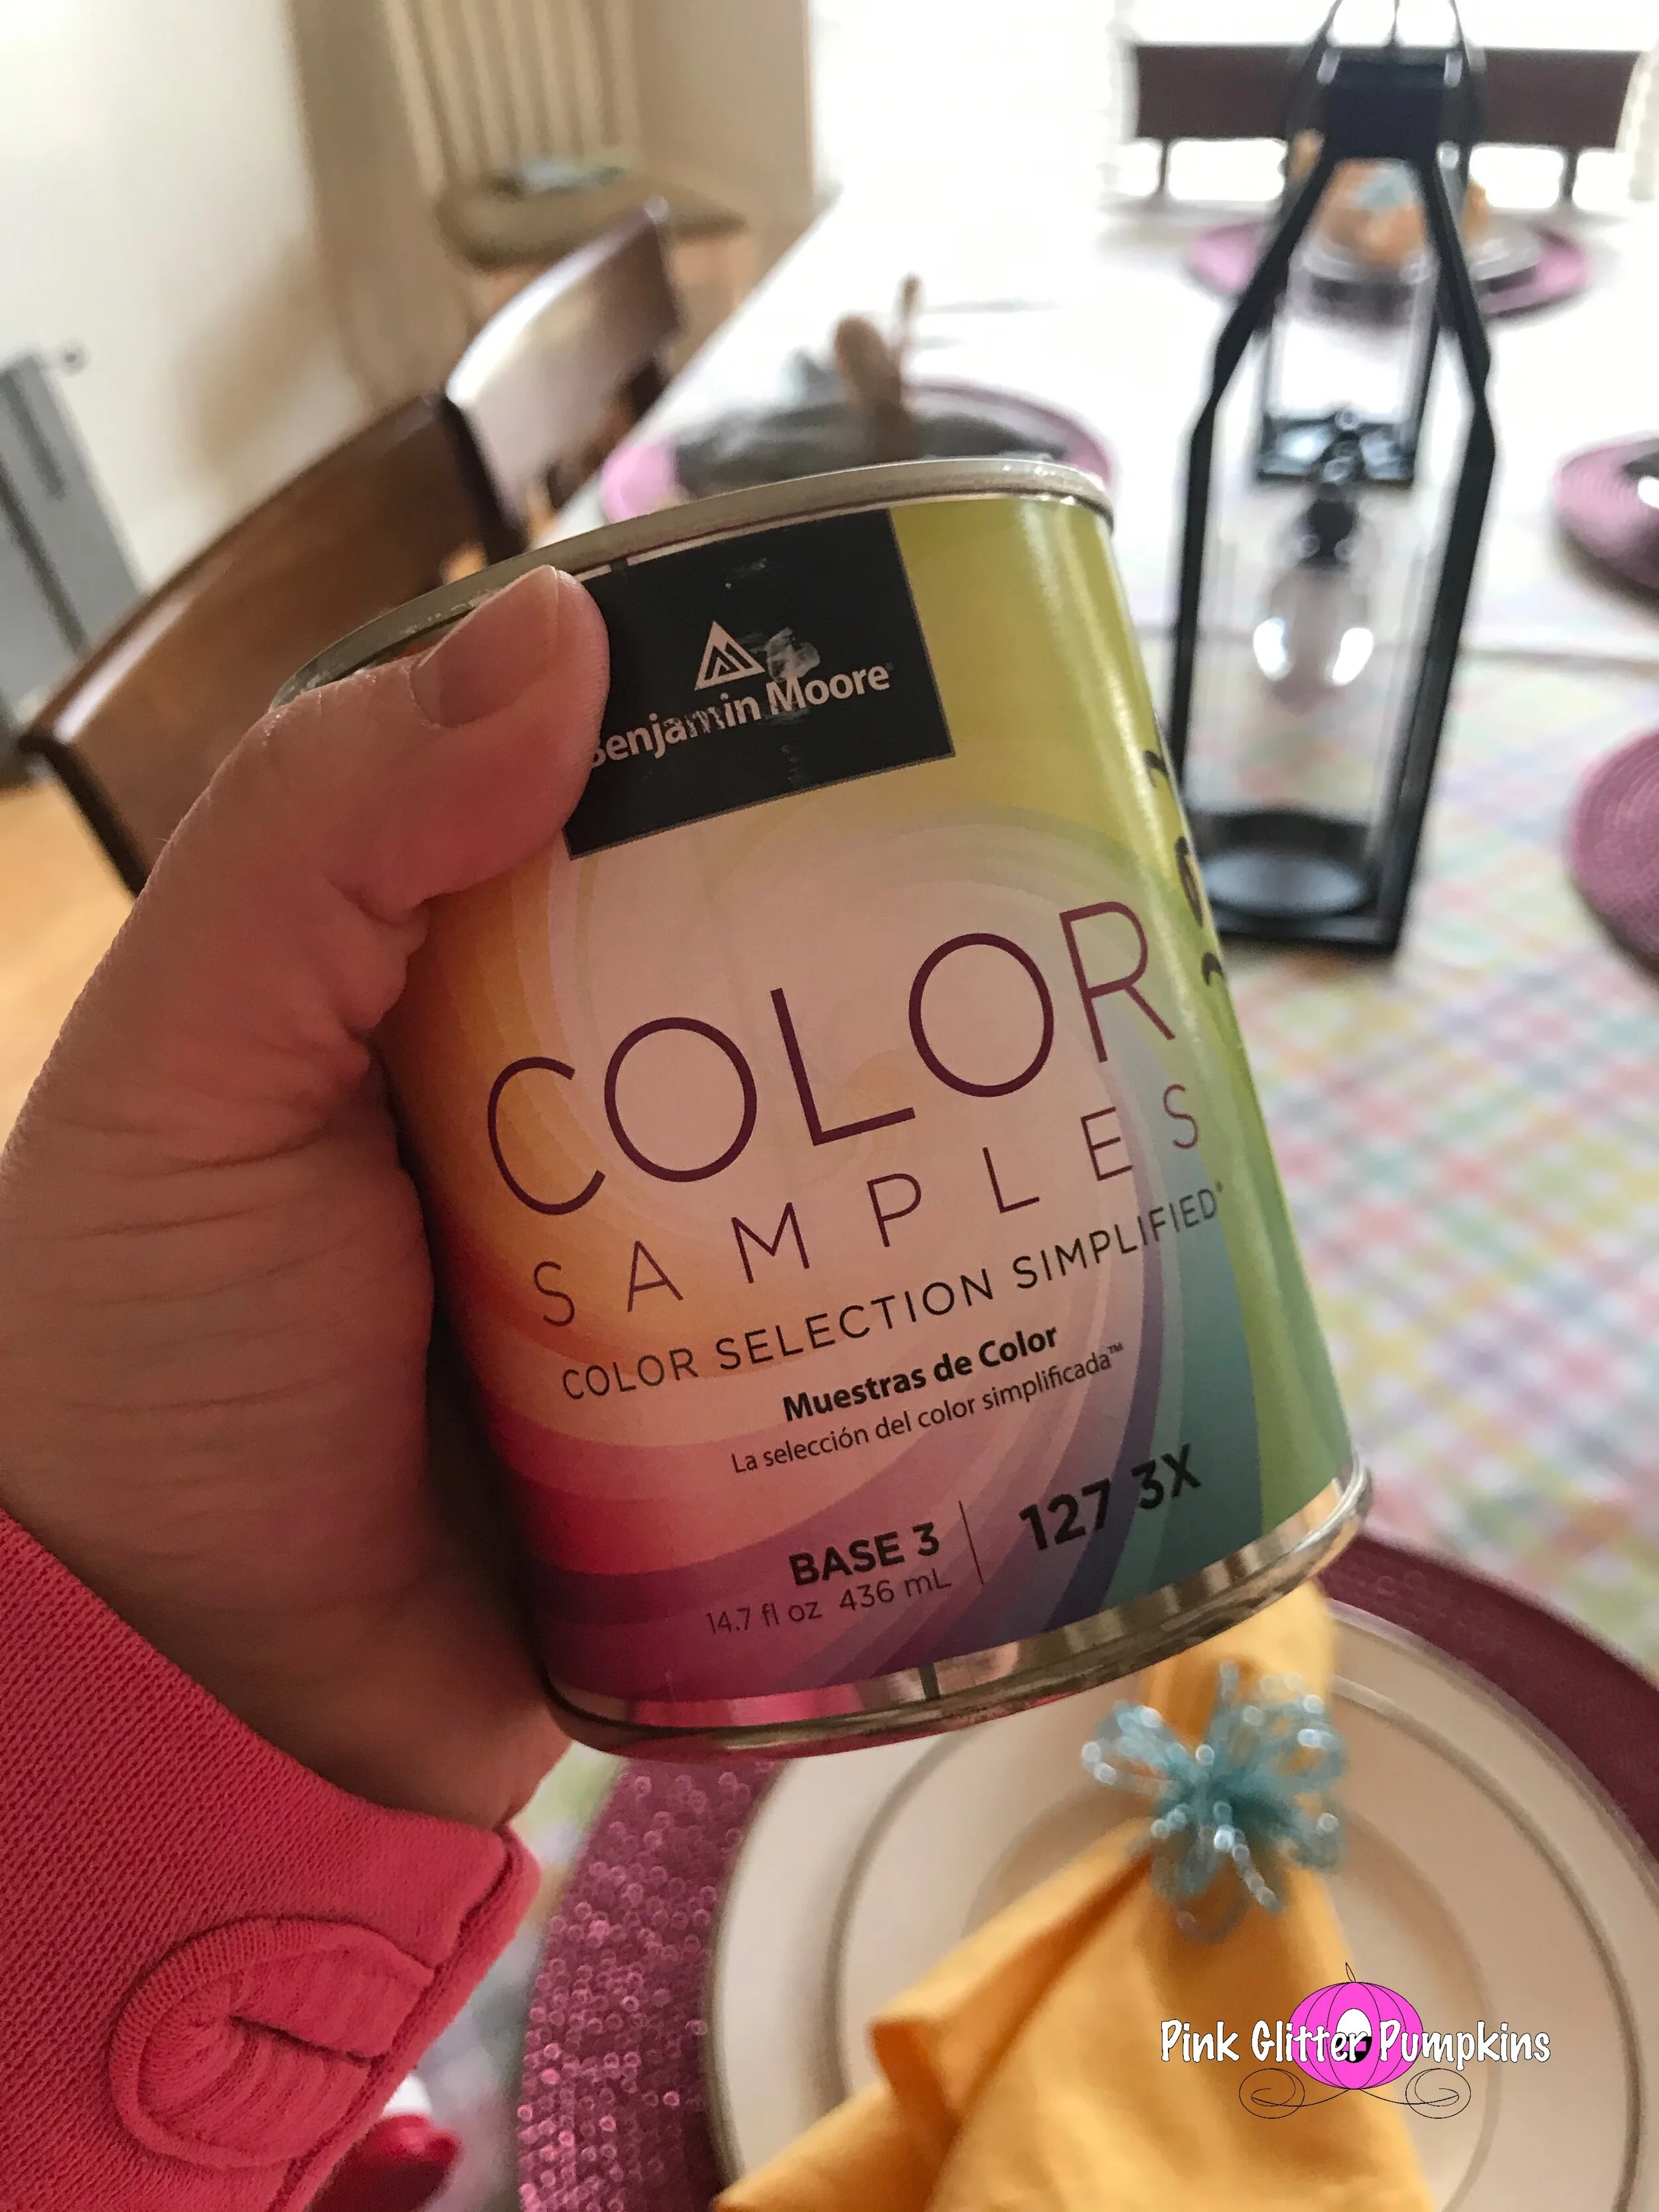
So now that I got you through that, on to our dining room samples! So we decided to steer away from Lowe’s this time around. We had multiple reasons for this. 1. When we painted Melody’s room, it took way more coats than we had experienced at our other house. I wanted something better quality, especially since we were painting over such a dark color. 2. We had heard such great things about a specific paint company in town, Madison Flooring and Paint, that we really wanted to give them a try. They are actually who we used for the flooring in our previous house during our kitchen renovation. 3. Lastly, since we had already starting the quarantining process, we knew Lowe’s would be much more crowded. So we wanted to use someone much, much smaller for this reason. They were taking a lot of safety precautions, and we have actually bought paint from them since doing this makeover twice. And they were actually great and did everything over the phone and brought the paint to our car. So completely contactless!
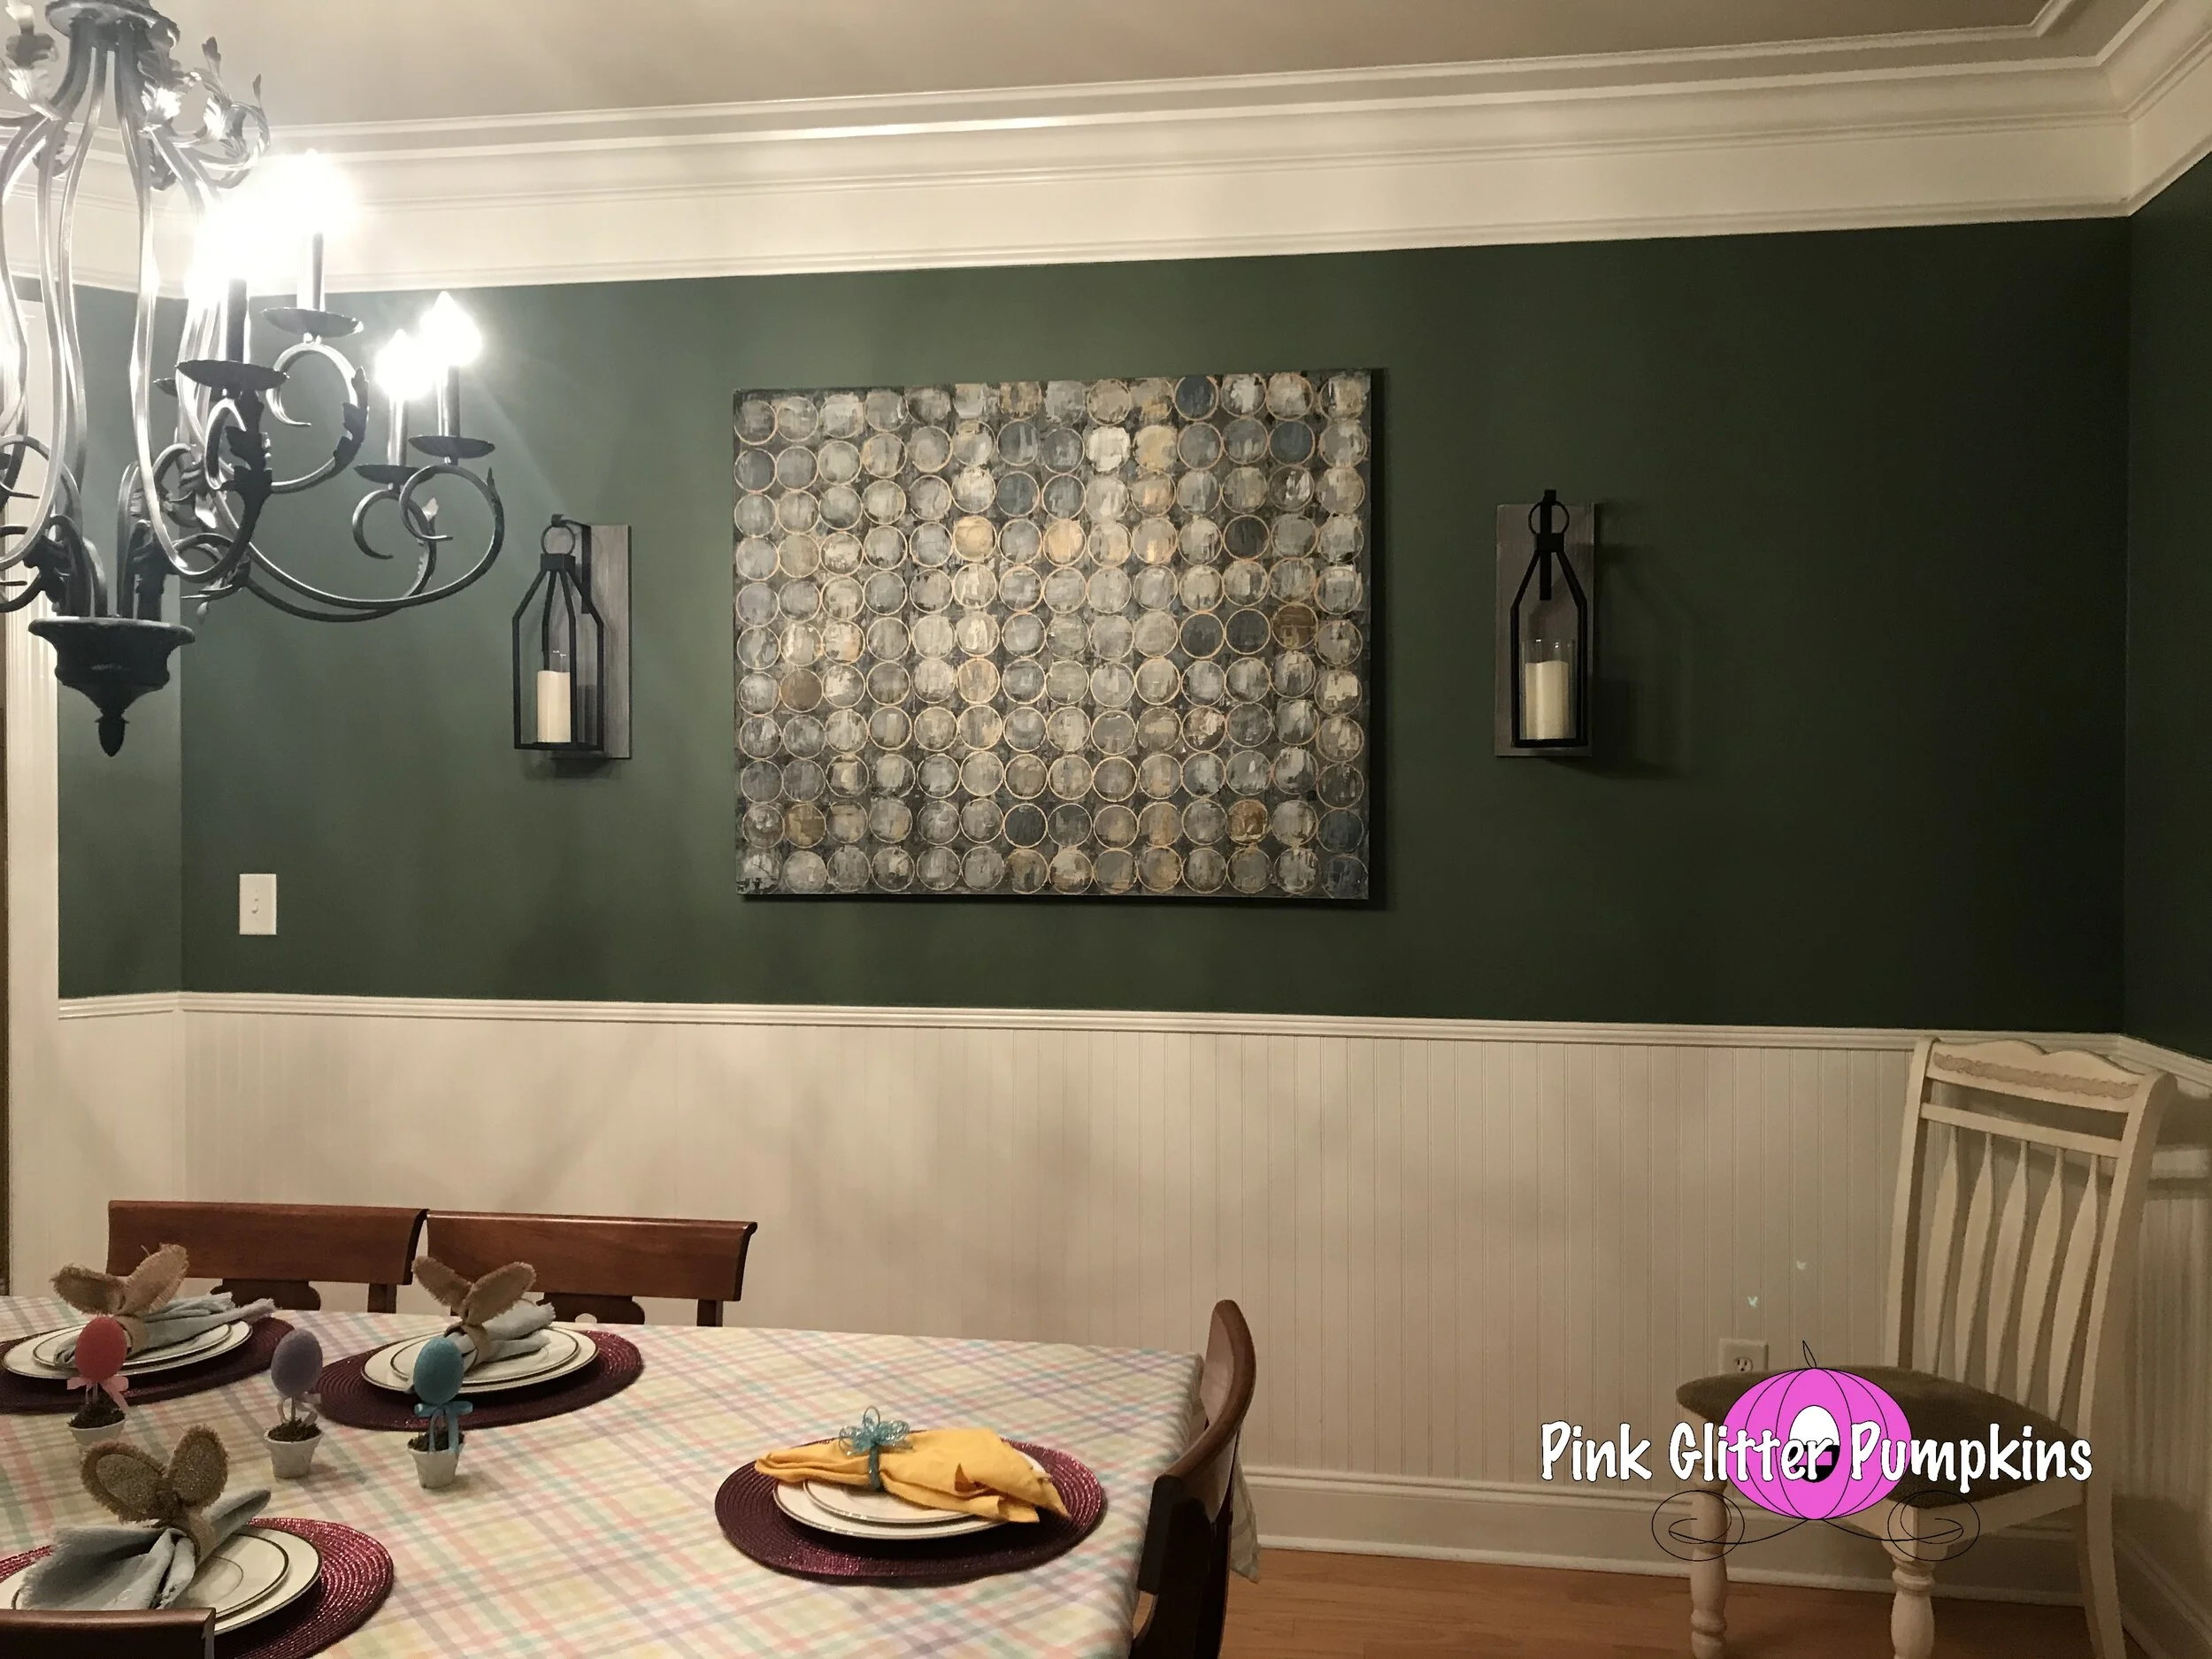
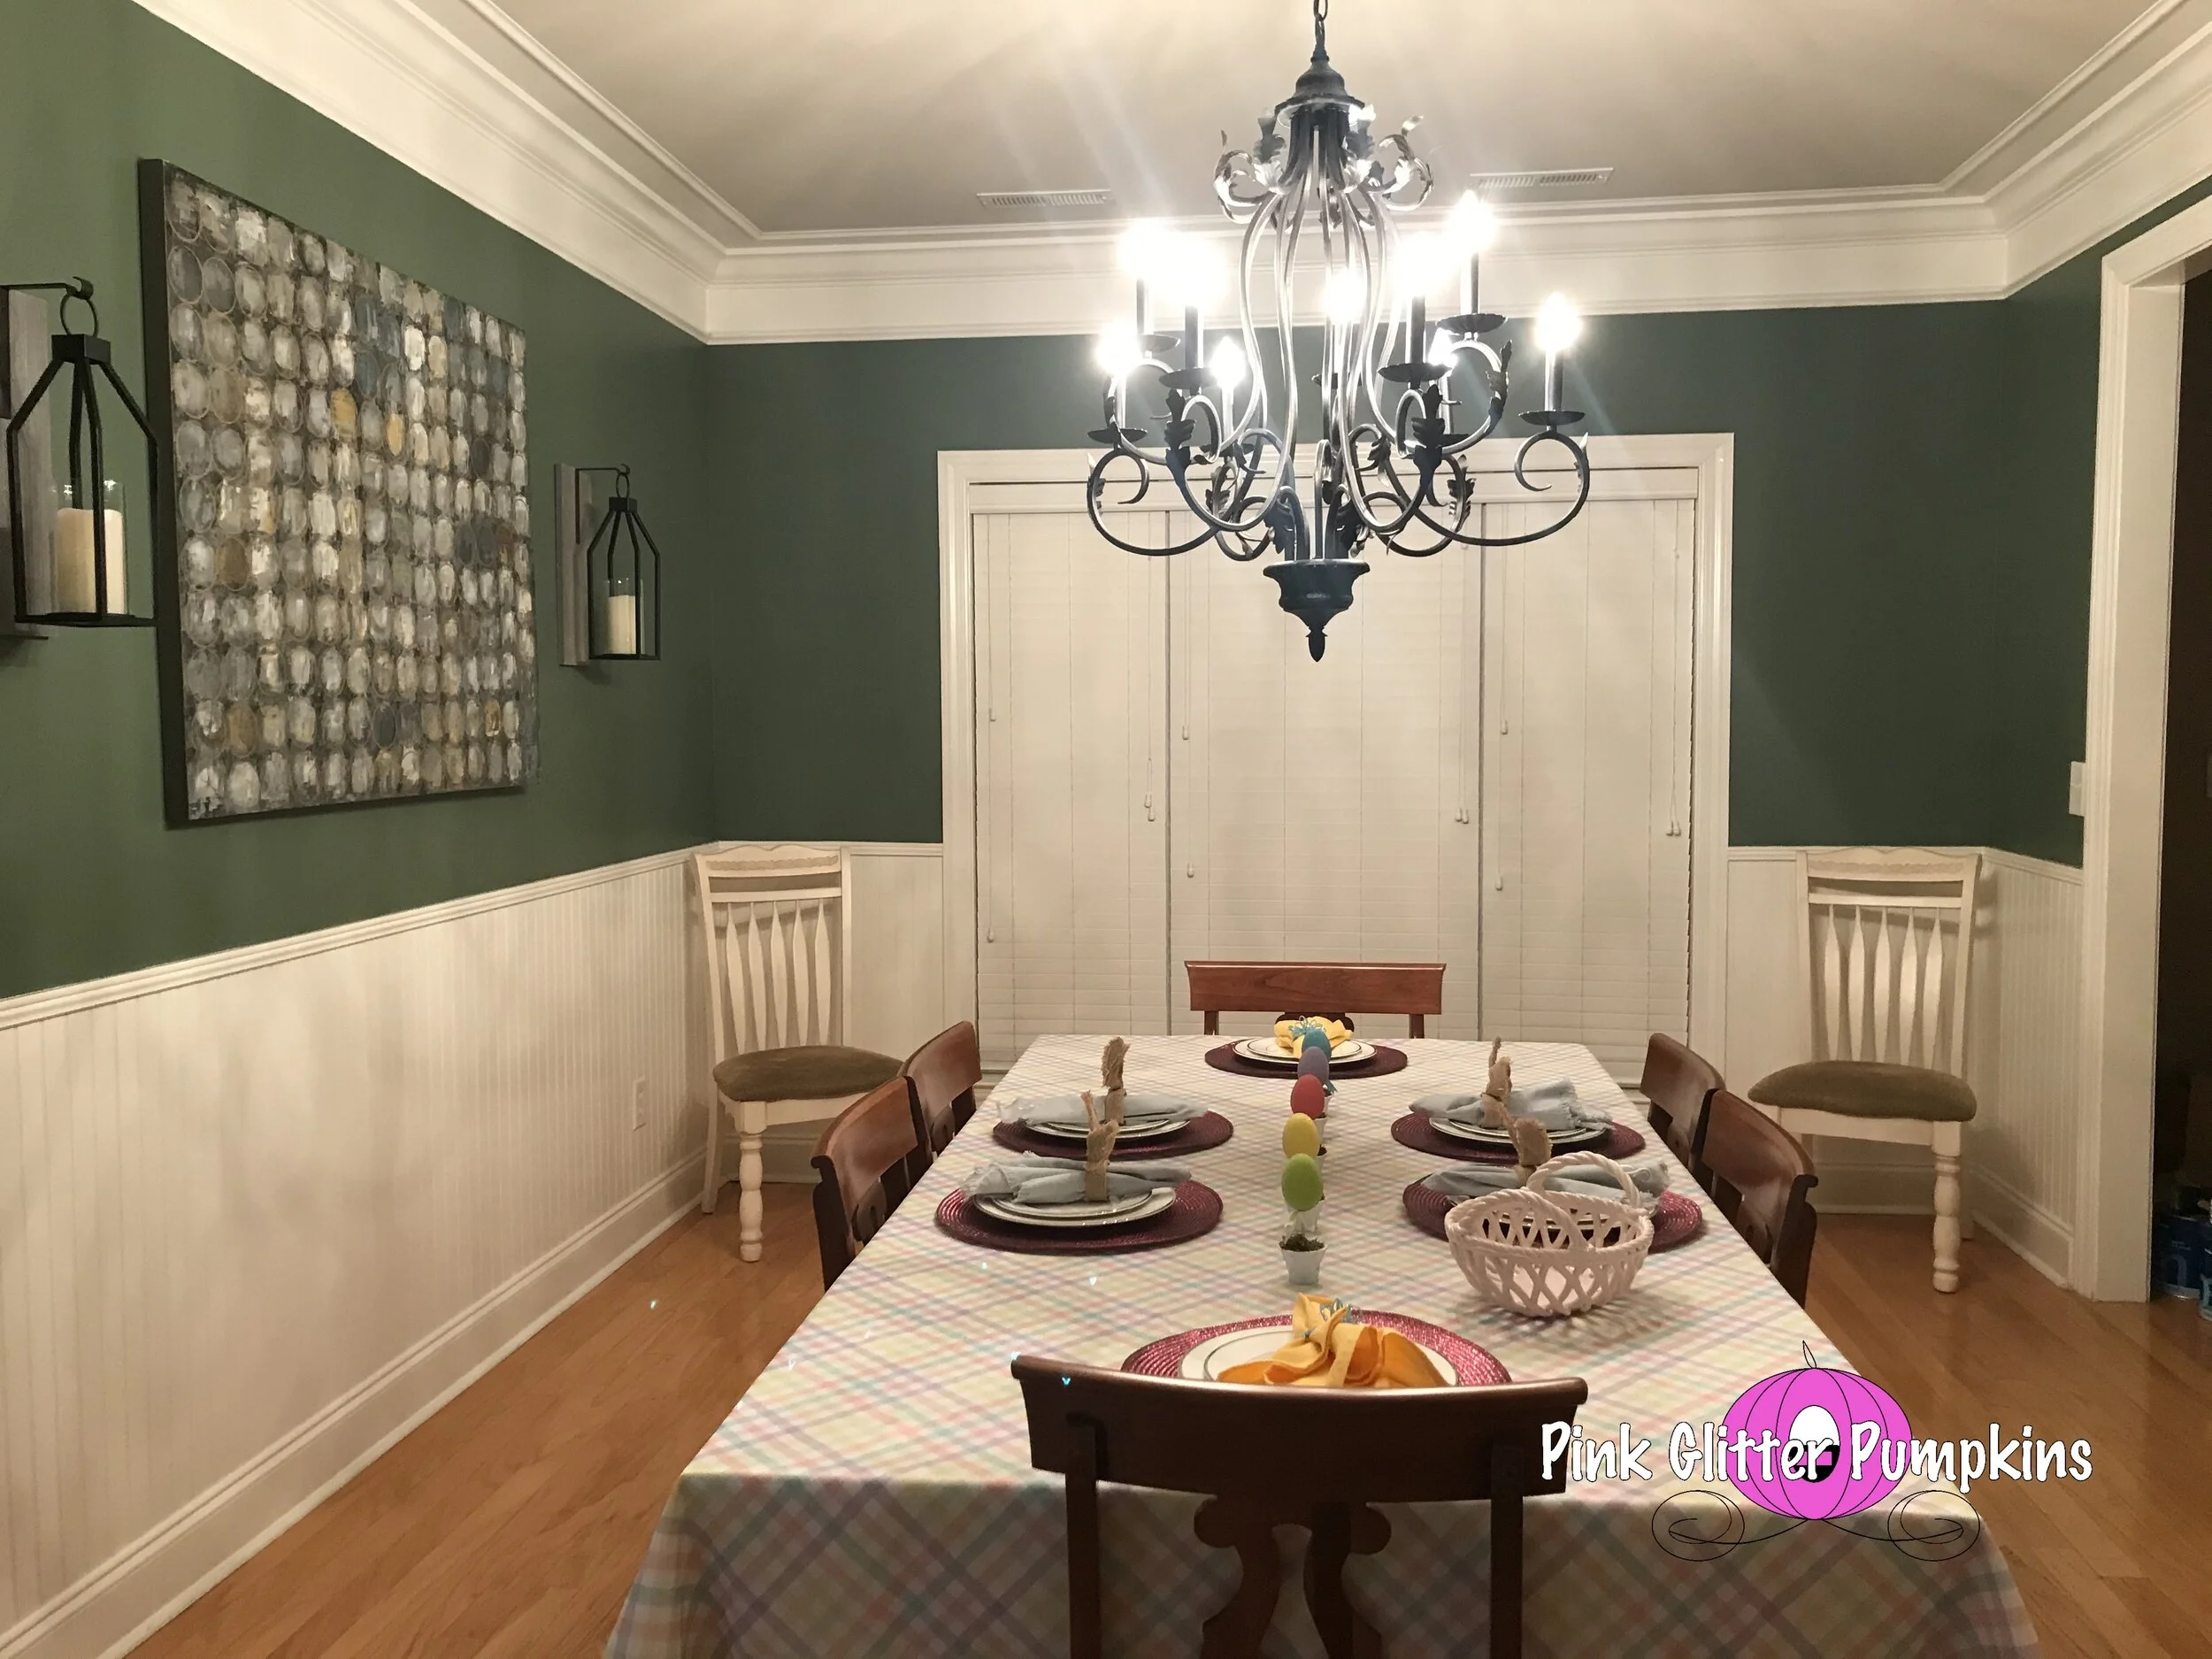
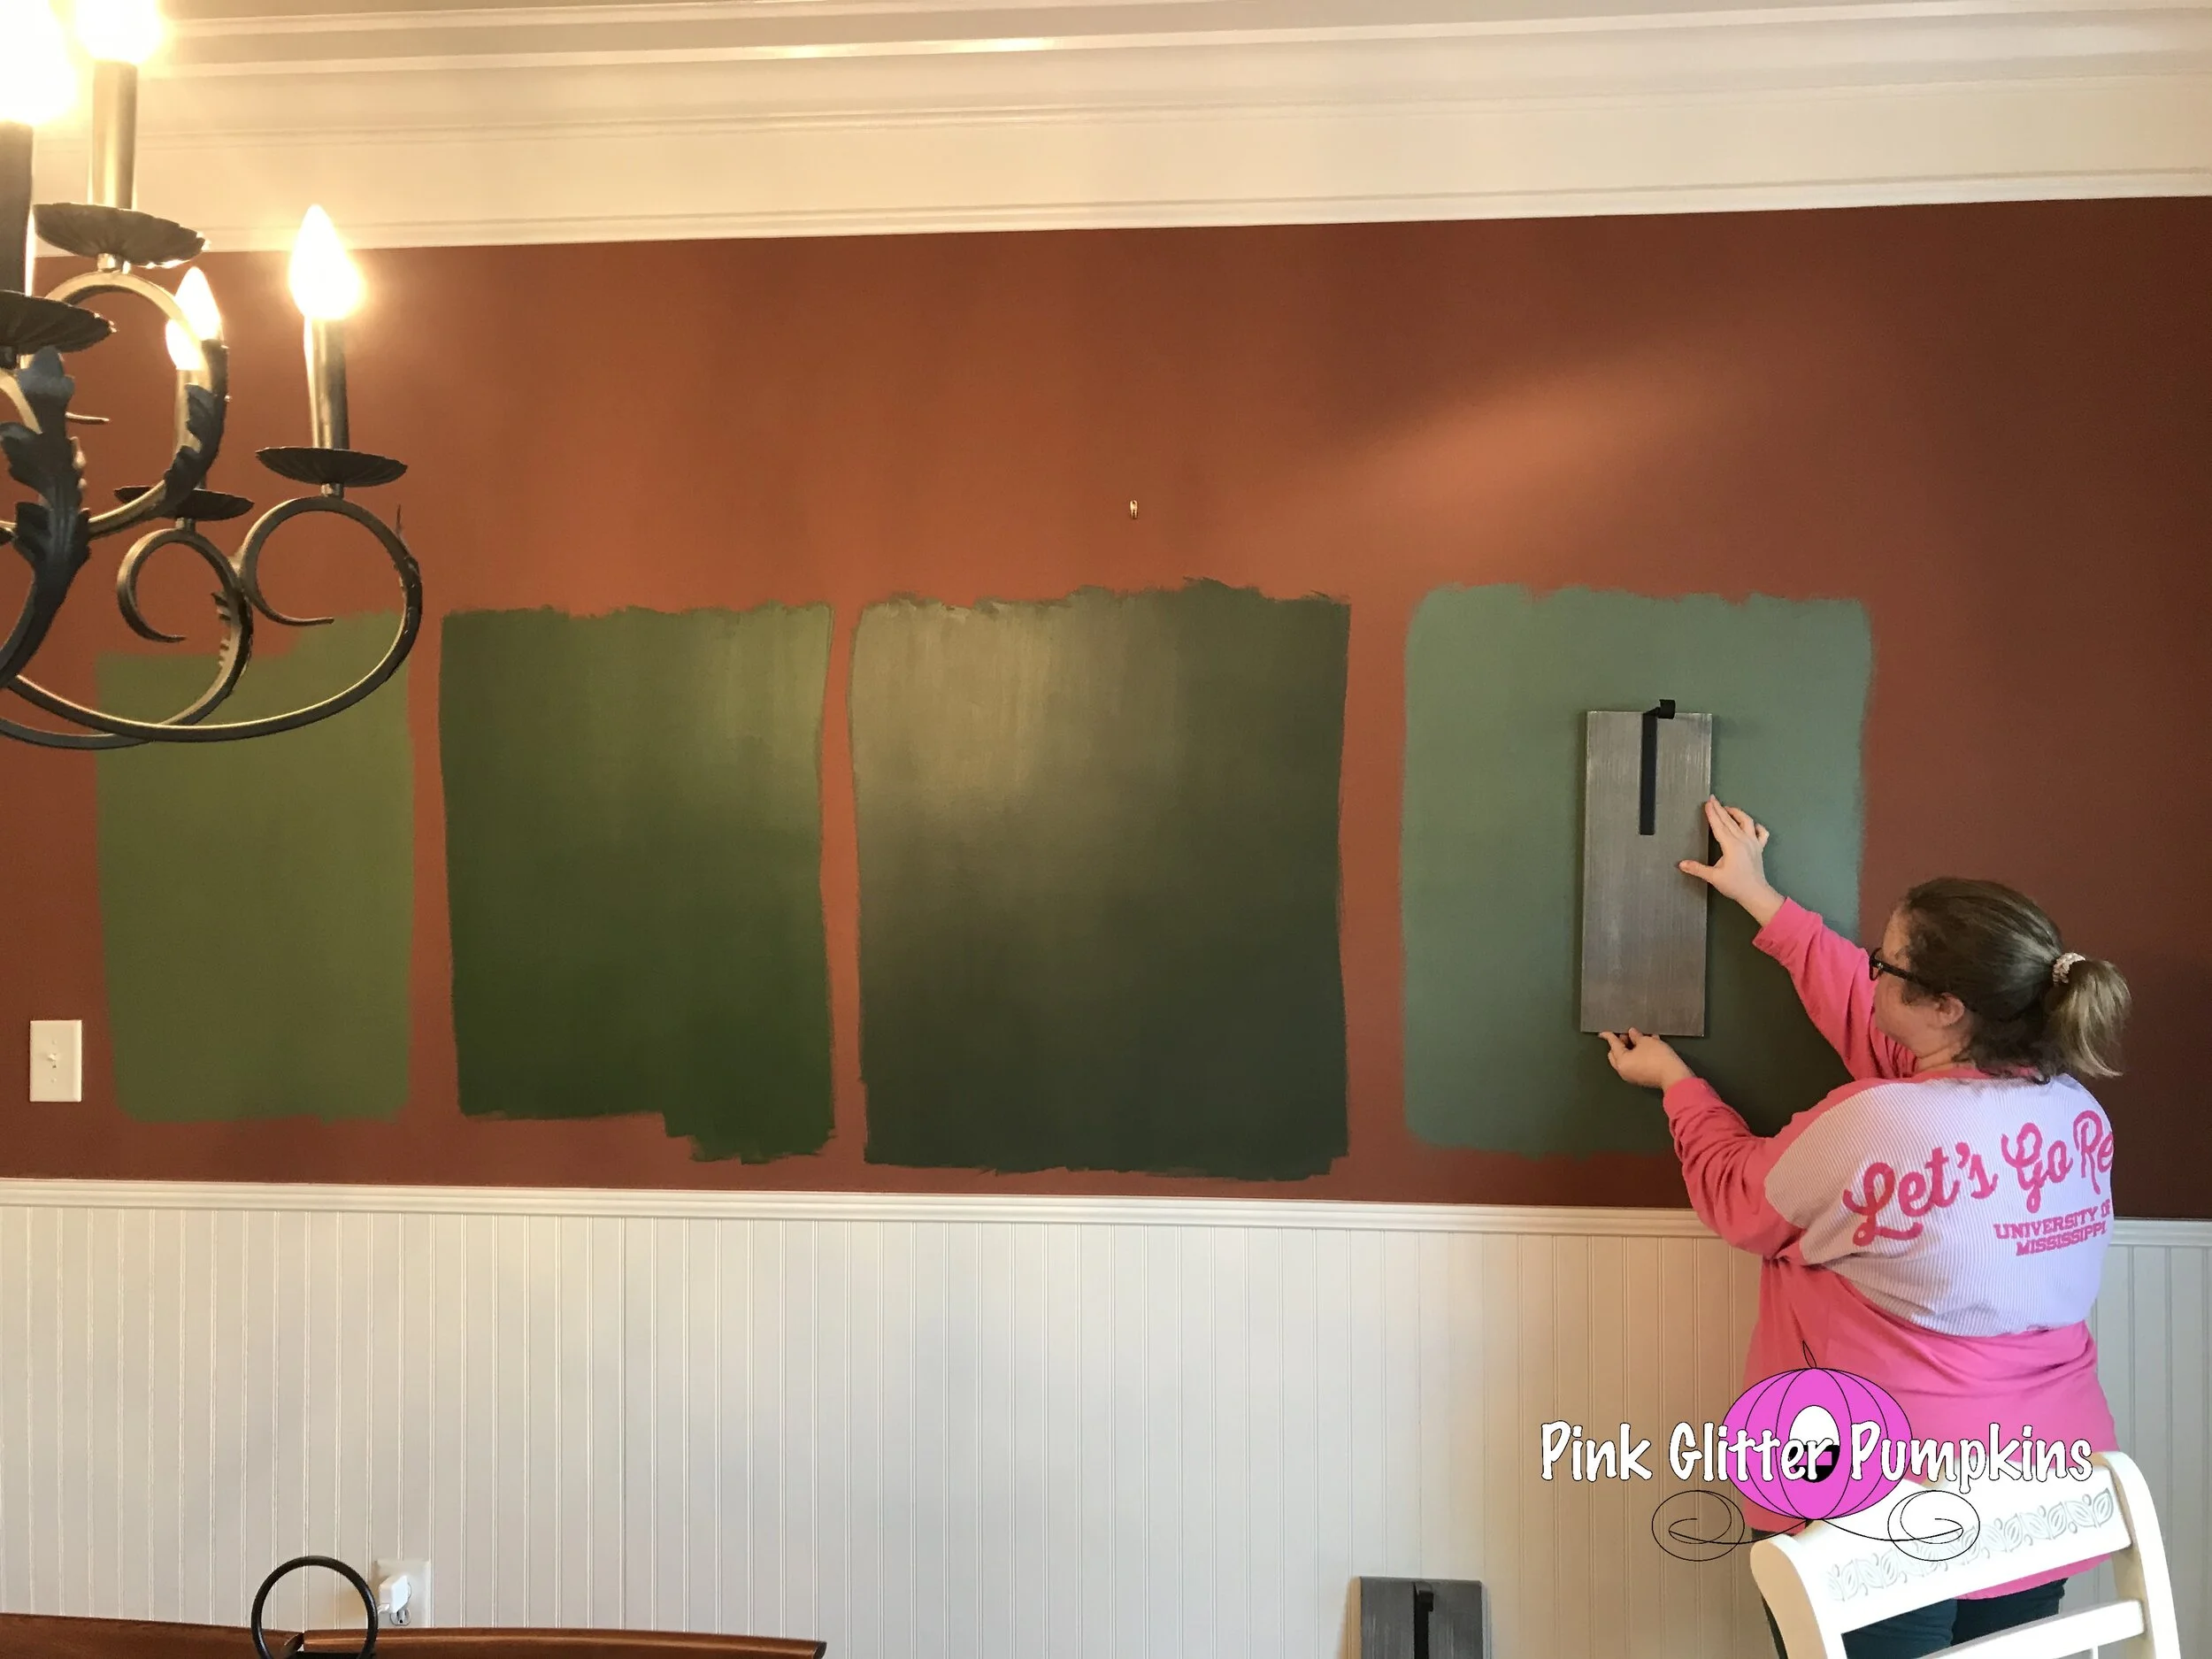
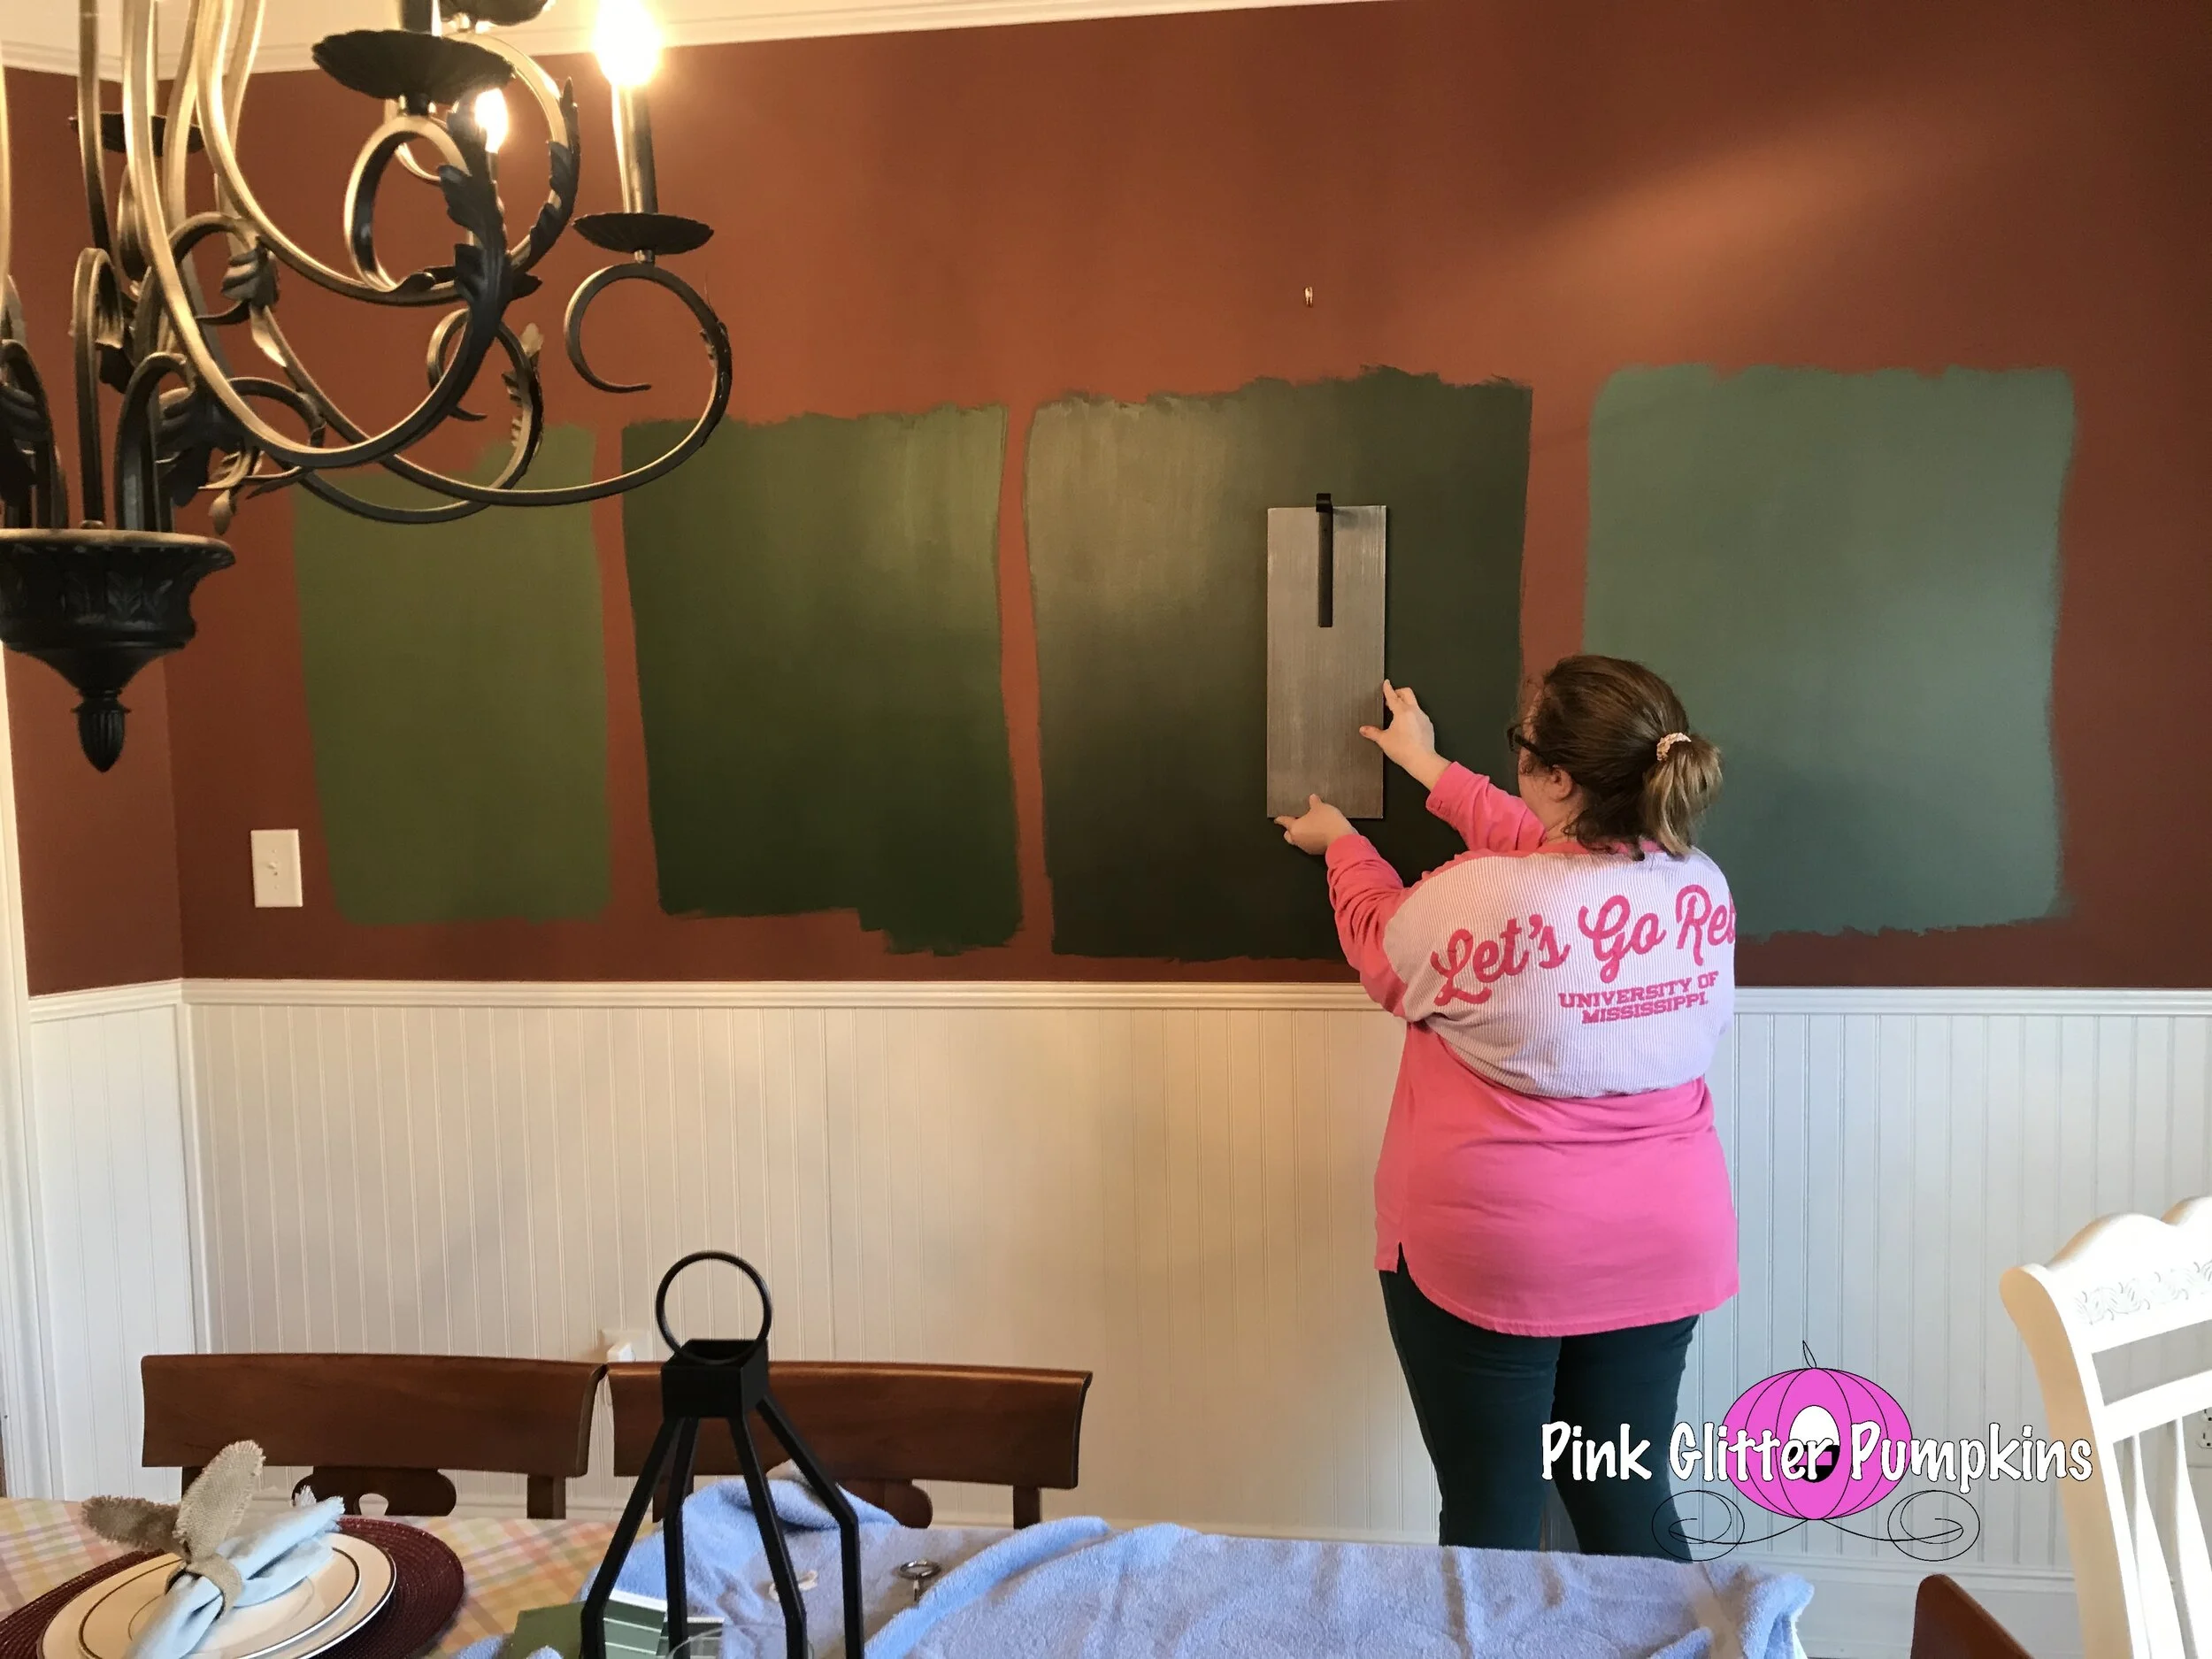
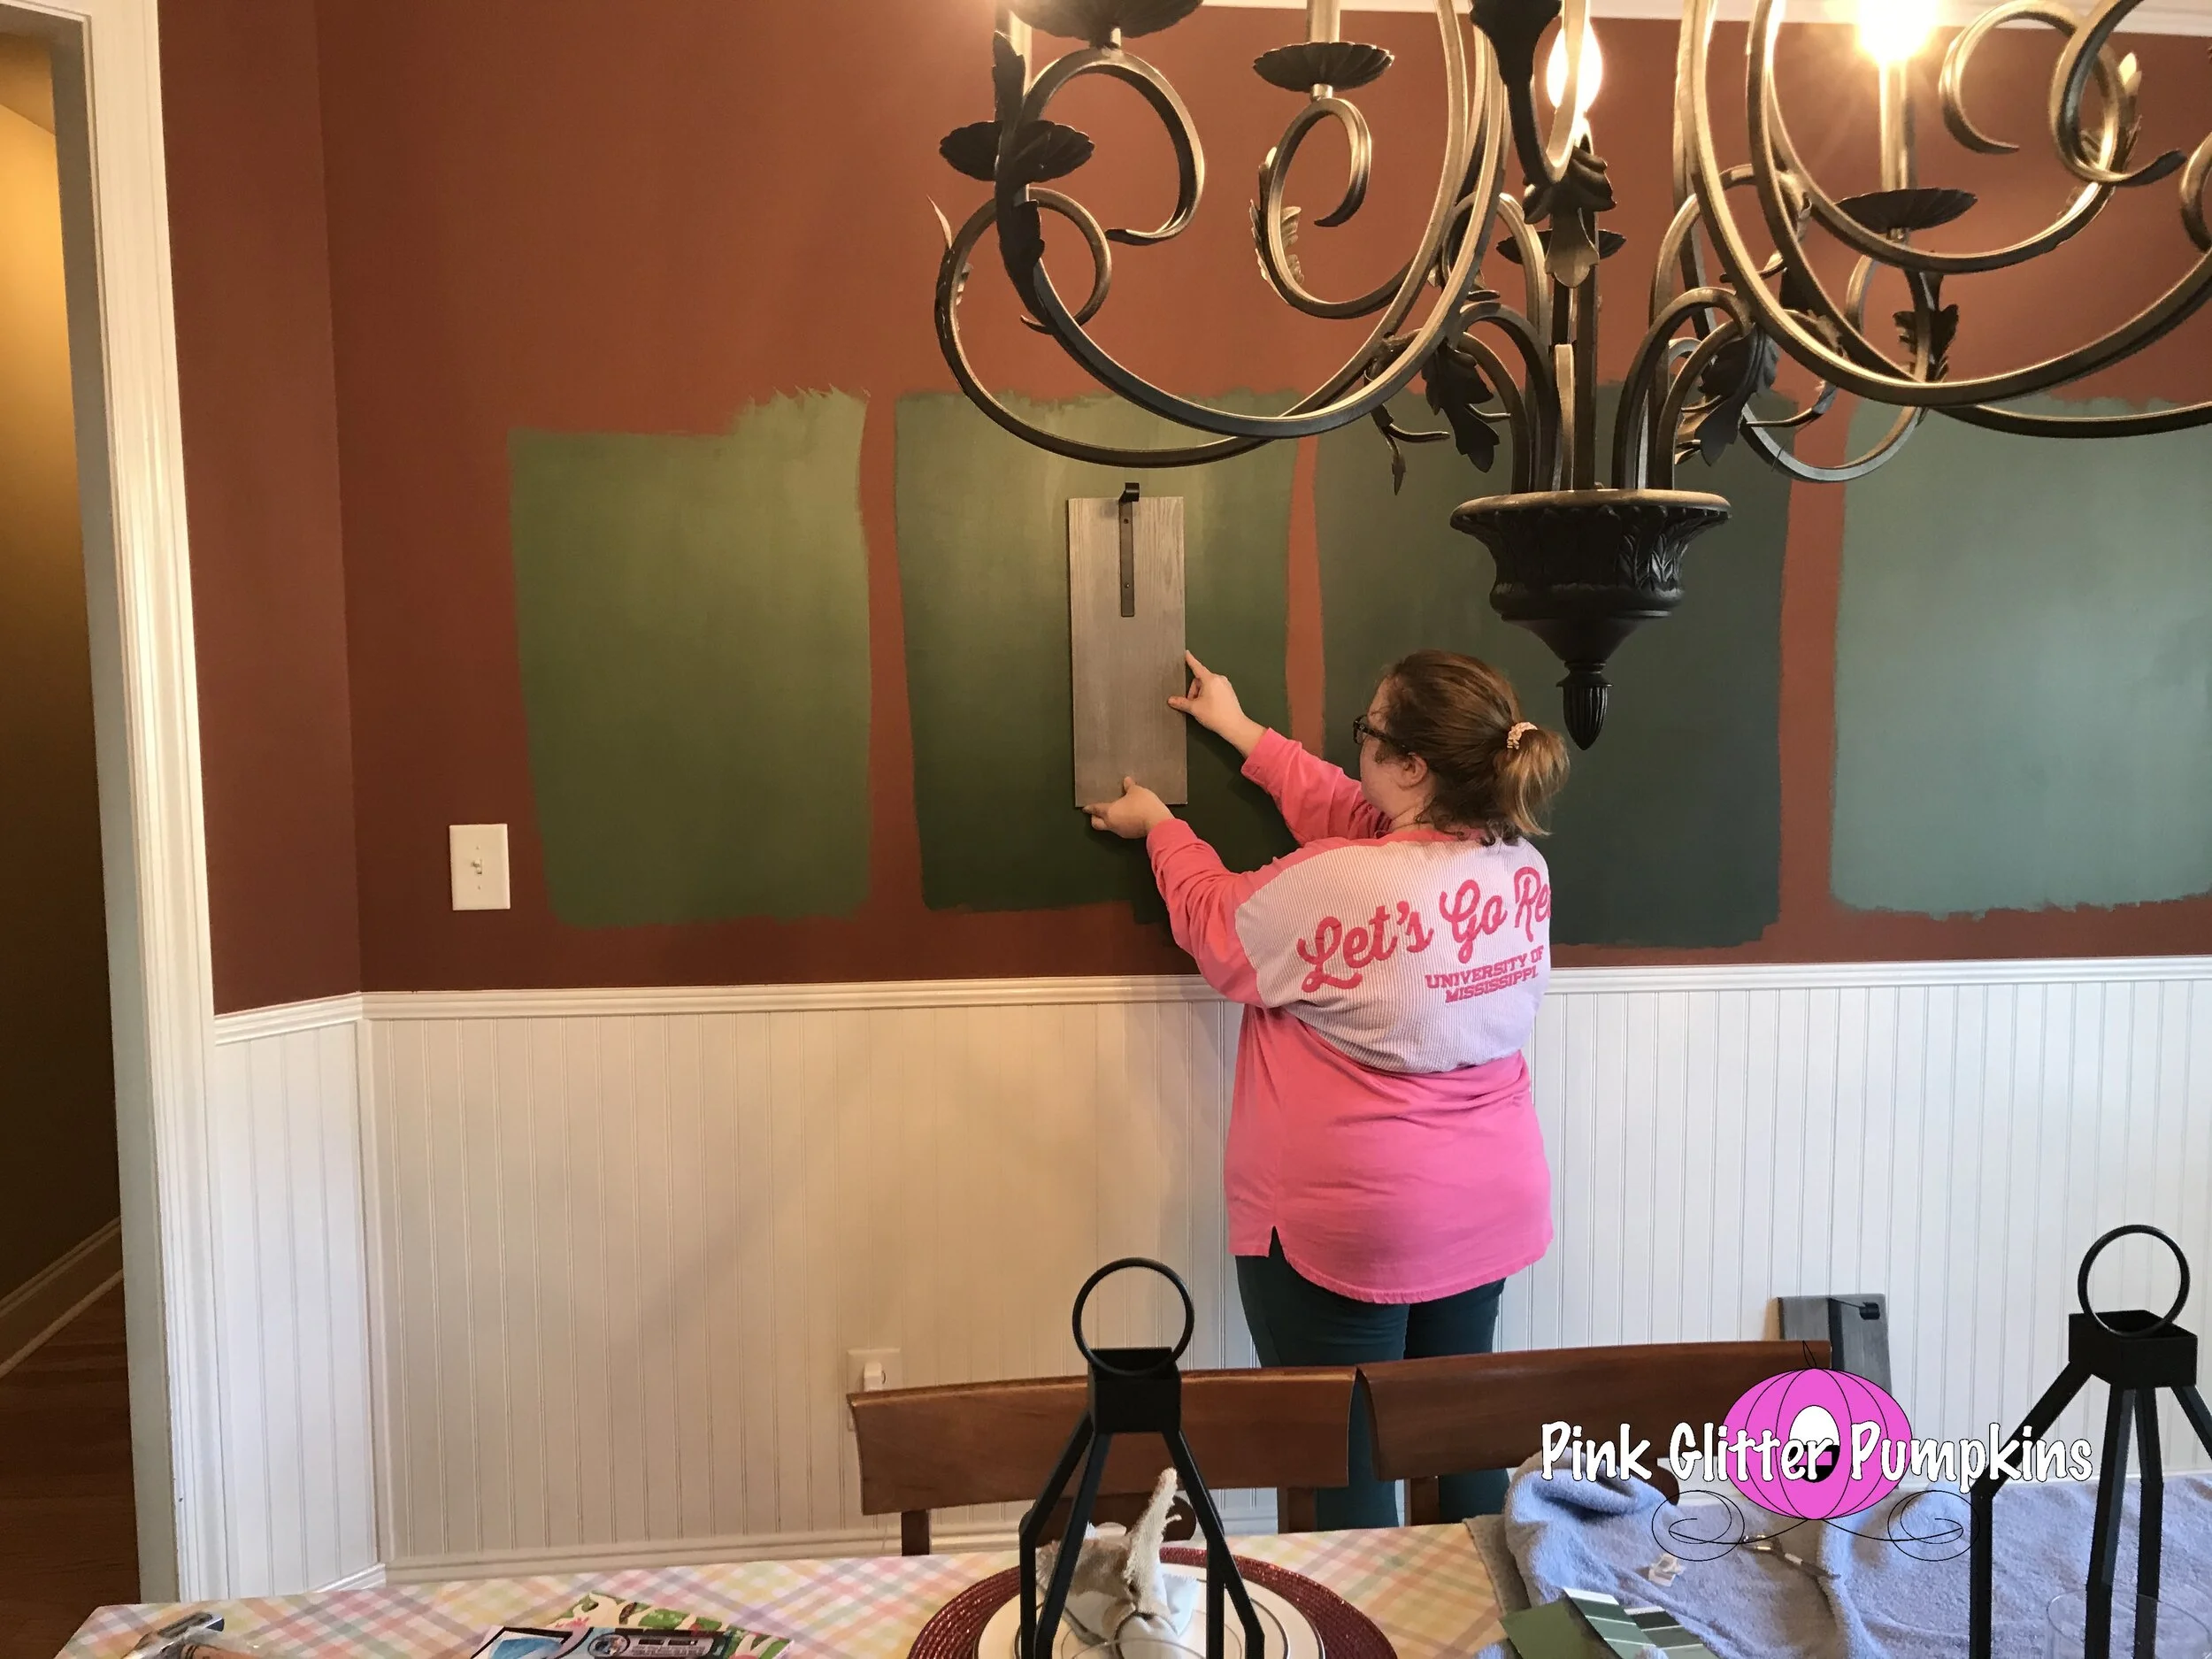
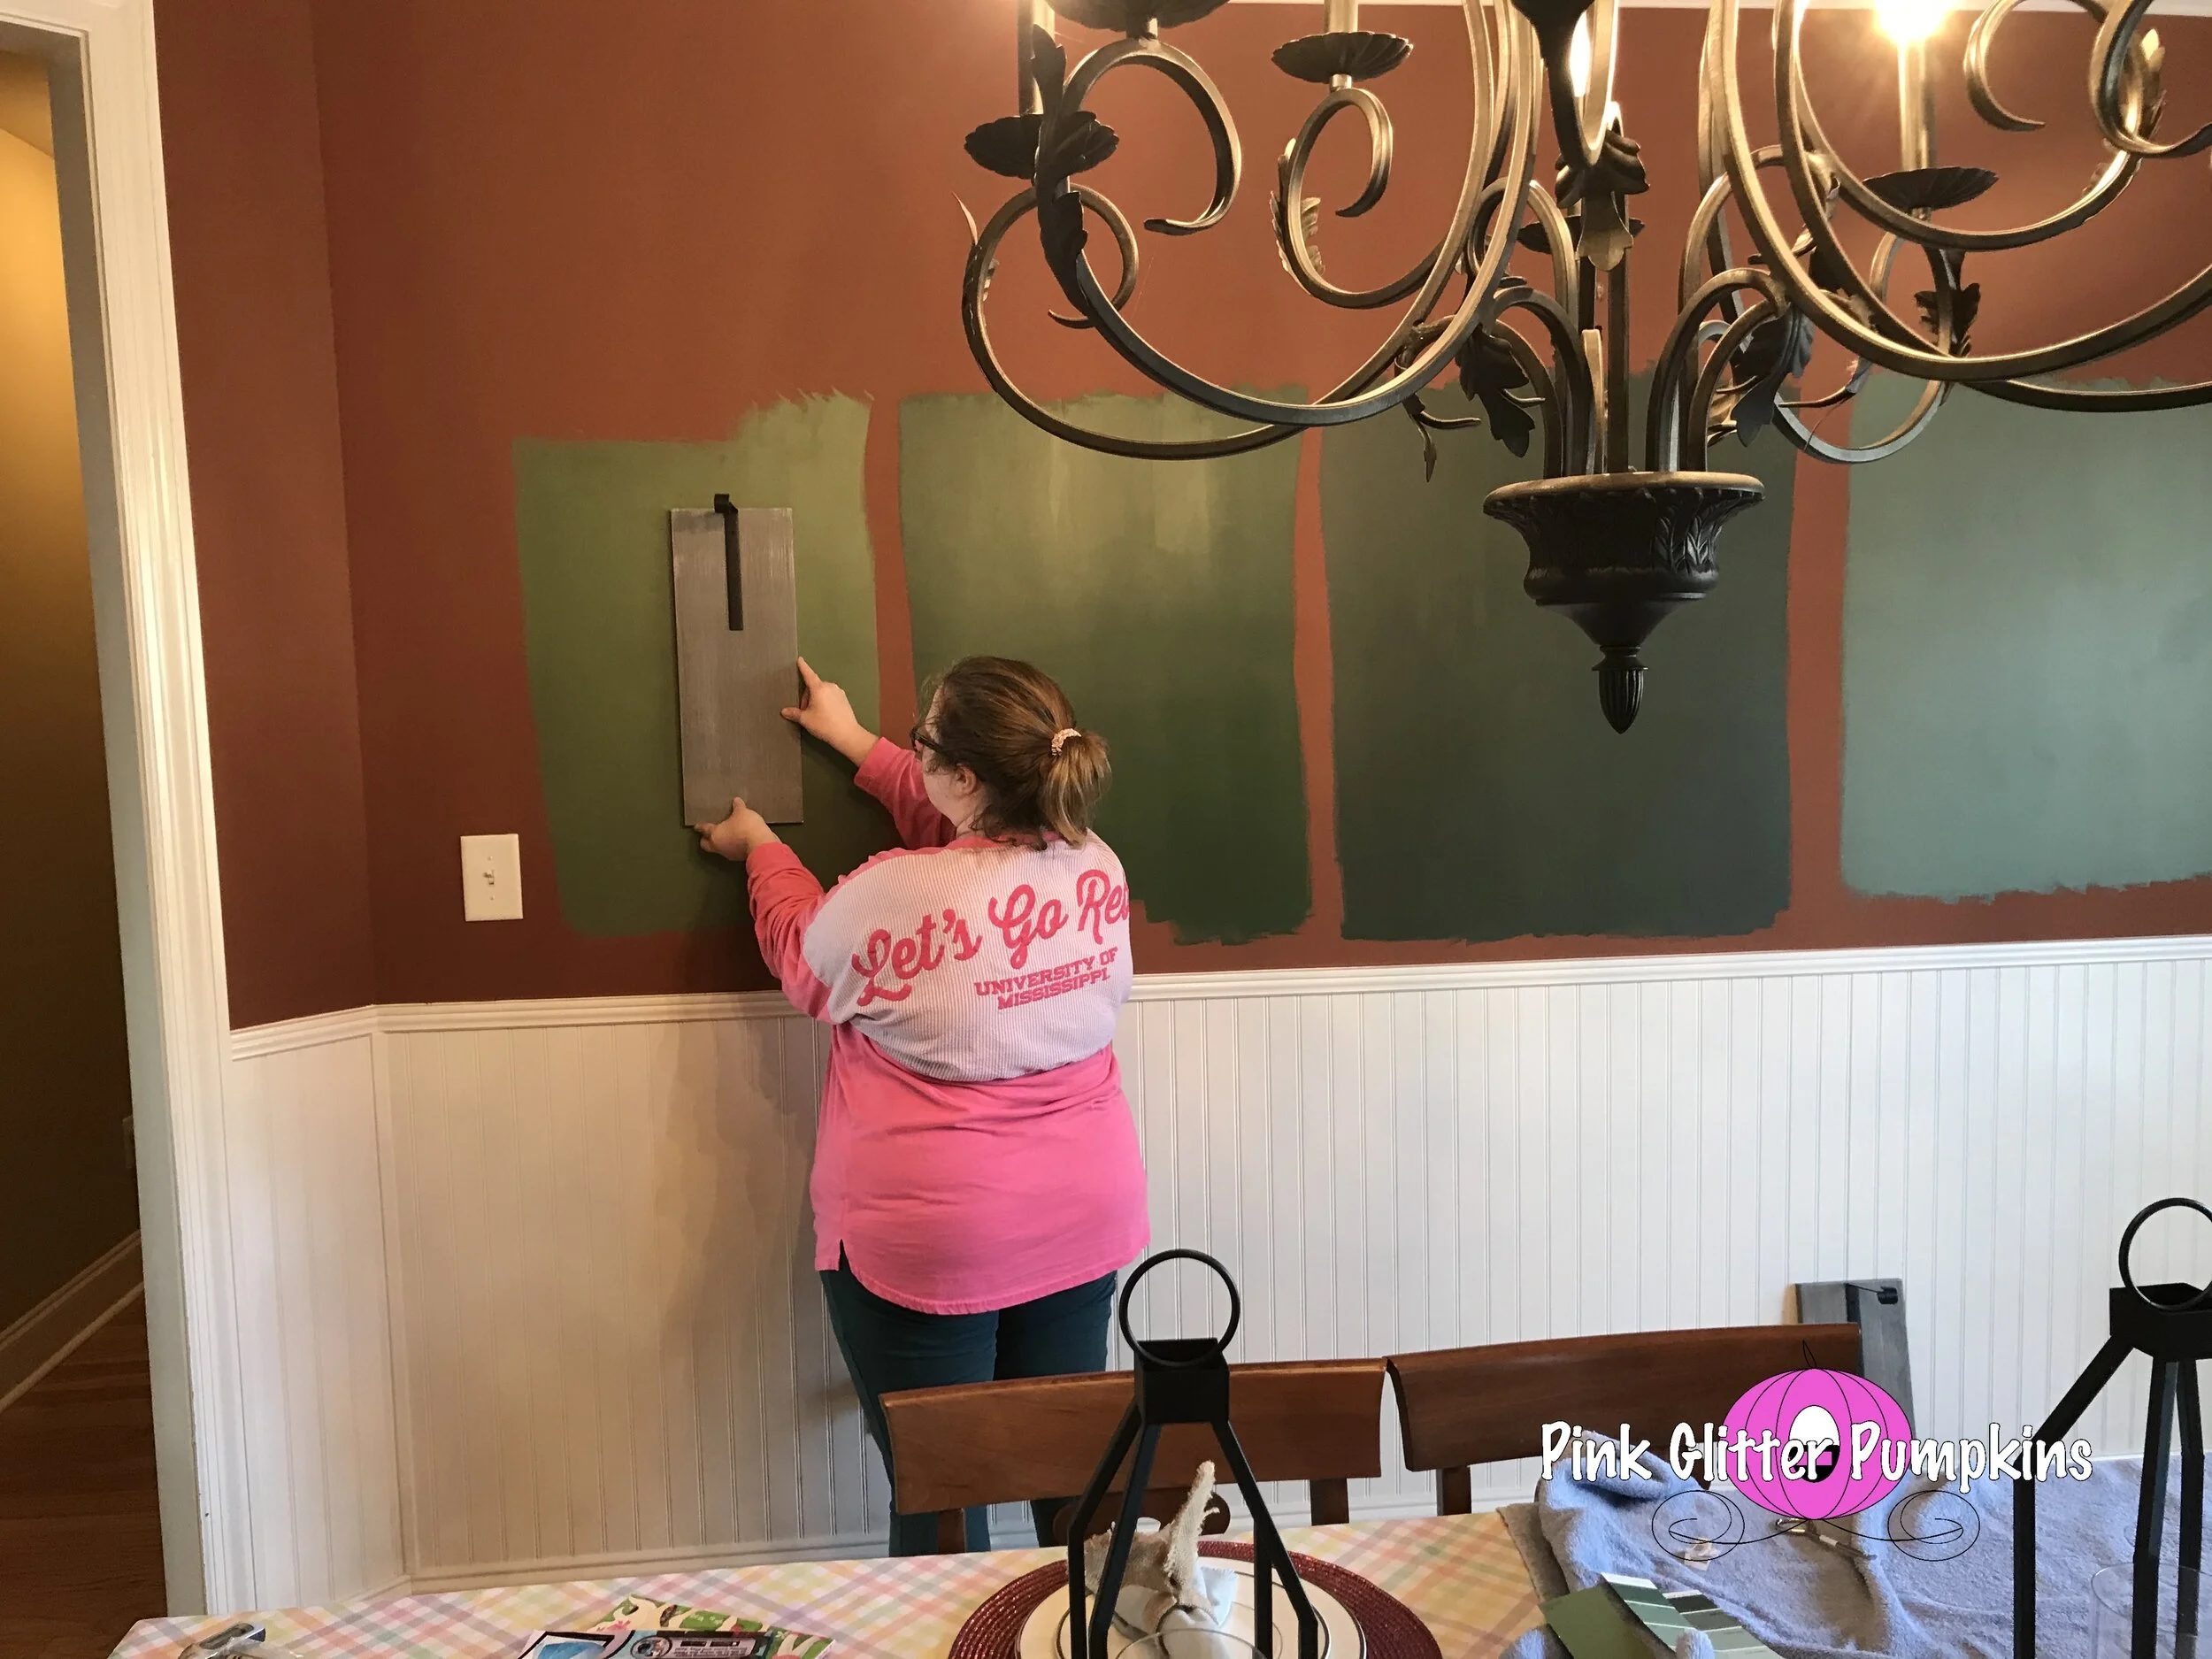
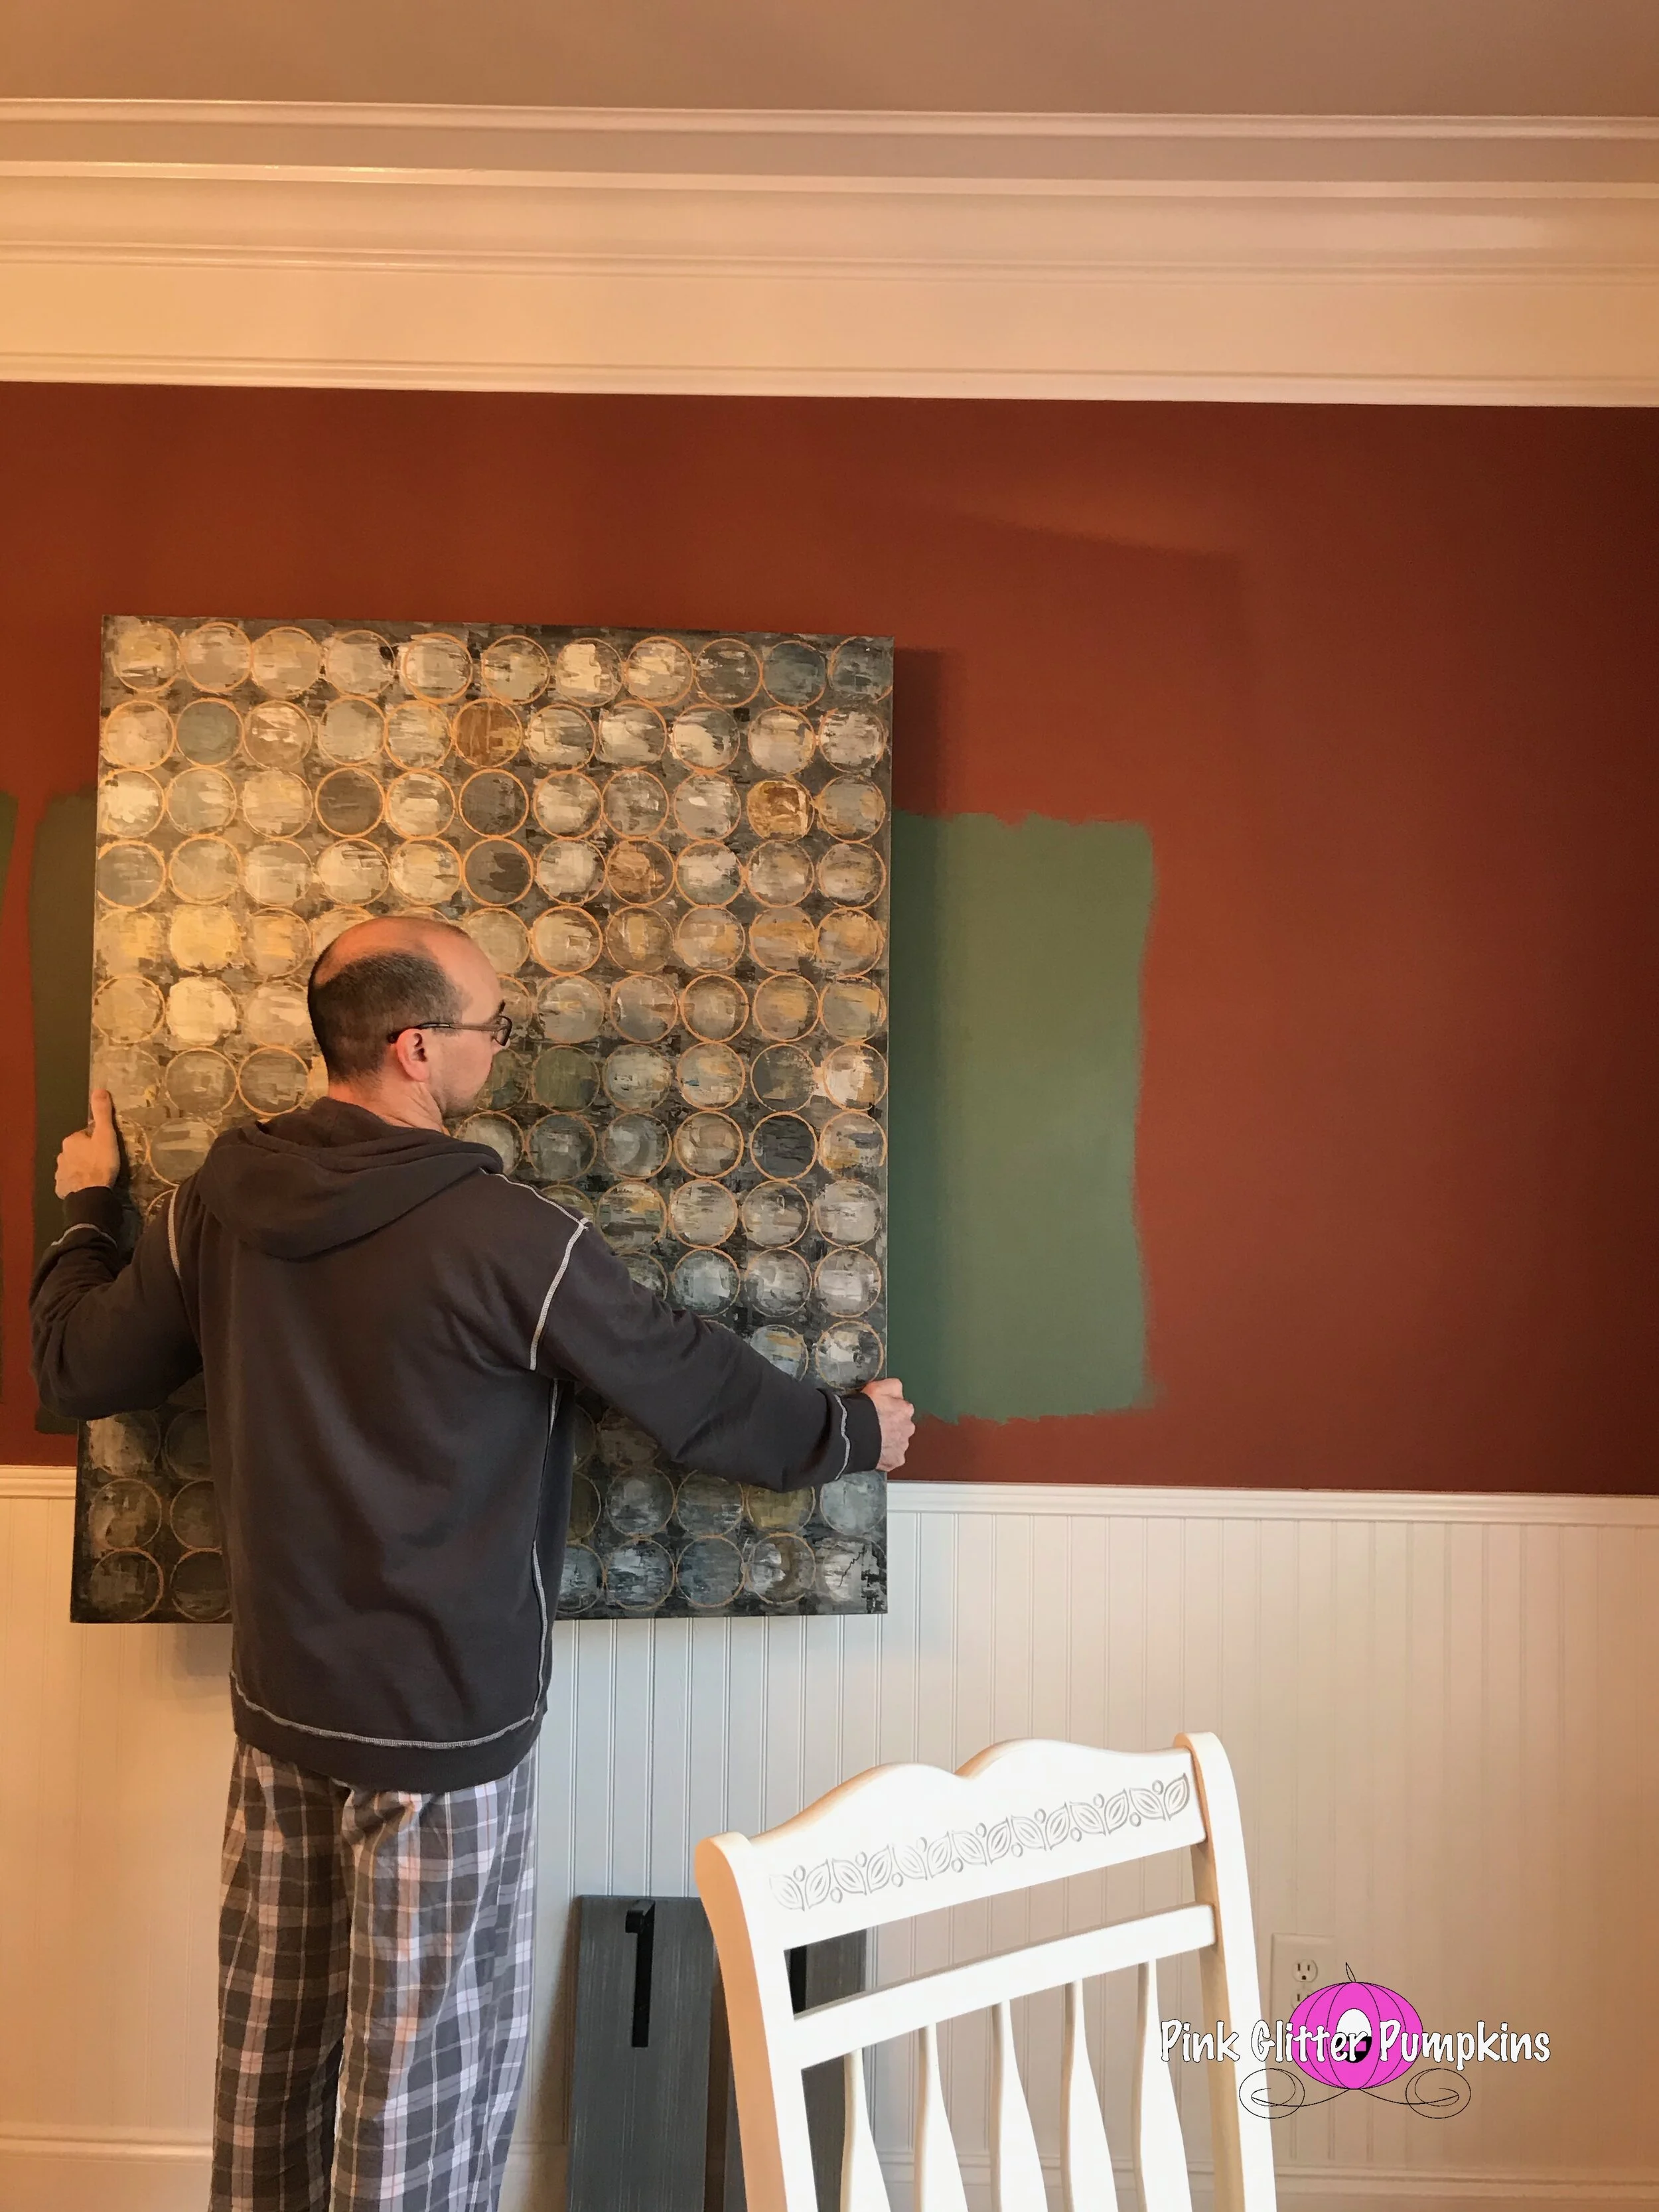
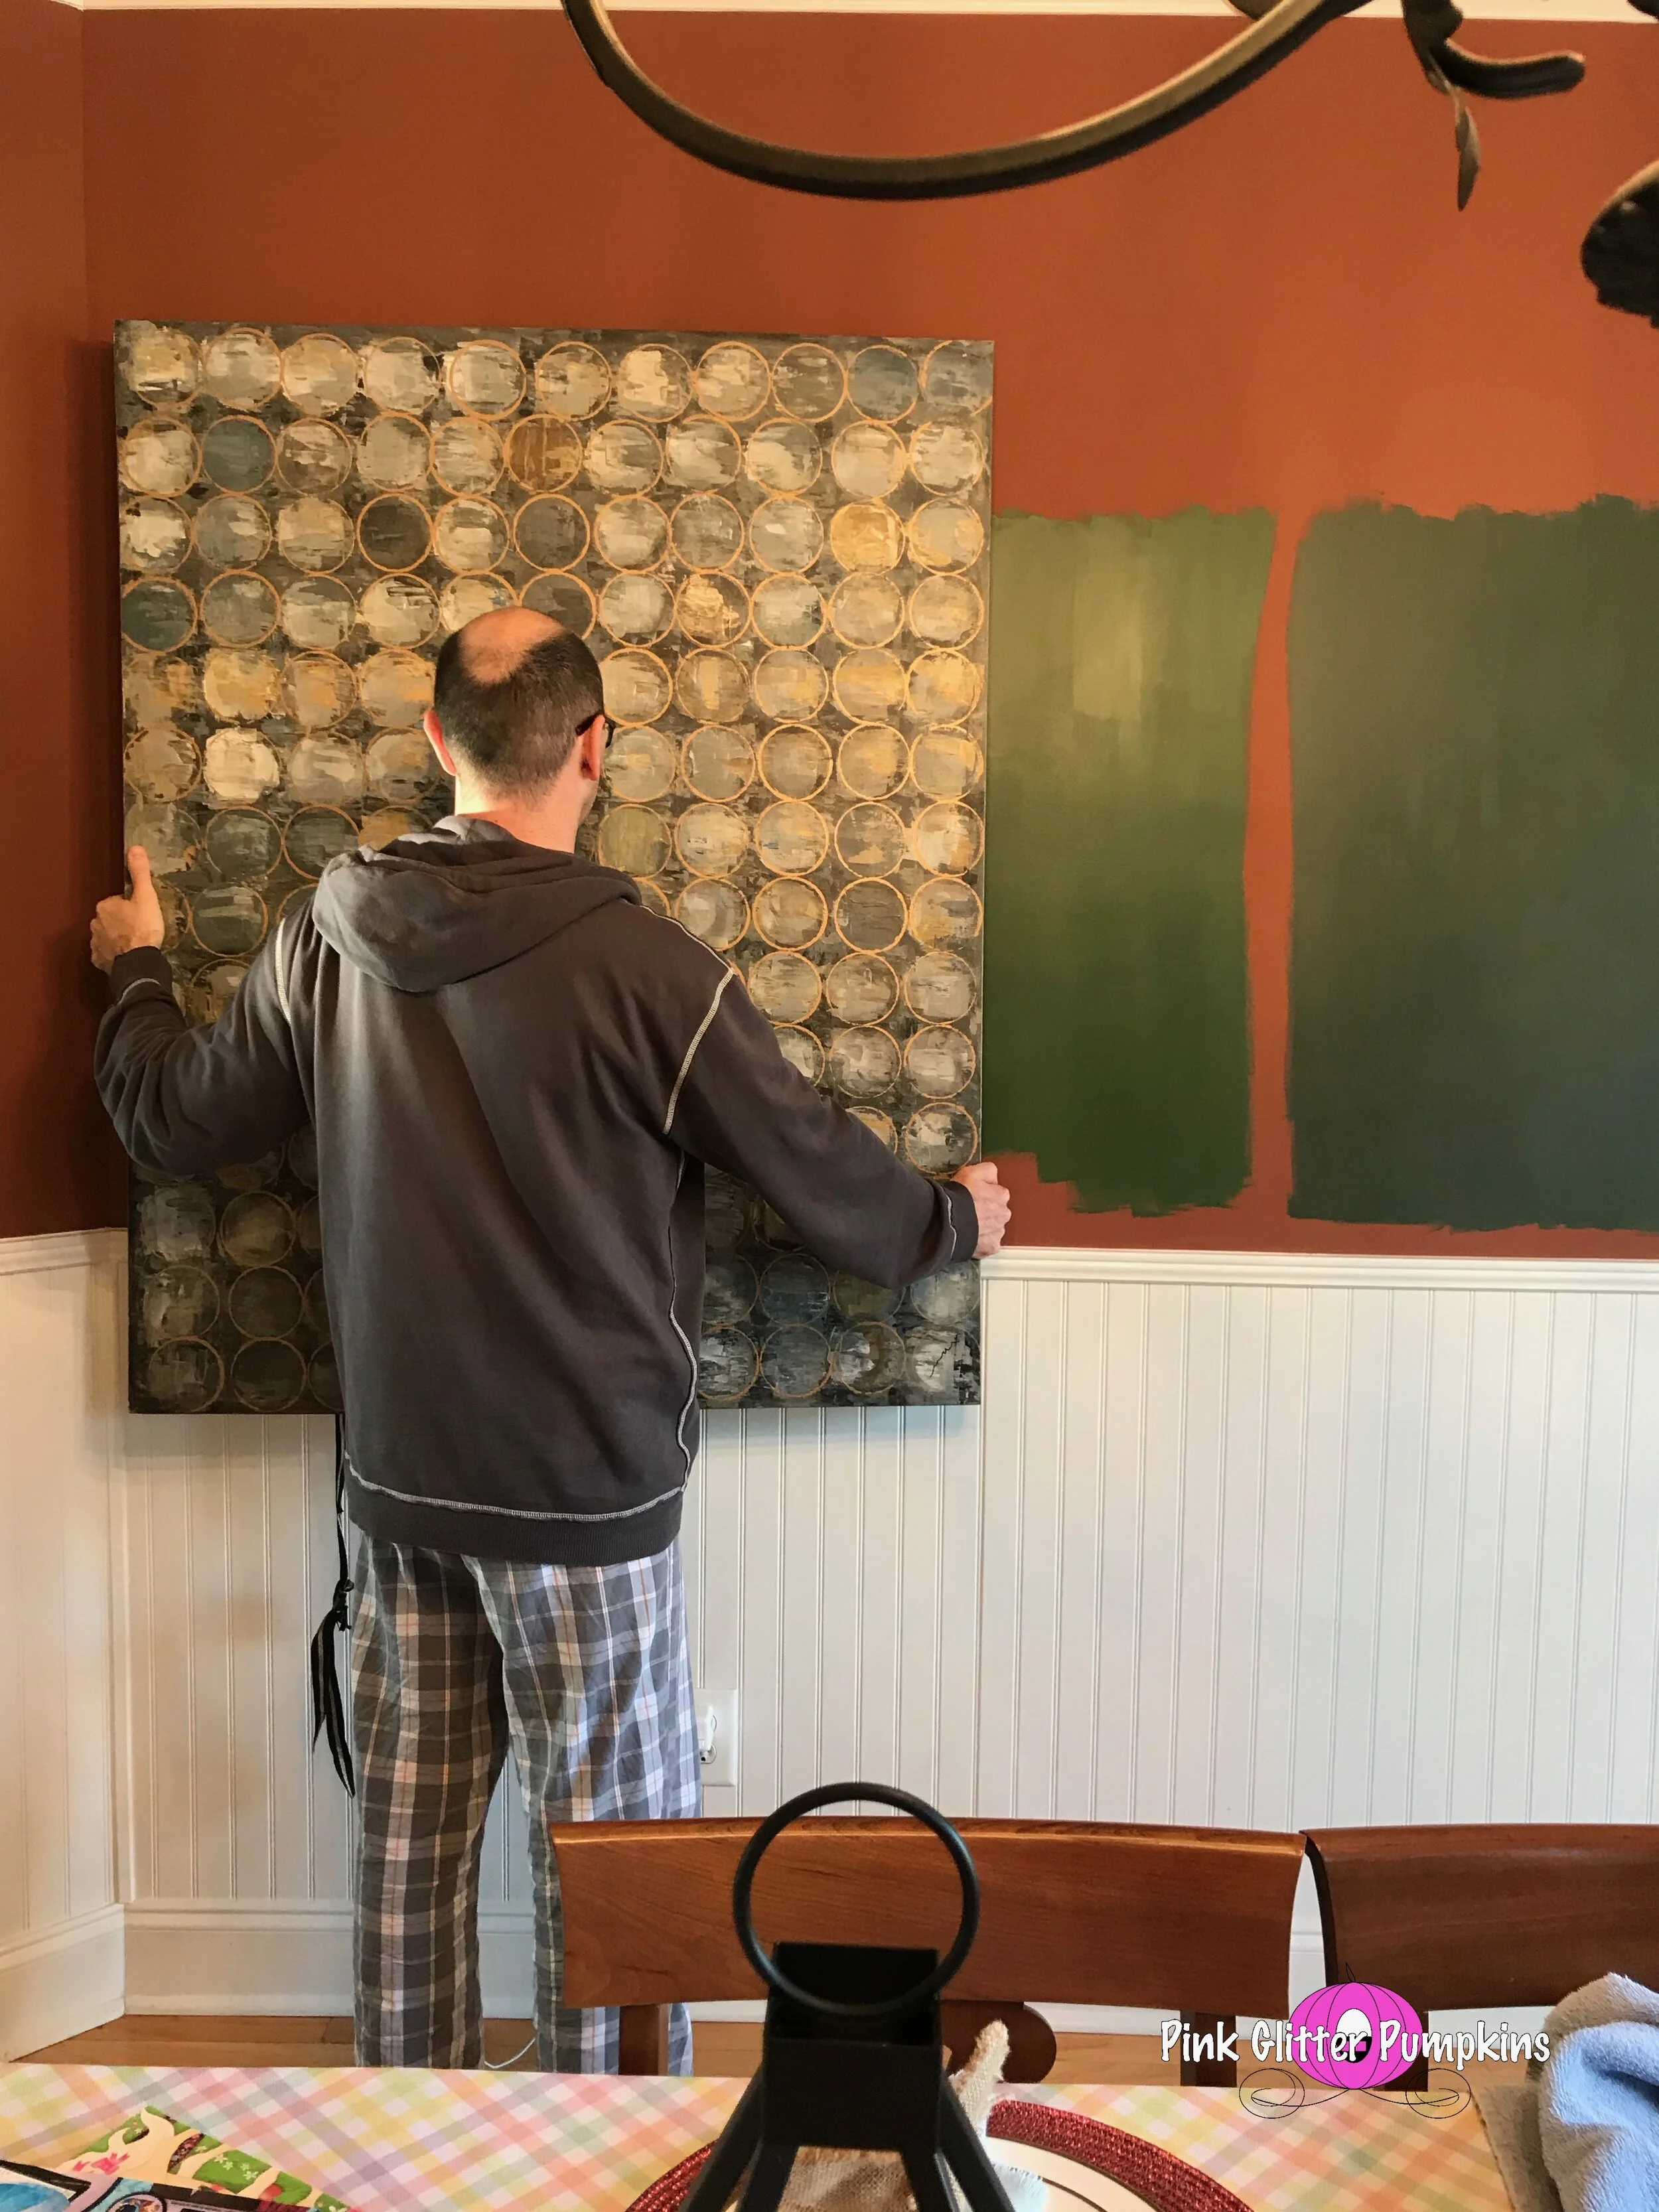
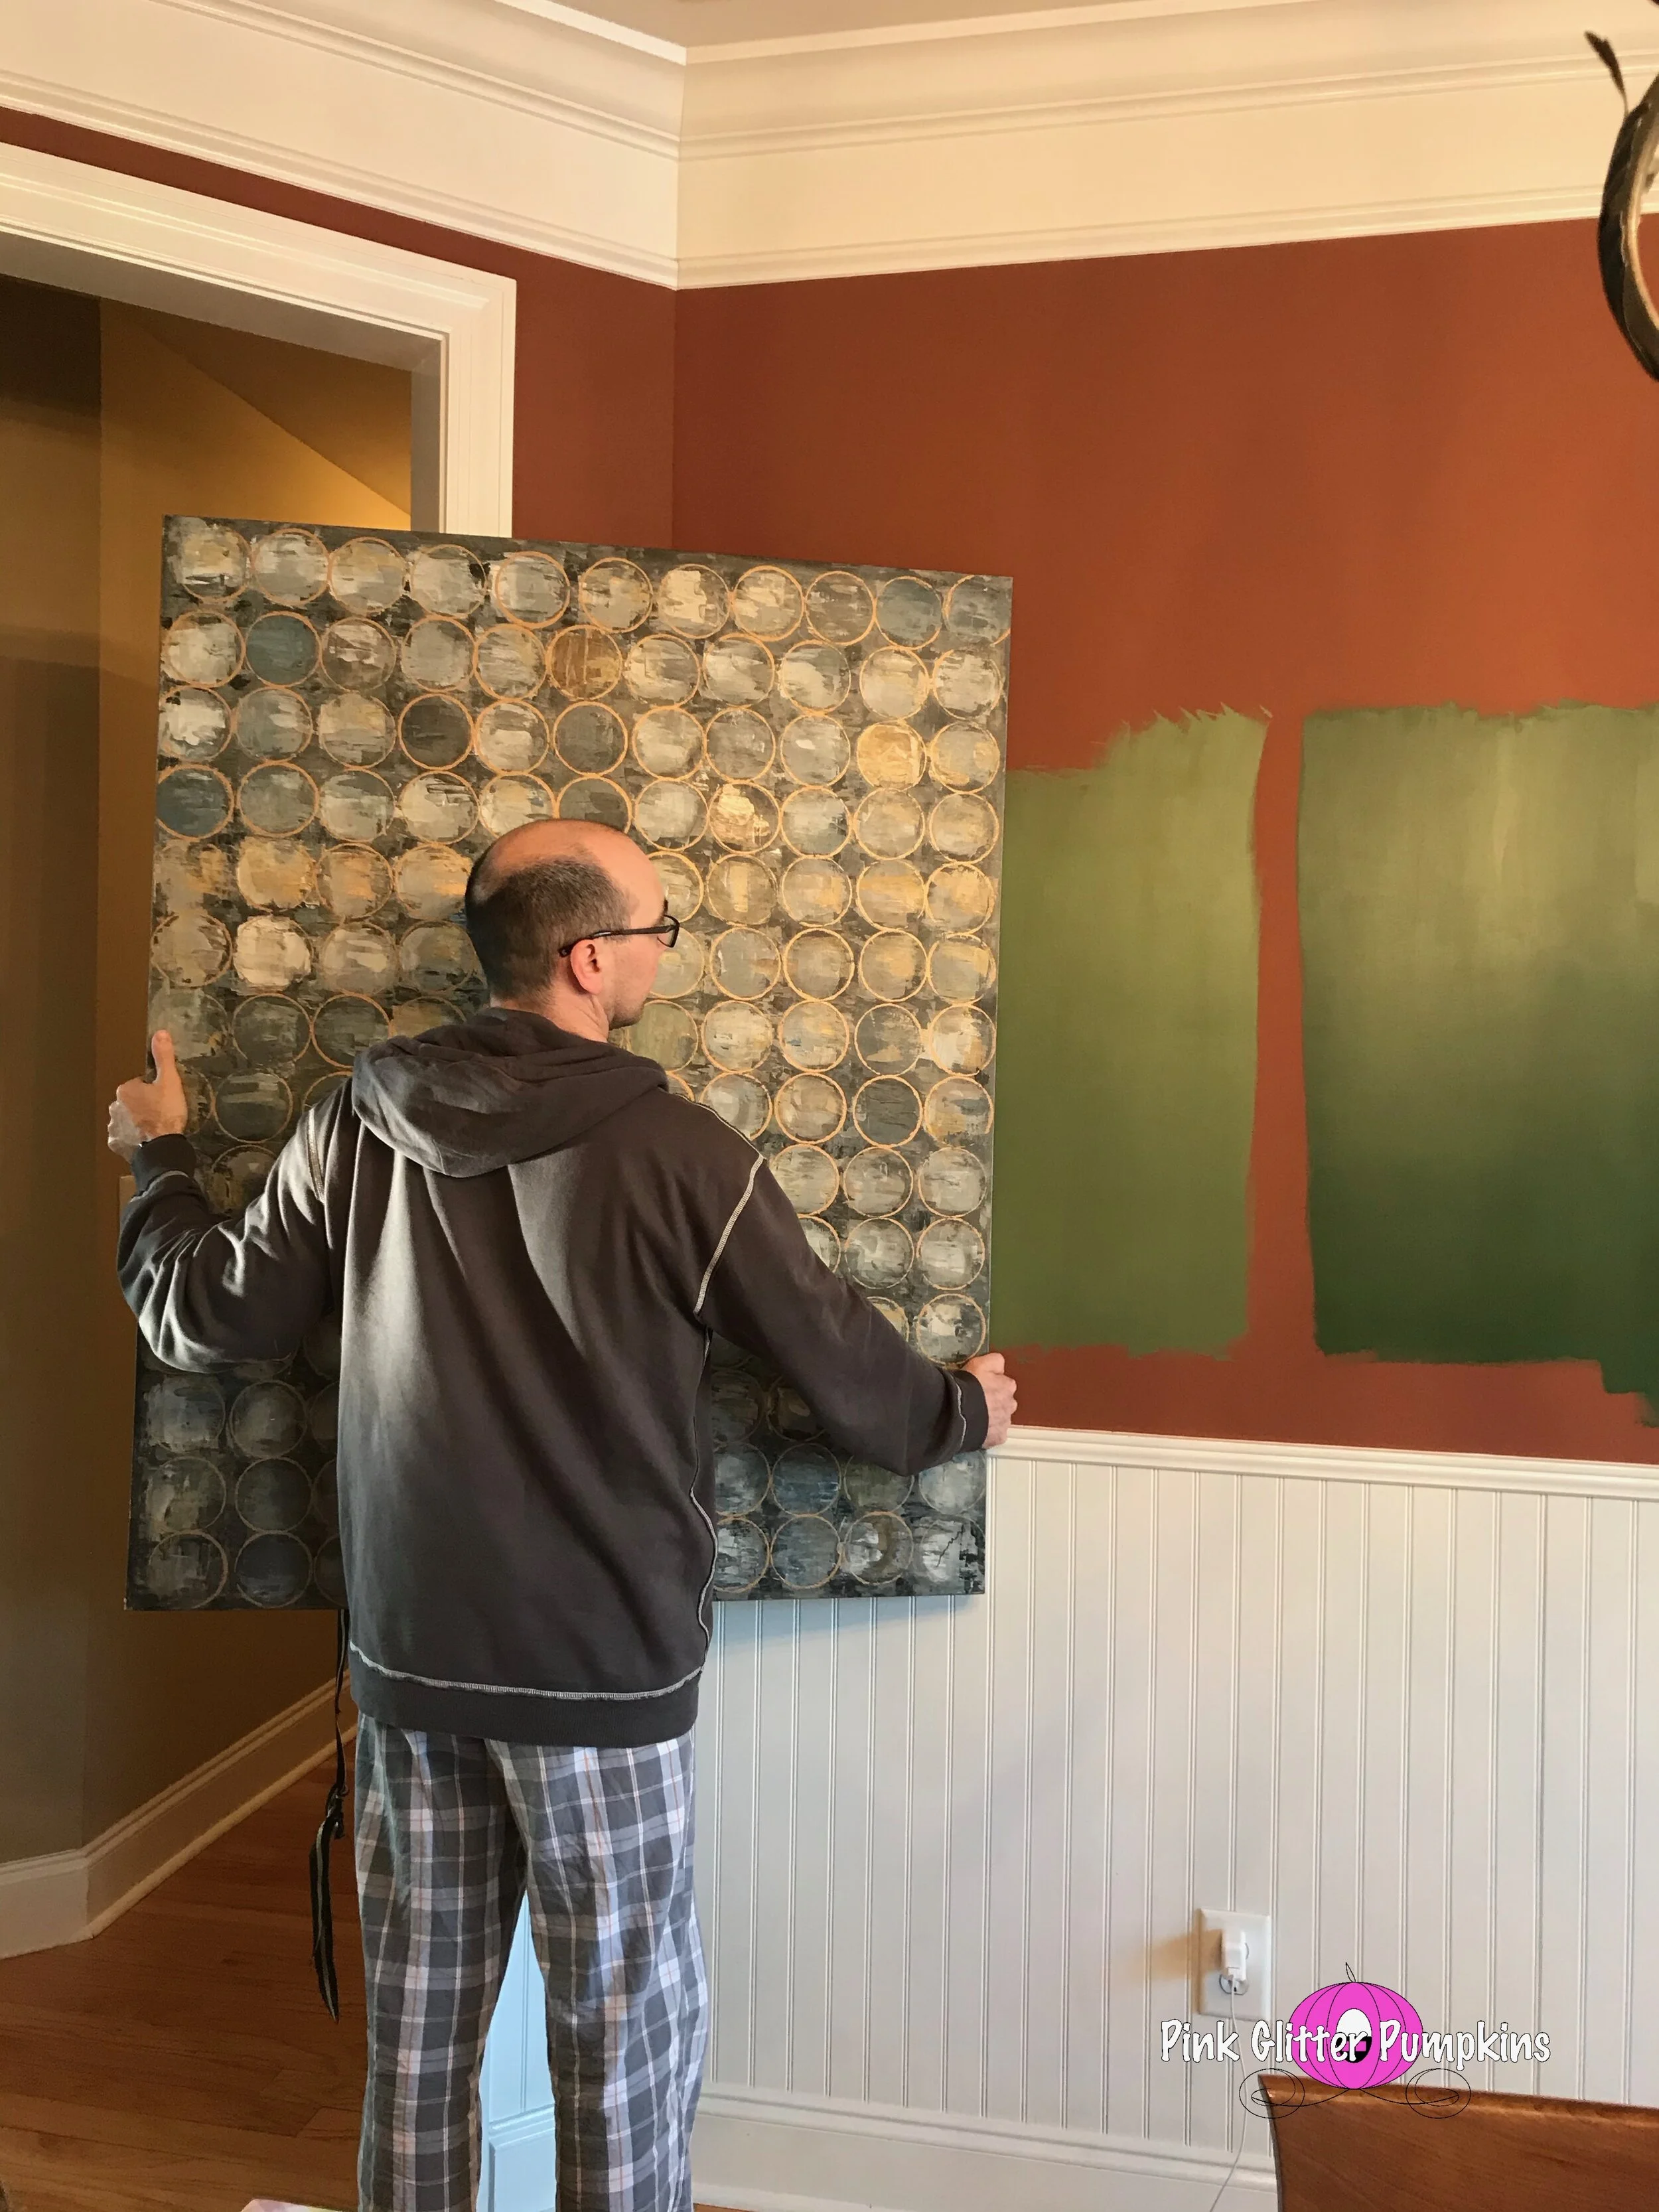
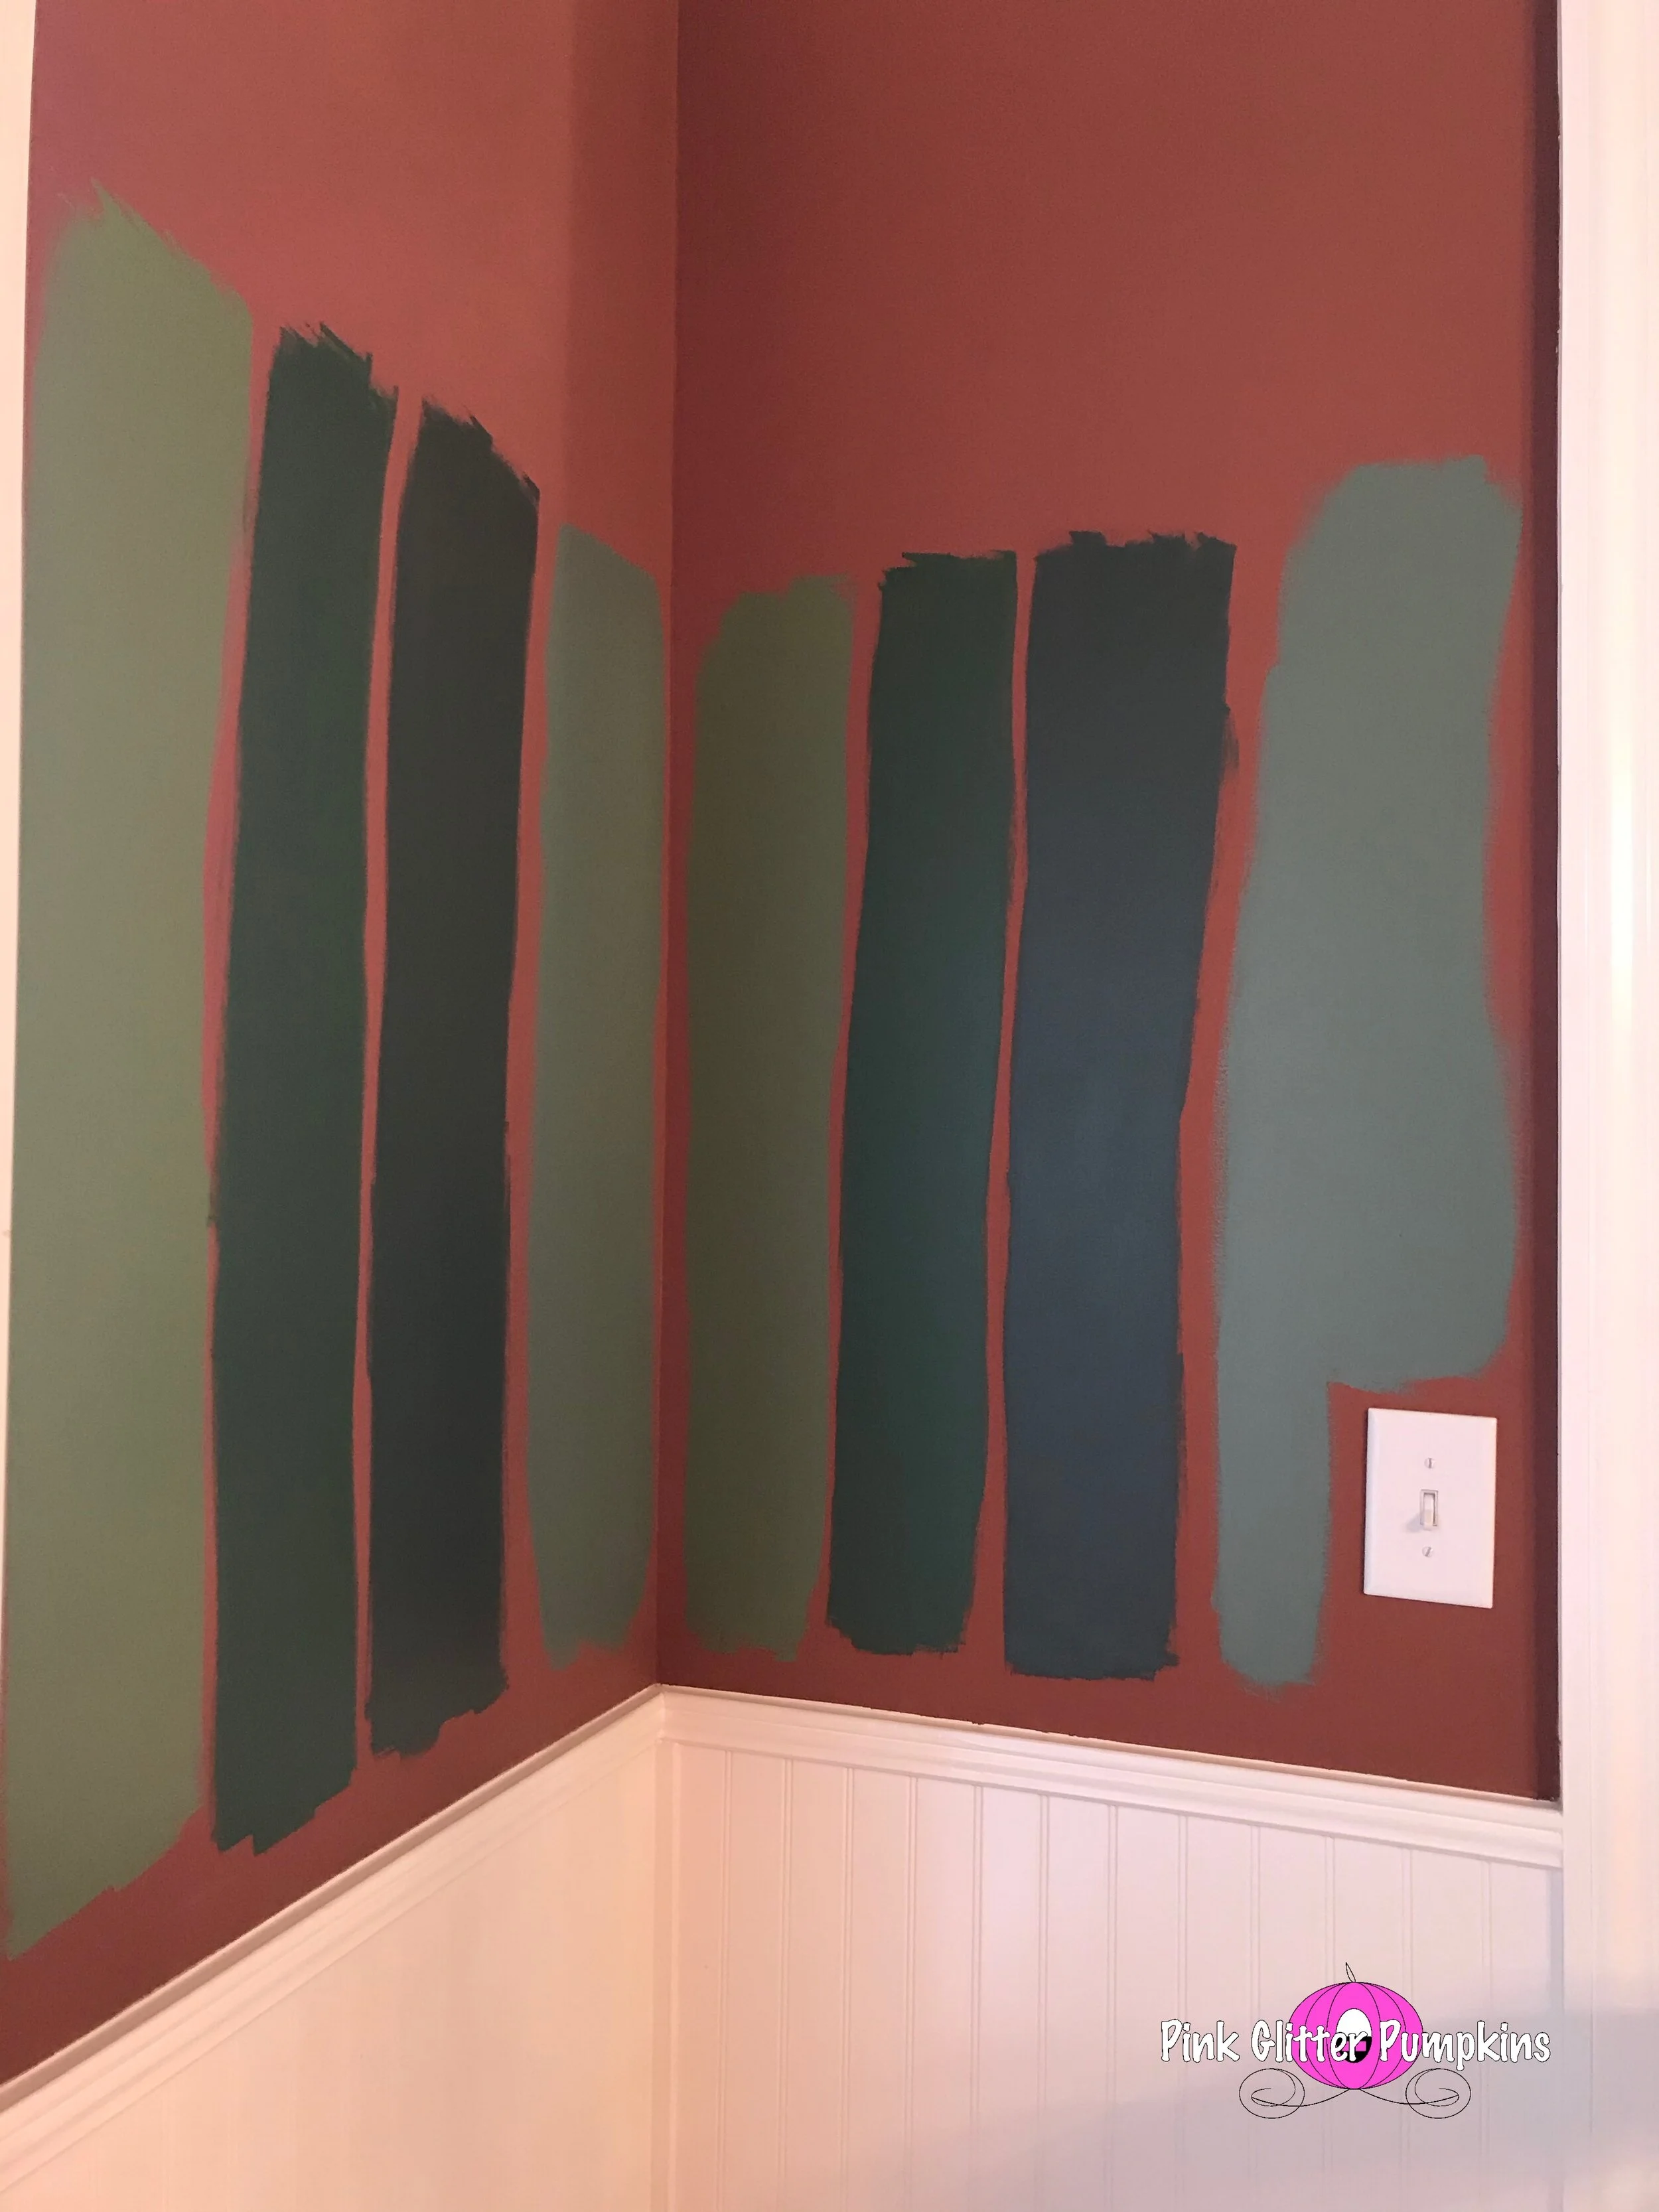
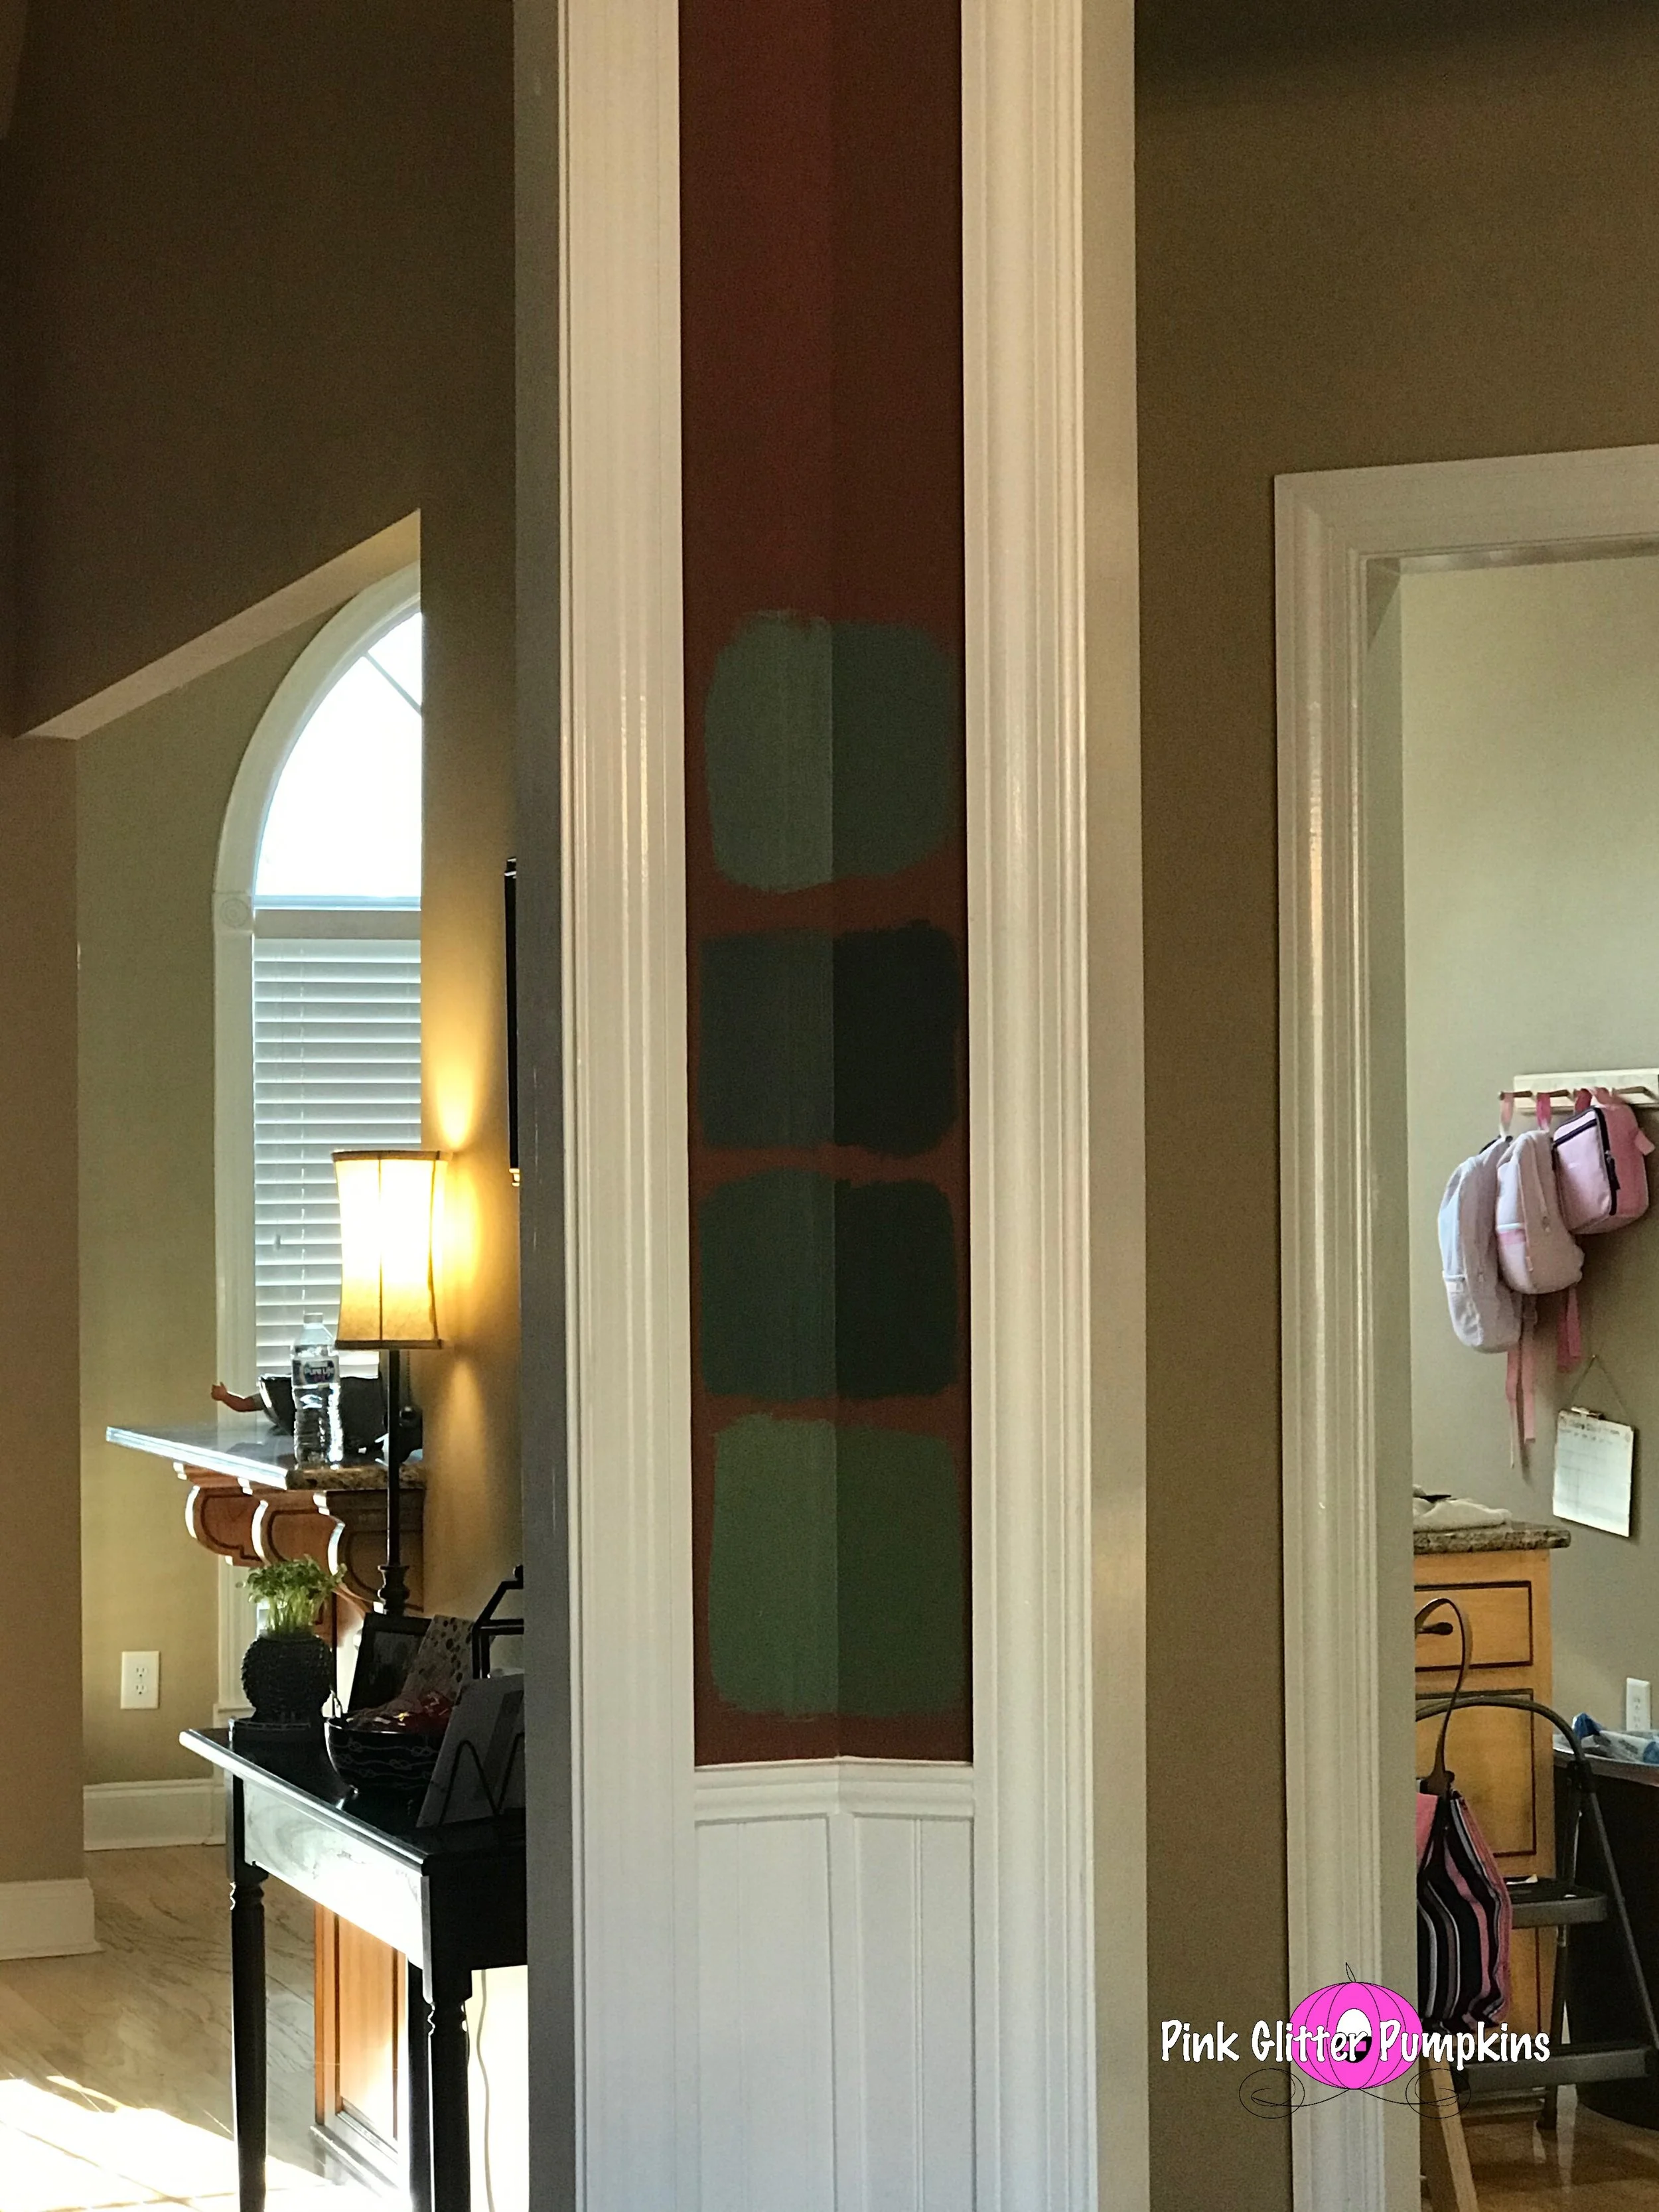
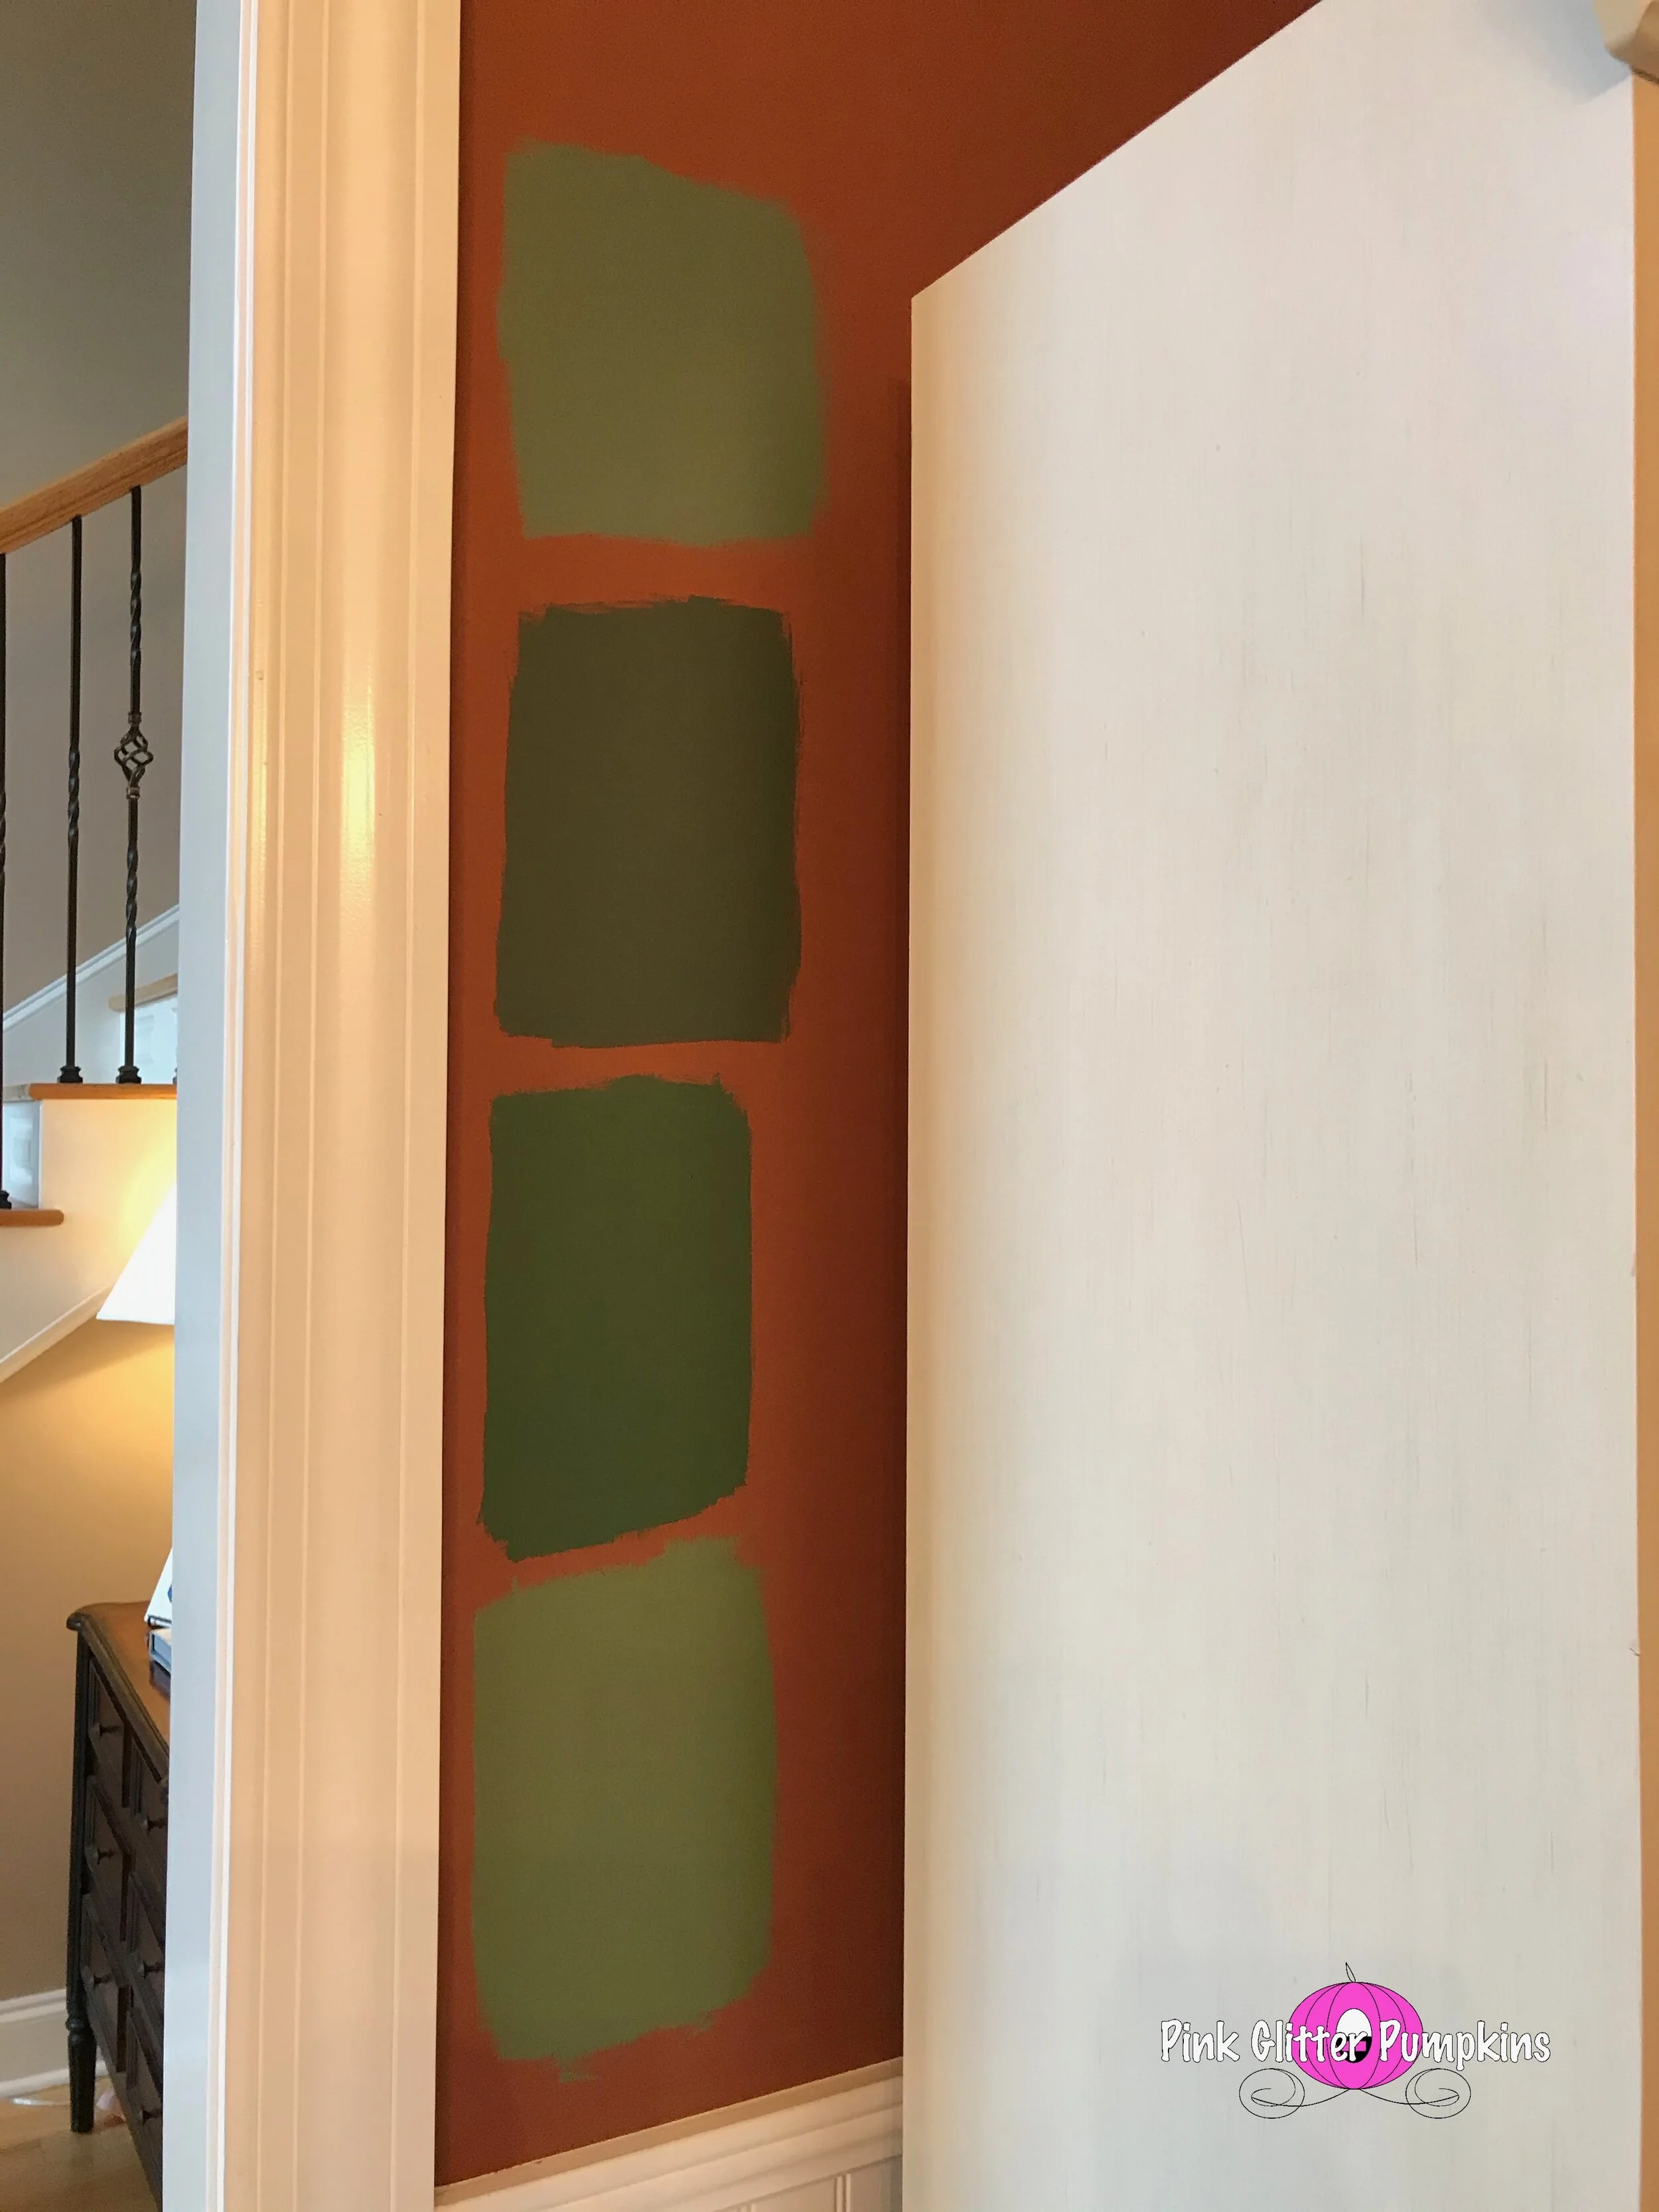
So below are the four samples we picked out. We painted the samples on every wall to get a view with every type of lighting. We also compared it with our new artwork and sconces to make sure we liked it. We decided to pick option 4. Option 1 is actually what we picked from paper, but it was too yellow. Options 2 and 3 were just to dark. And we found Option 4 to match the gray from Melody’s room really well. So always use actual paint can samples if you can afford it!

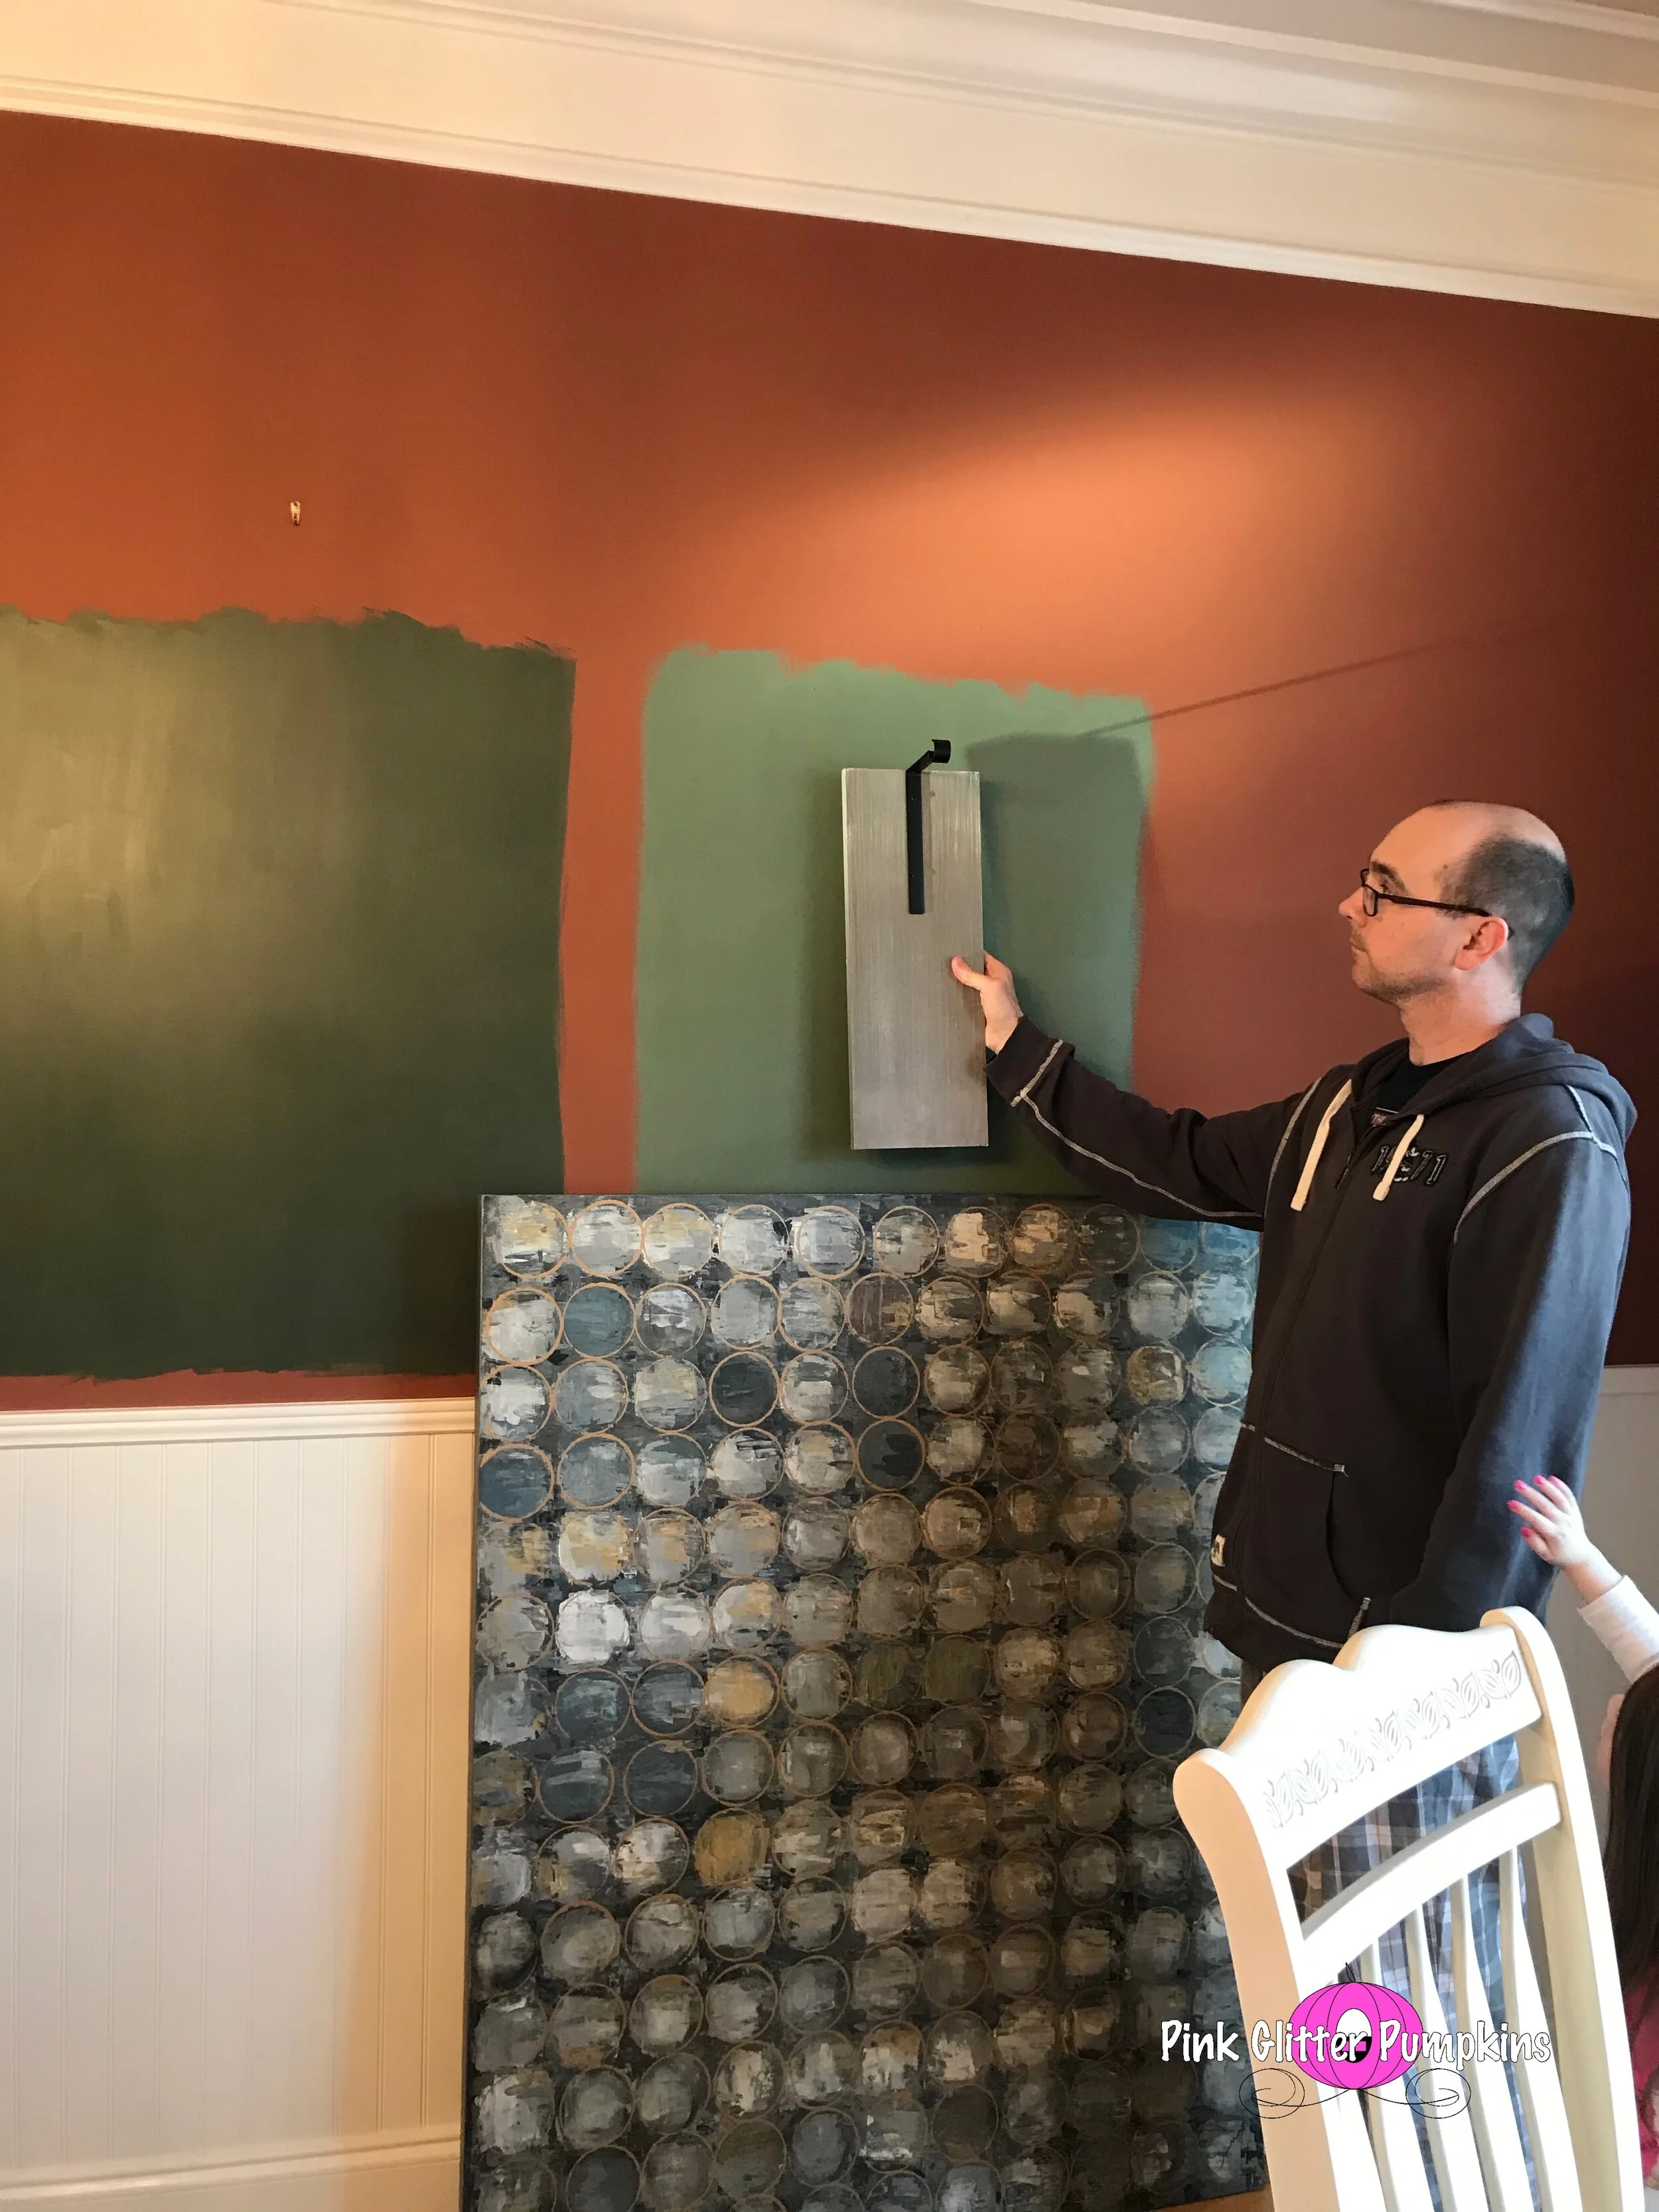
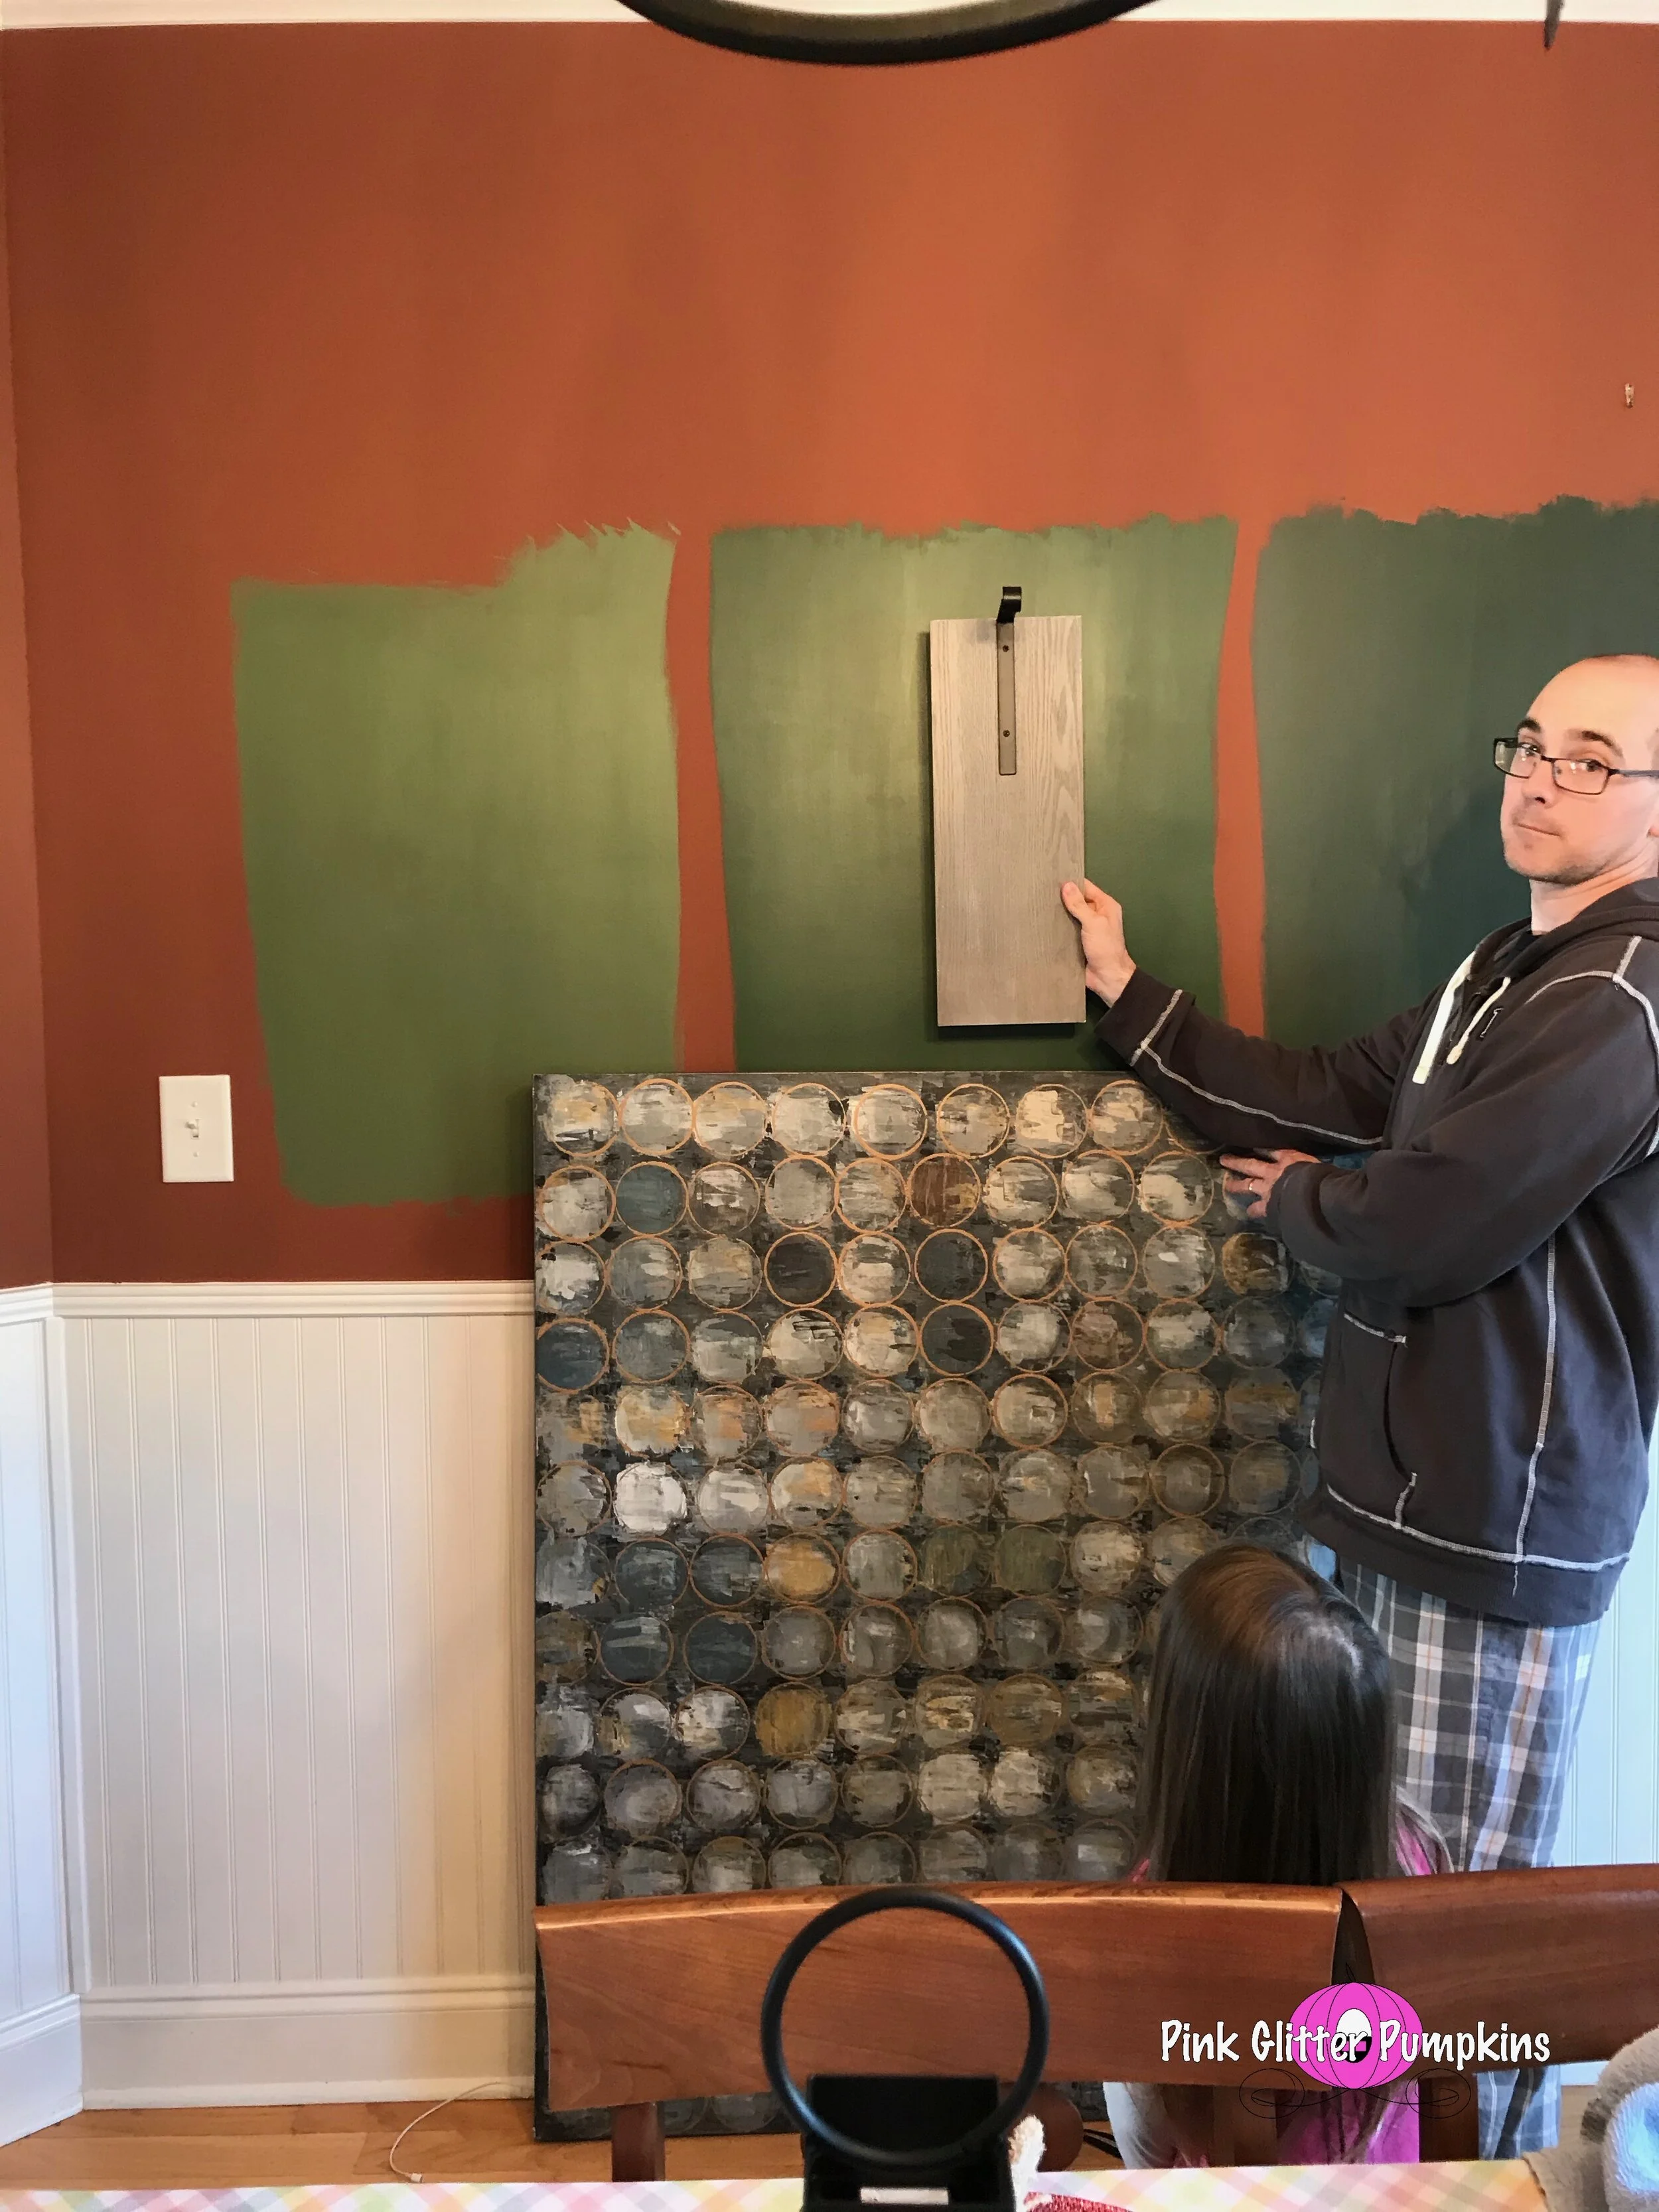
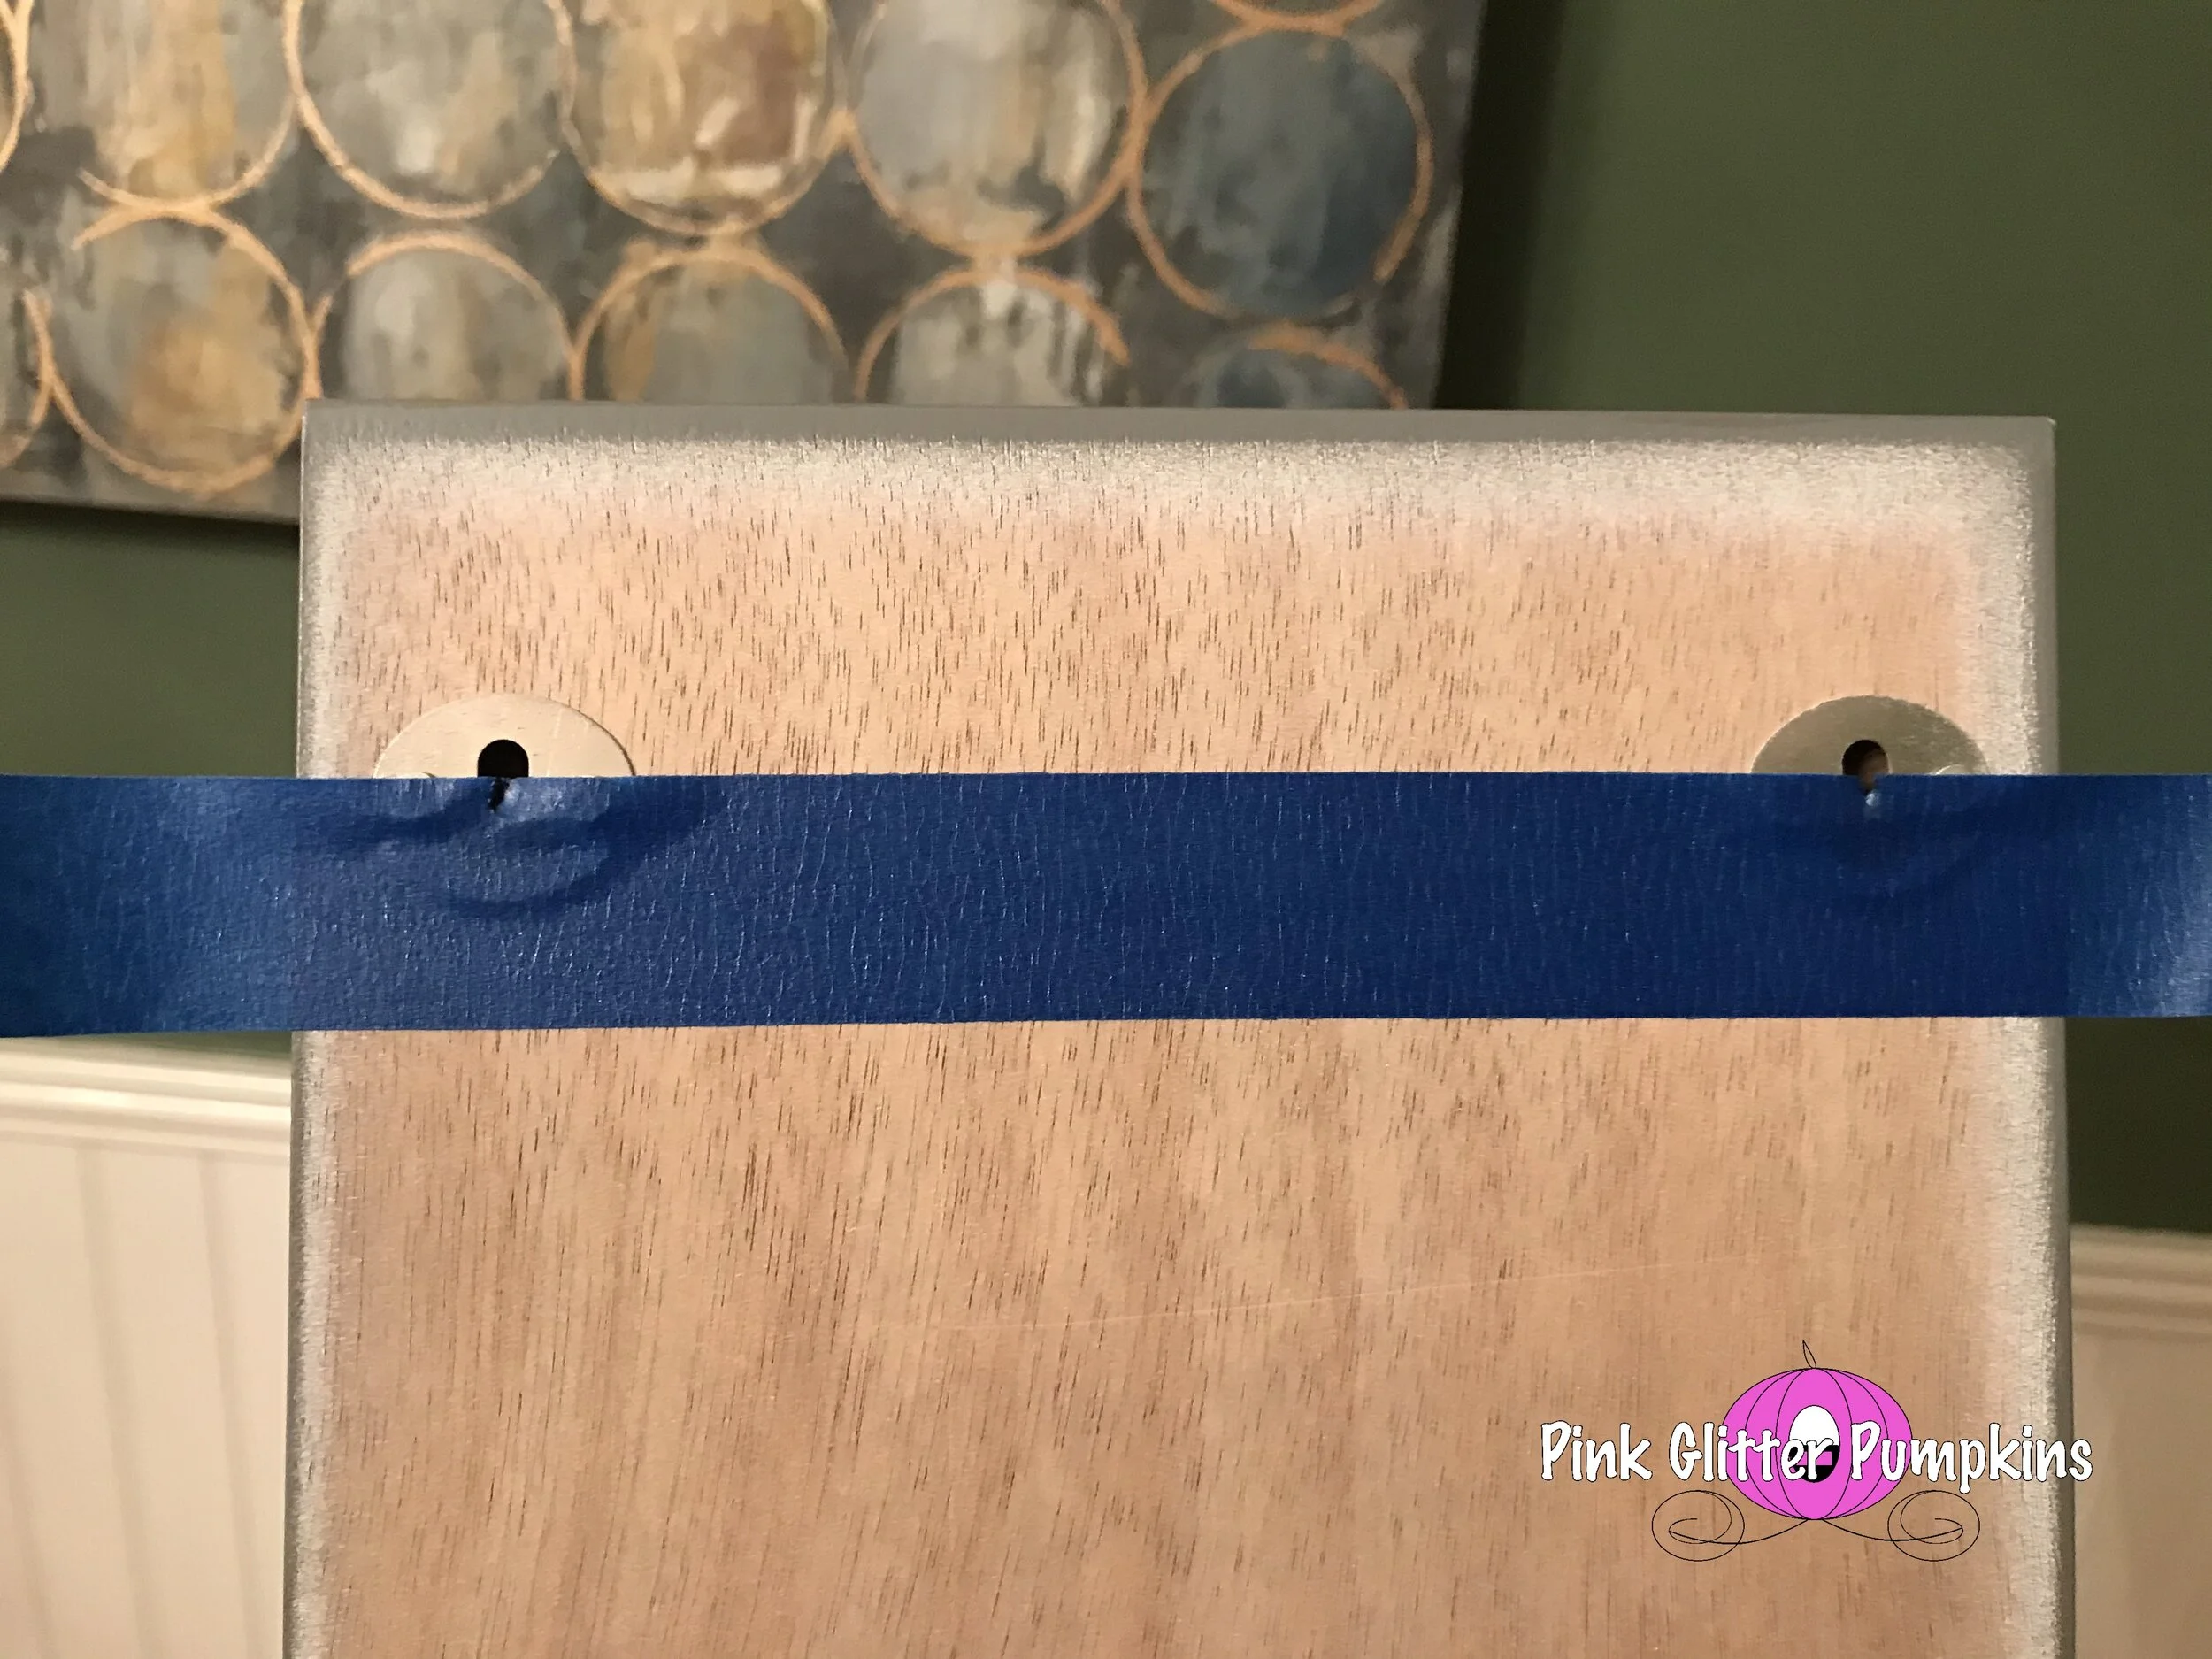
So a special extra to this post is how we hung all the things. Because the sconces had two holes, I read online where you could use painters tape to help with this. You basically put painters tape on the object and mark the two holes. Then mark the holes on the wall. And it will work! And it did!
So over the course of 3 days, we finished the painting. There was tons of trim work which is what took the majority of the time. We did have to do 3 coats on the overall painting, but only 2 coats for the trim work. The paint is MUCH higher quality as are their brushes. They were slightly more expensive than Lowe’s, but I loved the quality and that we were supporting a small business! We will definitely use them for all of our painting needs! We loved the way the dining room turned out especially with all of our decor. We may one day change the light fixture, but that is something not urgent by any means!