
Playroom Makeover

The playroom/bonus room/craft room has always been a difficult room for me. When we bought this house, we loved the size of this room. It offered us a space that both Melody and I could easily share between her toys and all of my crafting supplies. It even has a nice big closet with shelving installed. Well once we finally moved in and got everything up there, I realized we have a LOT of toys and we are lacking in the organization department when it comes to all of these toys. Christmas did not help this either! We did try to spread the toys between her bedroom, the living room, the kitchen, and the playroom. However, we found that doing this some rooms just were left out during playtime. So now she doesn’t have any toys in the kitchen (she has a cabinet with arts and crafts for downstairs), and we have reduced the number of toys in the living room and her bedroom. So now we have a majority of the toys upstairs in the playroom. But this has caused even more organizational issues.
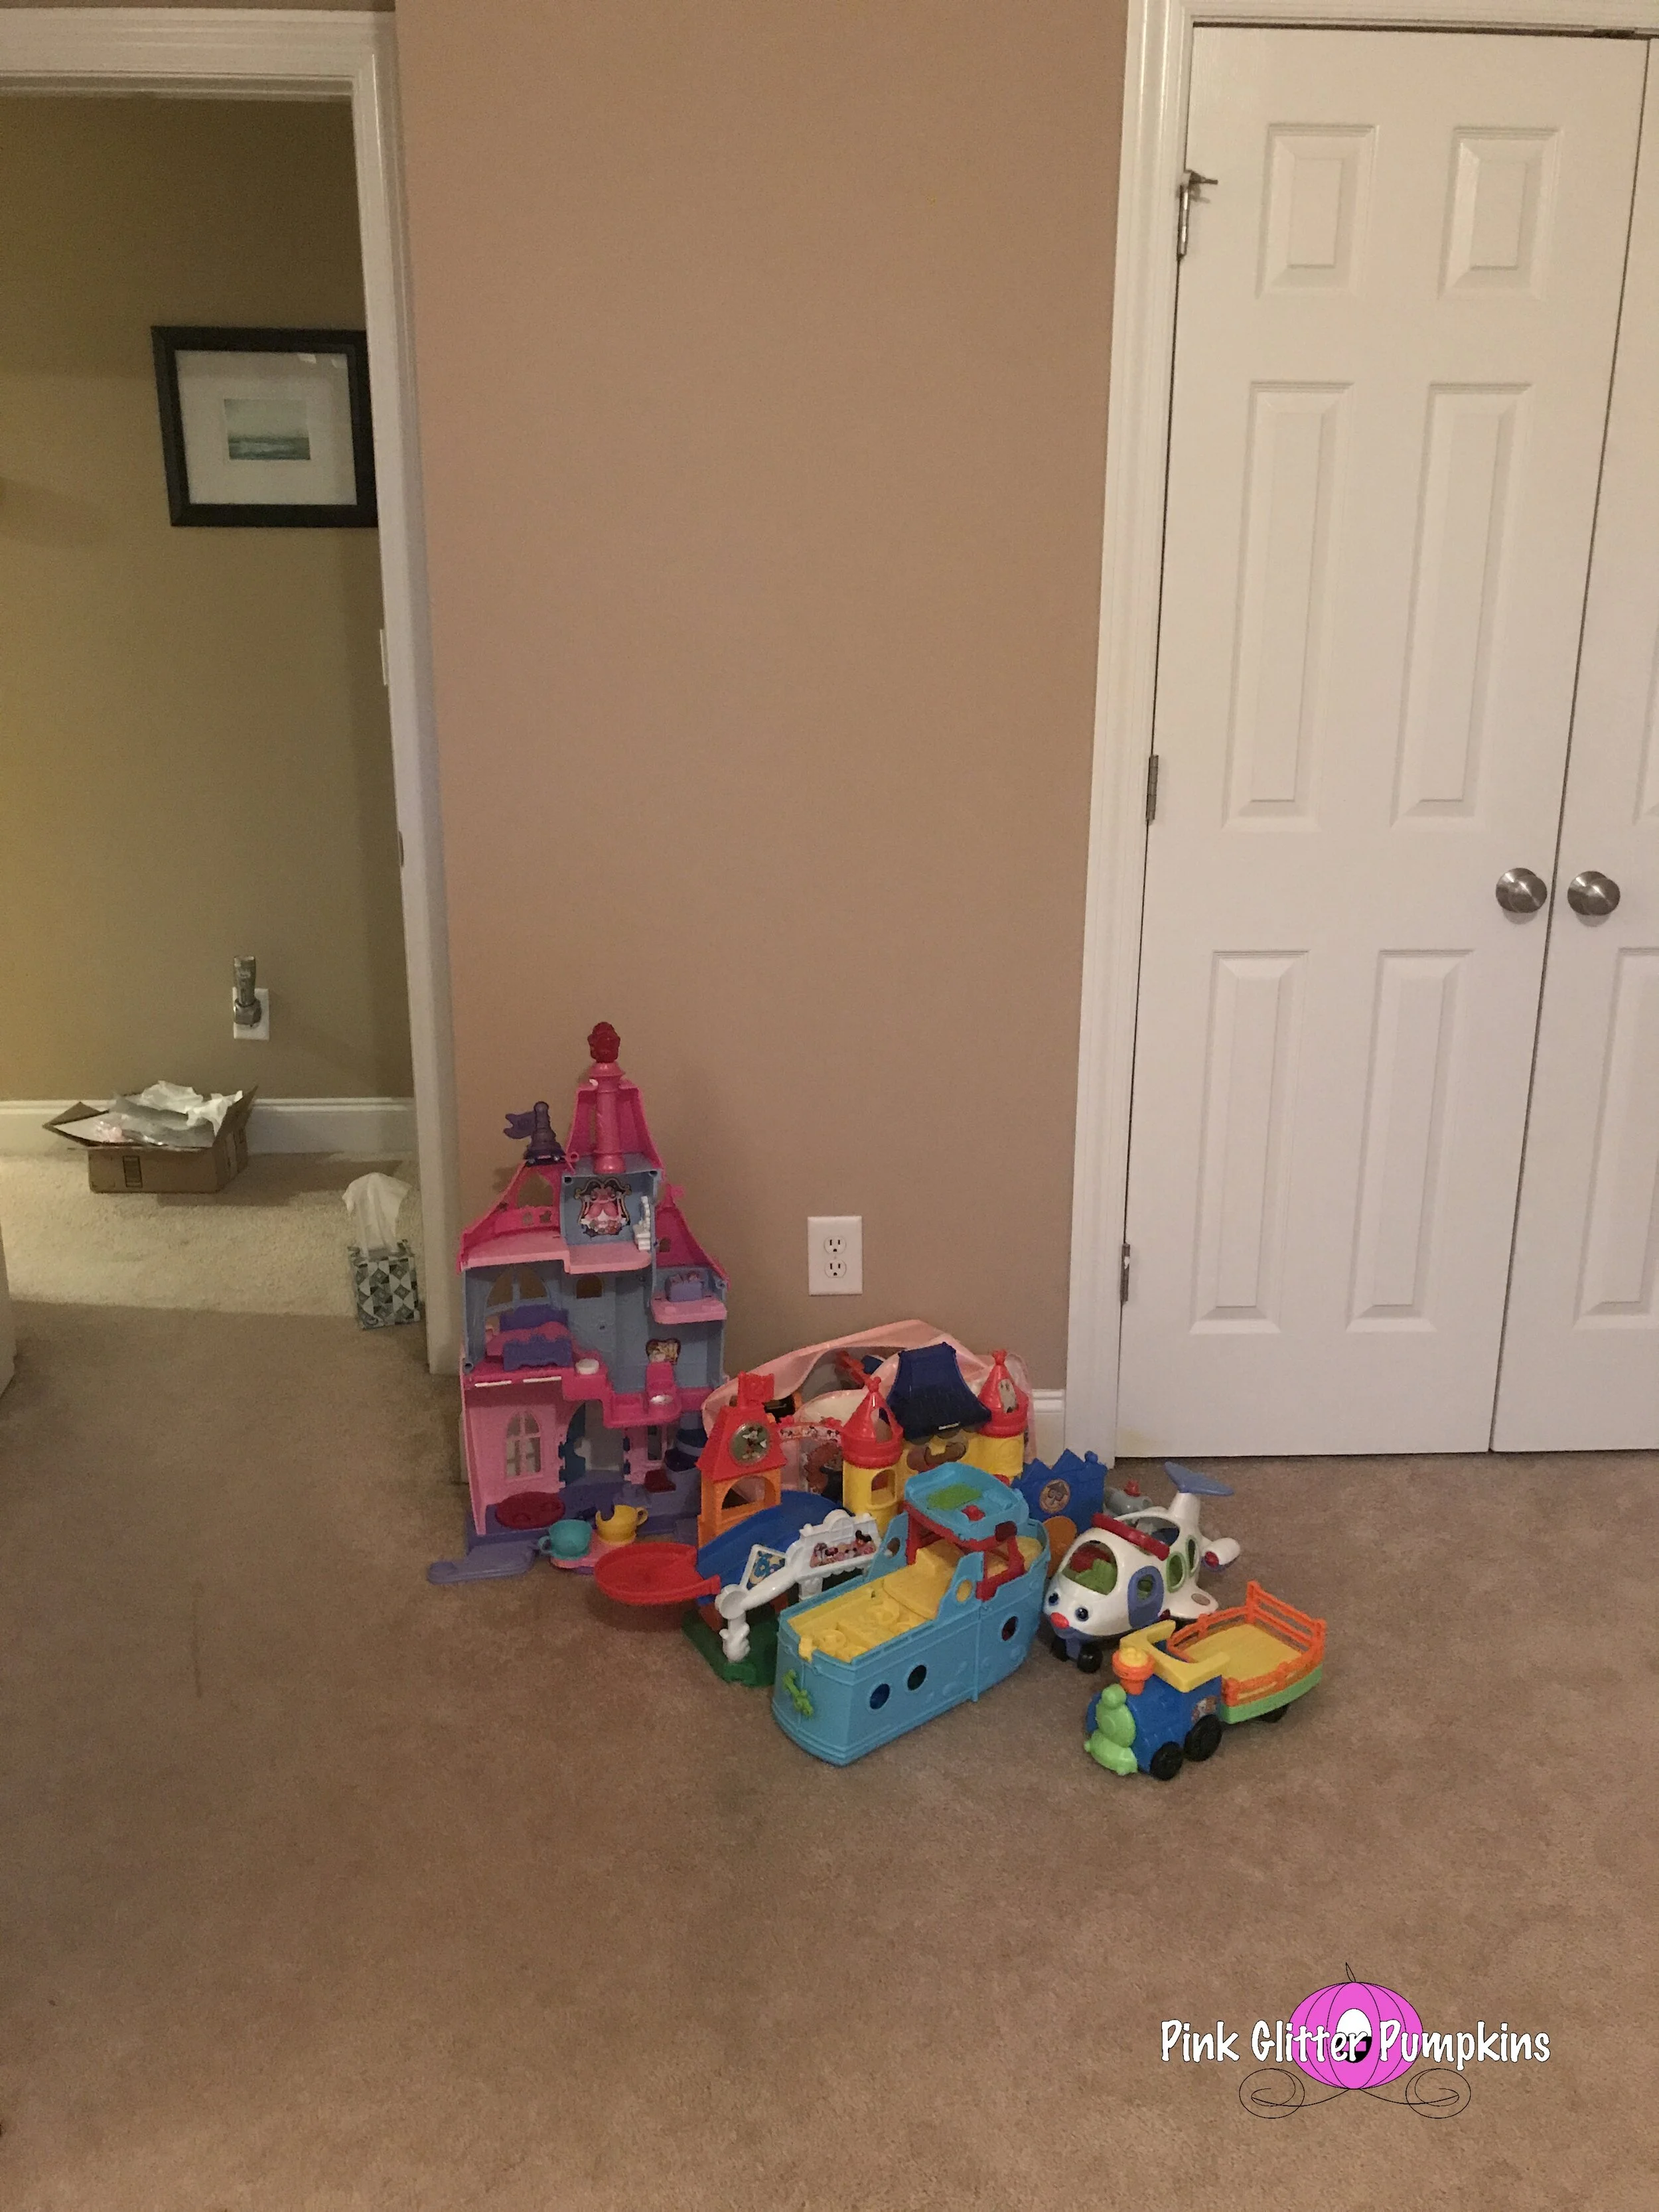
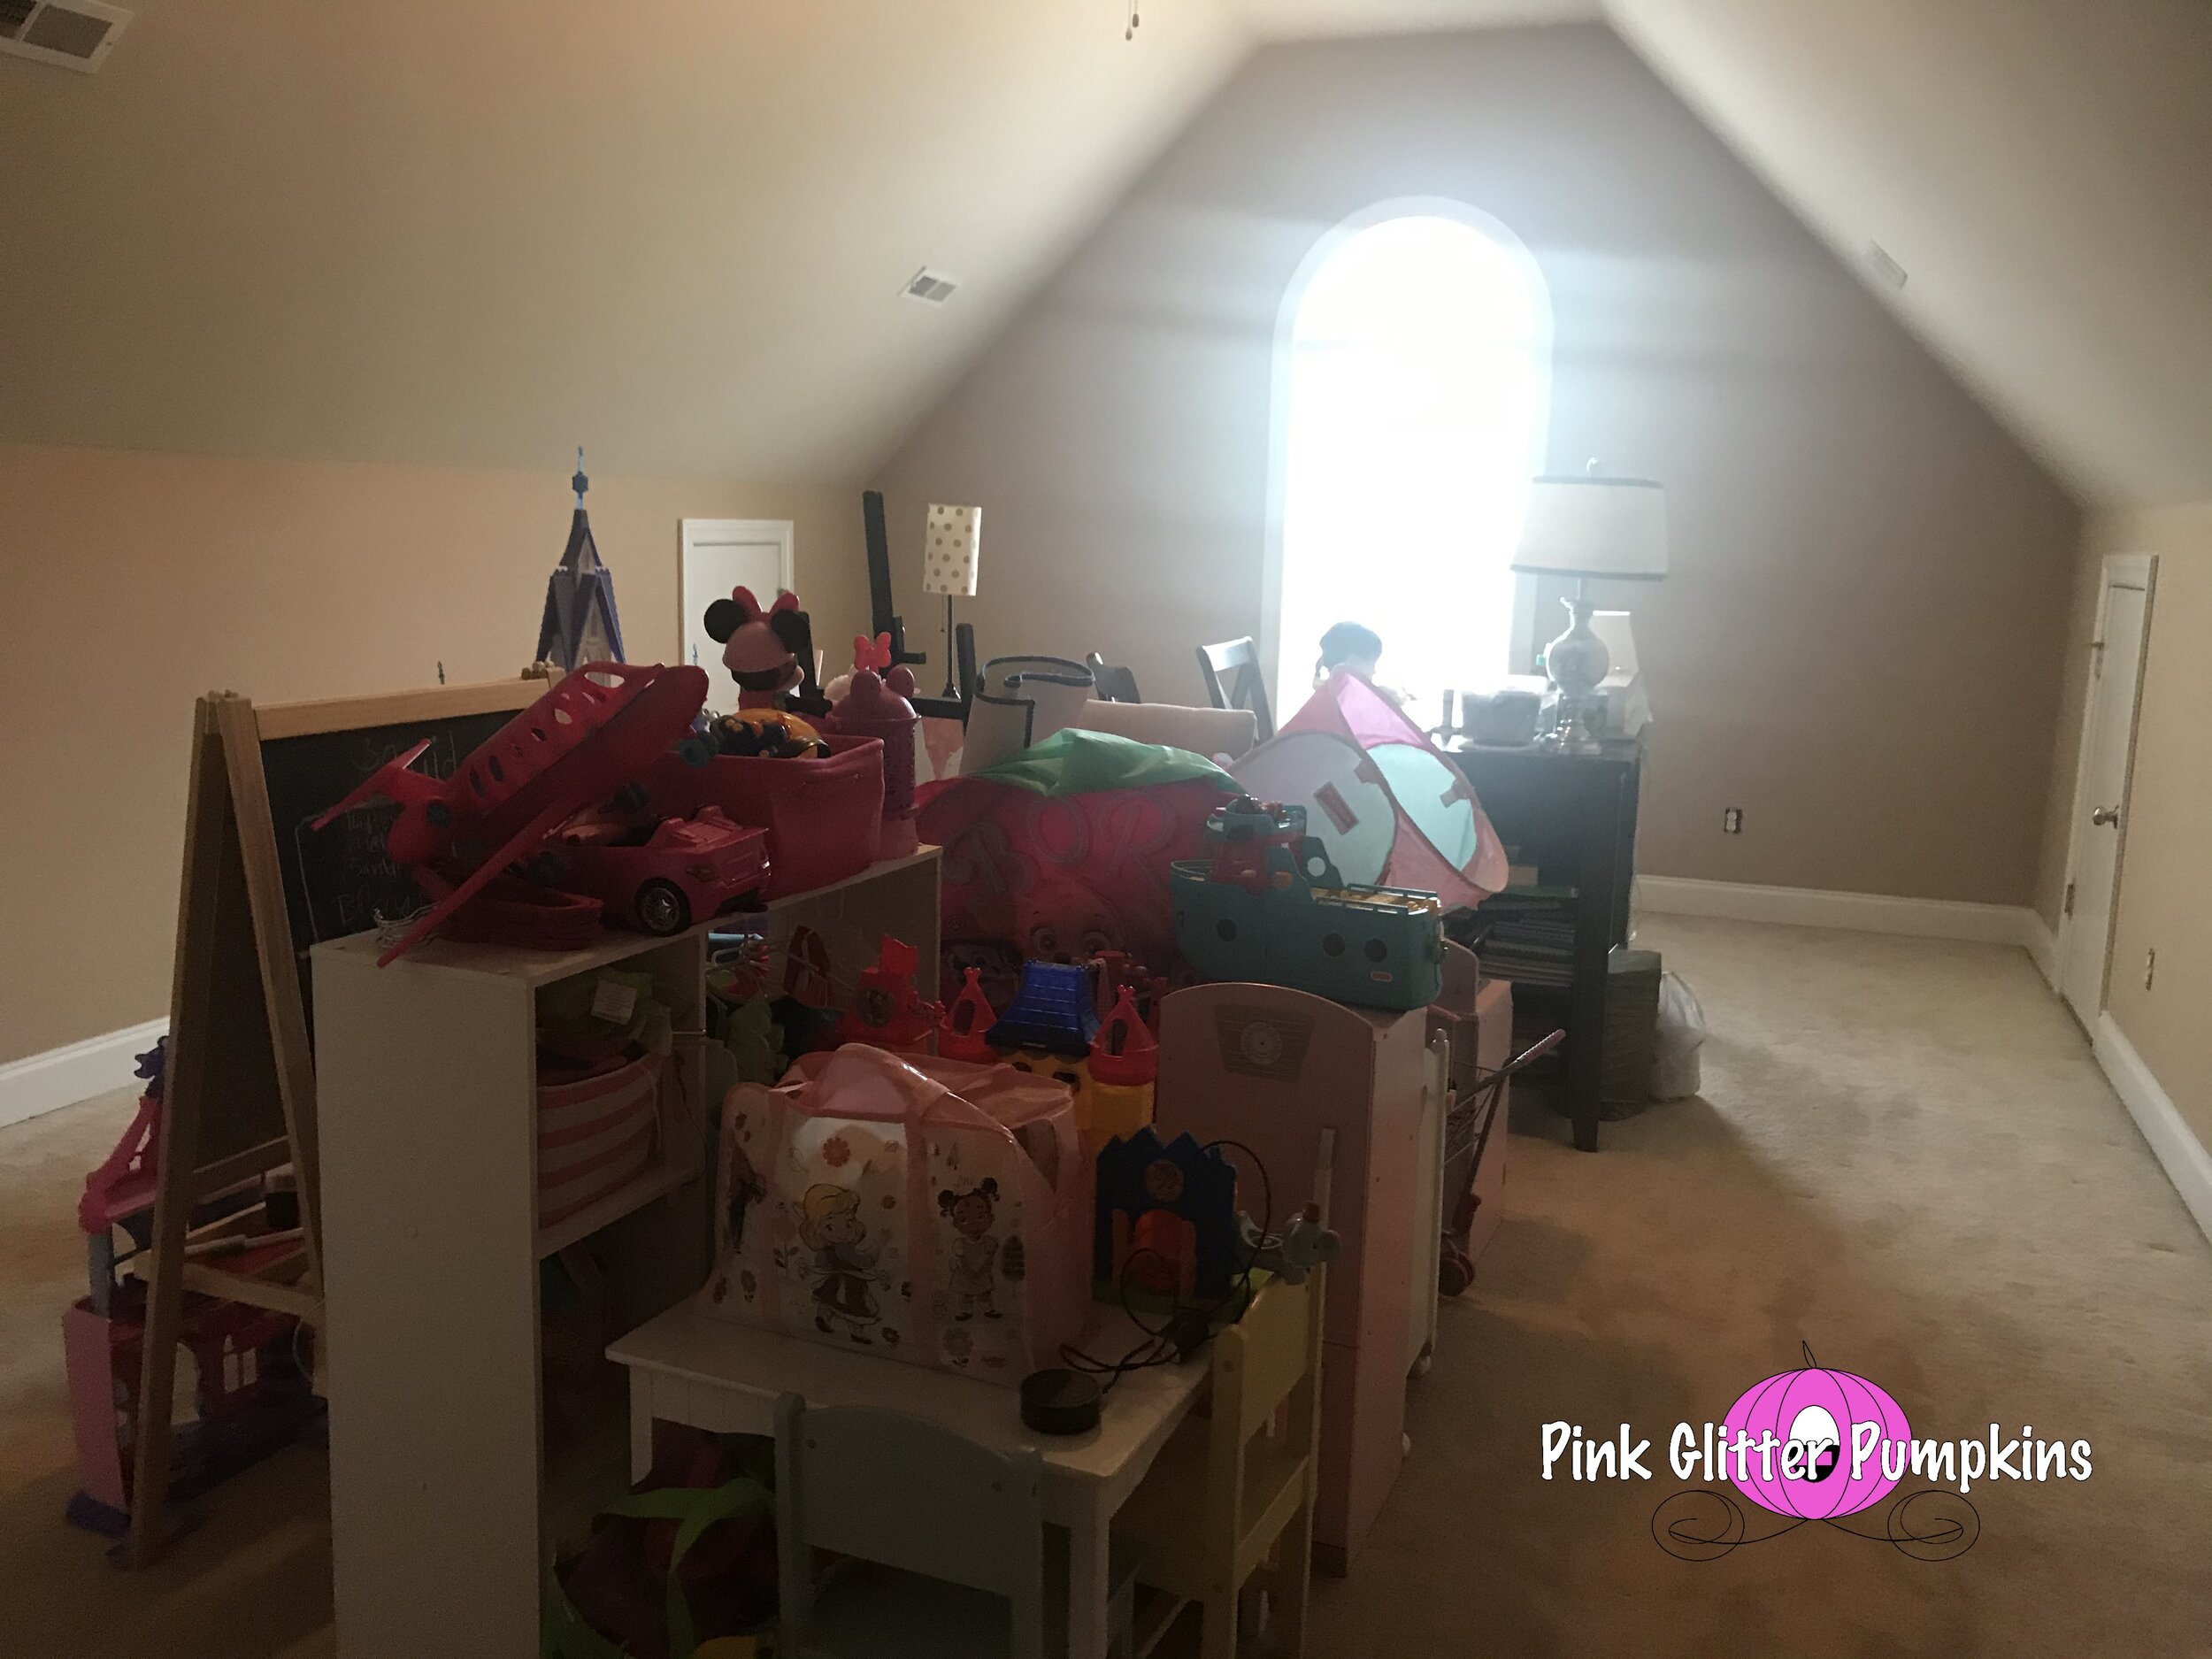
Ok- so below are the best before pictures. I am getting really bad at this impromptu makeovers and taking good before pictures! So as you can see below, the room is just full of randomness. No real system in place and we hated the color. The room has one light fixture too. It is just not ideal for taking good blog pictures, crafting, and playing!


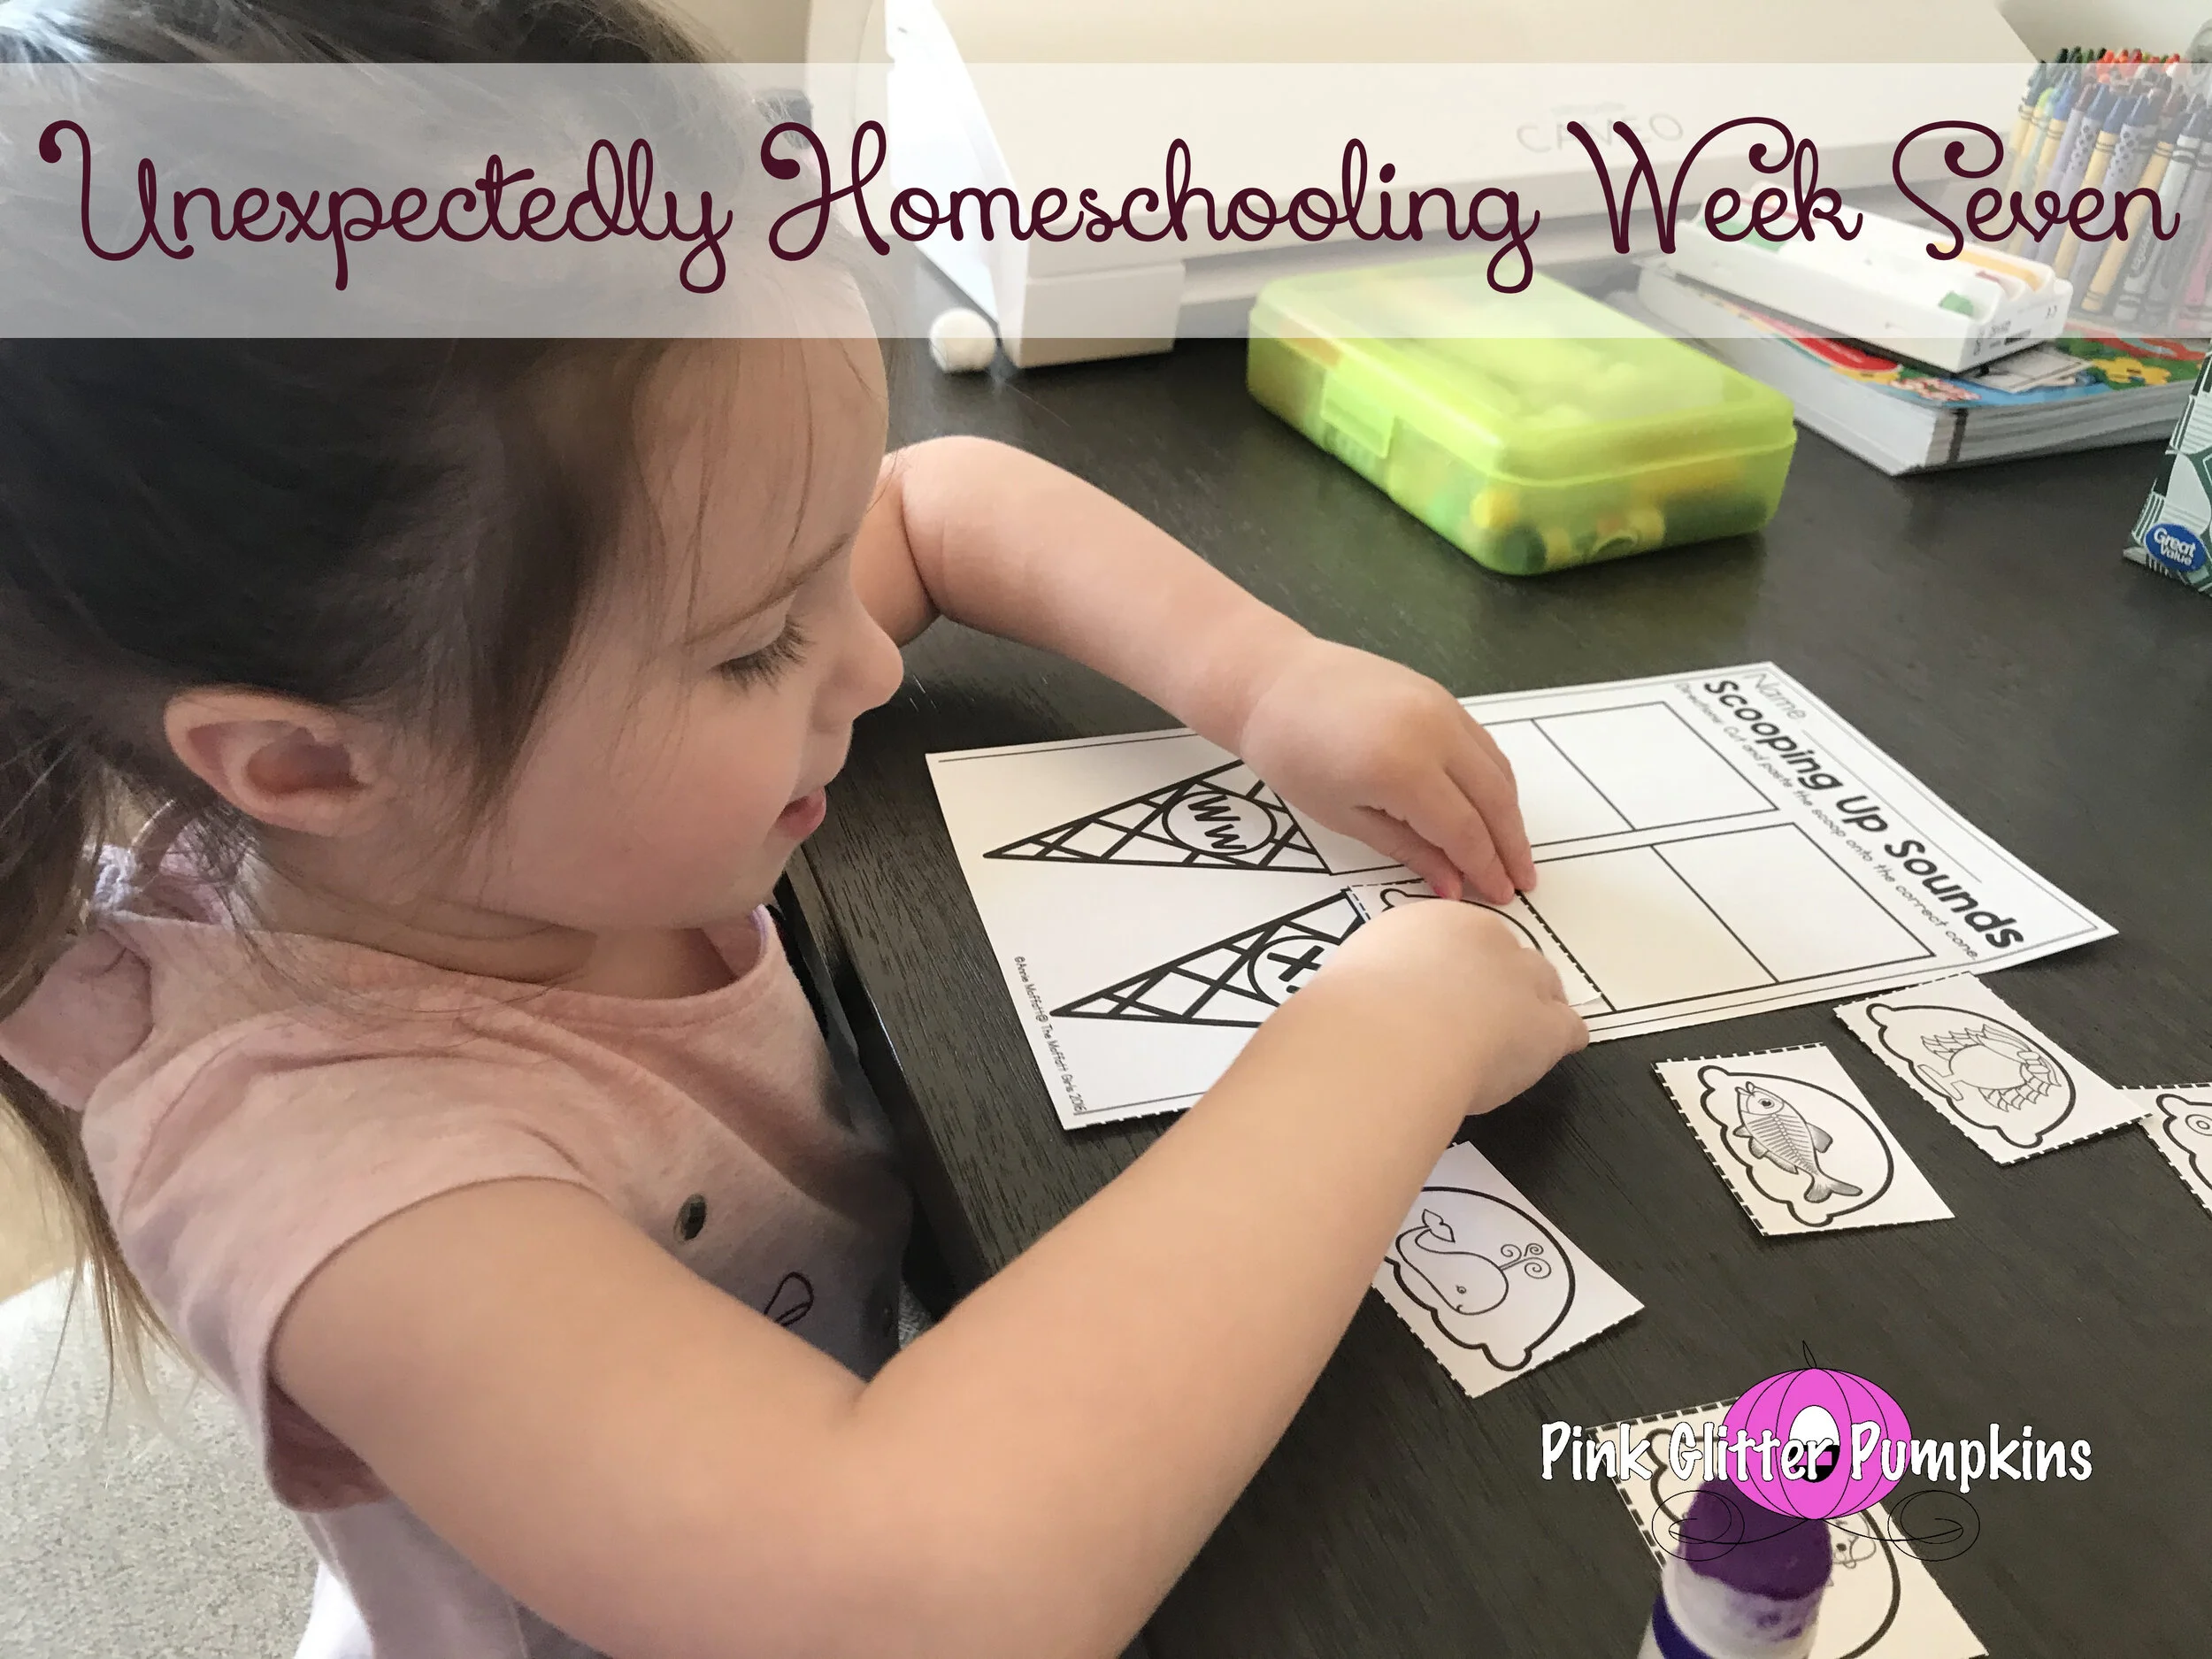
So to add to the quarantine madness, we decided to just go all in and re-do this room while we had the time. I would say it might have cost us $600 total after all of the things we did including painting and cube storage systems. I did buy a craft table before we made this decision, so that table isn’t included in the cost. Below is how we continued school during those 4 days of painting!

4 days later, and what a difference was made! We painted the room light gray like Melody’s bedroom. So when you walk in you will immediately see all of Melody’s baby doll things. Right now she has a crib and highchair for her dolls. All of their clothes and accessories are stored under the crib. On the wall on the far left, we bought 3 8 cube storage systems. I left out the extra top panels to provide a bigger space for some of her bigger toys. I will go into how I did that down below. There are 10 fabric cubes to help hide some of the small toys. Over here you will find puzzles, Little People, books, Barbies, duplos, building blocks, race cars, and lots of other random toys. You will also find her Frozen castle next to this setup too.
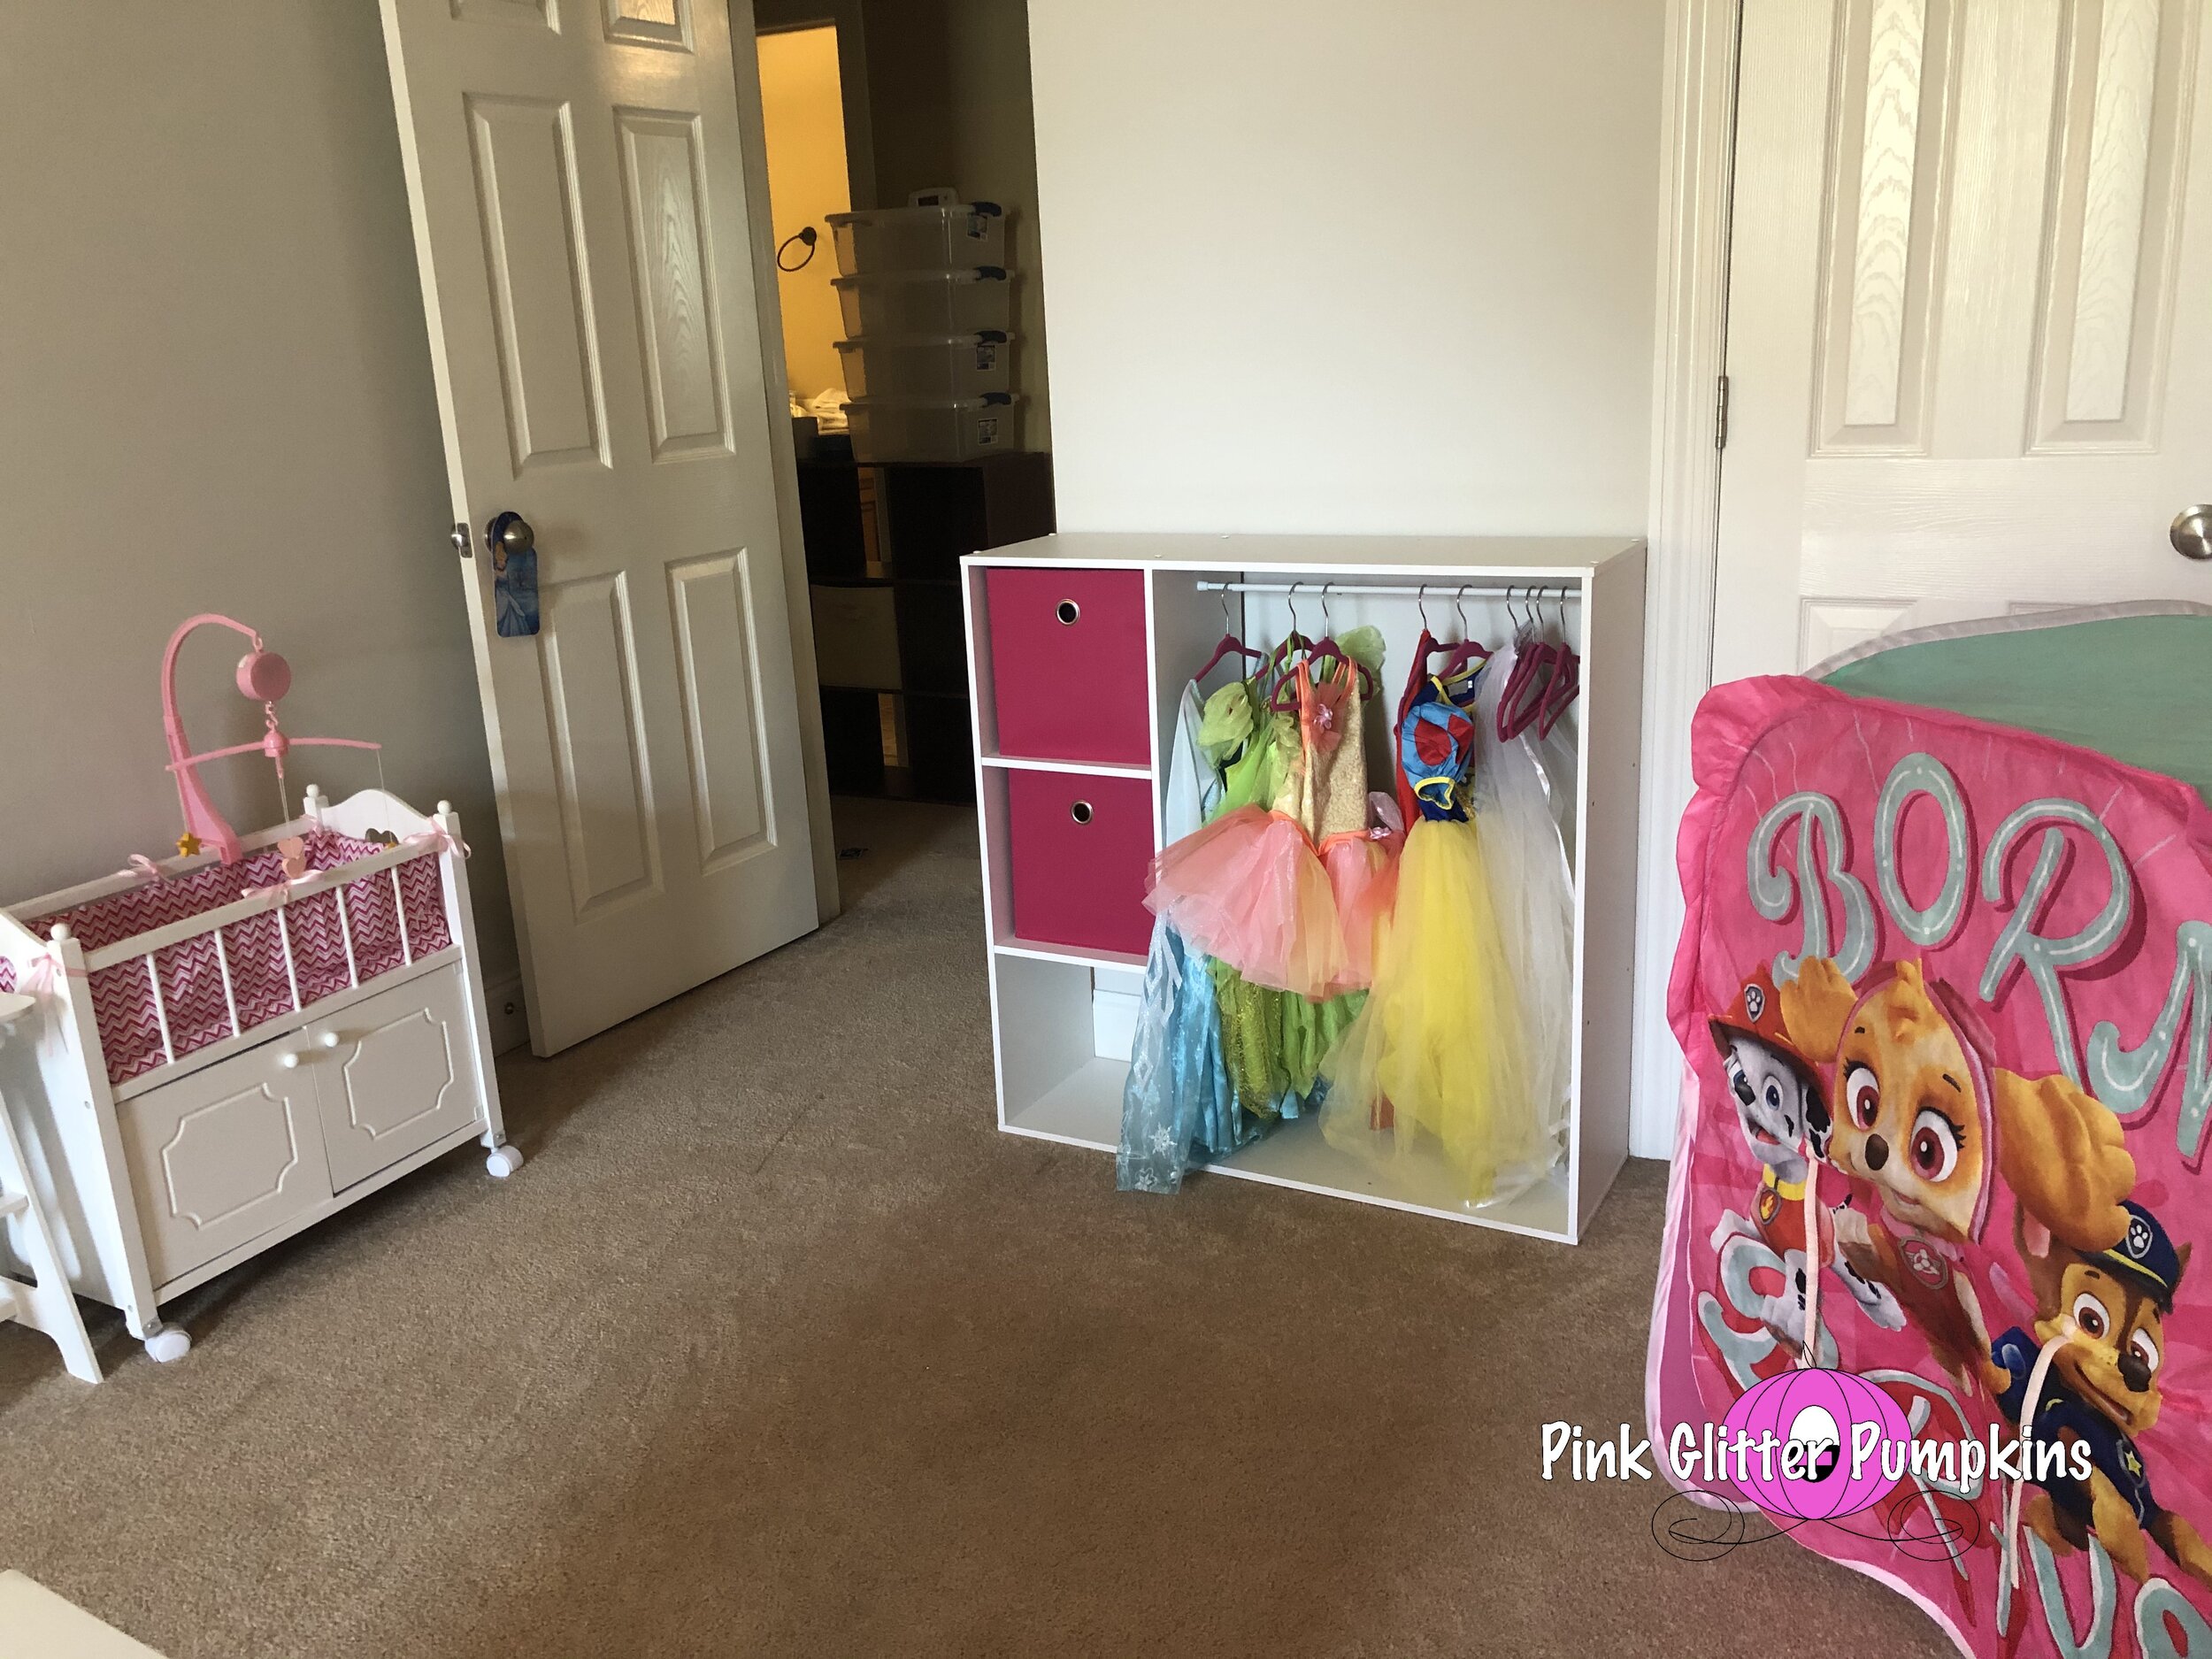
Near the door is the princess storage system I put together. I used a 9 cube storage system to create this. It contains all of her princess dress up dresses and accessories. I have left a cube open for shoes.
Near her baby dolls is her kitchen setup. I also stored her baby doll stroller, car seat and buggy here too. Her small table and chair set is kind of out in the middle but still close to the kitchen to play with all of her pretend food on.
The back corner is mine. I have an easel that we both use and store paint in. There is also my sewing desk that I have had for a few years. This stores a lot of ribbon, vinyl, and random art supplies along with my sewing machine now (I used to have to store my sewing machine in the closet so I never used it. Now I have used it multiple times!) The gray counter height table is new. I bought this back in February with the intent of having a good station to use my Silhouette Cameo and also provide a work space for crafts with Melody. Who knew we would be homeschooling and using it daily now! The side of the table that isn’t seen provides some storage too.
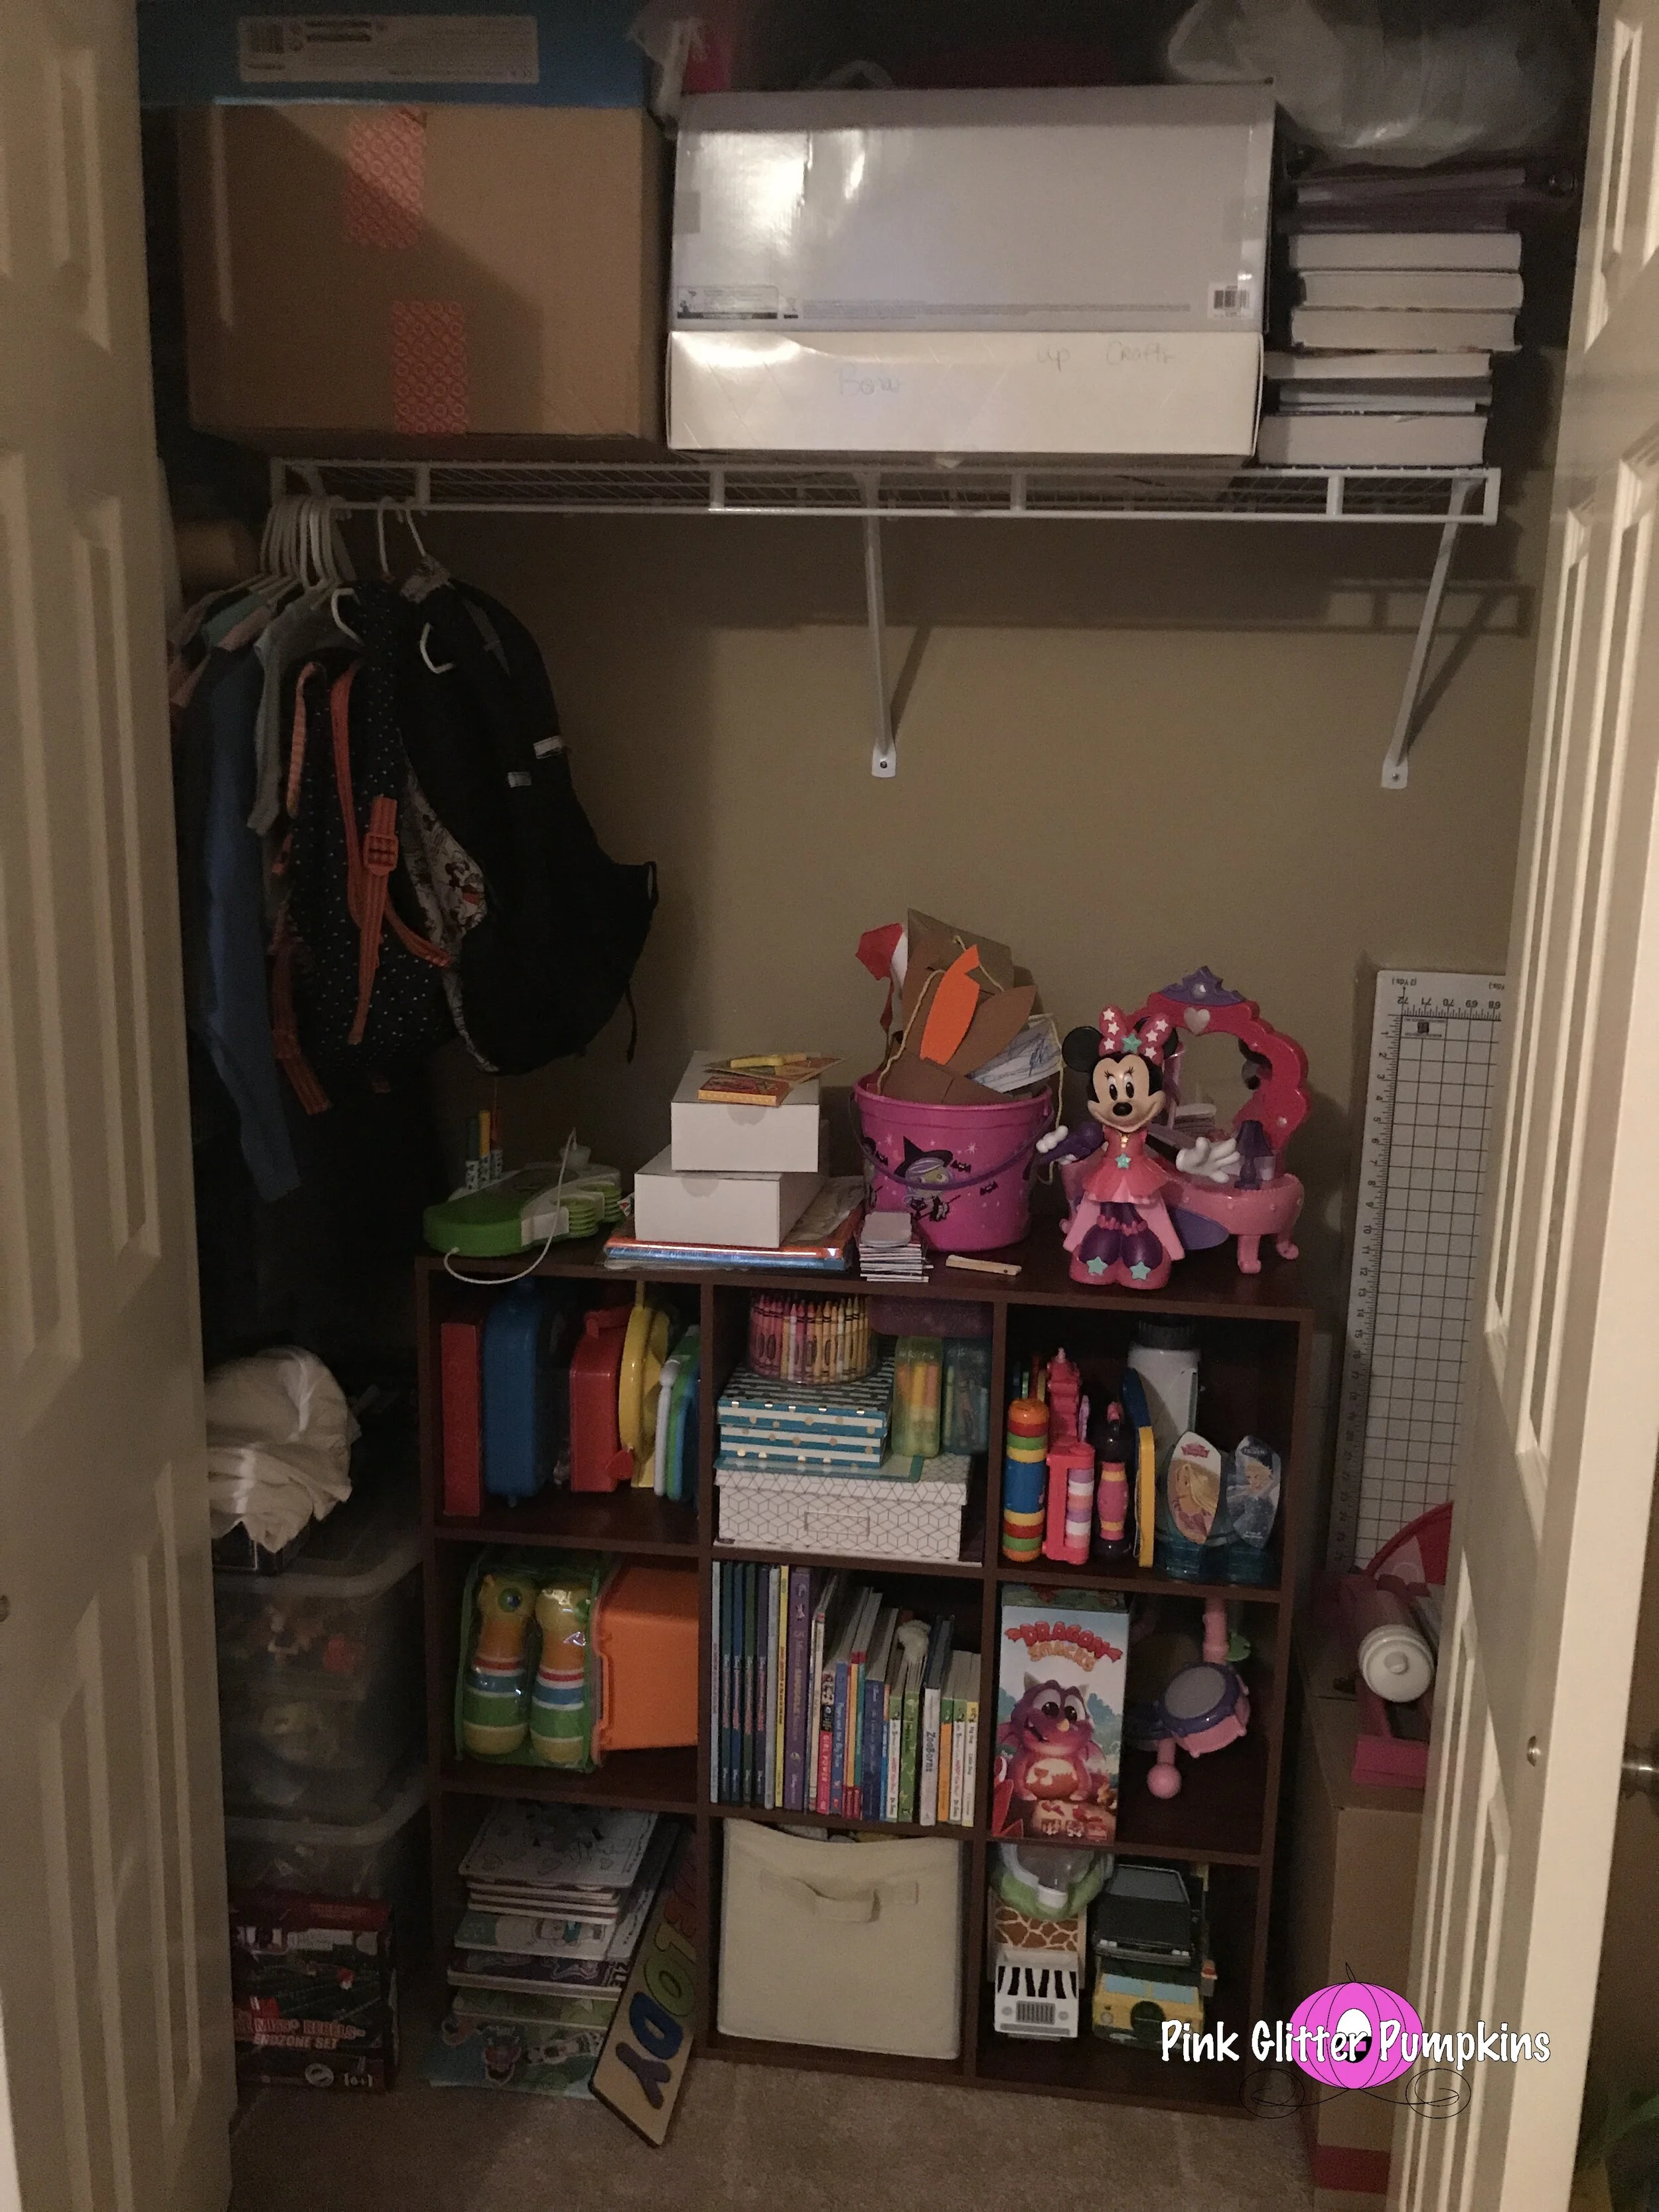
That pretty much covers all of the things. The closet is better organized too but I didn’t grab a picture of it. We still have a little bit of room in there for when she gets toys for her birthday. We definitely love this room so much more now! We do still plan to put a new fan/light combo in at some point. But it makes all the time we spend in there much more pleasurable!


So now for the extras. I plan to do a whole post about the princess storage, but I wanted to go ahead and share all about the 8 cube system we turned into 6.
I have edited the instructions below with a brown sharpie to show you what to do and not to do. As you can see, we are not installing two of the small squares/shelves/dividers.
In step 4, you will want to use short dowels in the circled areas. If you use the long ones, they will go through the board and you will have those showing on your shelf. And don’t stress about needing those short ones later and not having enough, because you will have plenty of what you need by following these steps.
In step 5 you will not instill two of the vertical dividers. Honestly, you can’t anyhow if you used the short dowels.
In step 6 you will obviously not be securing anything with screws on the two ends since you don’t have a divider there.
You follow all other instructions as written.