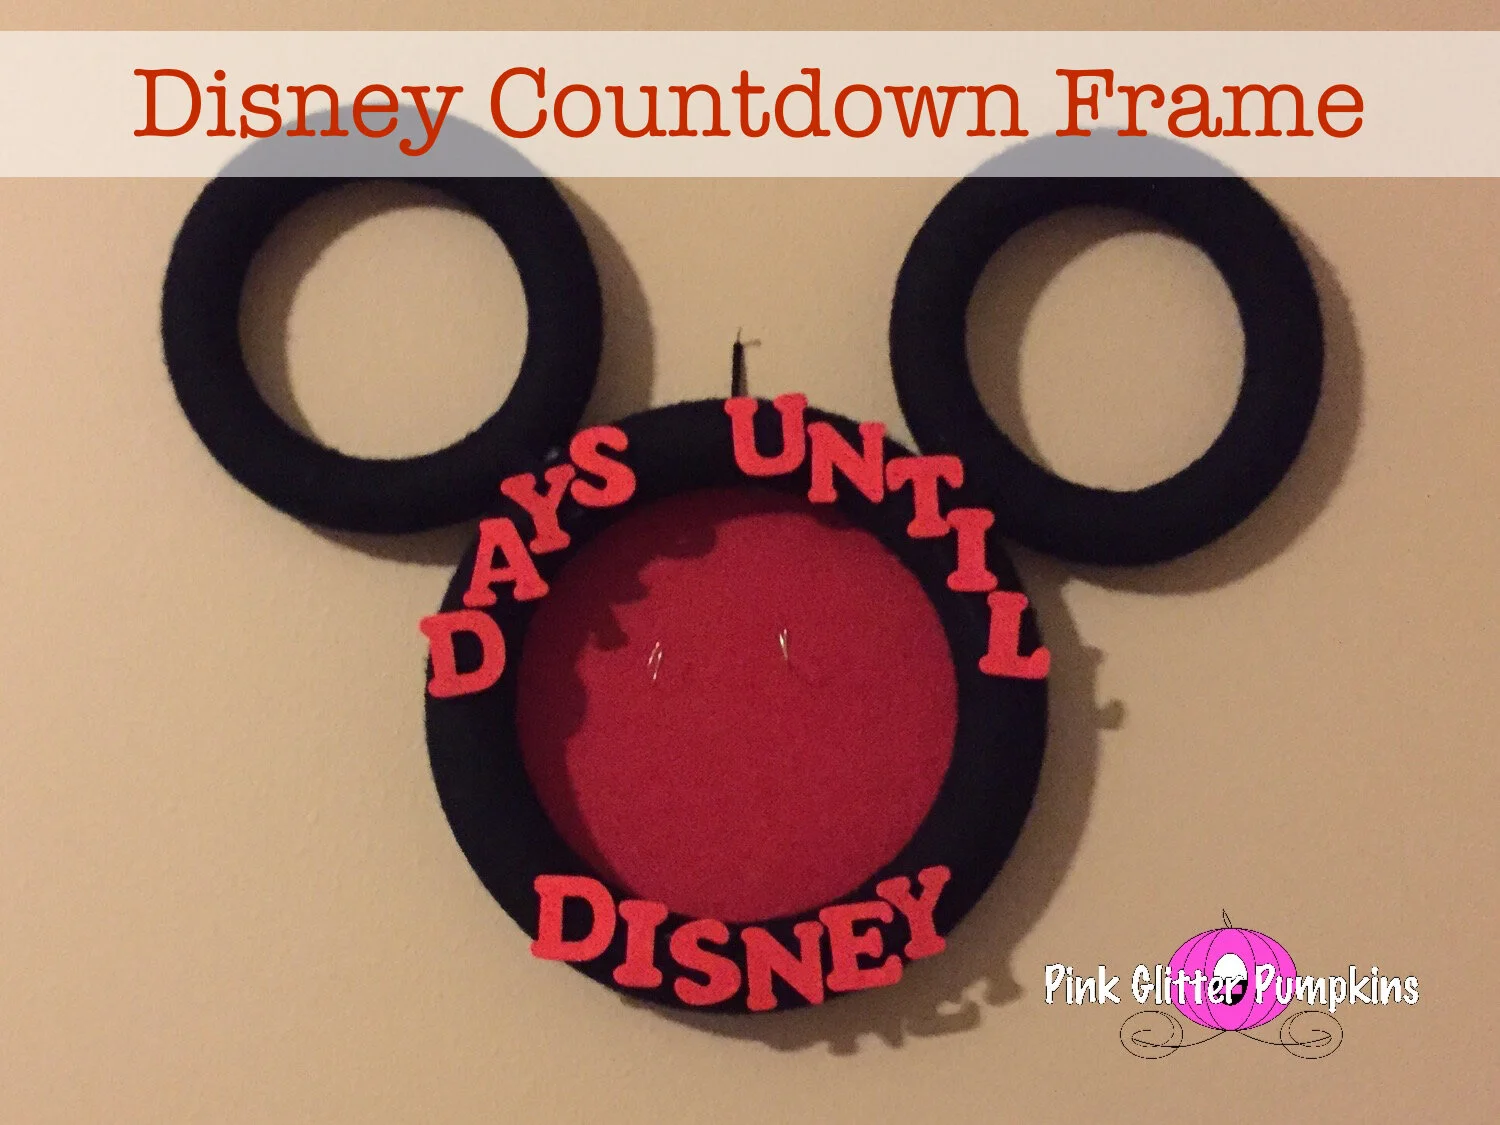
Disney Countdown Frame

So I must be honest, I made this a LONG LONG time ago. So long ago, we were at our other house, and I am most positive Melody wasn’t even a thought yet, ha! But I found all the pictures, and I wanted to share with you this countdown idea. This does involve quite a bit of work, but you can use it beyond a countdown!
Things Needed
1 large foam circle
2 smaller foam circles
Paint brushes
Paint (I used red)
Large piece of felt big enough to cover inside of large foam circle (I used red)
Yarn (I used black)
Velcro
Hot glue and hot glue gun
Picture wire
Sewing pins
Wooden letters

Instructions
1. To start and help with time, I first painted the letters. So for the countdown phase, I used the words “Days until Disney”. After Disney you can use something like “Payne Family Vacation” or something like that. I honestly haven’t made it that far. Yes, many years later. It is still in my closet, ha! I painted both sides but you can just paint the front if you want.


2. While the letters dry, you can work on the foam circles. To start, hot clue the yard on one piece of the foam circle. Then very tightly wrap it around the entire foam circle until there is NO white showing. Then hot glue it at the end to seal it. Do this for all 3.

3. Now you will want to attach the two small ones to the one large one. The small ones are the “ears”.

First hot glue them together. Do this for both “ears”.


Then once the circles are hot glued together, I then use additional yarn to secure it. You will want to be sure and hot glue the yarn to it as well as you did before.


Let dry and stabilize.

I did try and make sure most of the hot glue portions were on all the same side and consider that the back.

3. Now place your wooden letters on the large circle so you know where you want them.

And now start cutting out velcro to cover the letters. You’ll first want to measure out what you will want to hot glue to the large circle.


And hot glue it!

Then cut pieces to place on the letters and hot glue those.


4. Now flip it over and measure out your felt. You don’t want it to be exposed on the outside, but you want it to cover the inside entirely.


To attach the felt to the foam circle, I used sewing pins on the back.

5. Now flip it over and get ready to make the numbers to count down to.

I first used sewing needles to poke holes in the felt in a place I would want the numbers.

Then I made “hooks” out of picture wire and place them through the holes. These will allow you to hook your numbers.

Make sure to point them down in the back to better secure them.

6. Flip over, add your letters, and hang it up.

I used more yarn and sewing needle to make a hook to hang it with.

I made numbers in Microsoft office and Pixelmator. I printed them on cardstock and cut them out.


Then I punched holes in them.

Then you can update it with the numbers you have left. After your trip you could update the words and add a picture from your vacation instead of numbers!