Olive and June Mani and Pedi System
So this is definitely a post I will do a second version of in a few months. That will include better pictures and better looking nails after much more practice. So I found Olive and June on Instagram sometime ago. I debated buying it, but I was still skeptical on whether it was really worth it. Well it rolled around my birthday, and I had some birthday money left to spend. I basically could try out the Olive and June systems plus have a little money leftover, or I could pay for a years’ worth of FabFitFun. Both sounded appealing, but I ultimately decided to do the mani and pedi system from Olive and June.
It took the system around 2-3 weeks to arrive. I ordered both the mani system and the pedi system. I also ordered the nail primer, and I received dry drops for free. The colors I picked were CCT, Wild & Free, HD, Bright & Focused, Grateful & Kind, and Yes Please. Do watch their website for free items, as well as their Instagram. During Boot Camp week (it happens near the end of each month), they sometimes offer free items too. But you can only find out about that on Instagram.
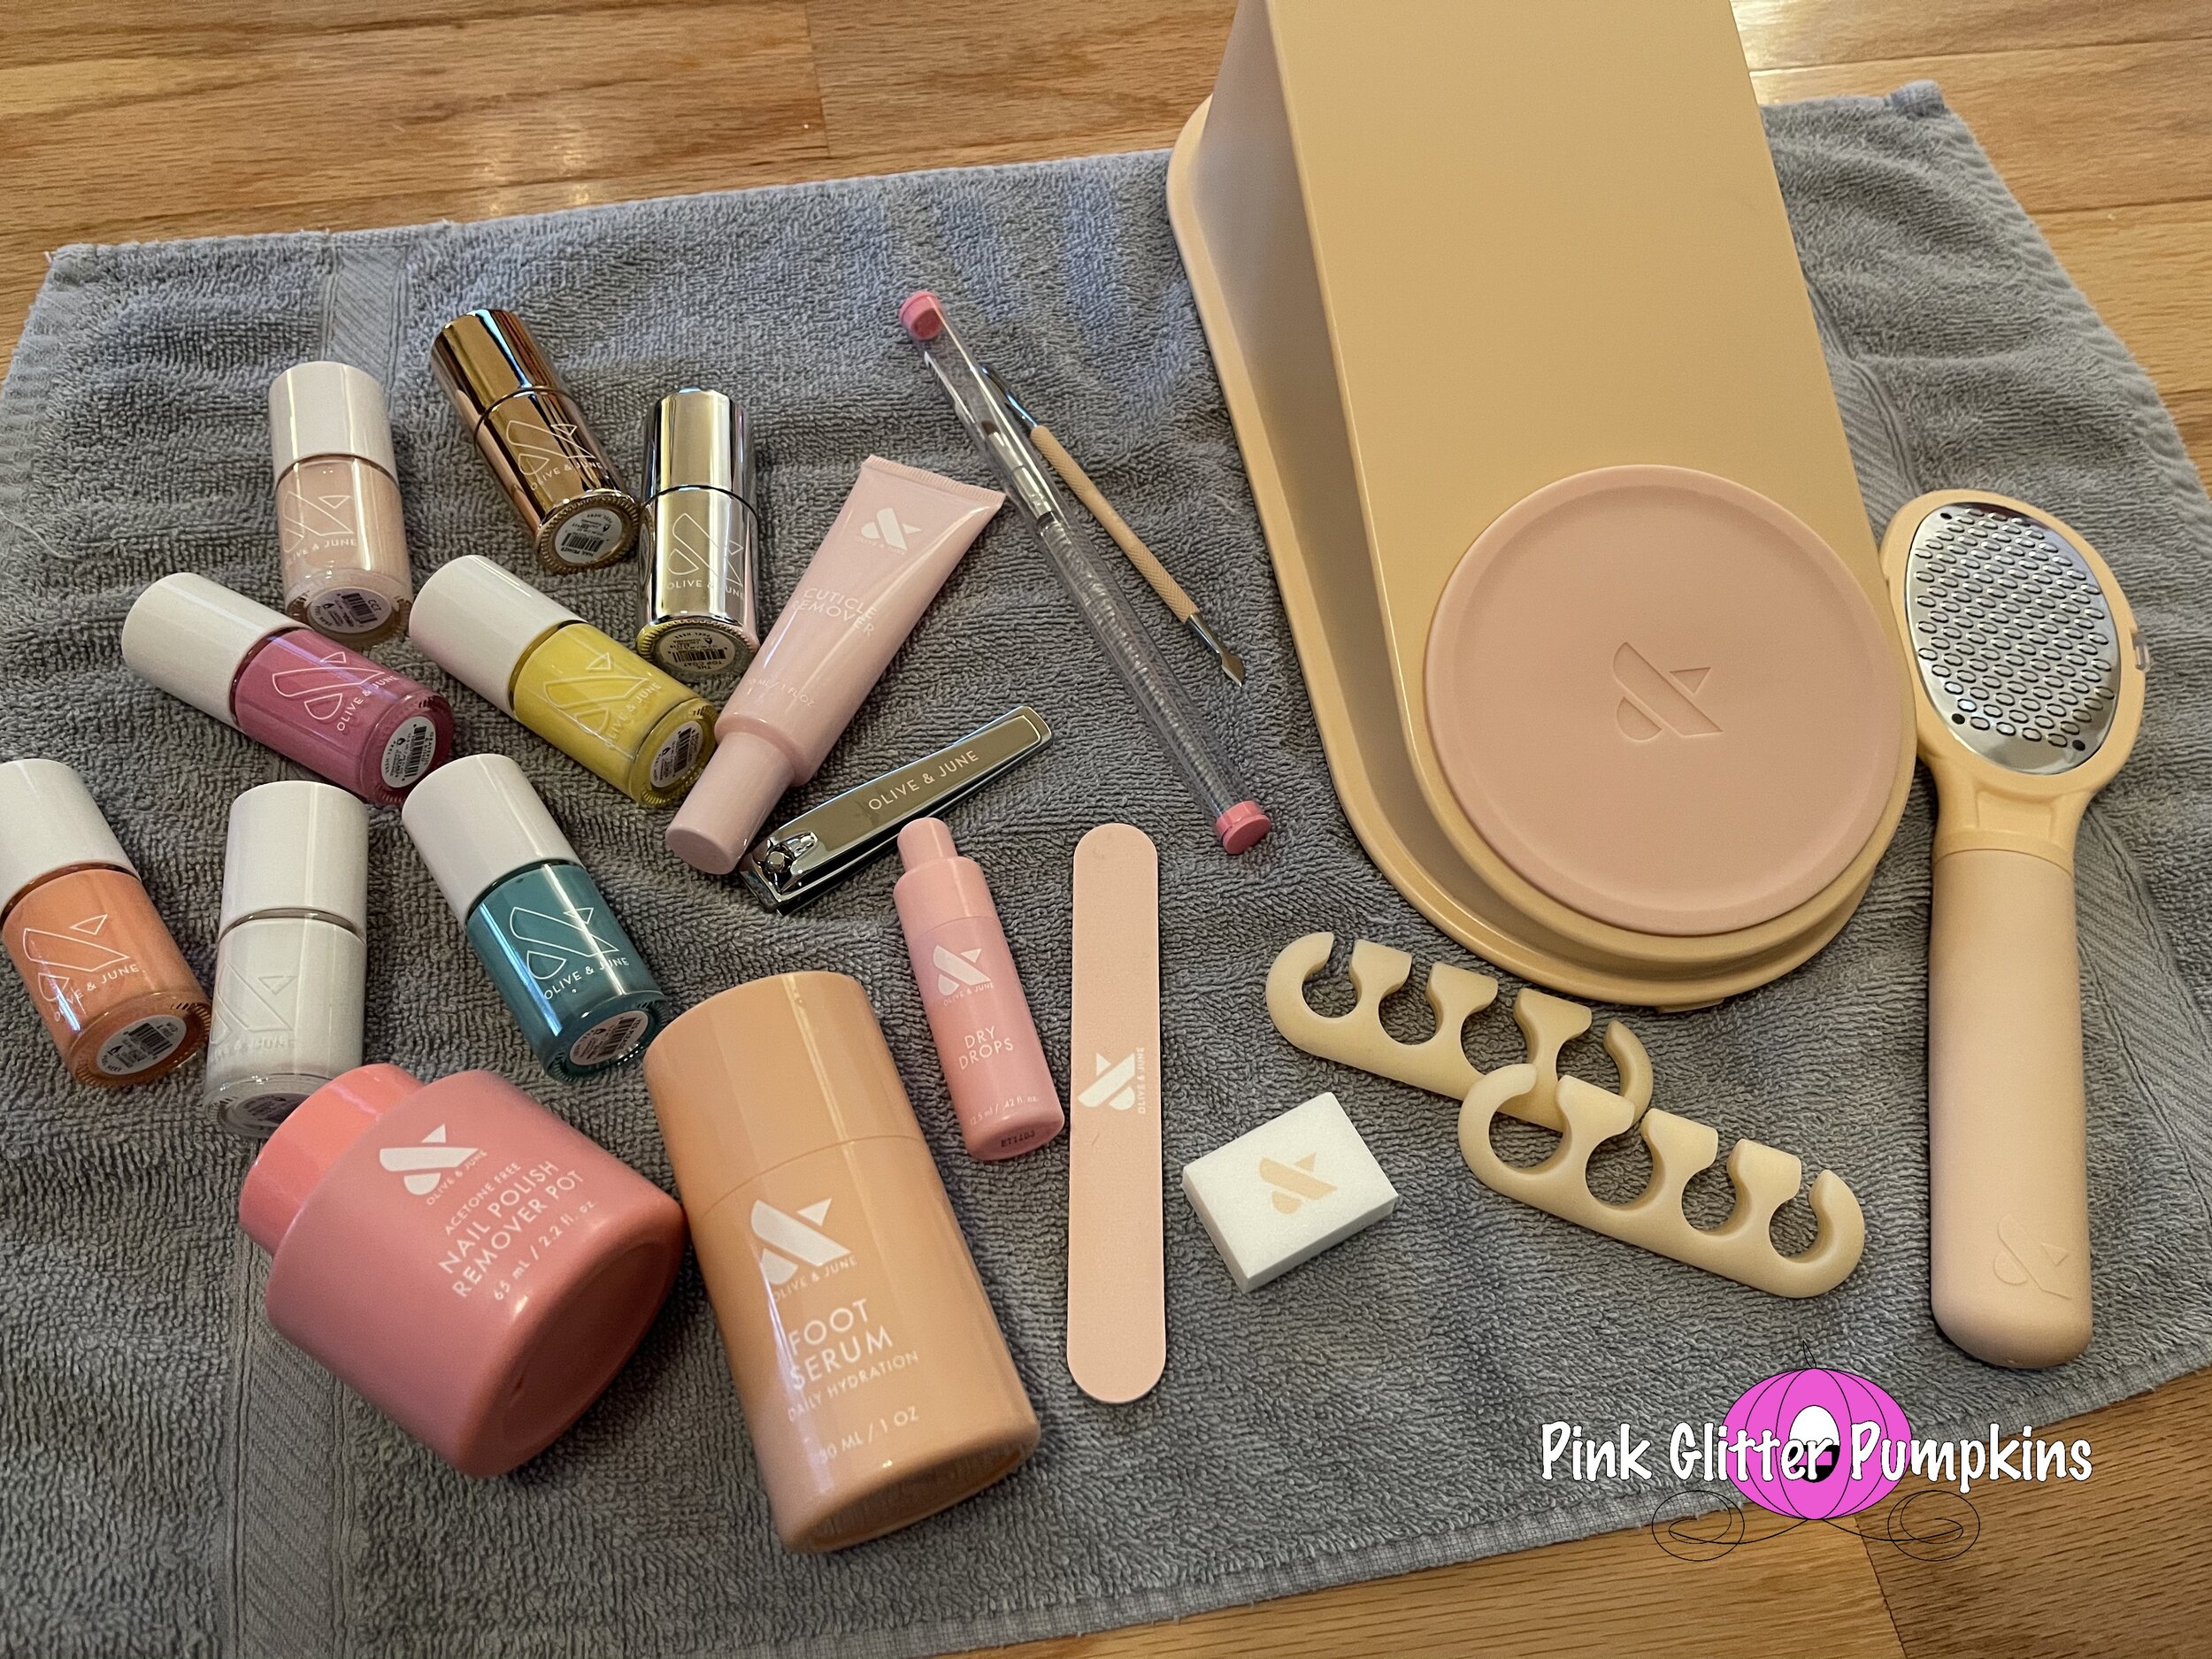
So the day after receiving my systems, I dug right in. Below you will see the pedi system. It comes with a foot file, nail file, small buffer, cuticle remover, nail clippers, nail polish remover pod (made especially for toes), cuticle pusher, foot serum, toe separators, a clean up brush, and the posey. There is a pamphlet tell you all about the 5 steps to a perfect pedi. 1. Smooth 2. Shape 3. Prep 4. Paint 5. Hydrate
Below is my first go at the at home pedi. I think it went really well, and now I give myself a pedicure every two weeks. I don’t find myself using the posey as much as I had hoped. It is still uncomfortable for me to use for every single toe. But I still use it at times. And as I lose weight, I may find it easier. To be entirely honest, I didn’t feel like the pedi system was far superior to what I had before. I had most of these tools in some sort of fashion that I used when I did my at home pedicure. So unless you don’t have these tools, or you just really think you’ll use the posey, I am not sure if it is entirely worth the investment.
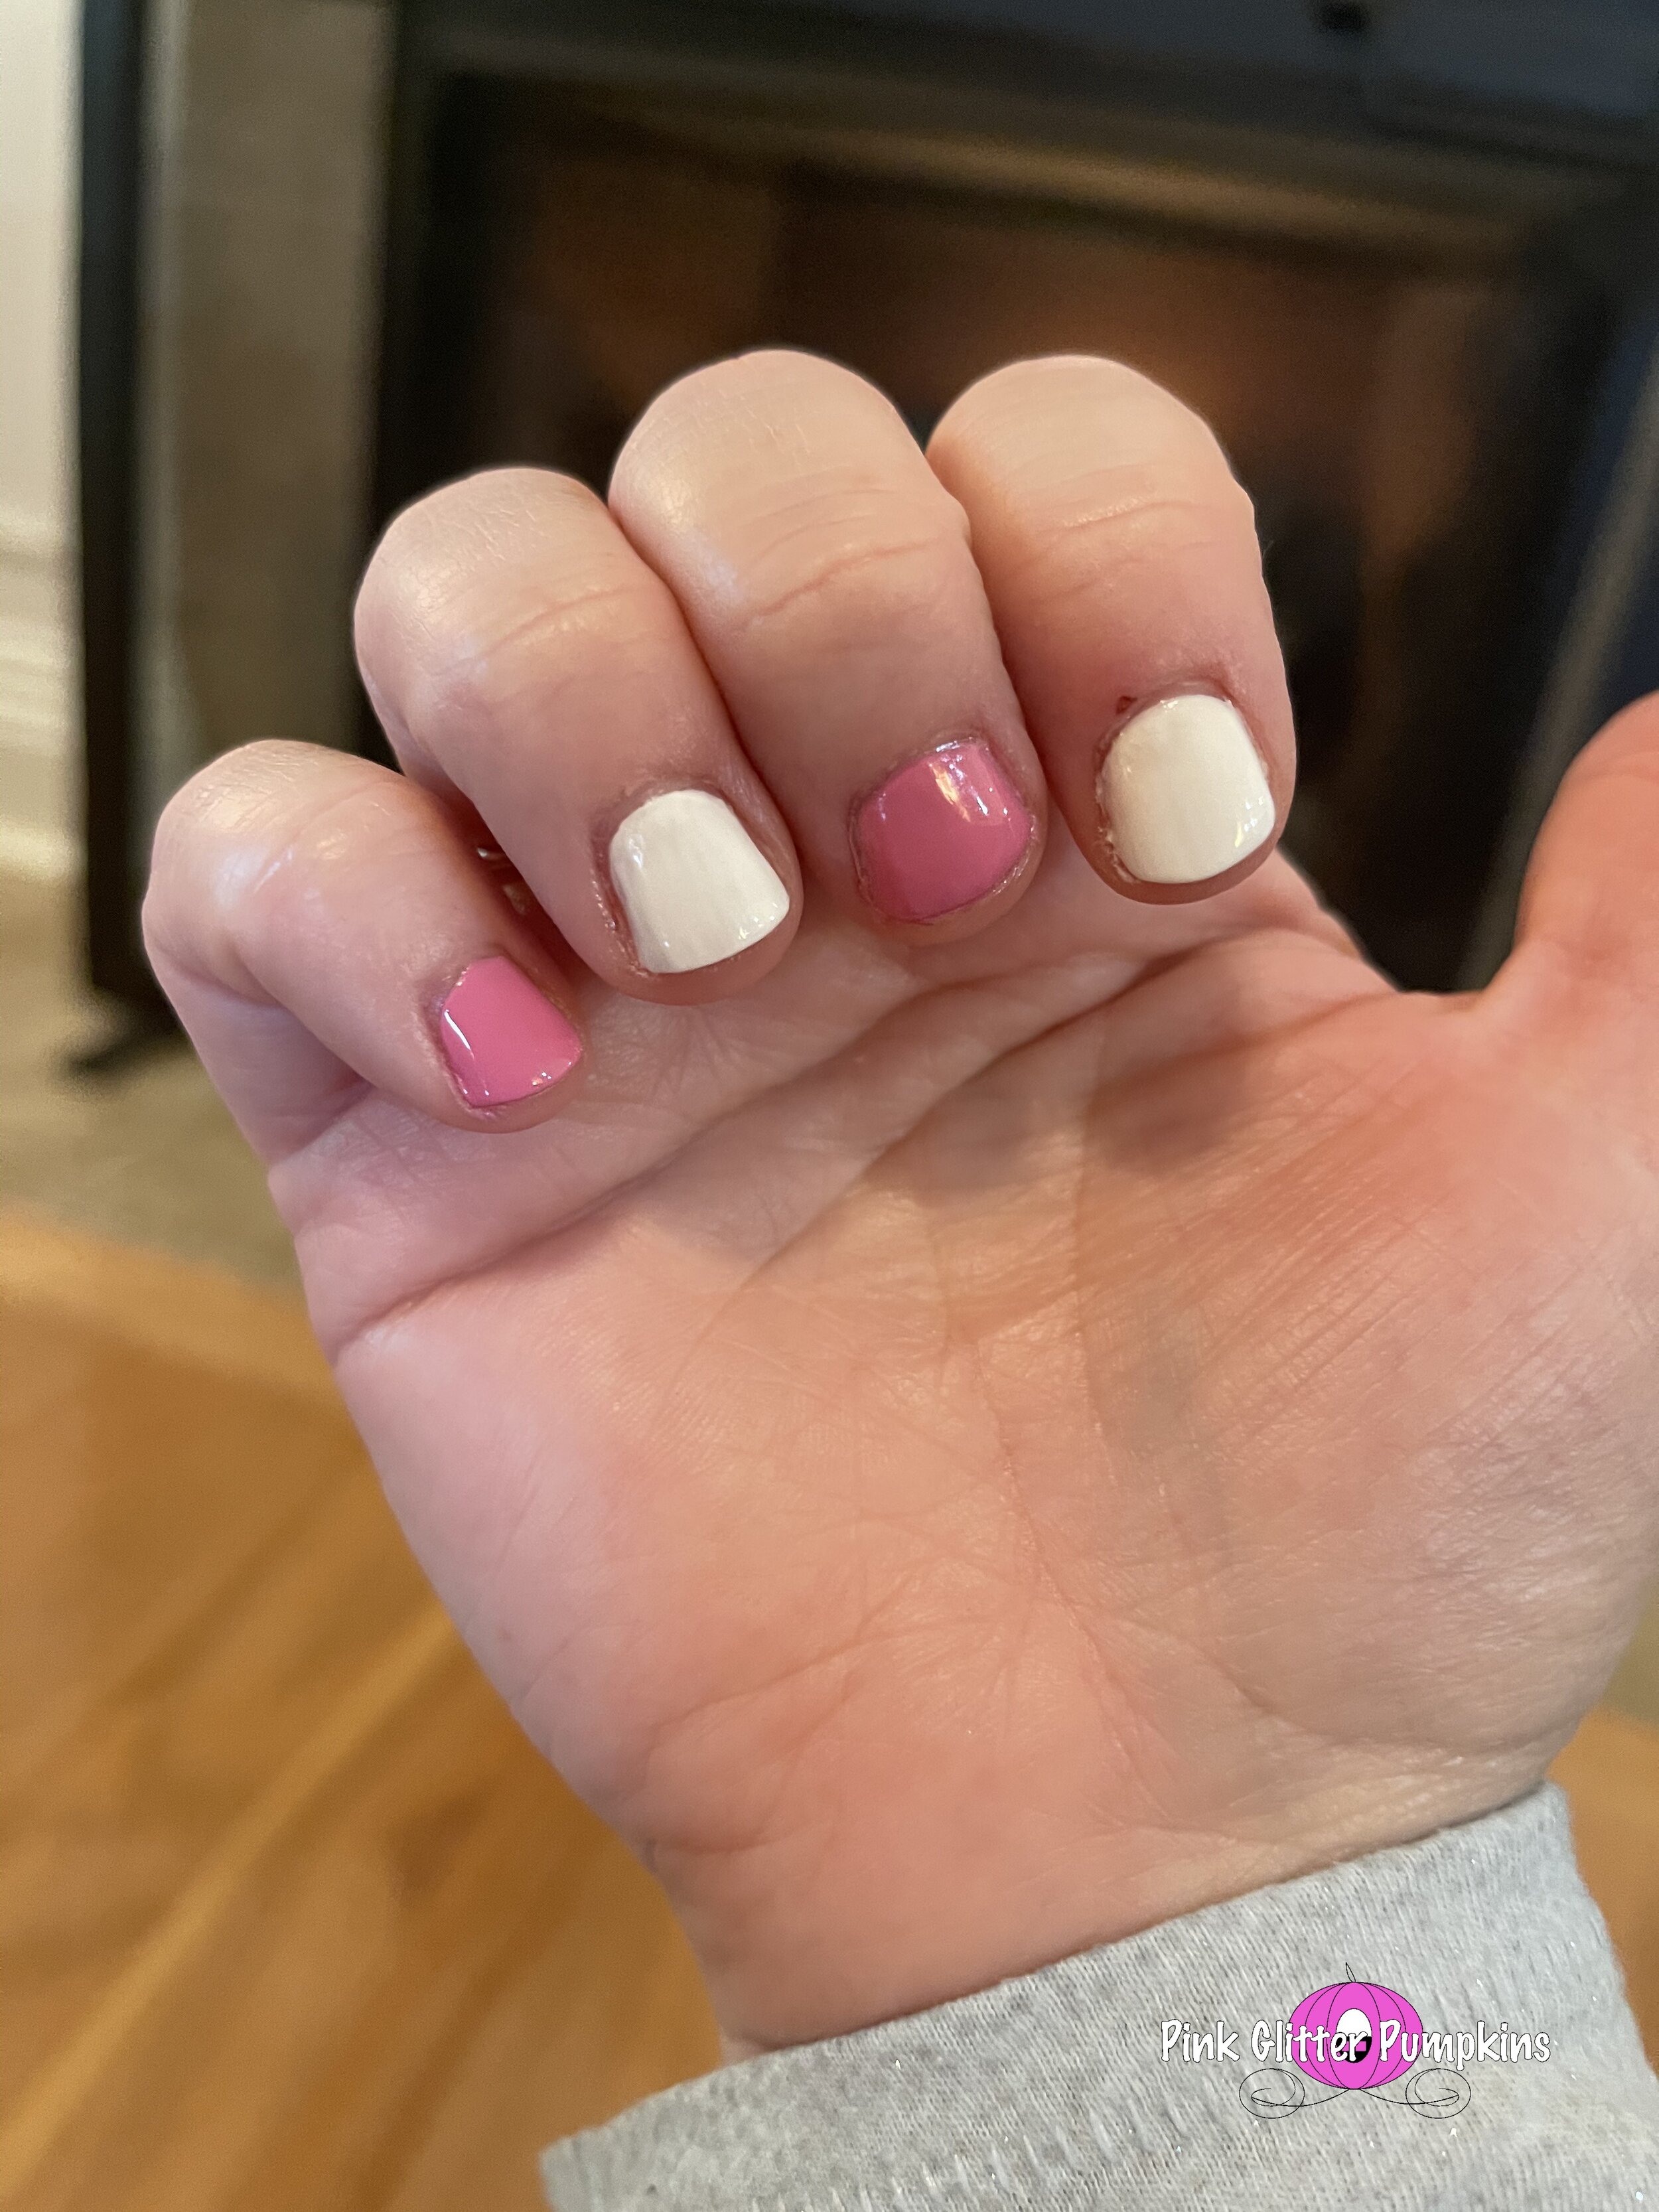
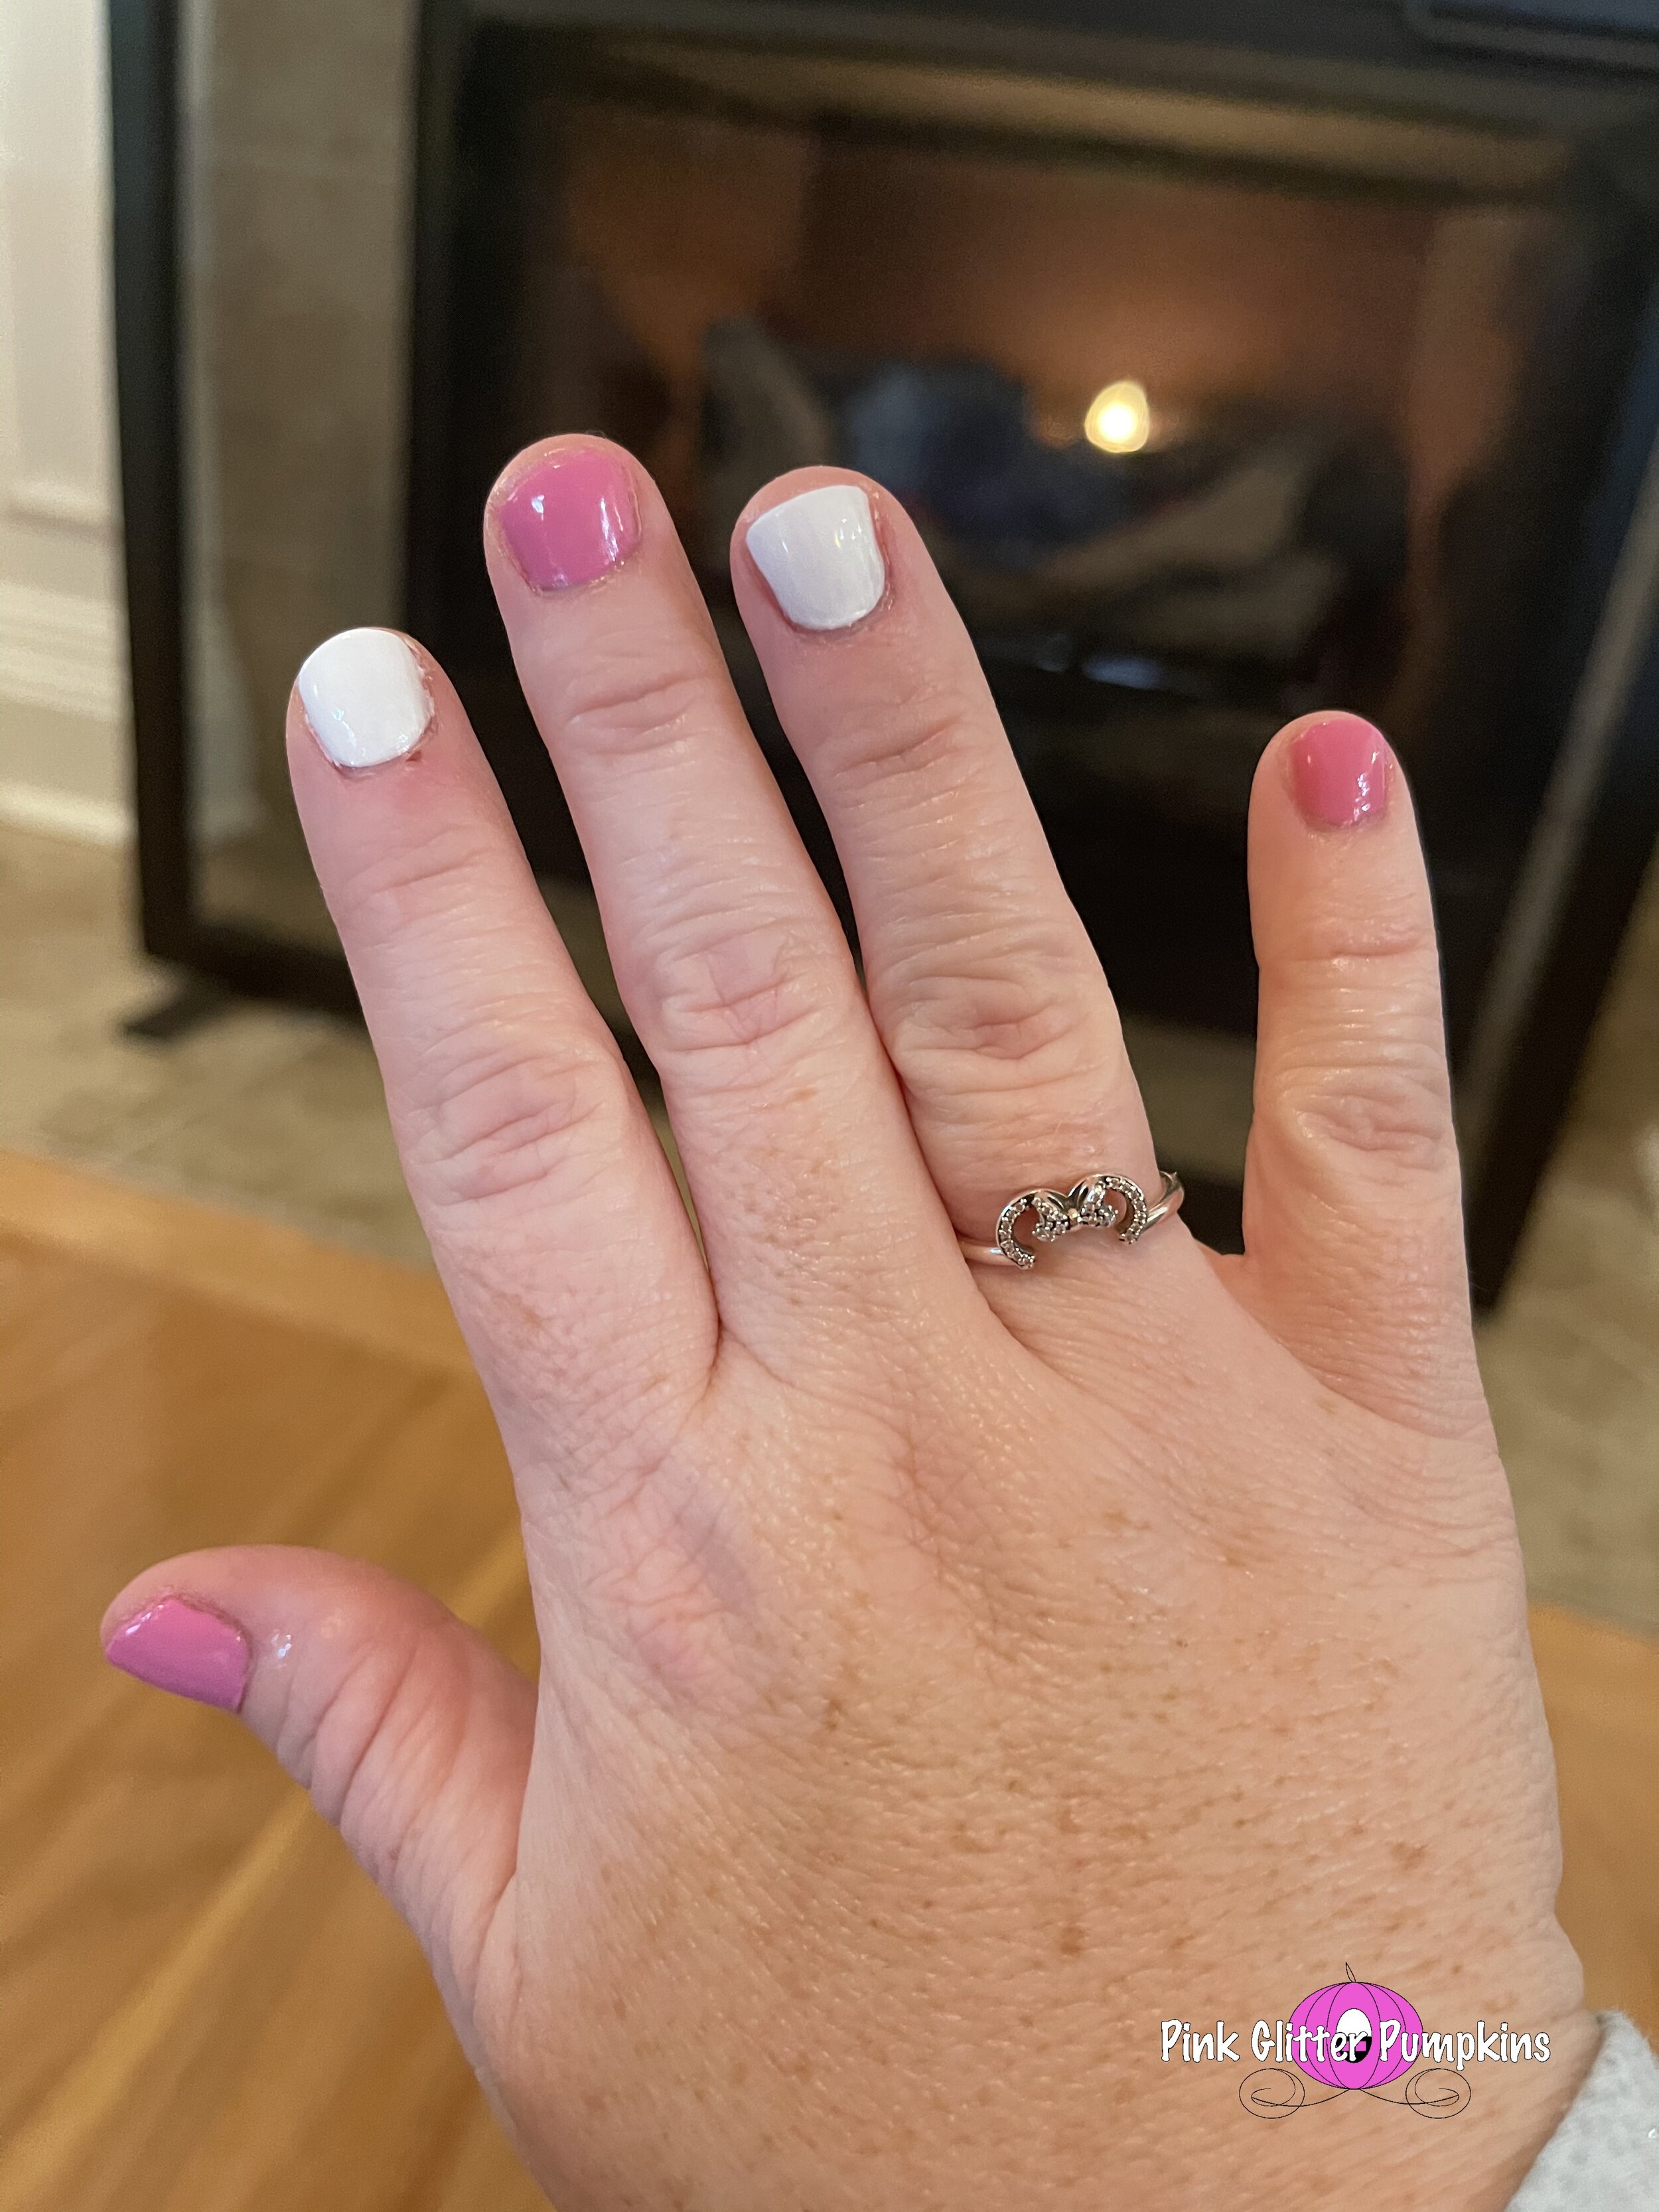
Now the mani system. I am going to say upfront, I love it. Now my first manicure was awful (it was the pink and white one below). I was still super, super new at following their steps entirely, and starting with the white was not smart. It is a more advanced polish and harder to get the shade perfect. Anyhow, the mani systems comes with the following: the poppy, cuticle serum, polish remover pod, clean up brush, buffer, nail clippers, file, and top coat. A lot of items are in both boxes, but are not always the same. The polish remover pod is slightly different, the nail clippers are different sizes, and the buffers are also different sizes. There is also a great storage box included.
Below is my first mani I spoke of above. I was clueless about shopping, and the white polish looked awful. It literally lasted a day. I changed it the very next afternoon.
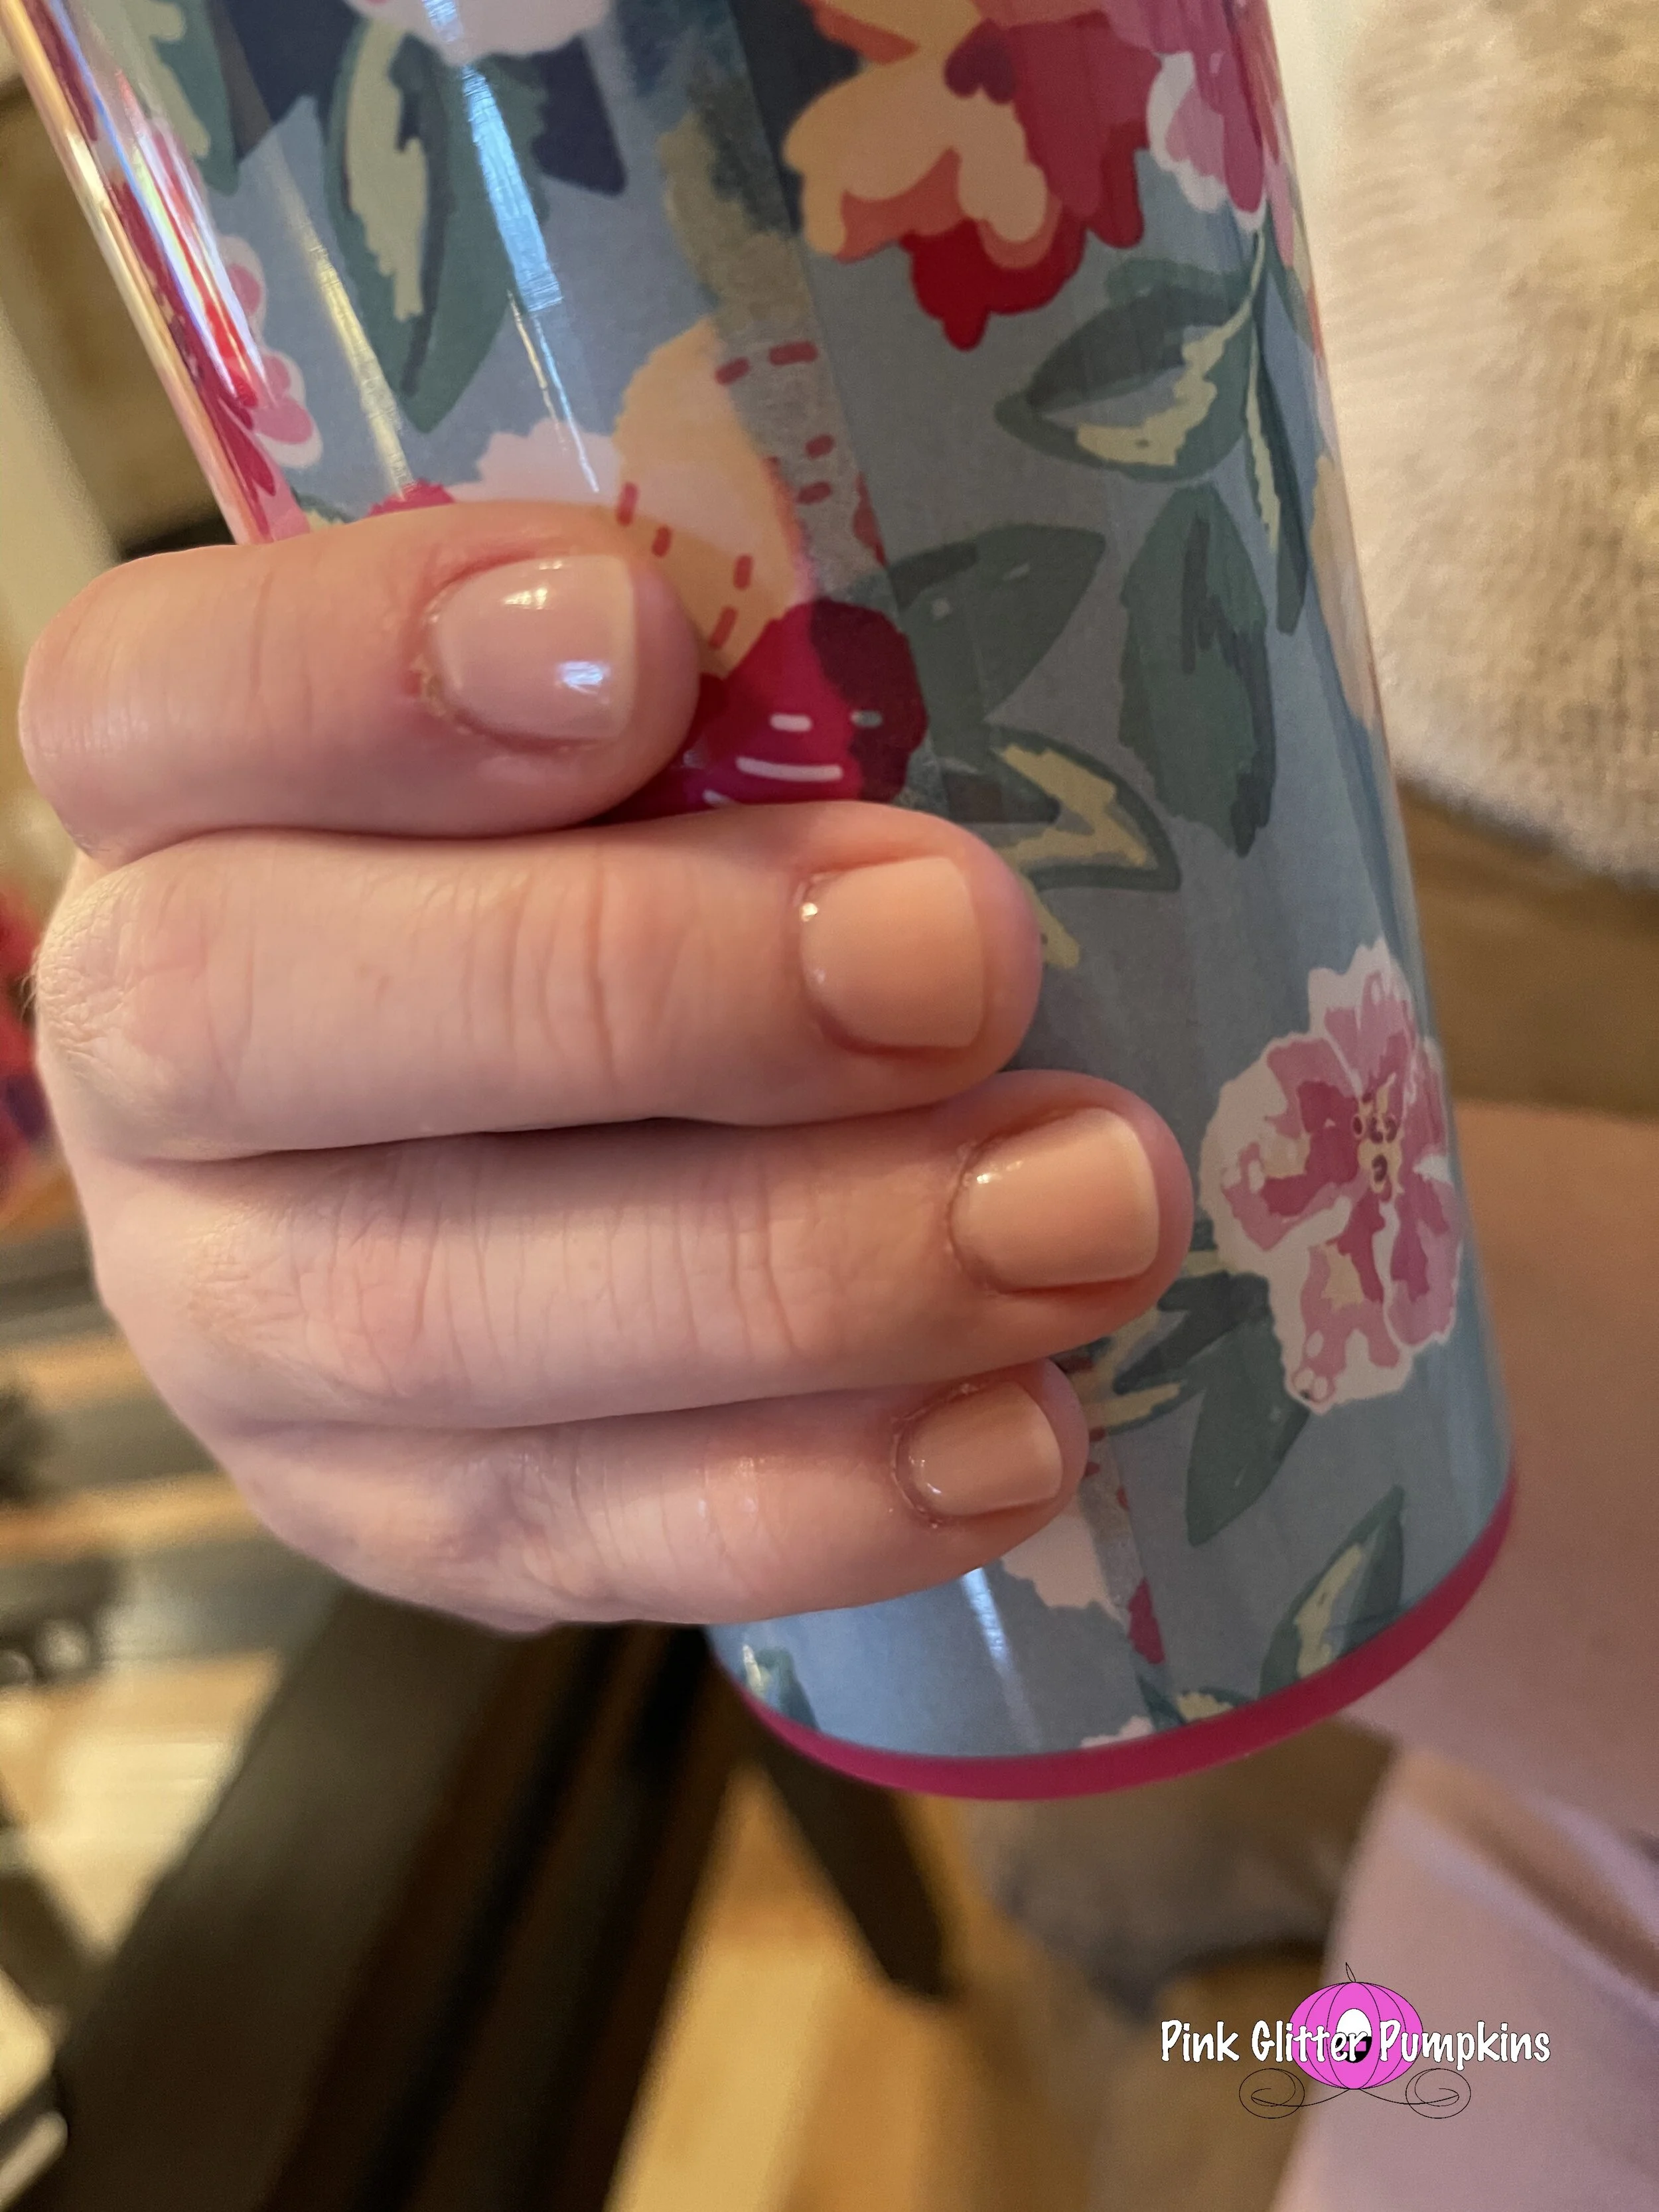
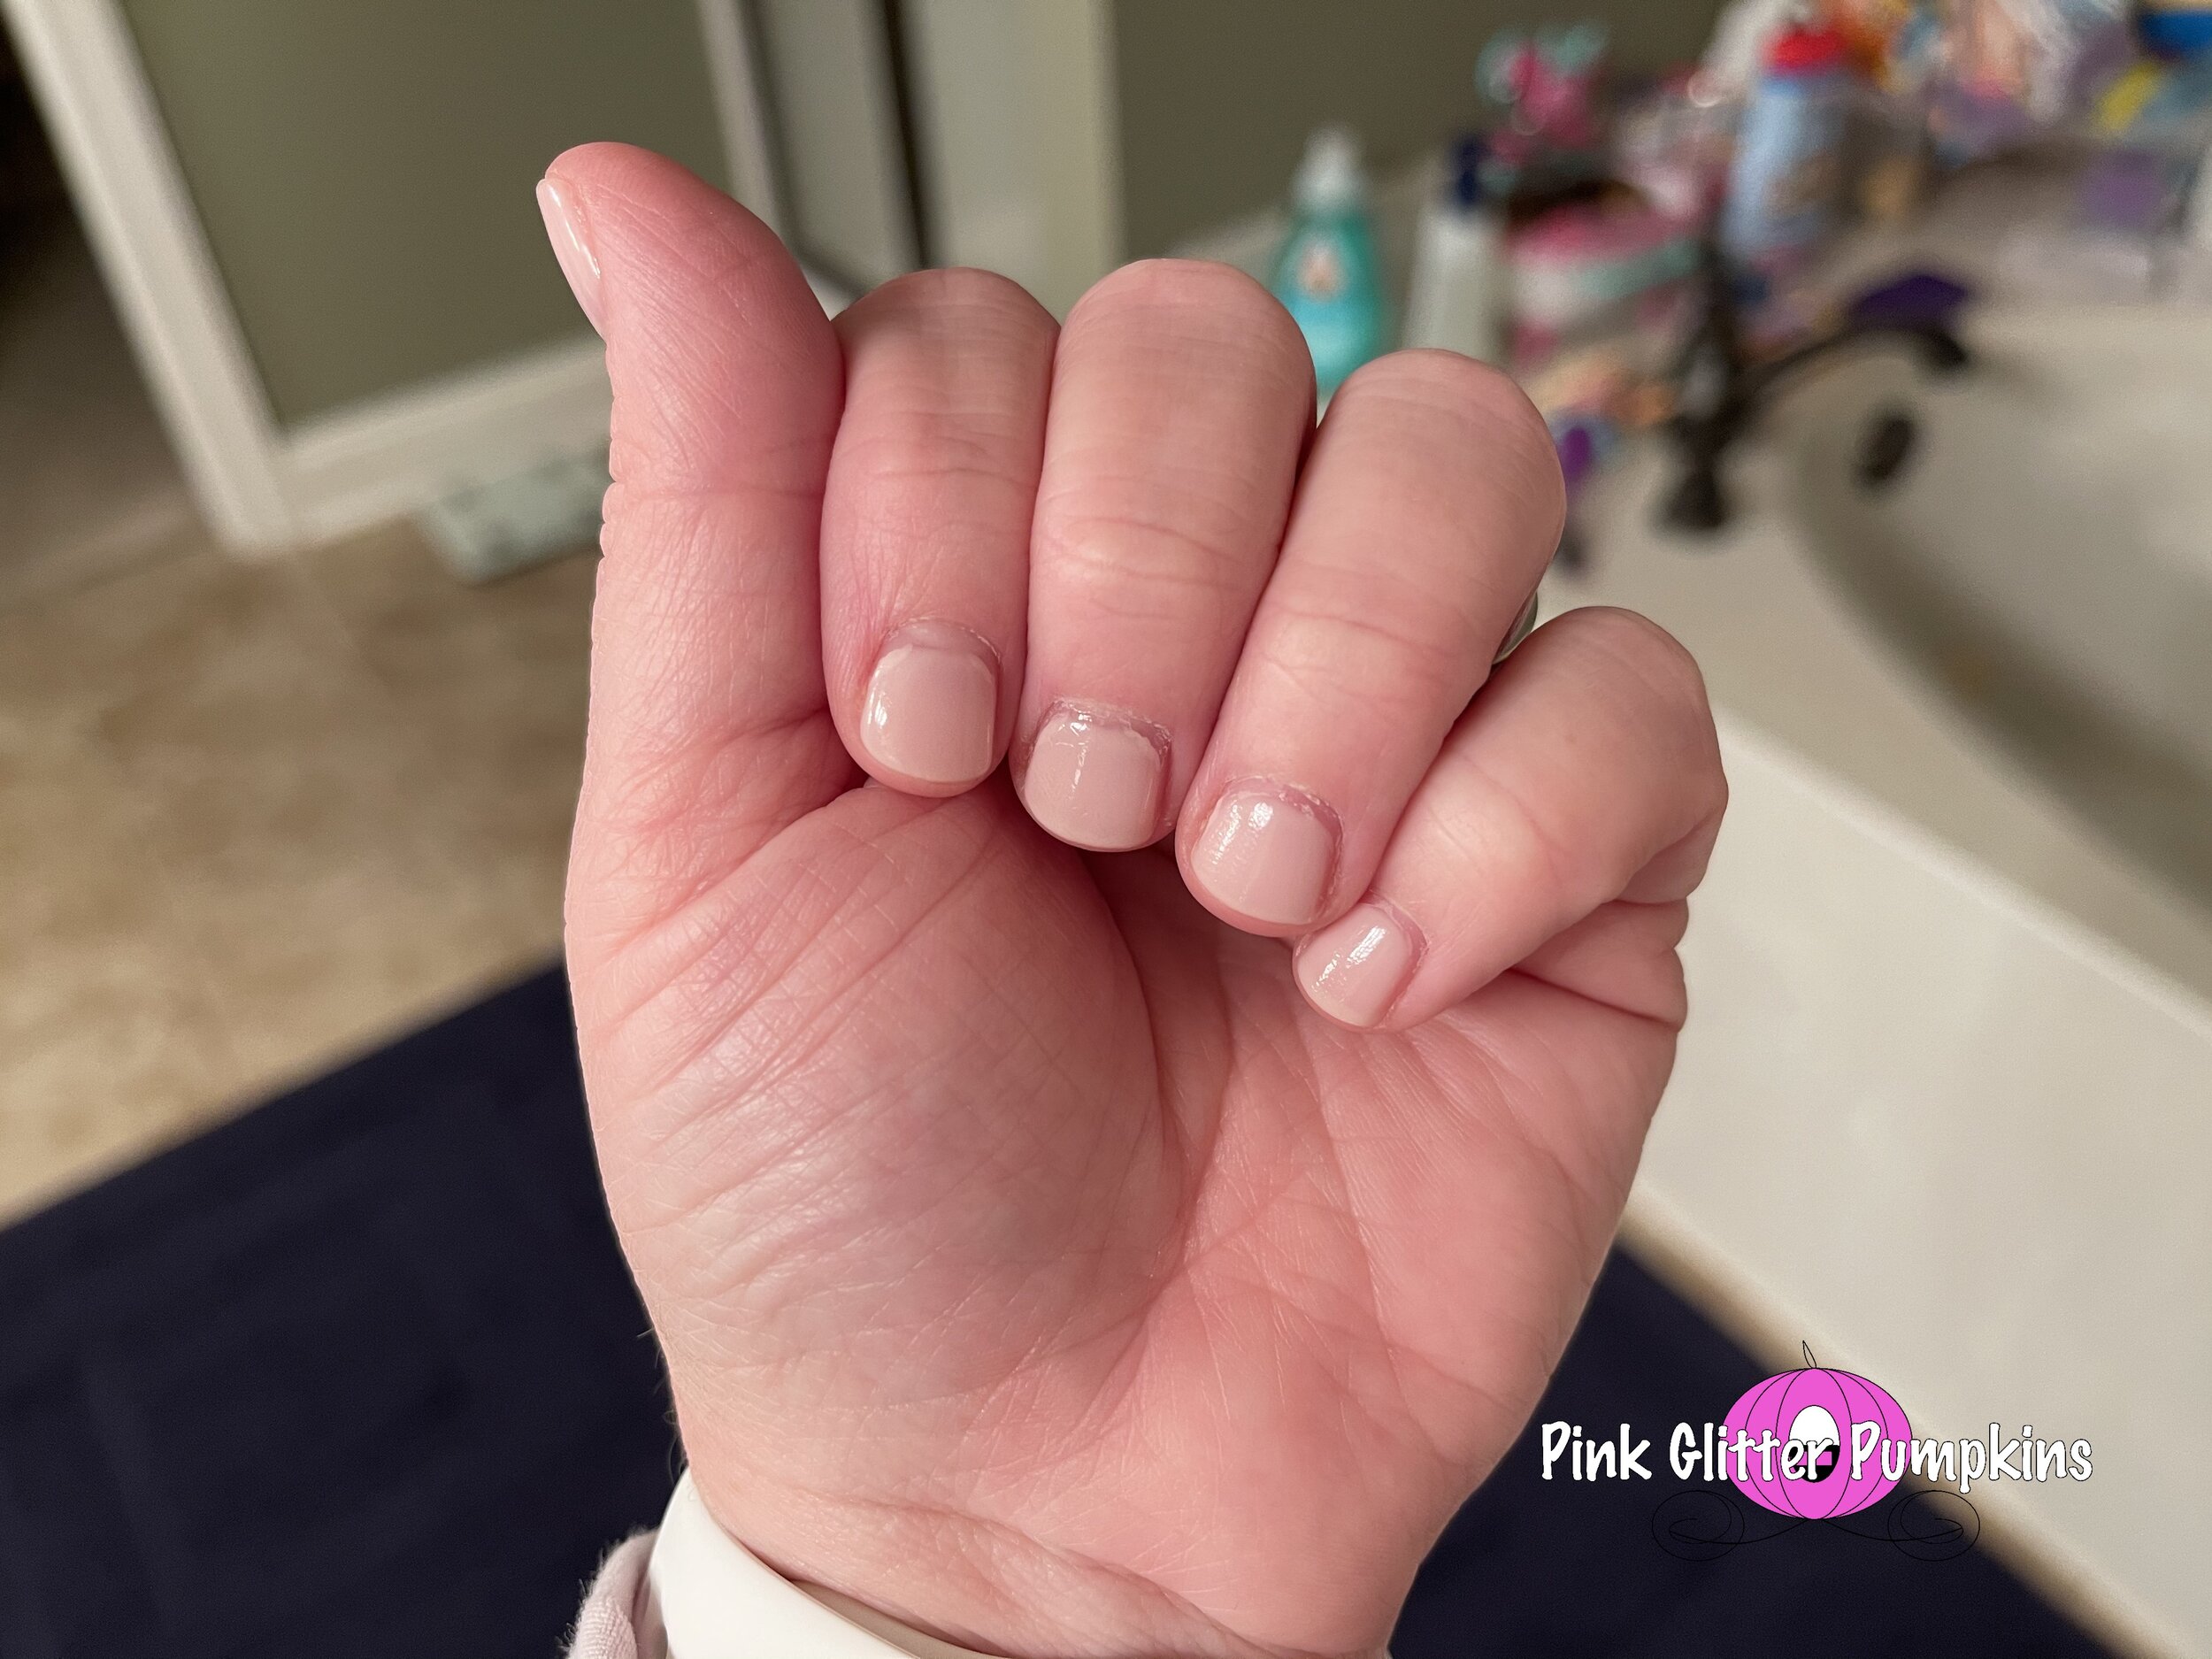
Here is my second manicure. As you can see, it is a much more forgiving polish. The polish easily lasted over a week. The last two pictures are days 6 and 7.
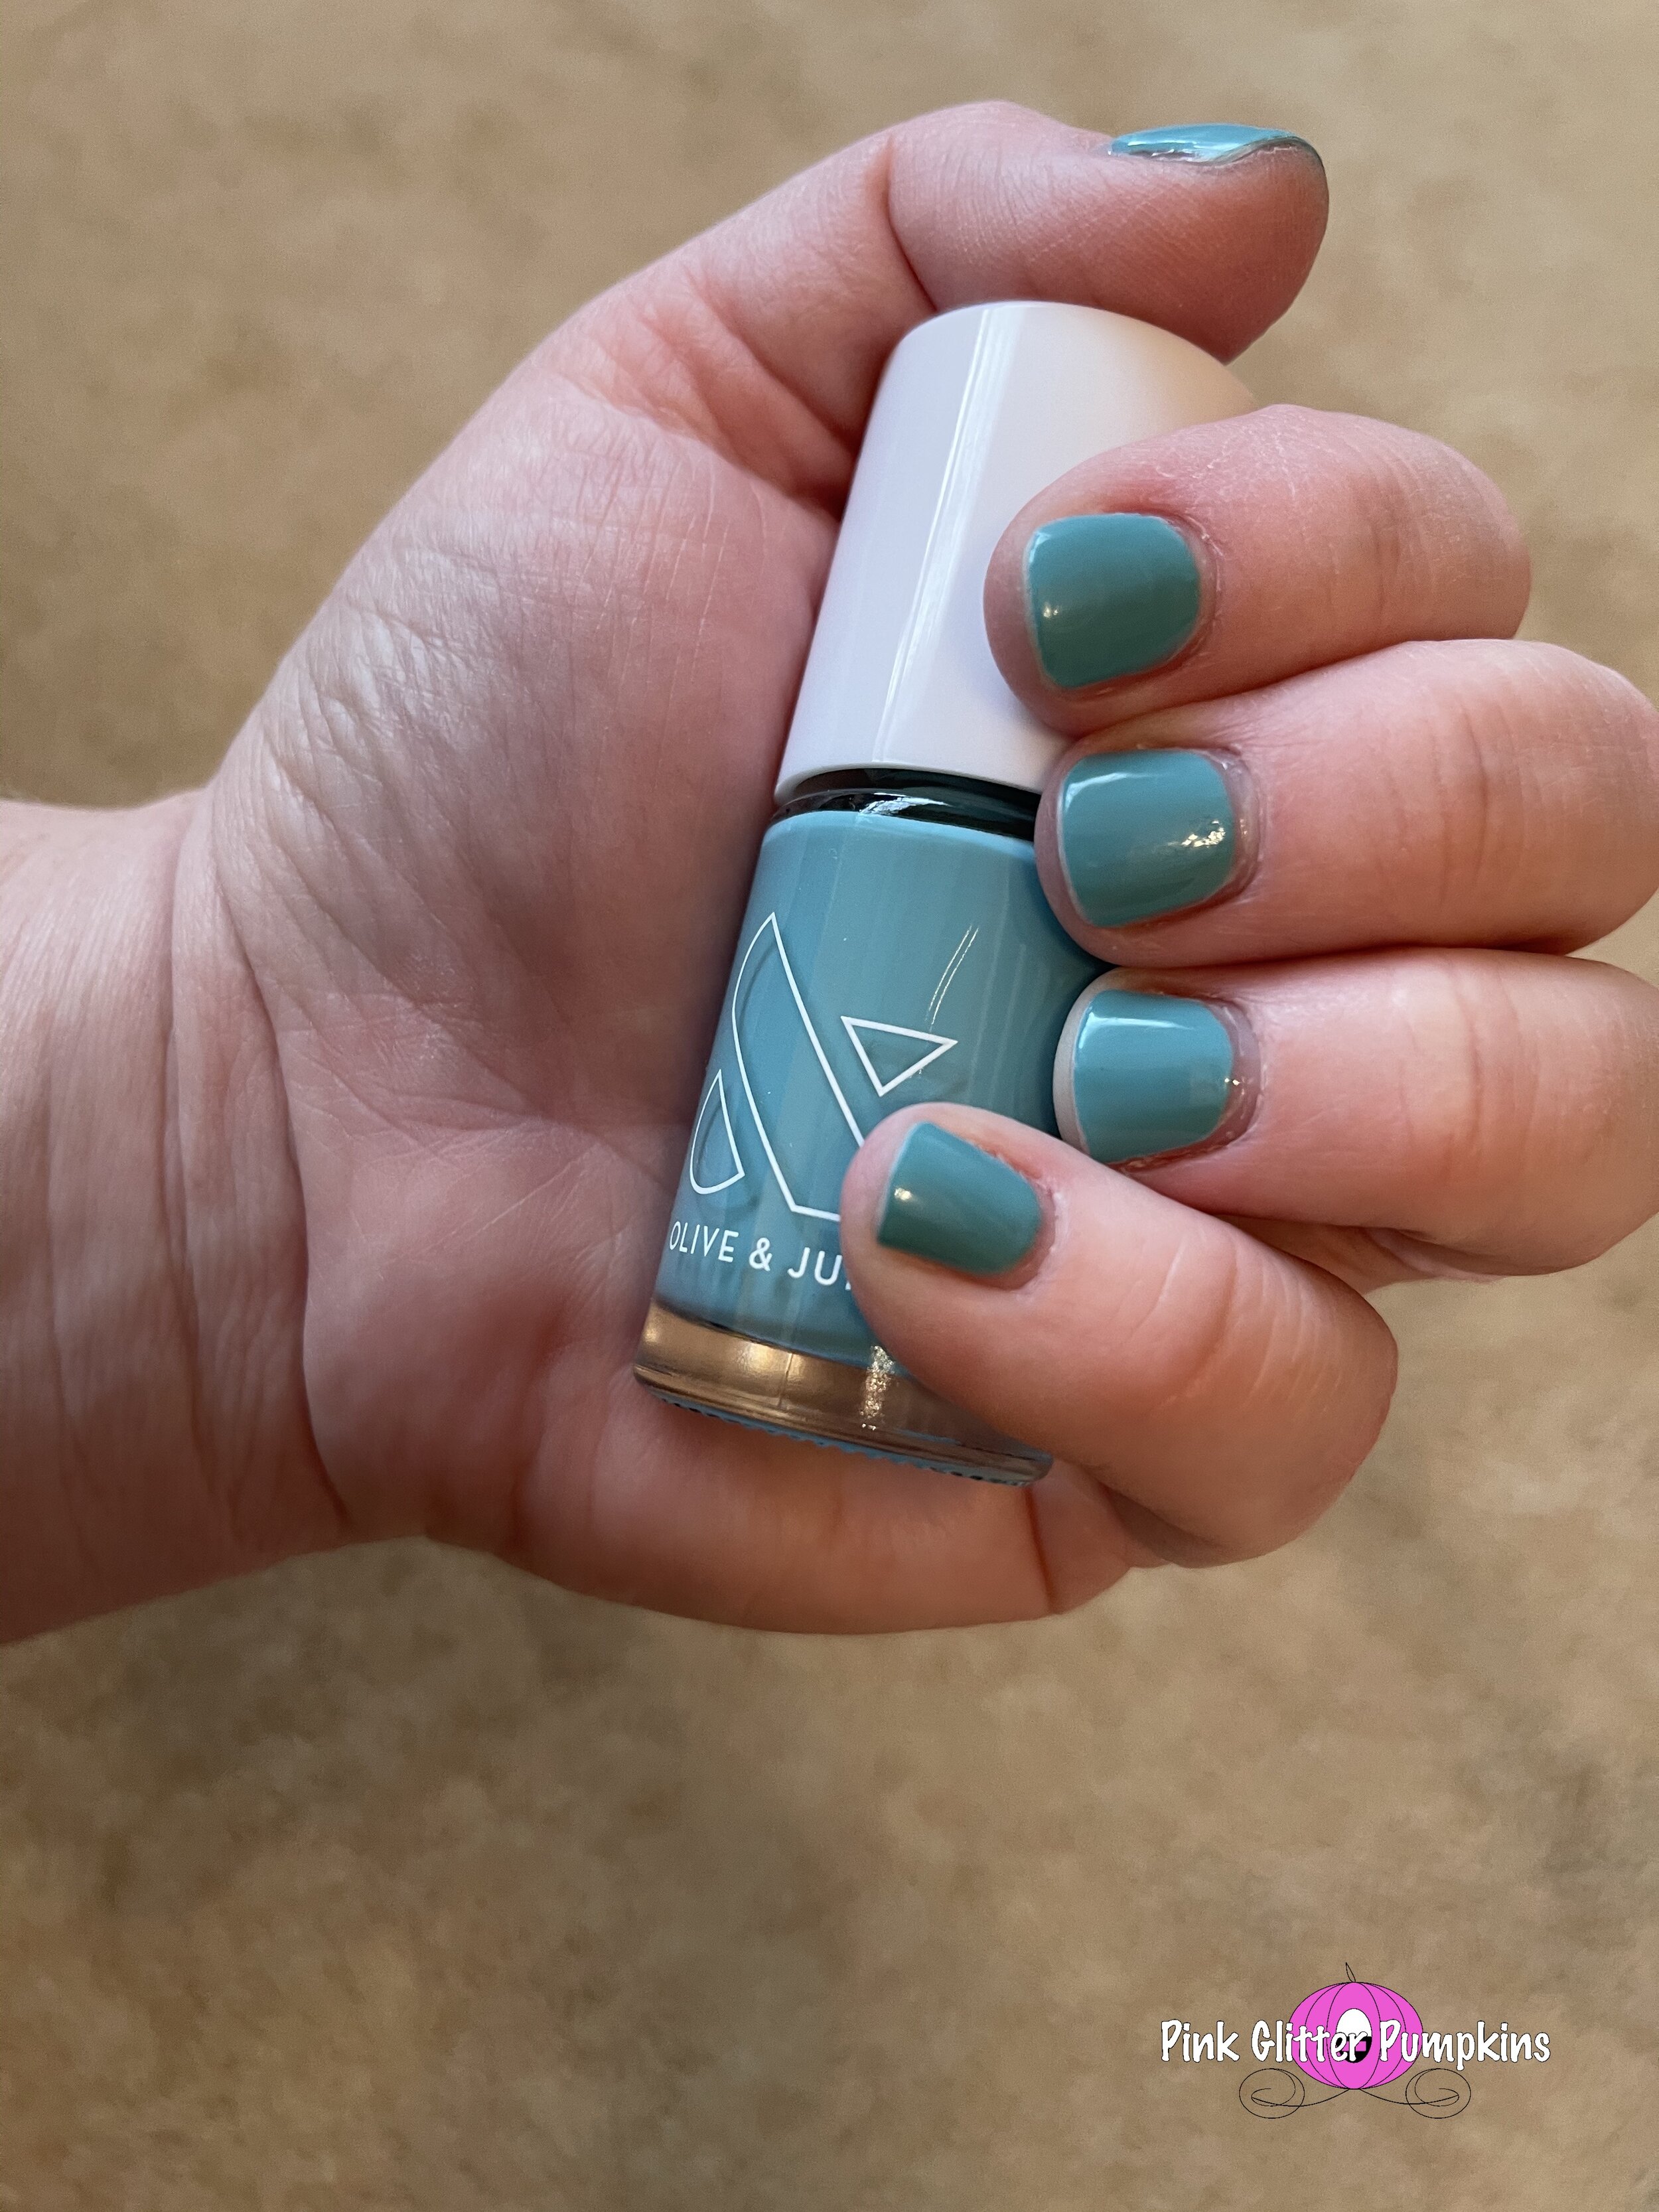
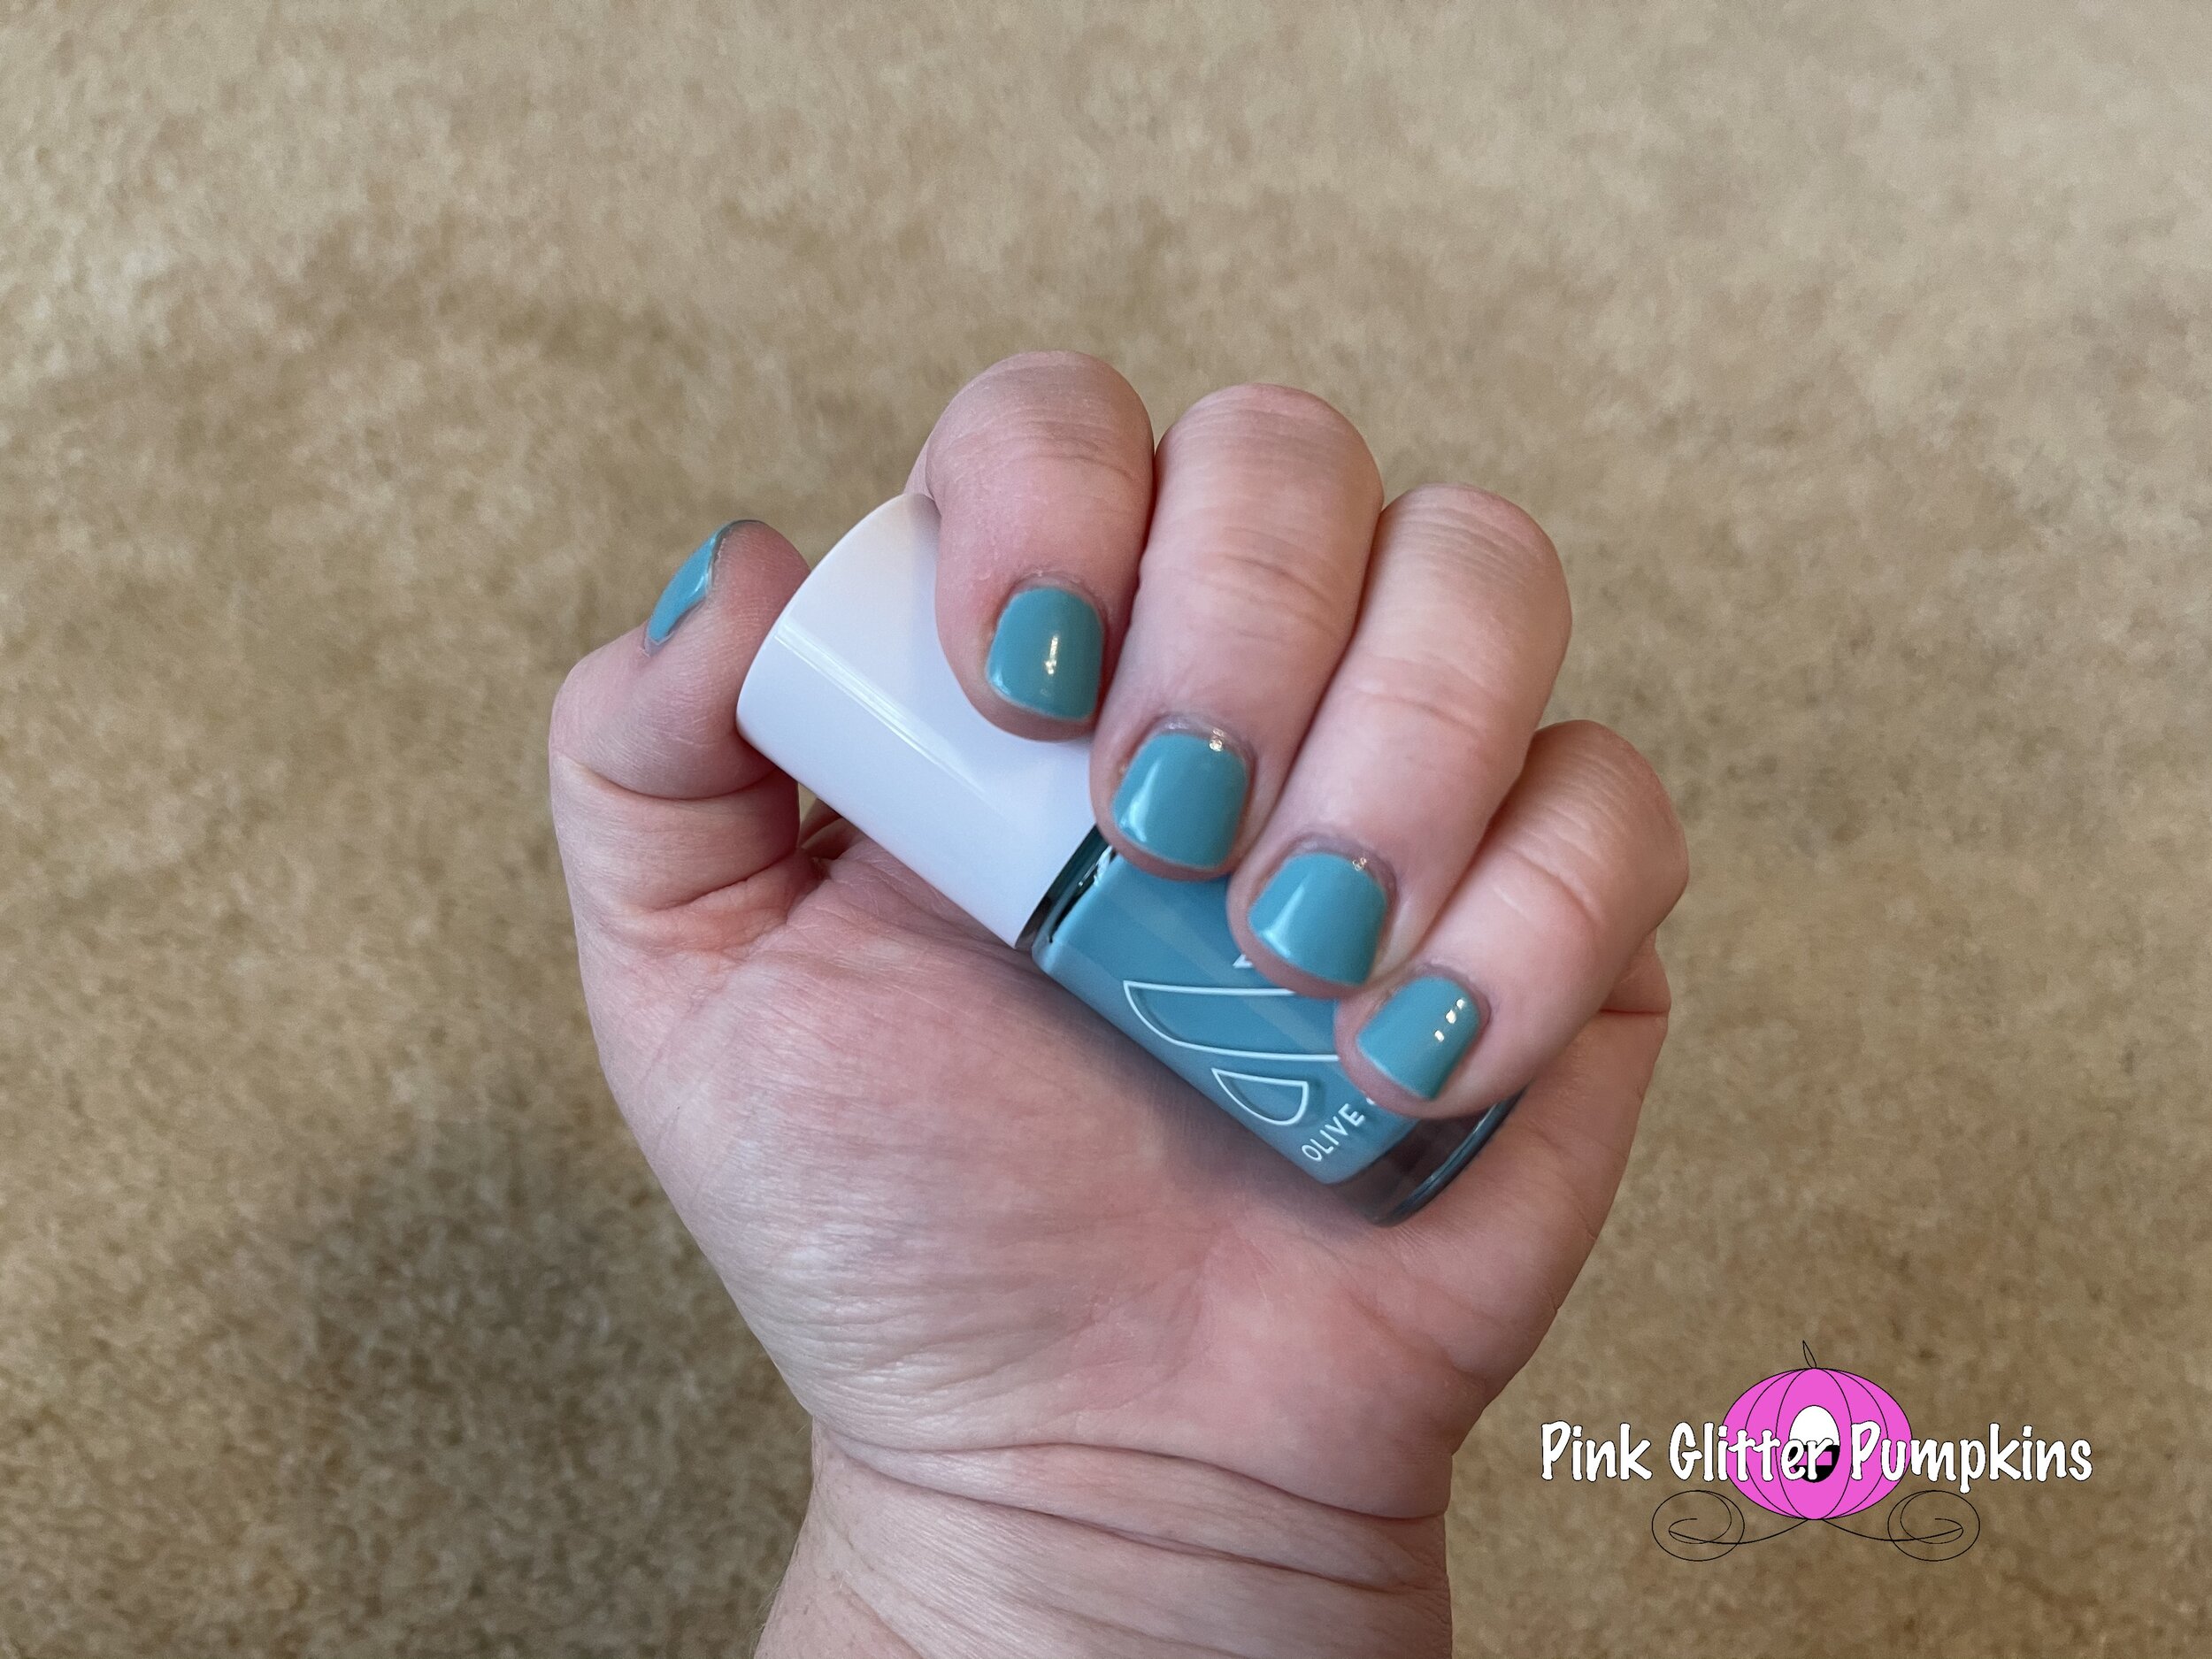
My next manicure was the teal color. I did much better with this polish too. It also lasted a week. Me holding the polish bottle is day 7.
Below is the next manicure I did. It was an orange color. You can see day 1 vs day 7. I did have a few chips by day 7, but nothing major at all.
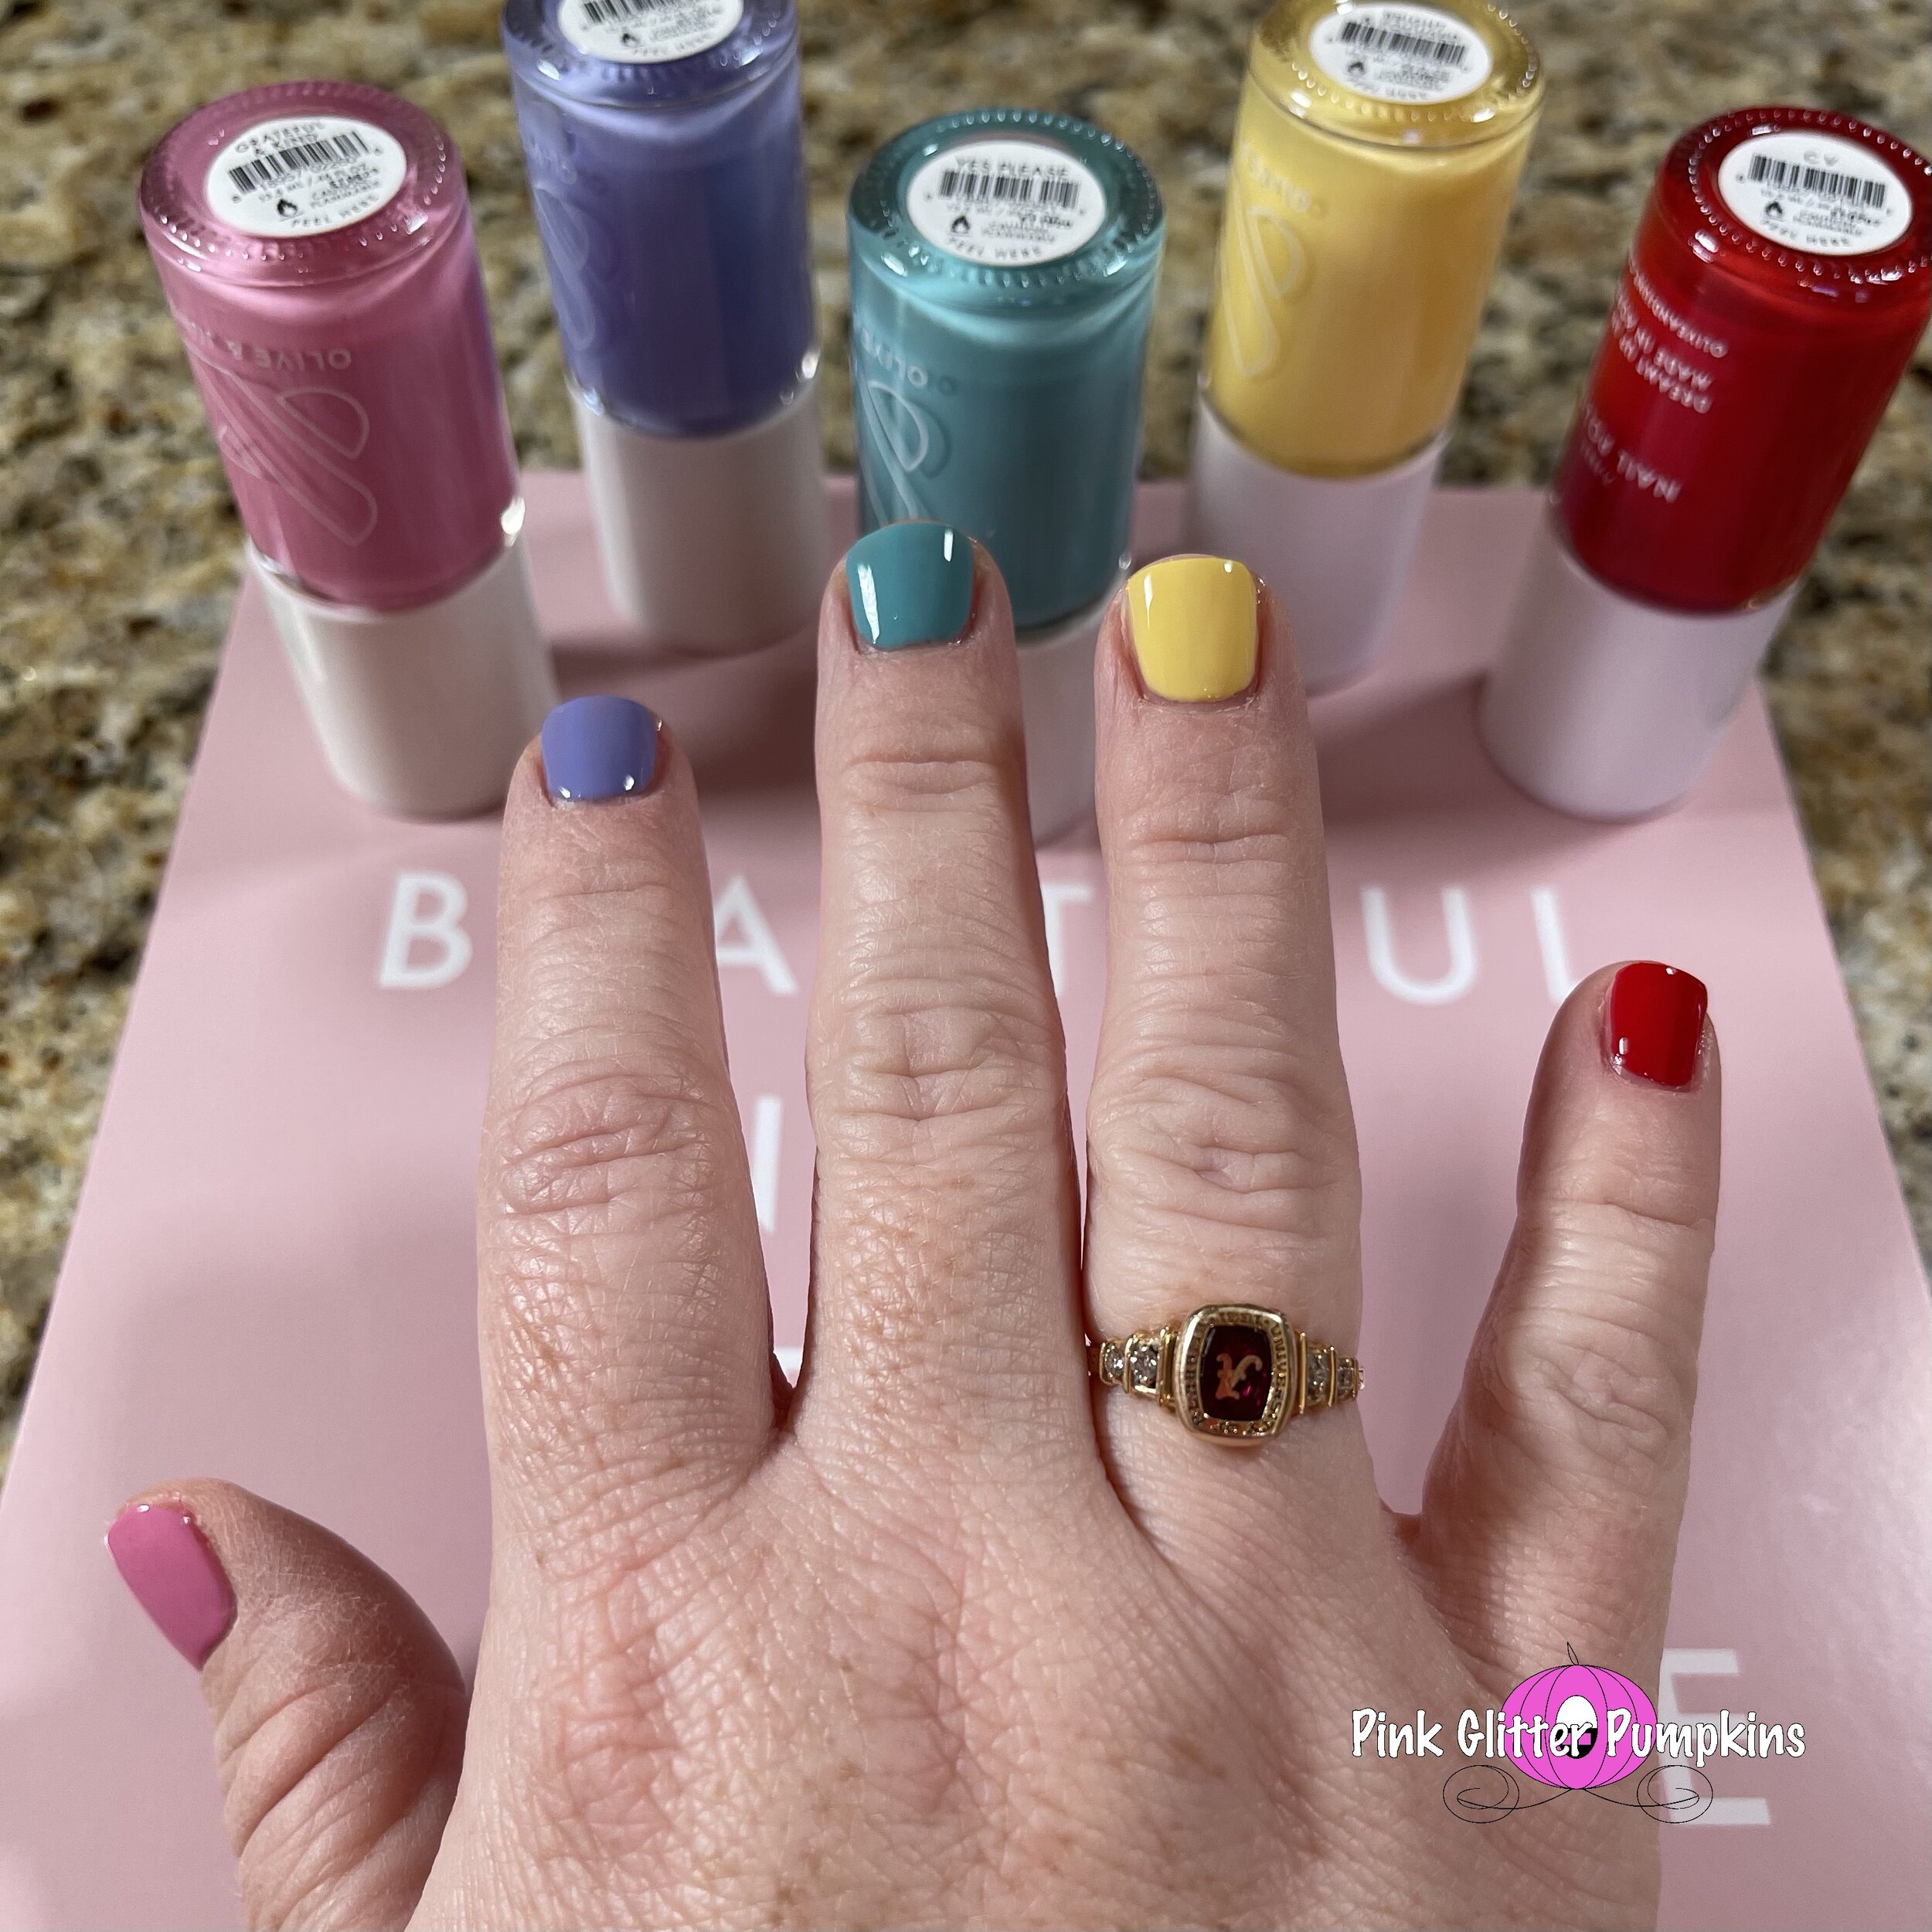
Here was my last manicure. Melody wanted me to do a rainbow manicure as you can see. I have gotten much better after doing my manicures weekly for the last 5 weeks or so. My biggest trouble spot is shaping. I am still learning and watching their videos though. I highly recommend the mani system if you like to have your nails polished often. They sell a version of the mani system at Target now if you want something a bit cheaper.
